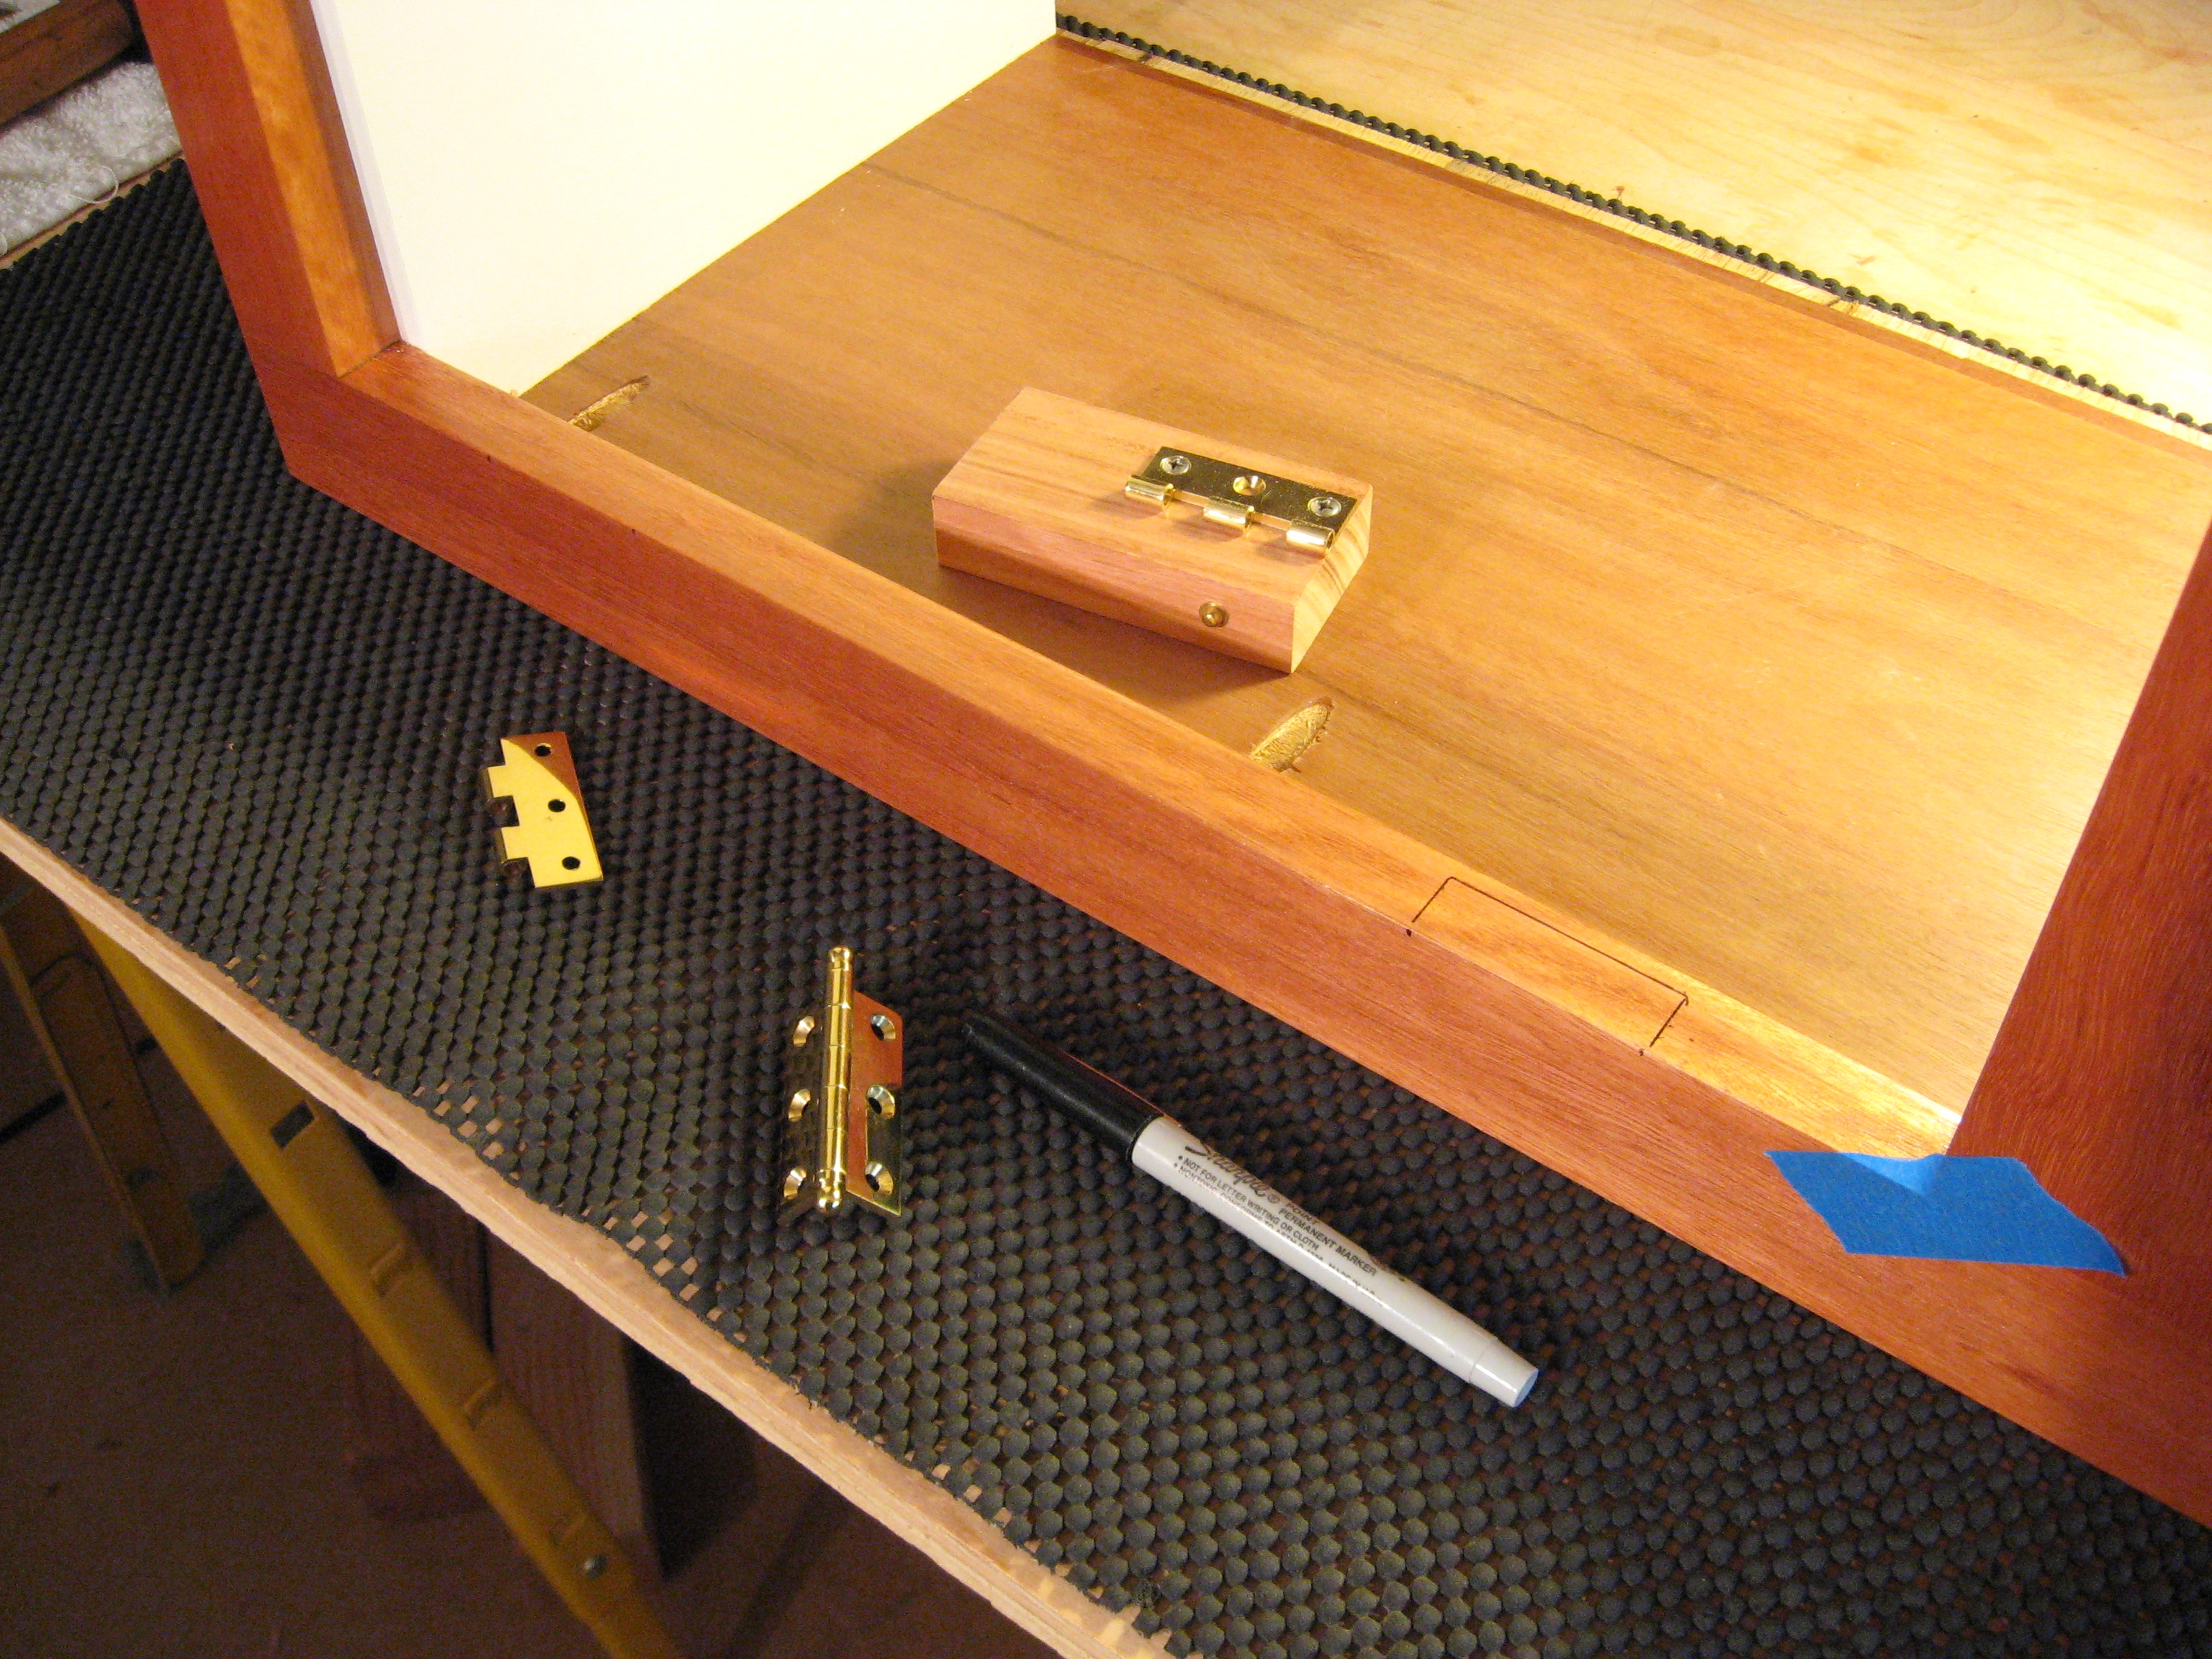
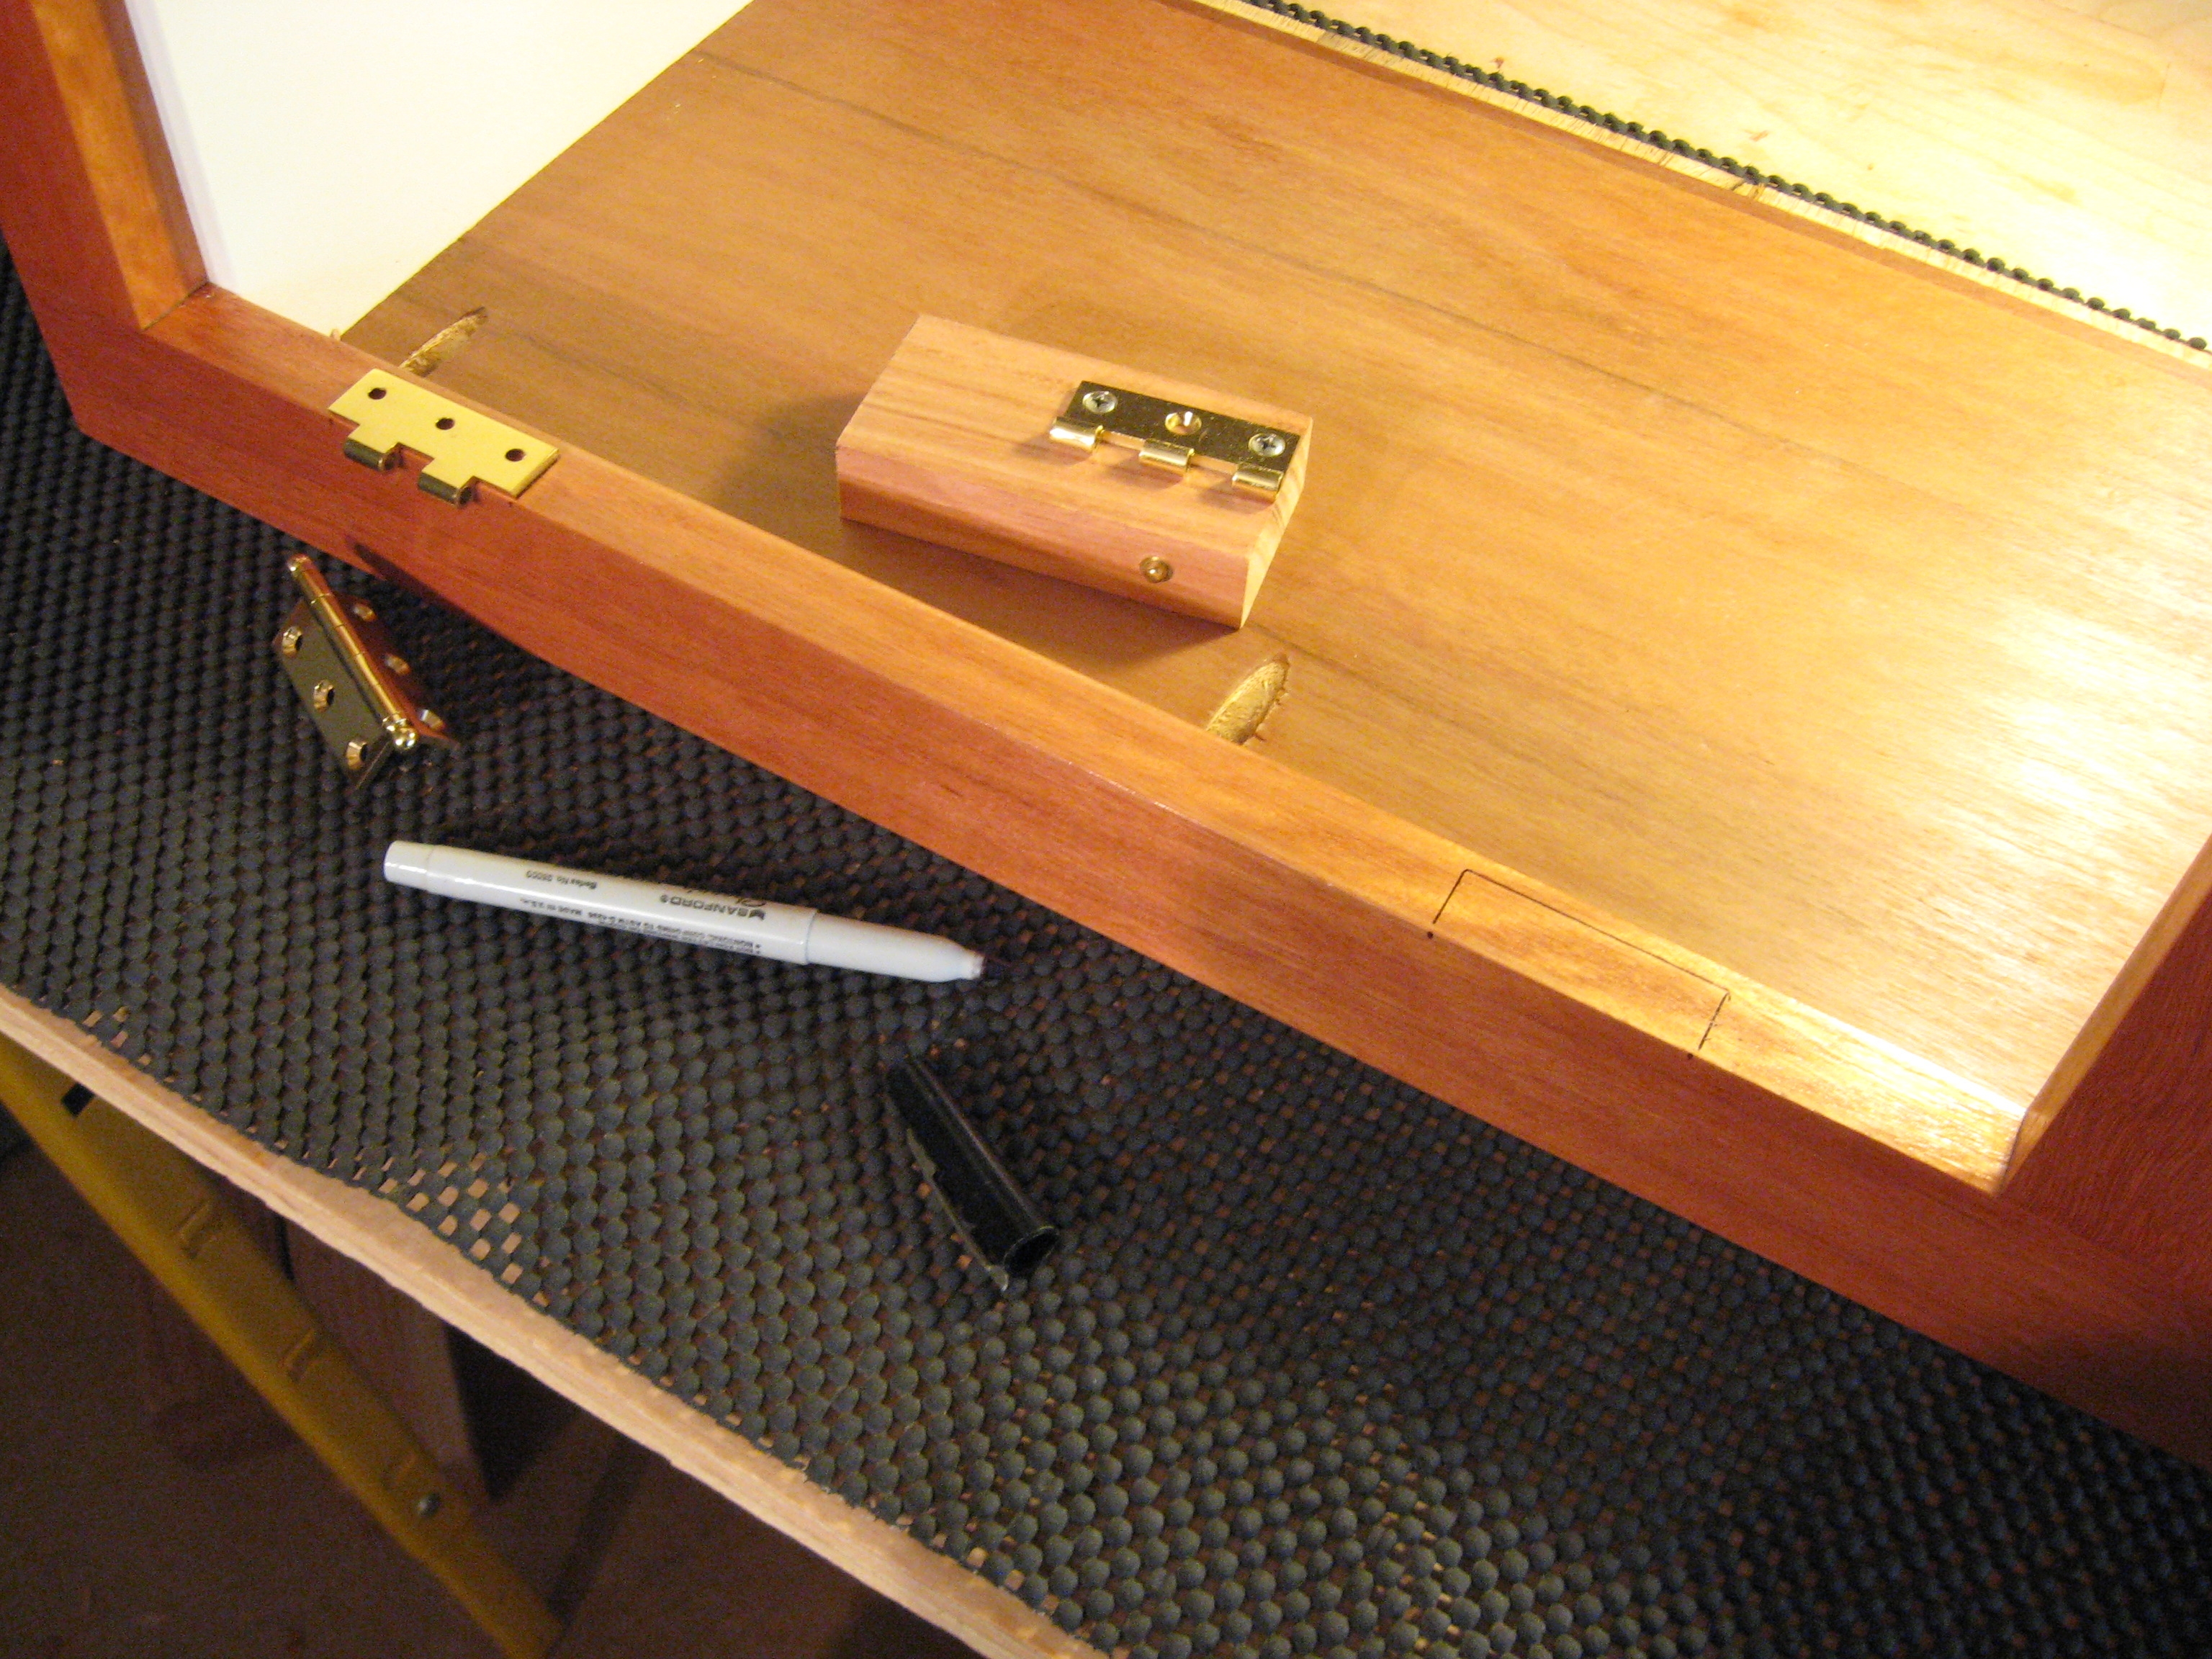
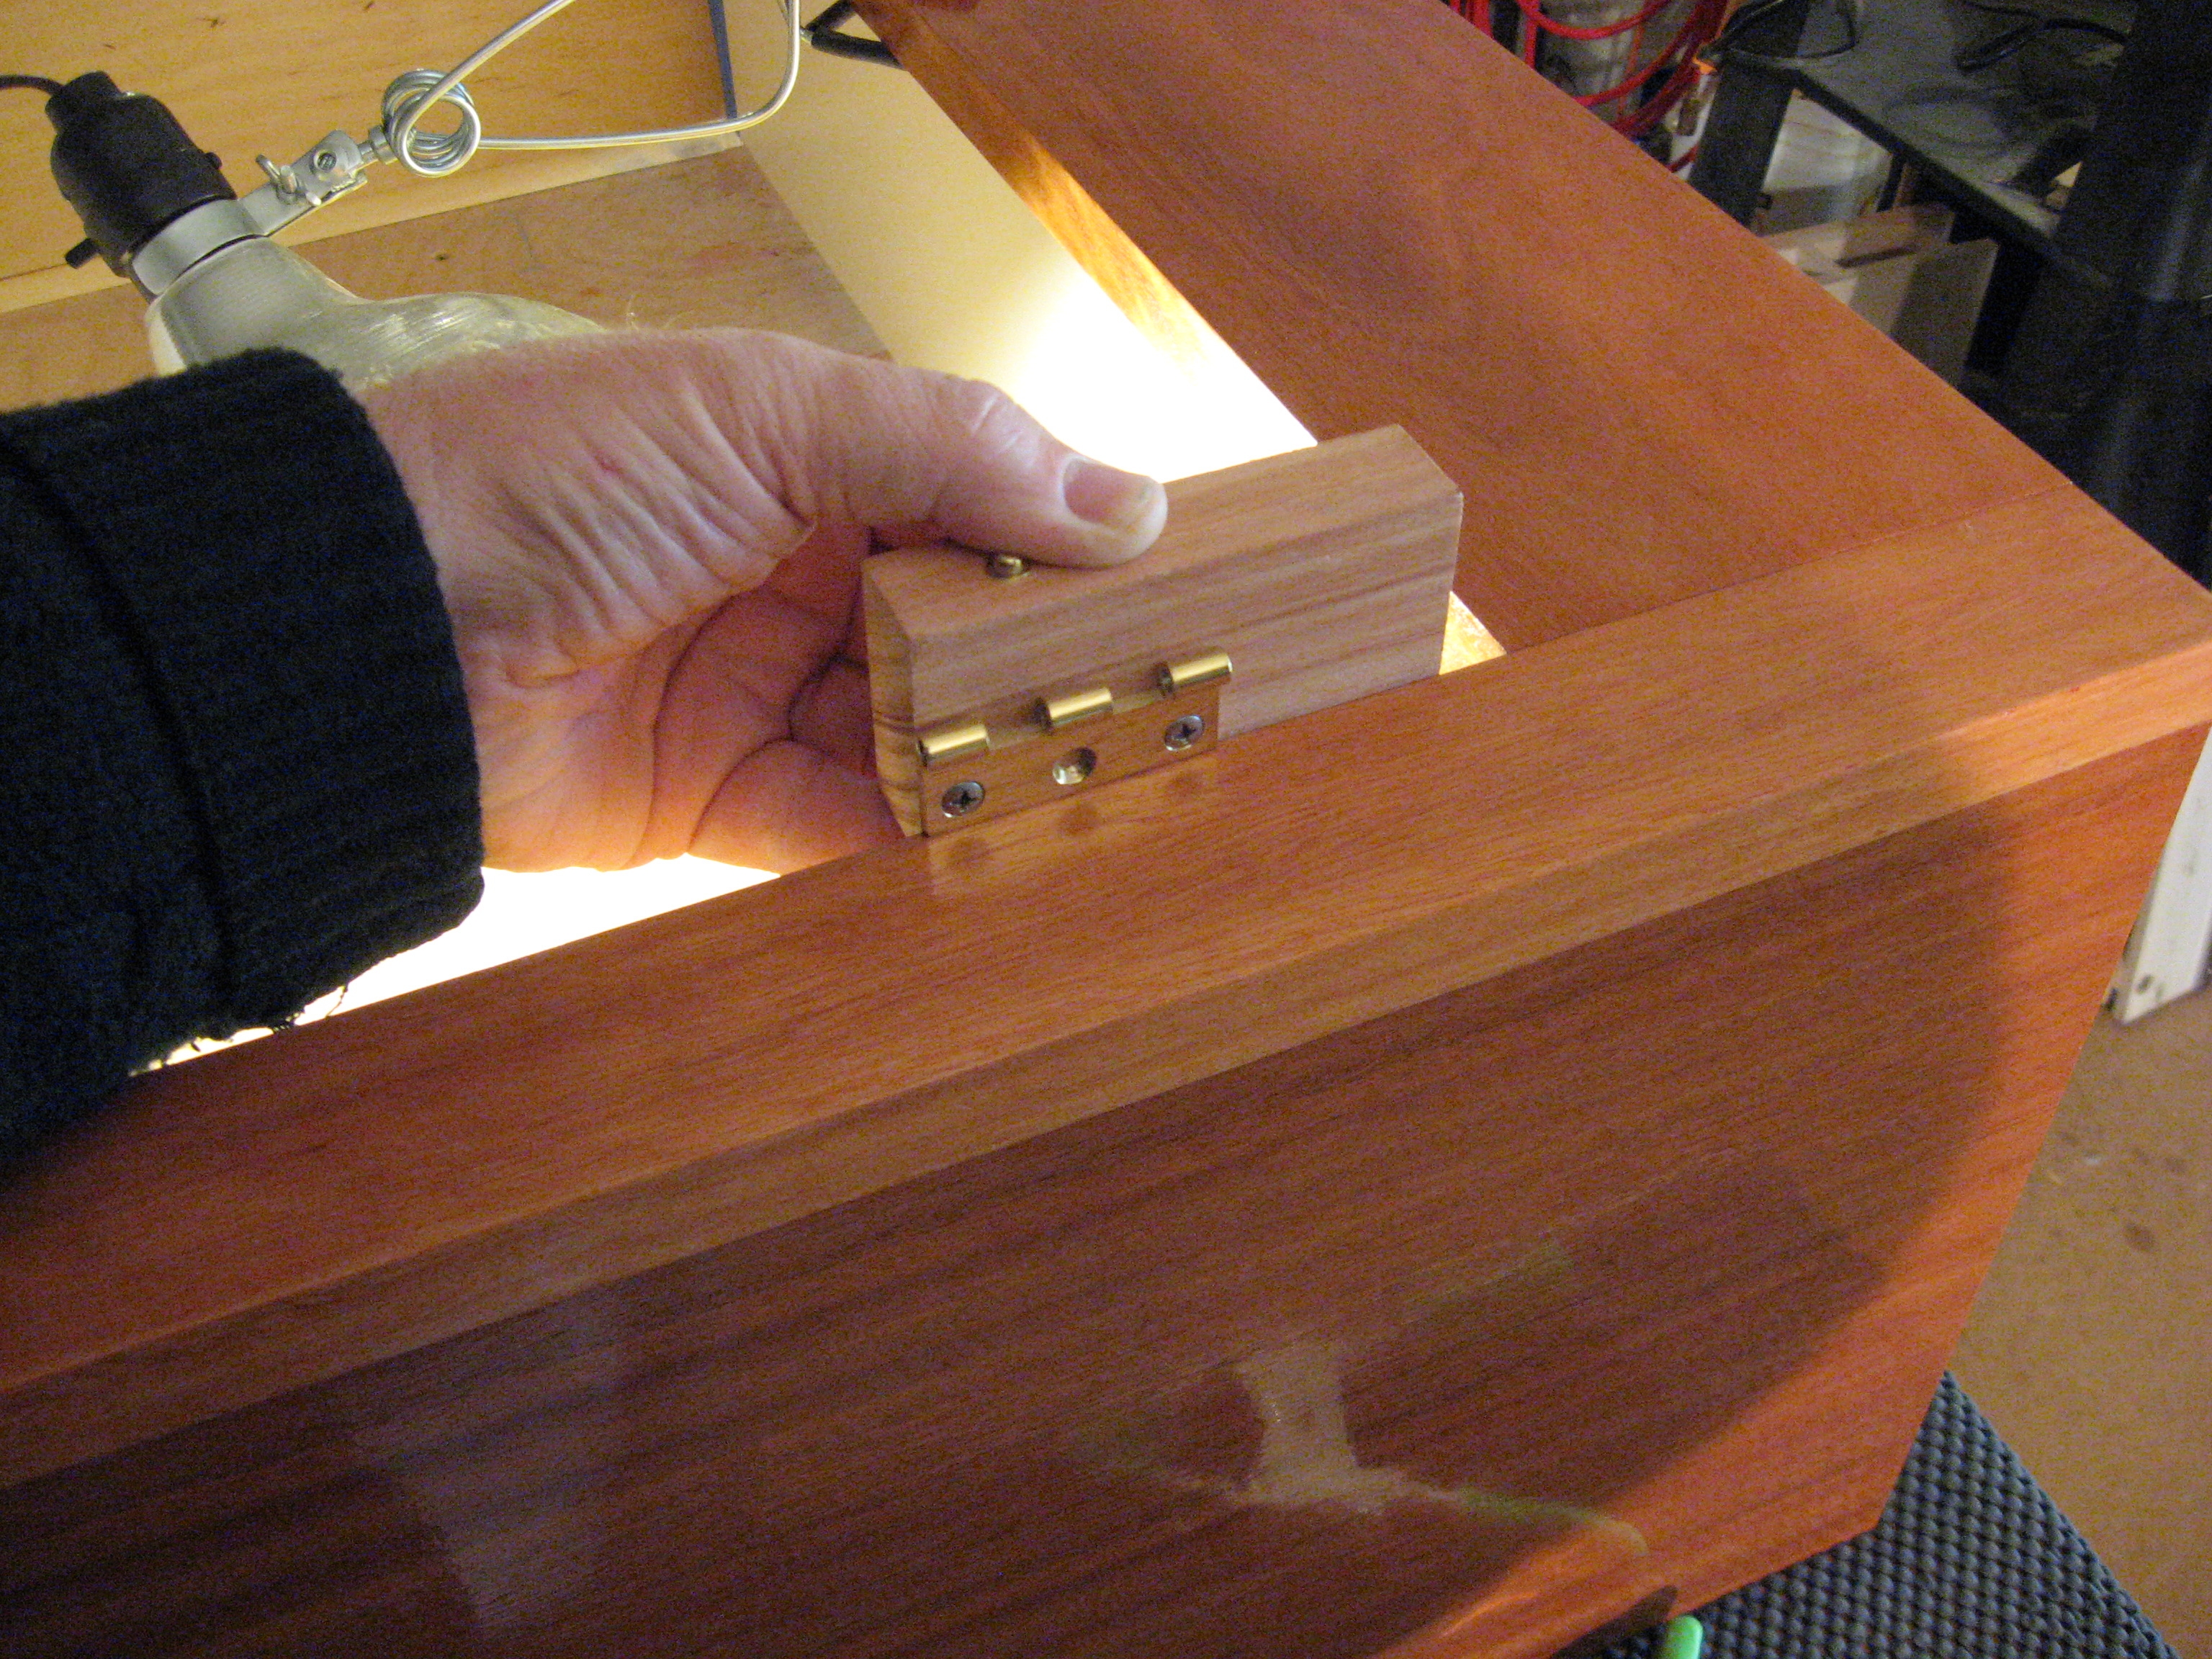
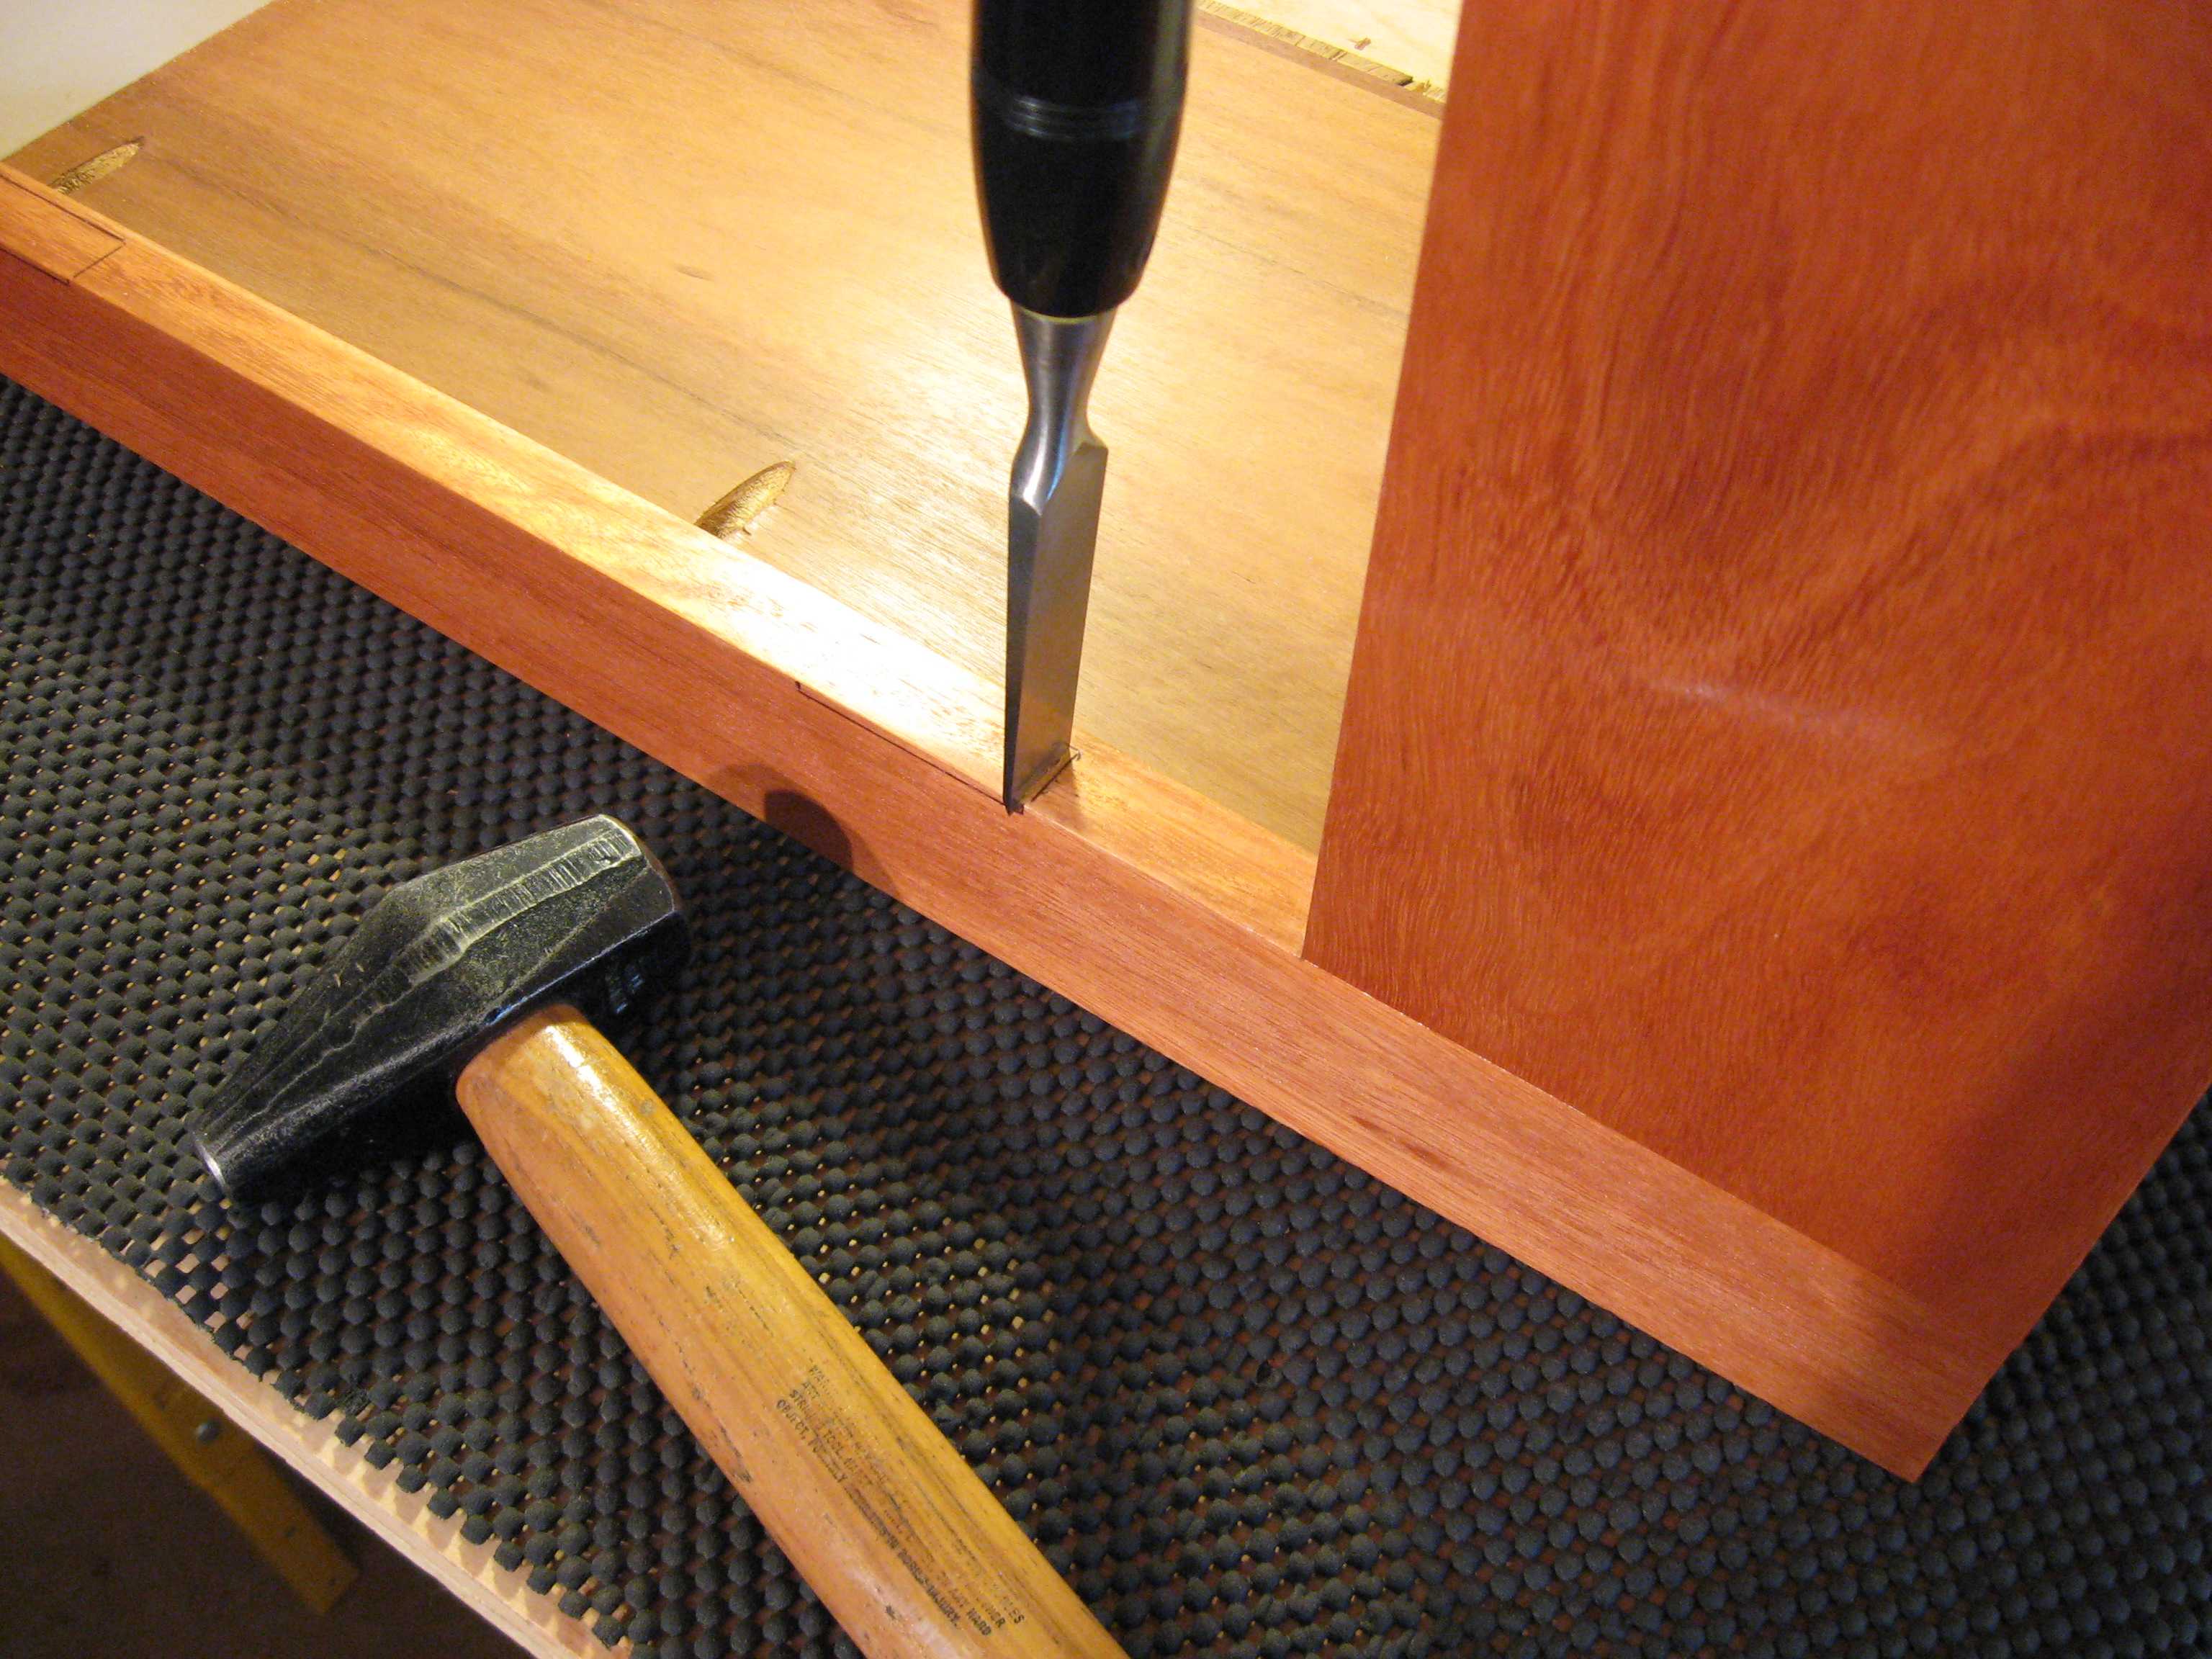
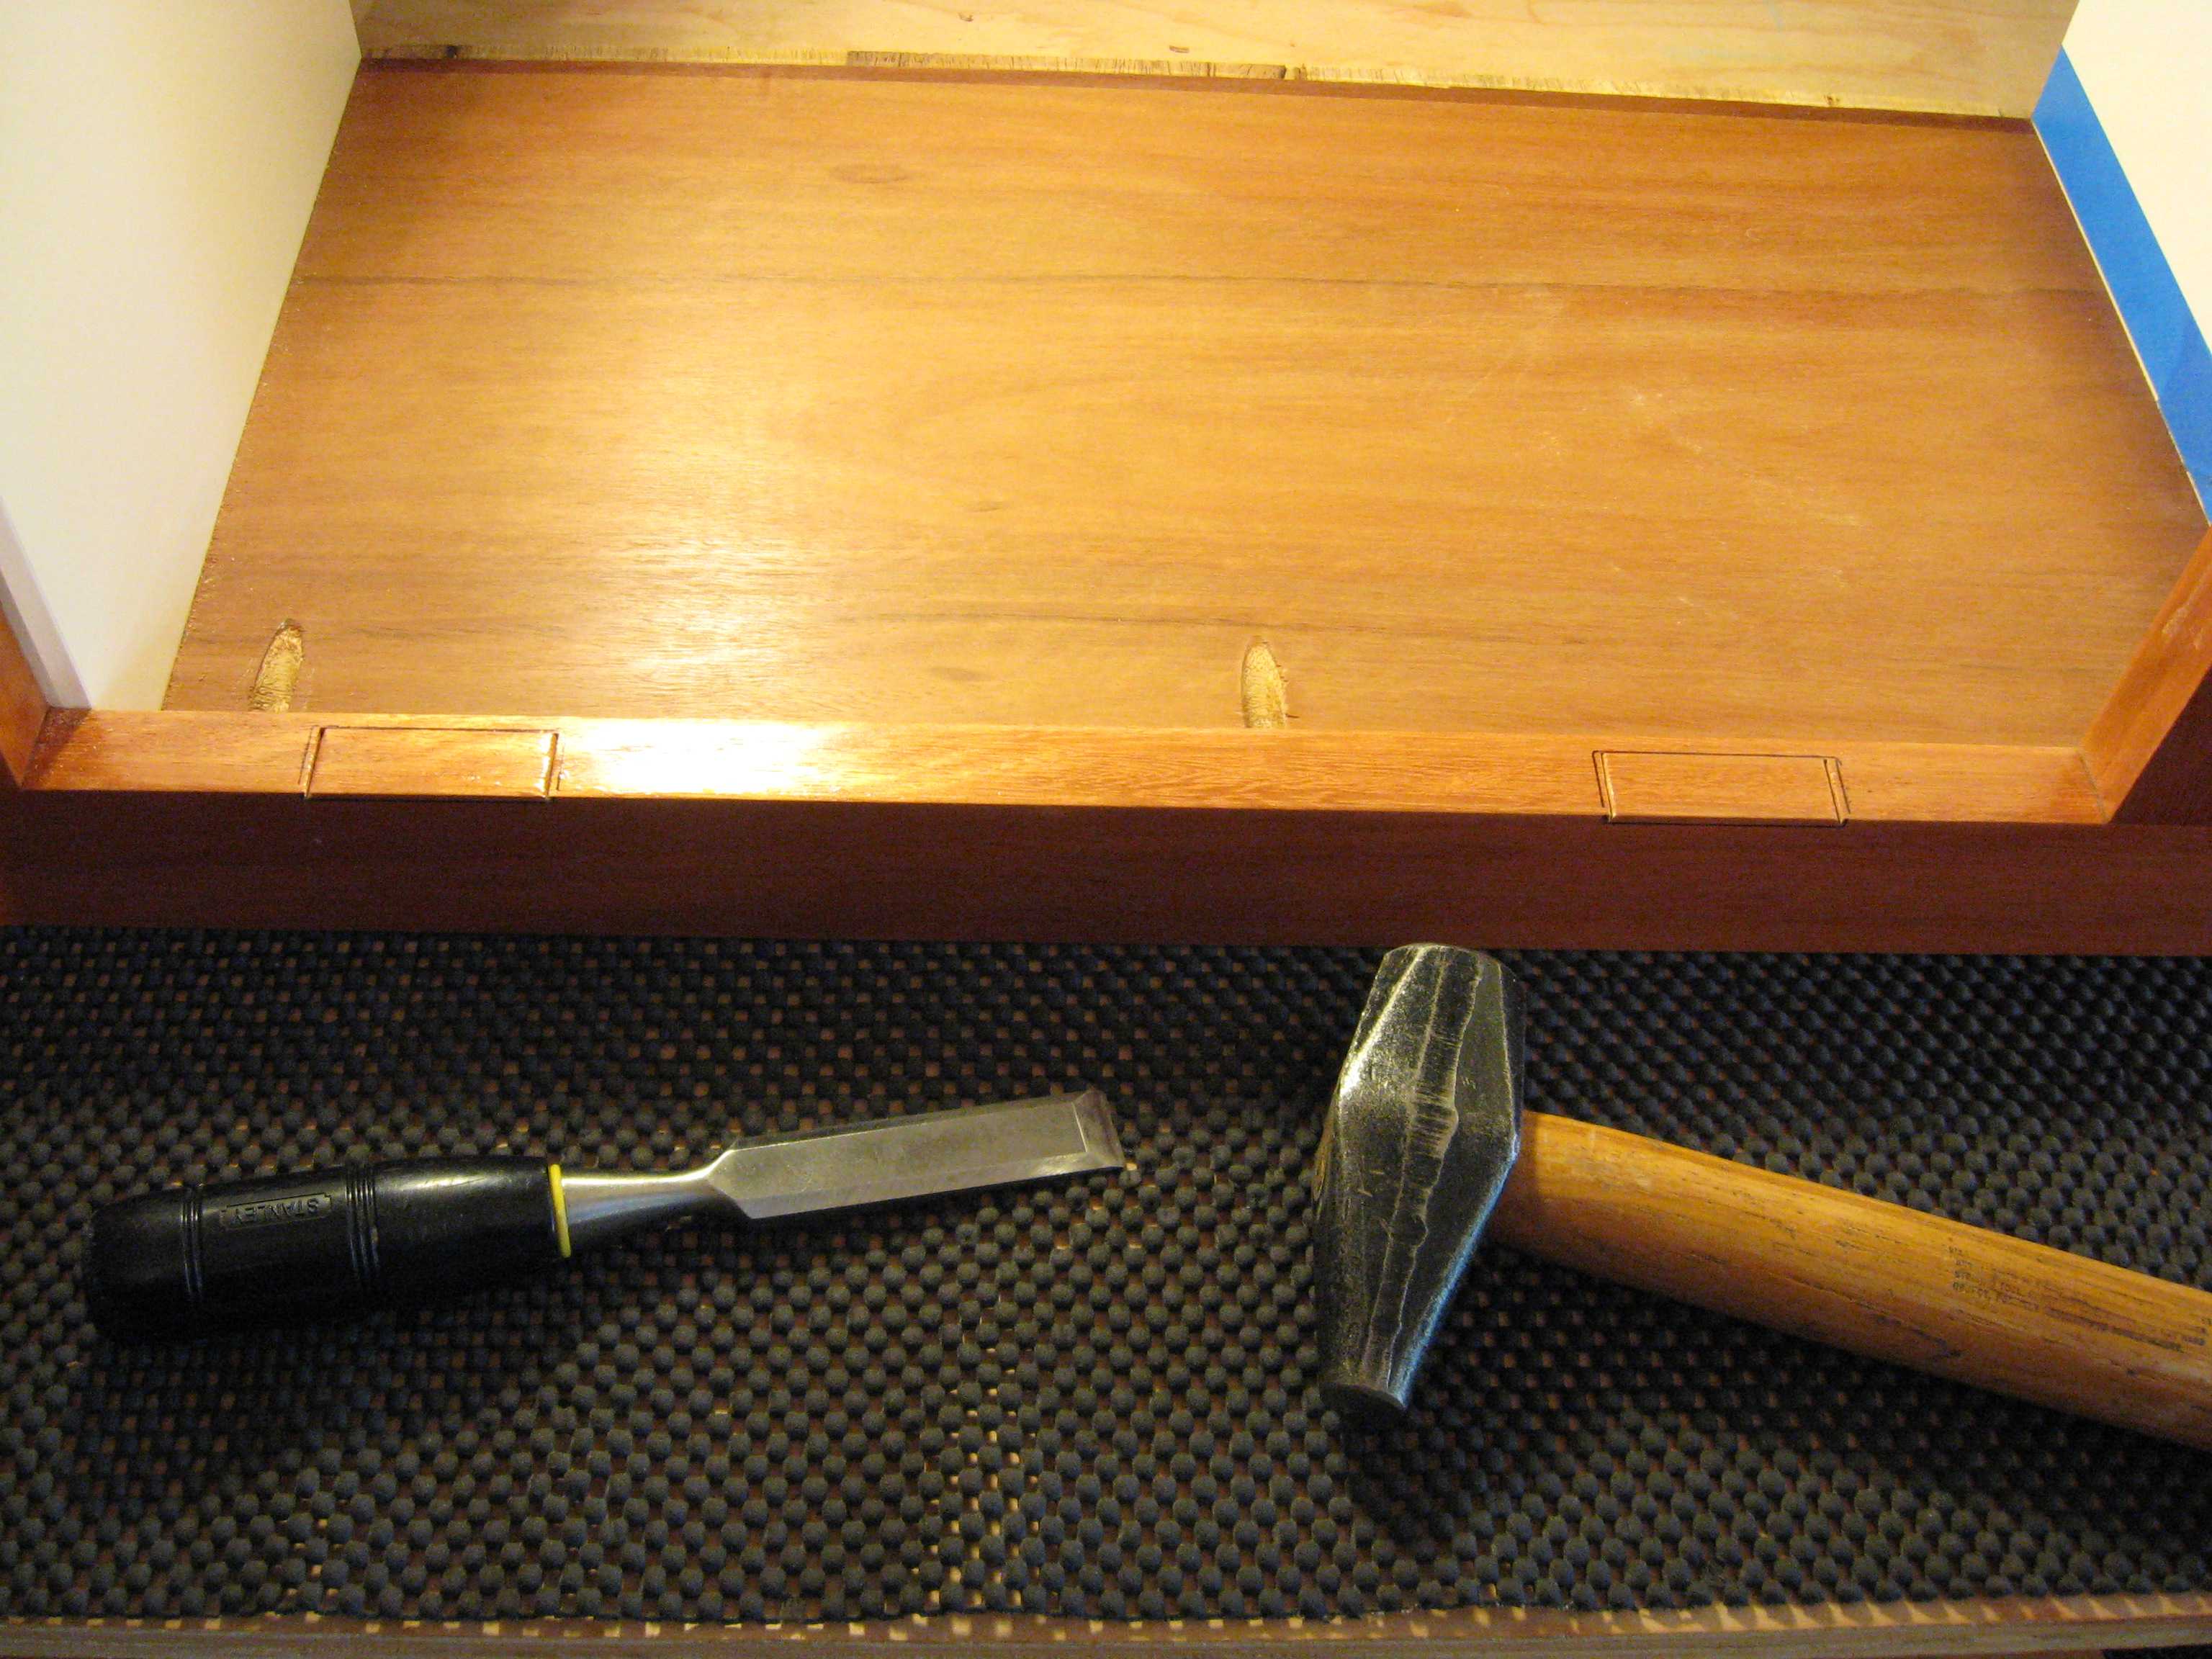
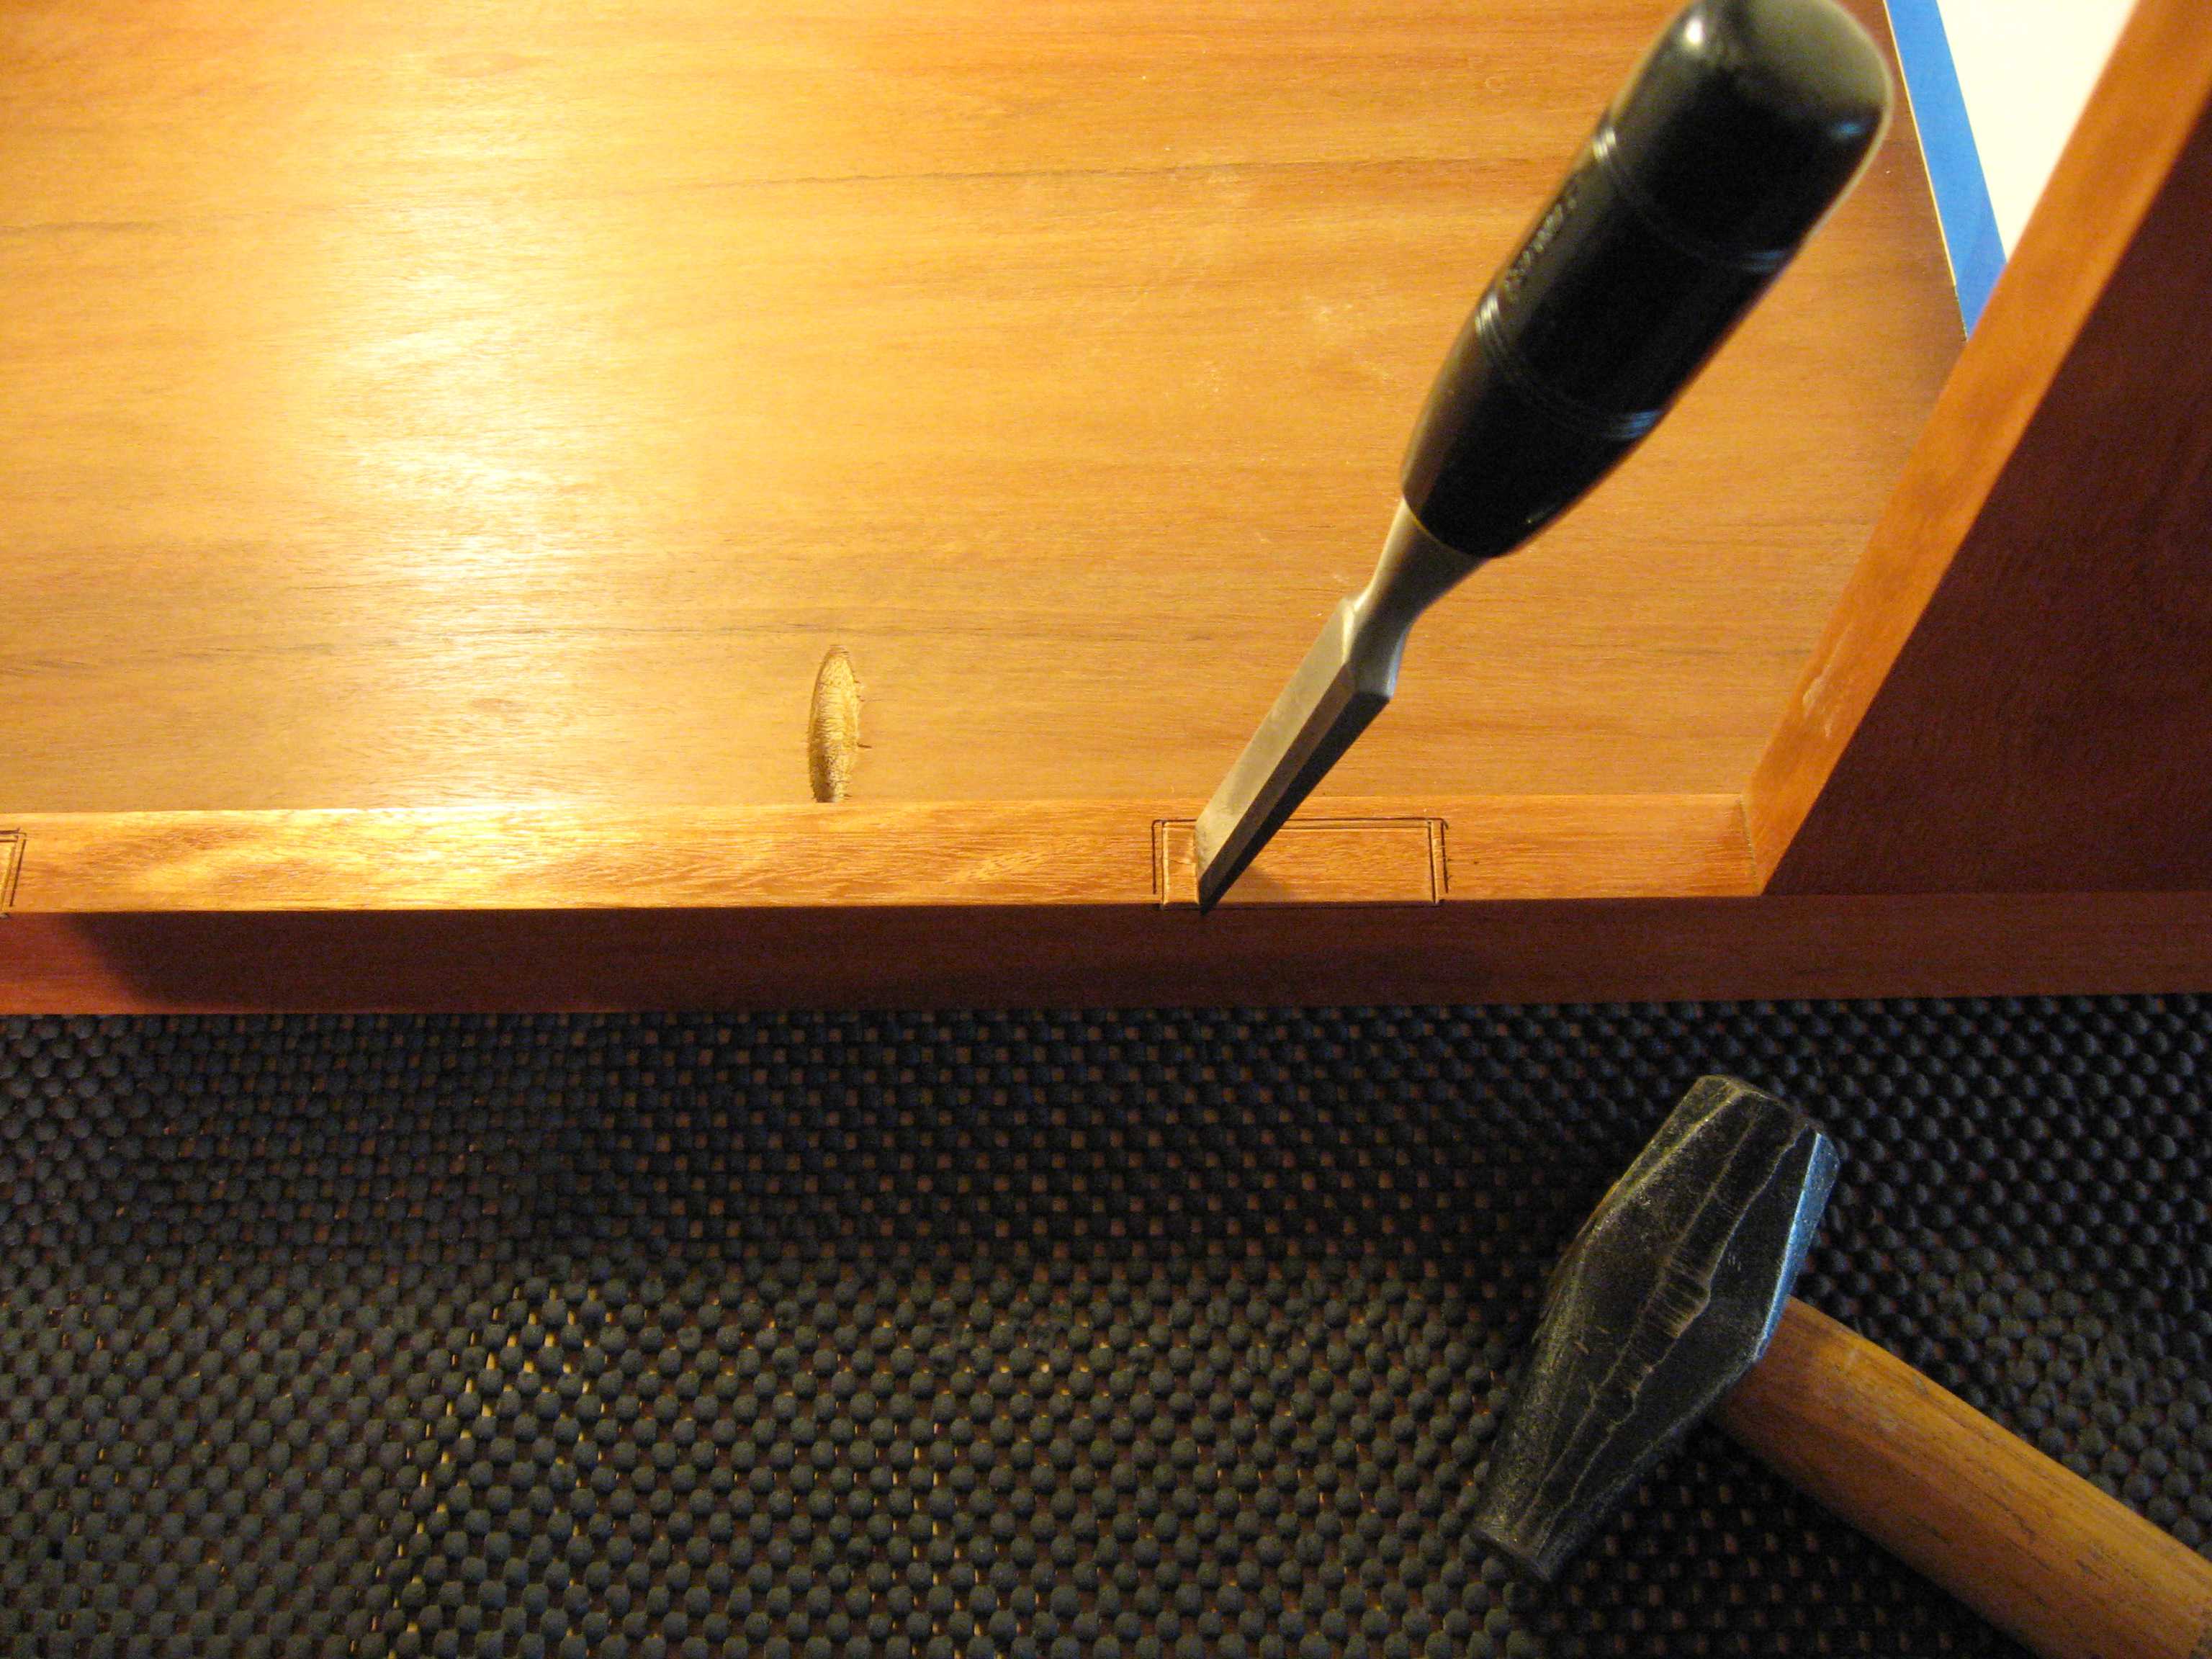

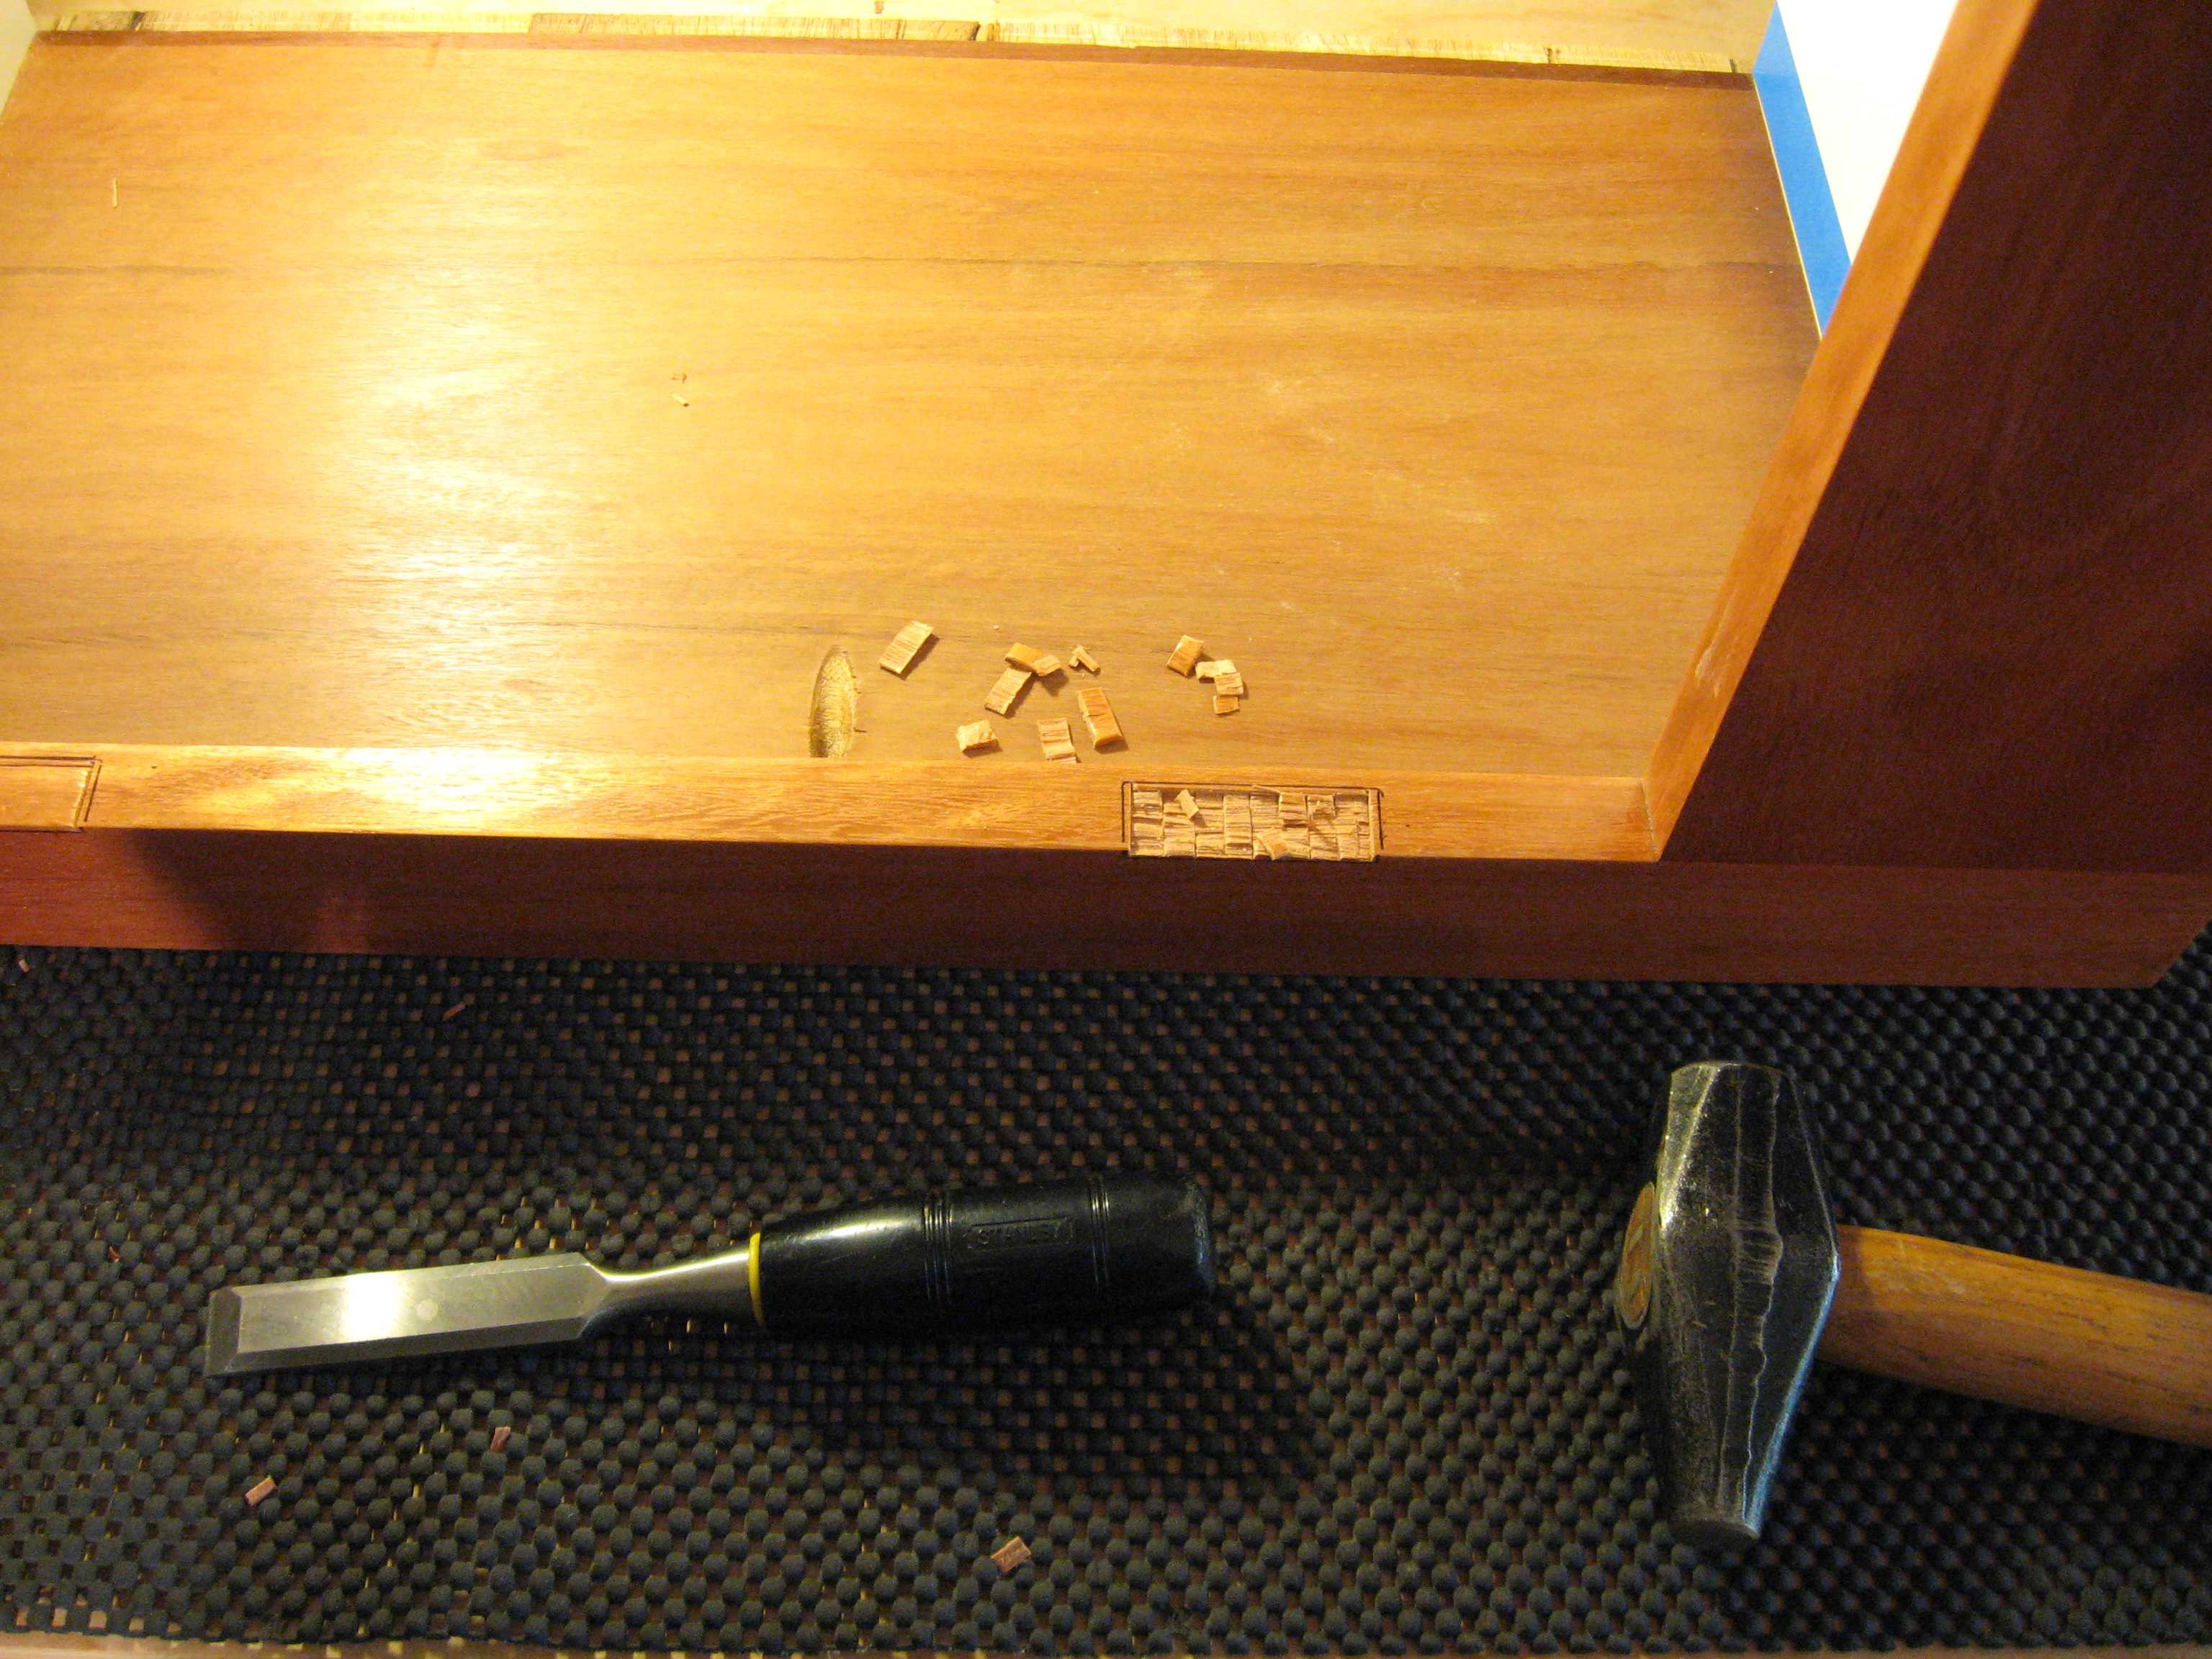
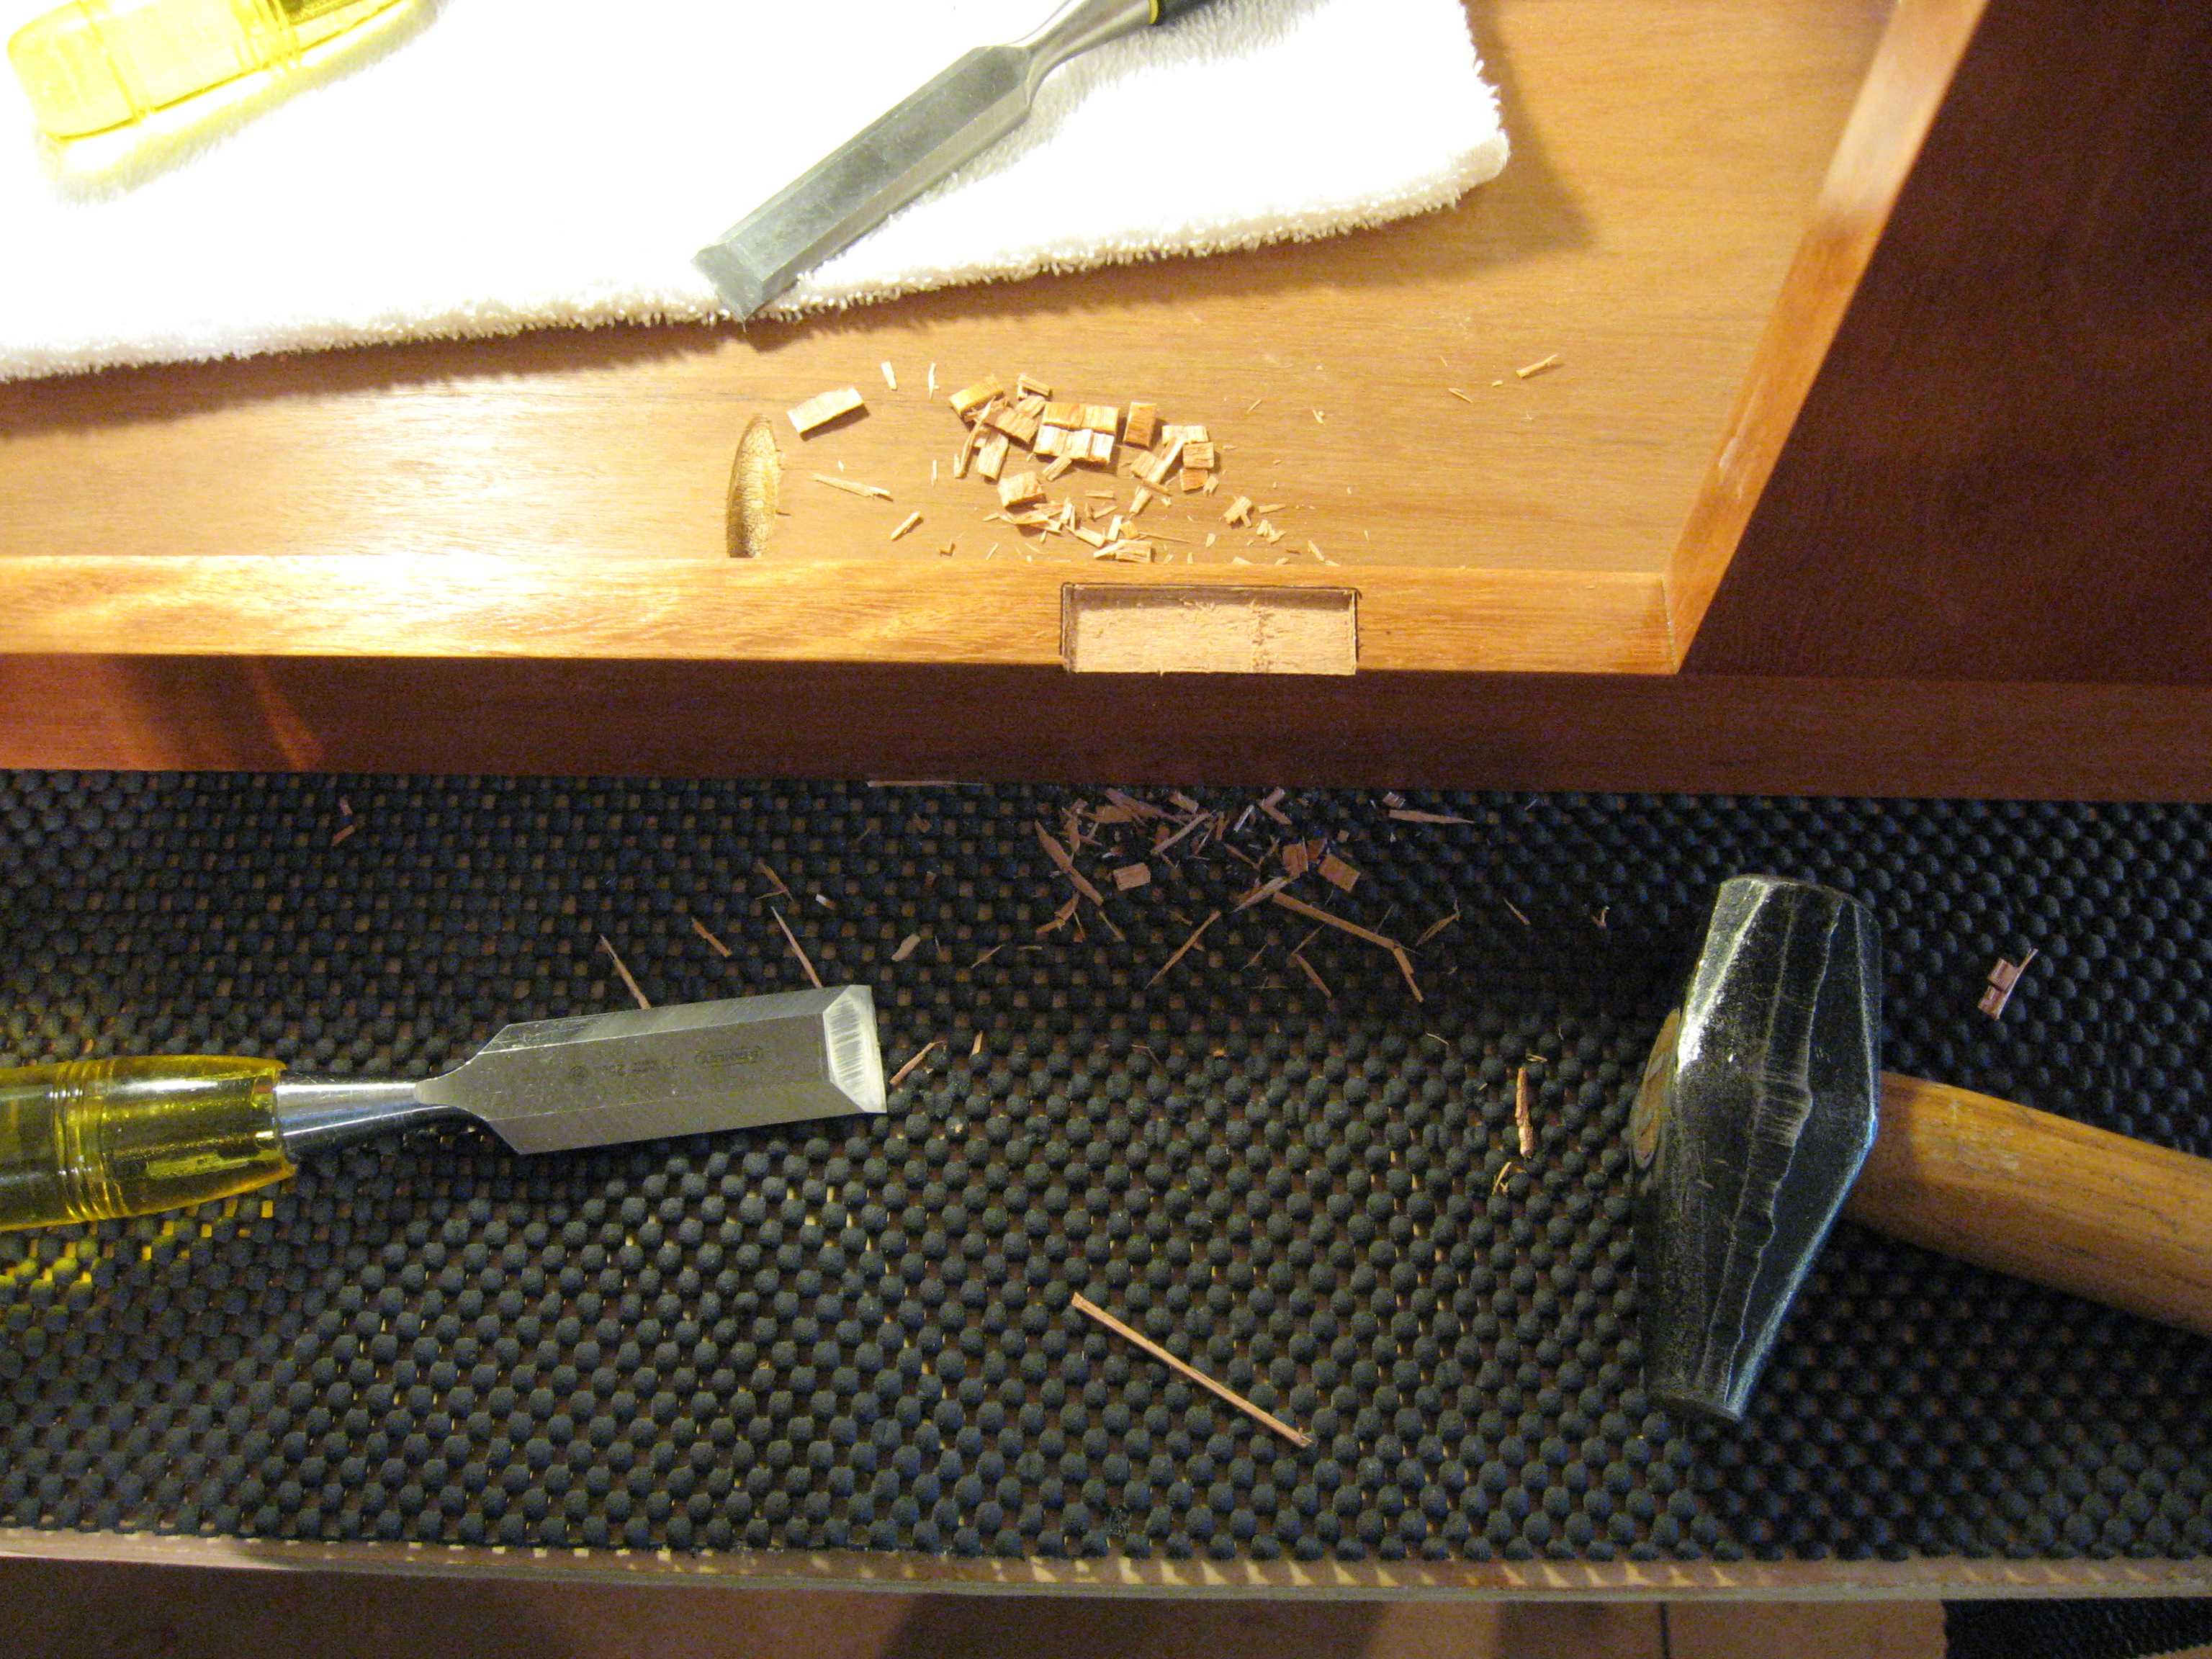
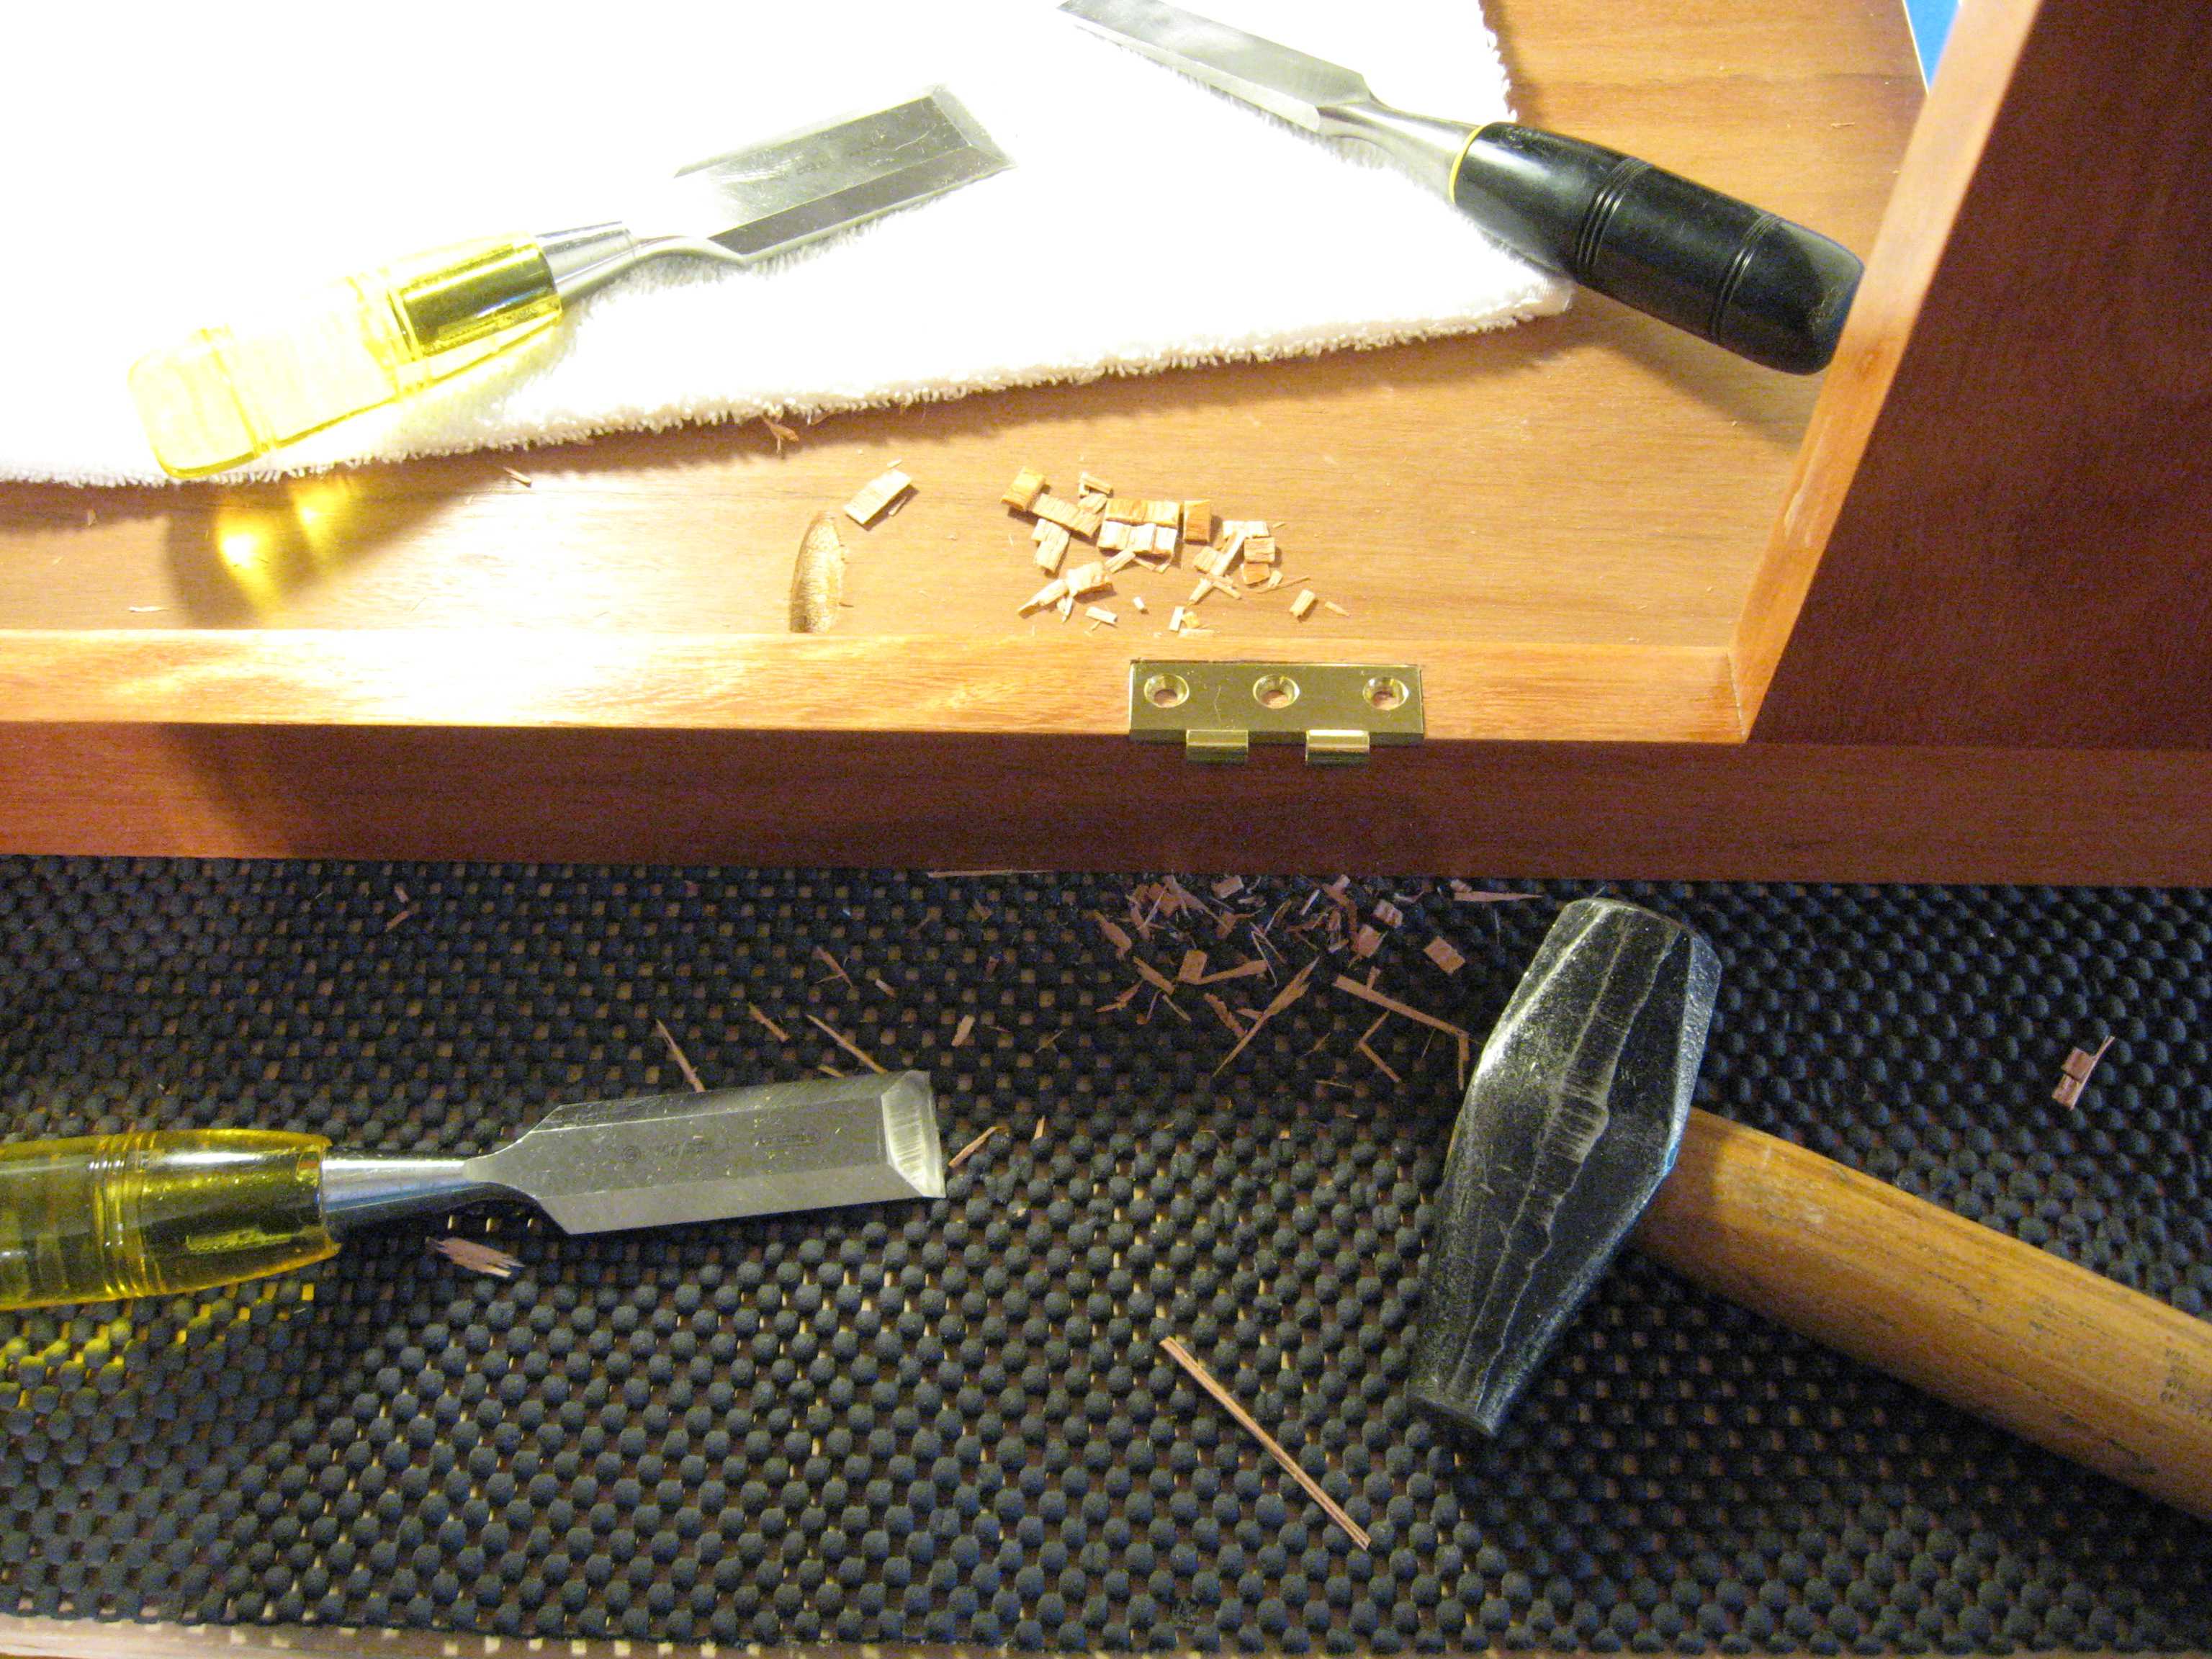
Mortise for a Hinge
I start with markup shown in the first three pictures. Next I define cut limits well inside the markup in the next two pictures. Note that the cross grain cuts are done first. This will stop any runaway with the cut along the grain. The next two pictures show the chopping out process. The second to the last shows the mortise after I have cut the bottom flat to proper depth and trimmed it back to the total opening. The last picture shows the test fit prior to using a Vix bit to pre-drill the screw holes.
: