Finishing
First and foremost all that paint and stuff is bad for yer life and health. Don't underestimate what chemicals can do as they accumulate in your body. Our bodies are porous especially to some of the chemicals in this stuff. It just walks right into you and finds a place to accumulate. It can be absorbed through the skin, lungs, eyes and everywhere else. Real bad for you. Not good, got it? Good! Now always wear a good mask, proper gloves, a hat, goggles, and coveralls.
:
Paint Booth
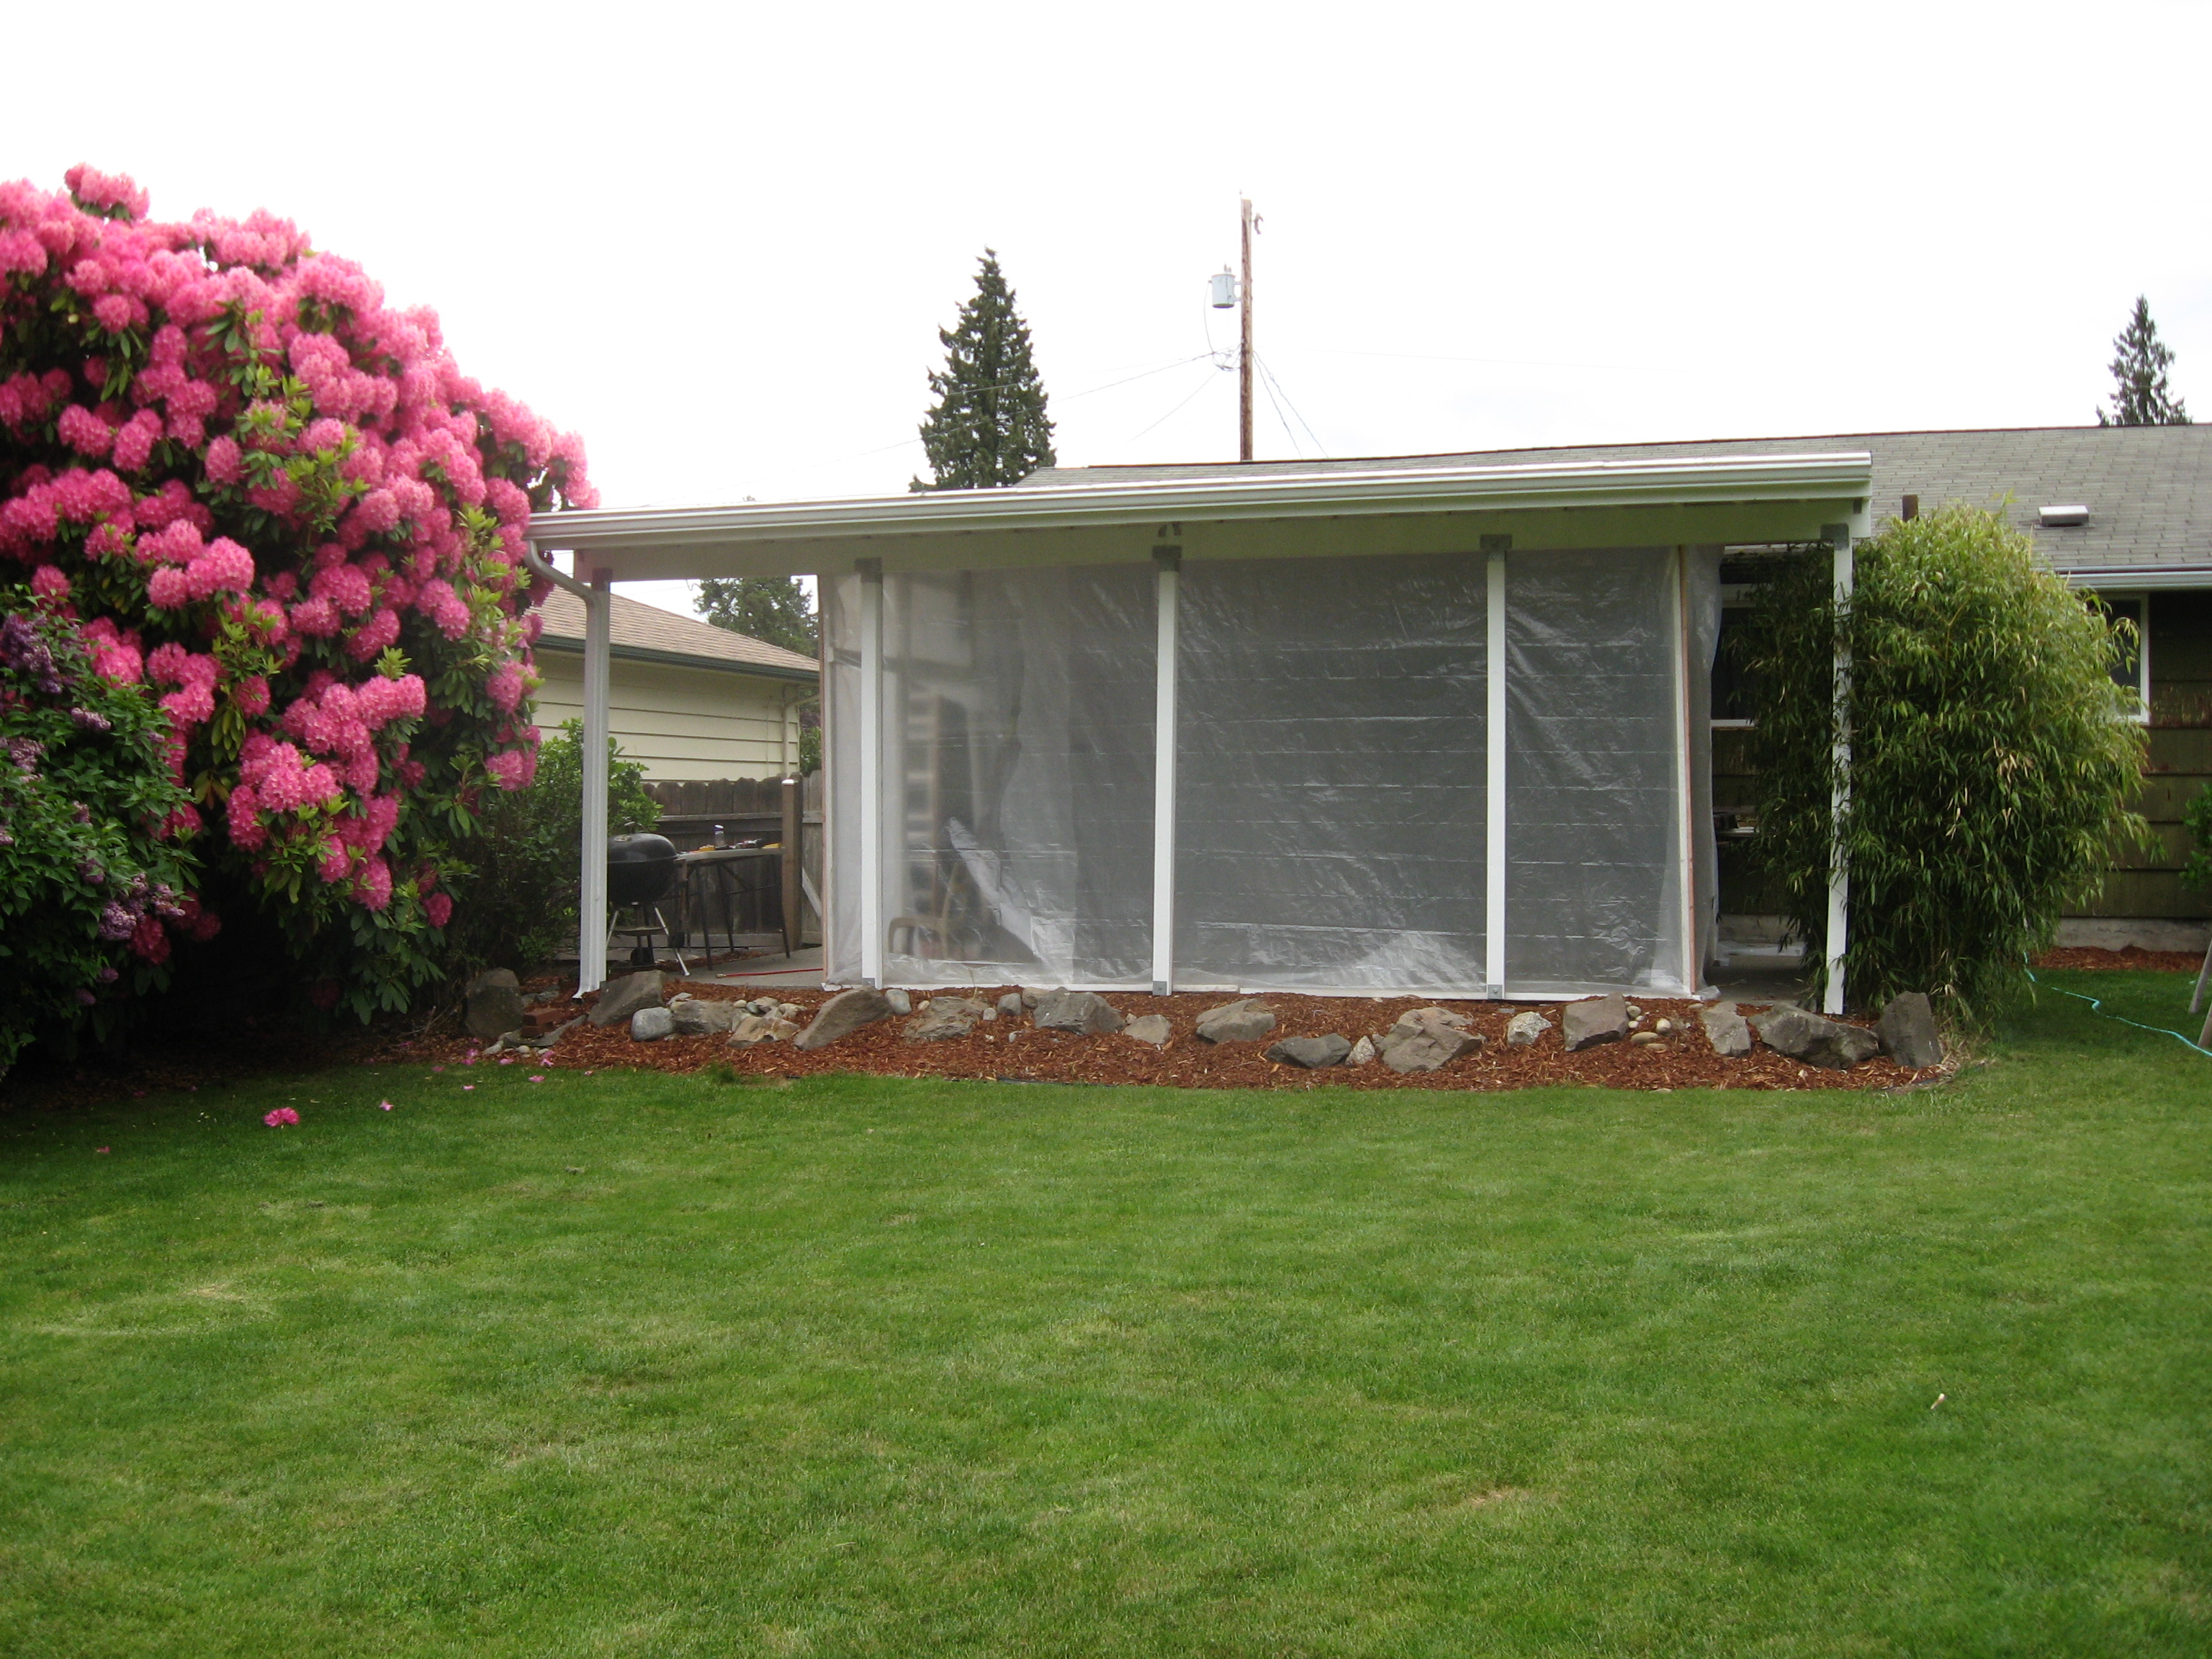
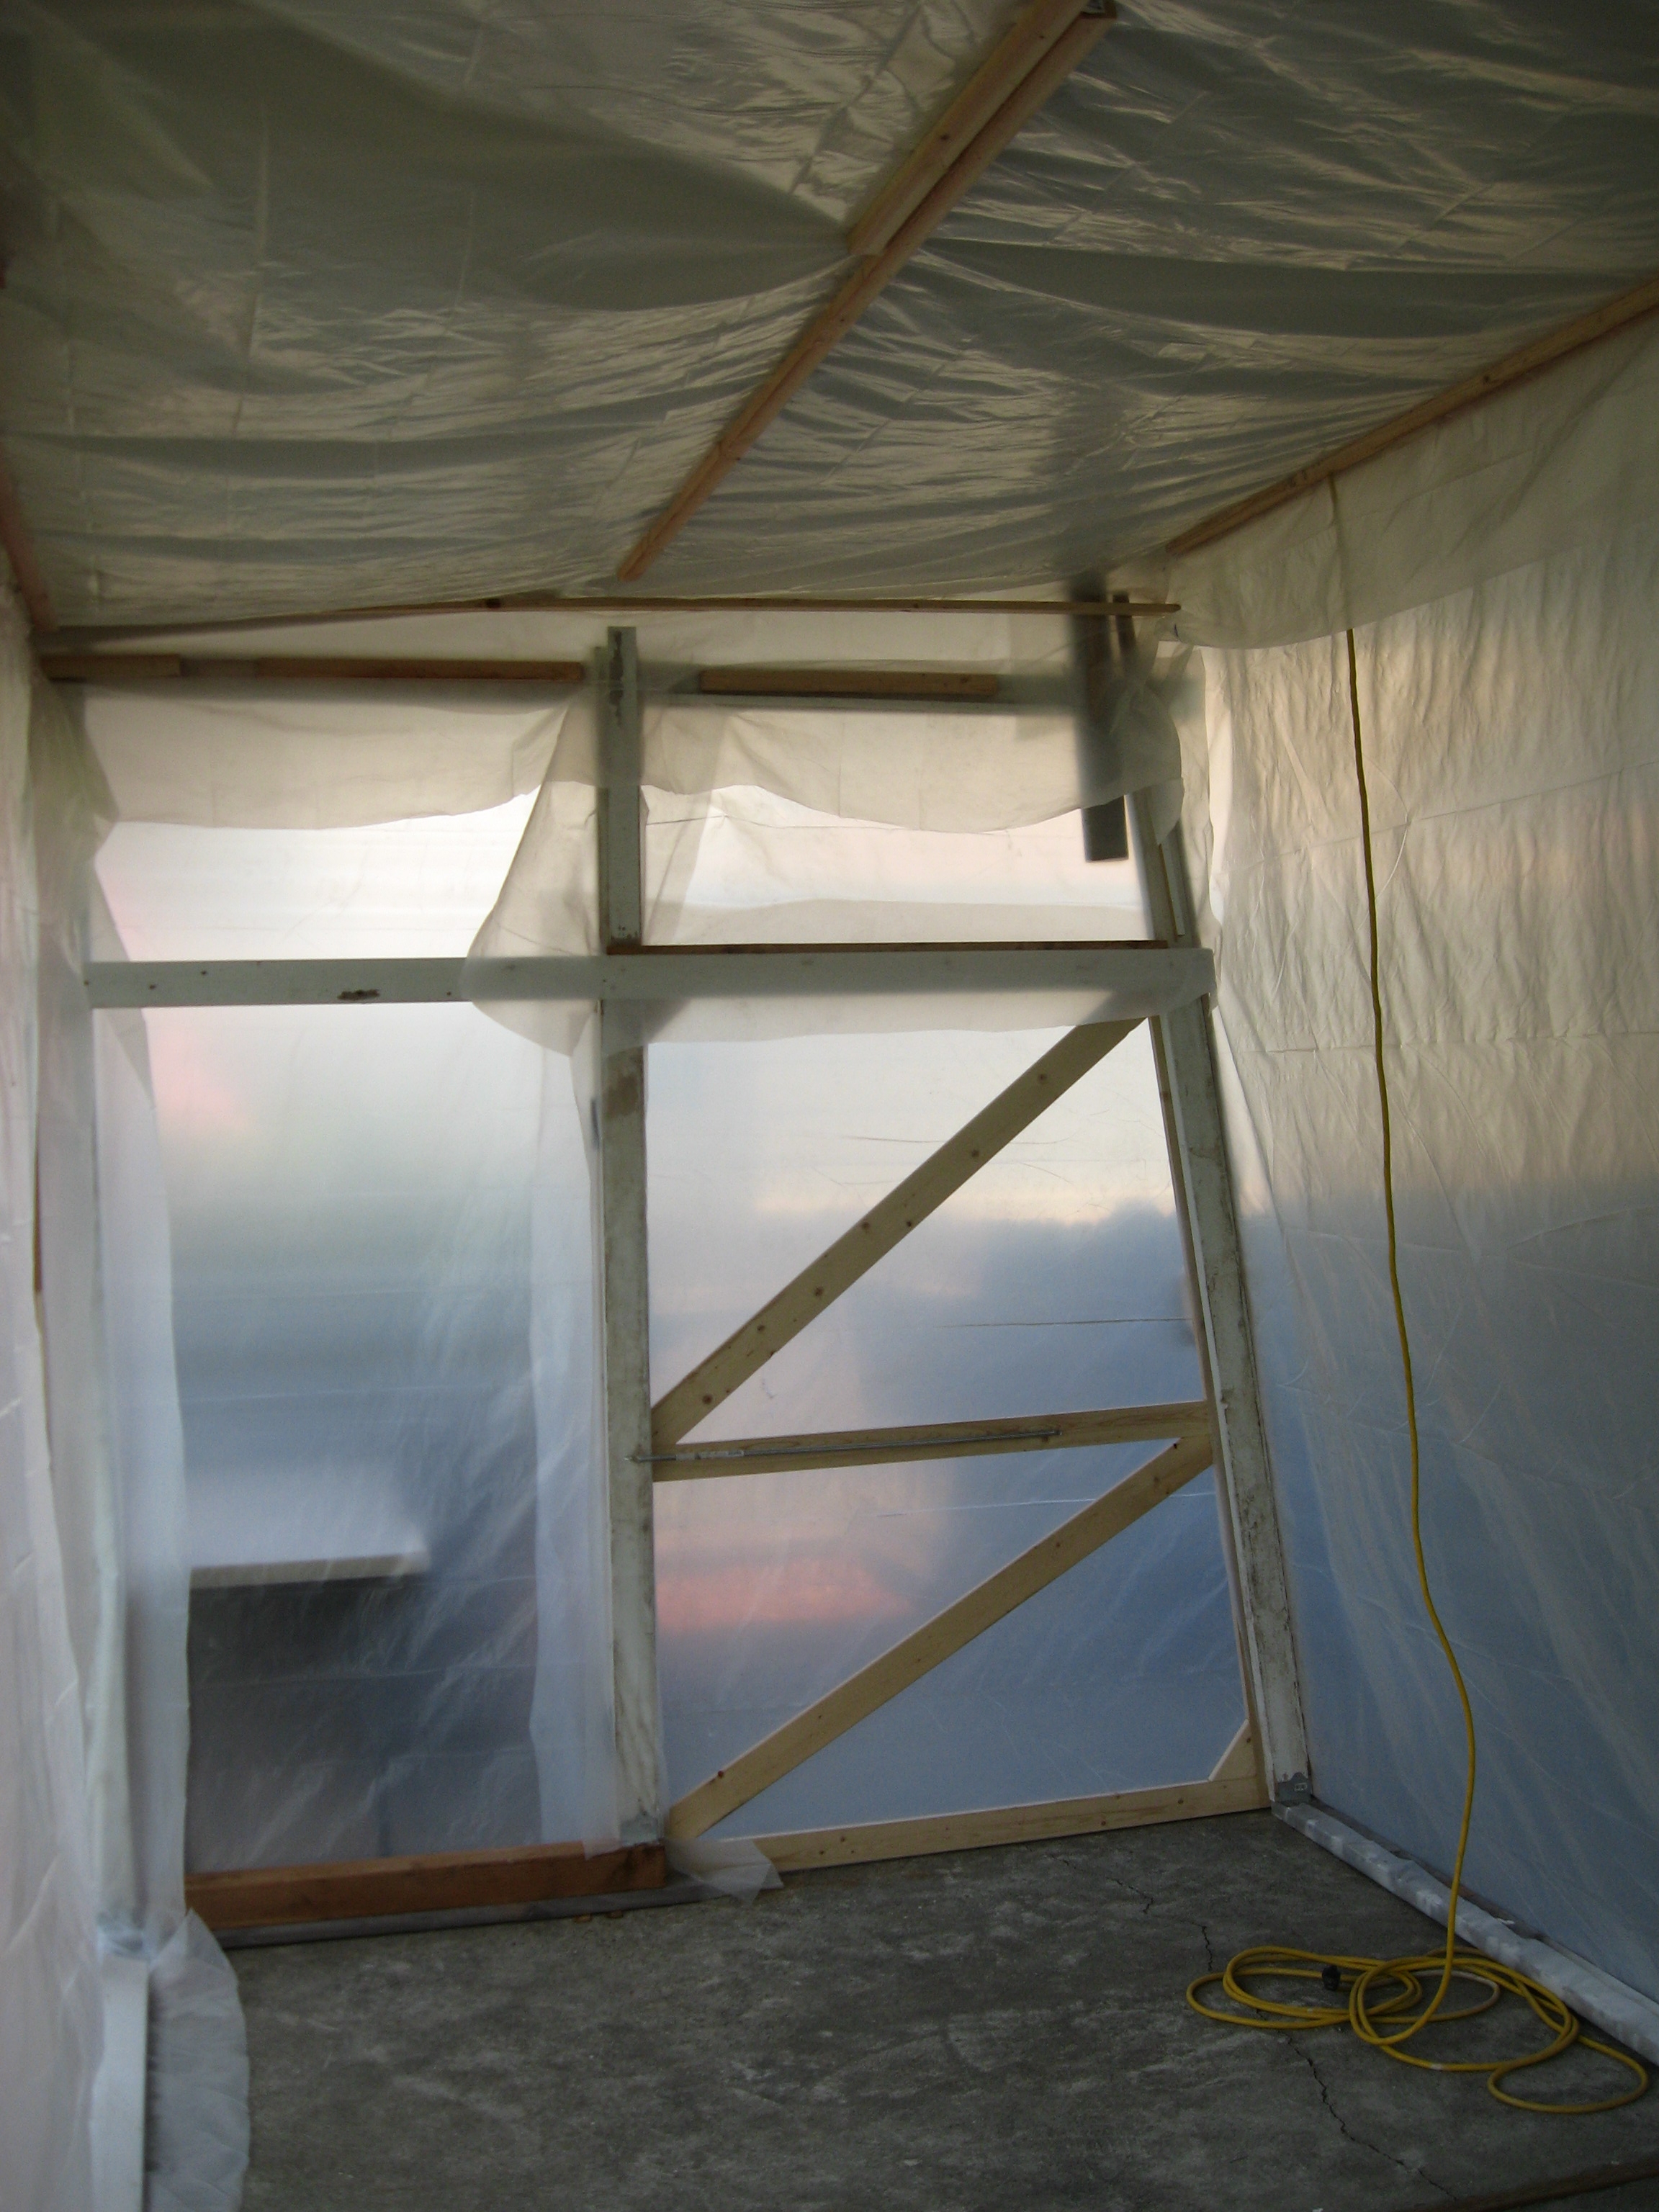
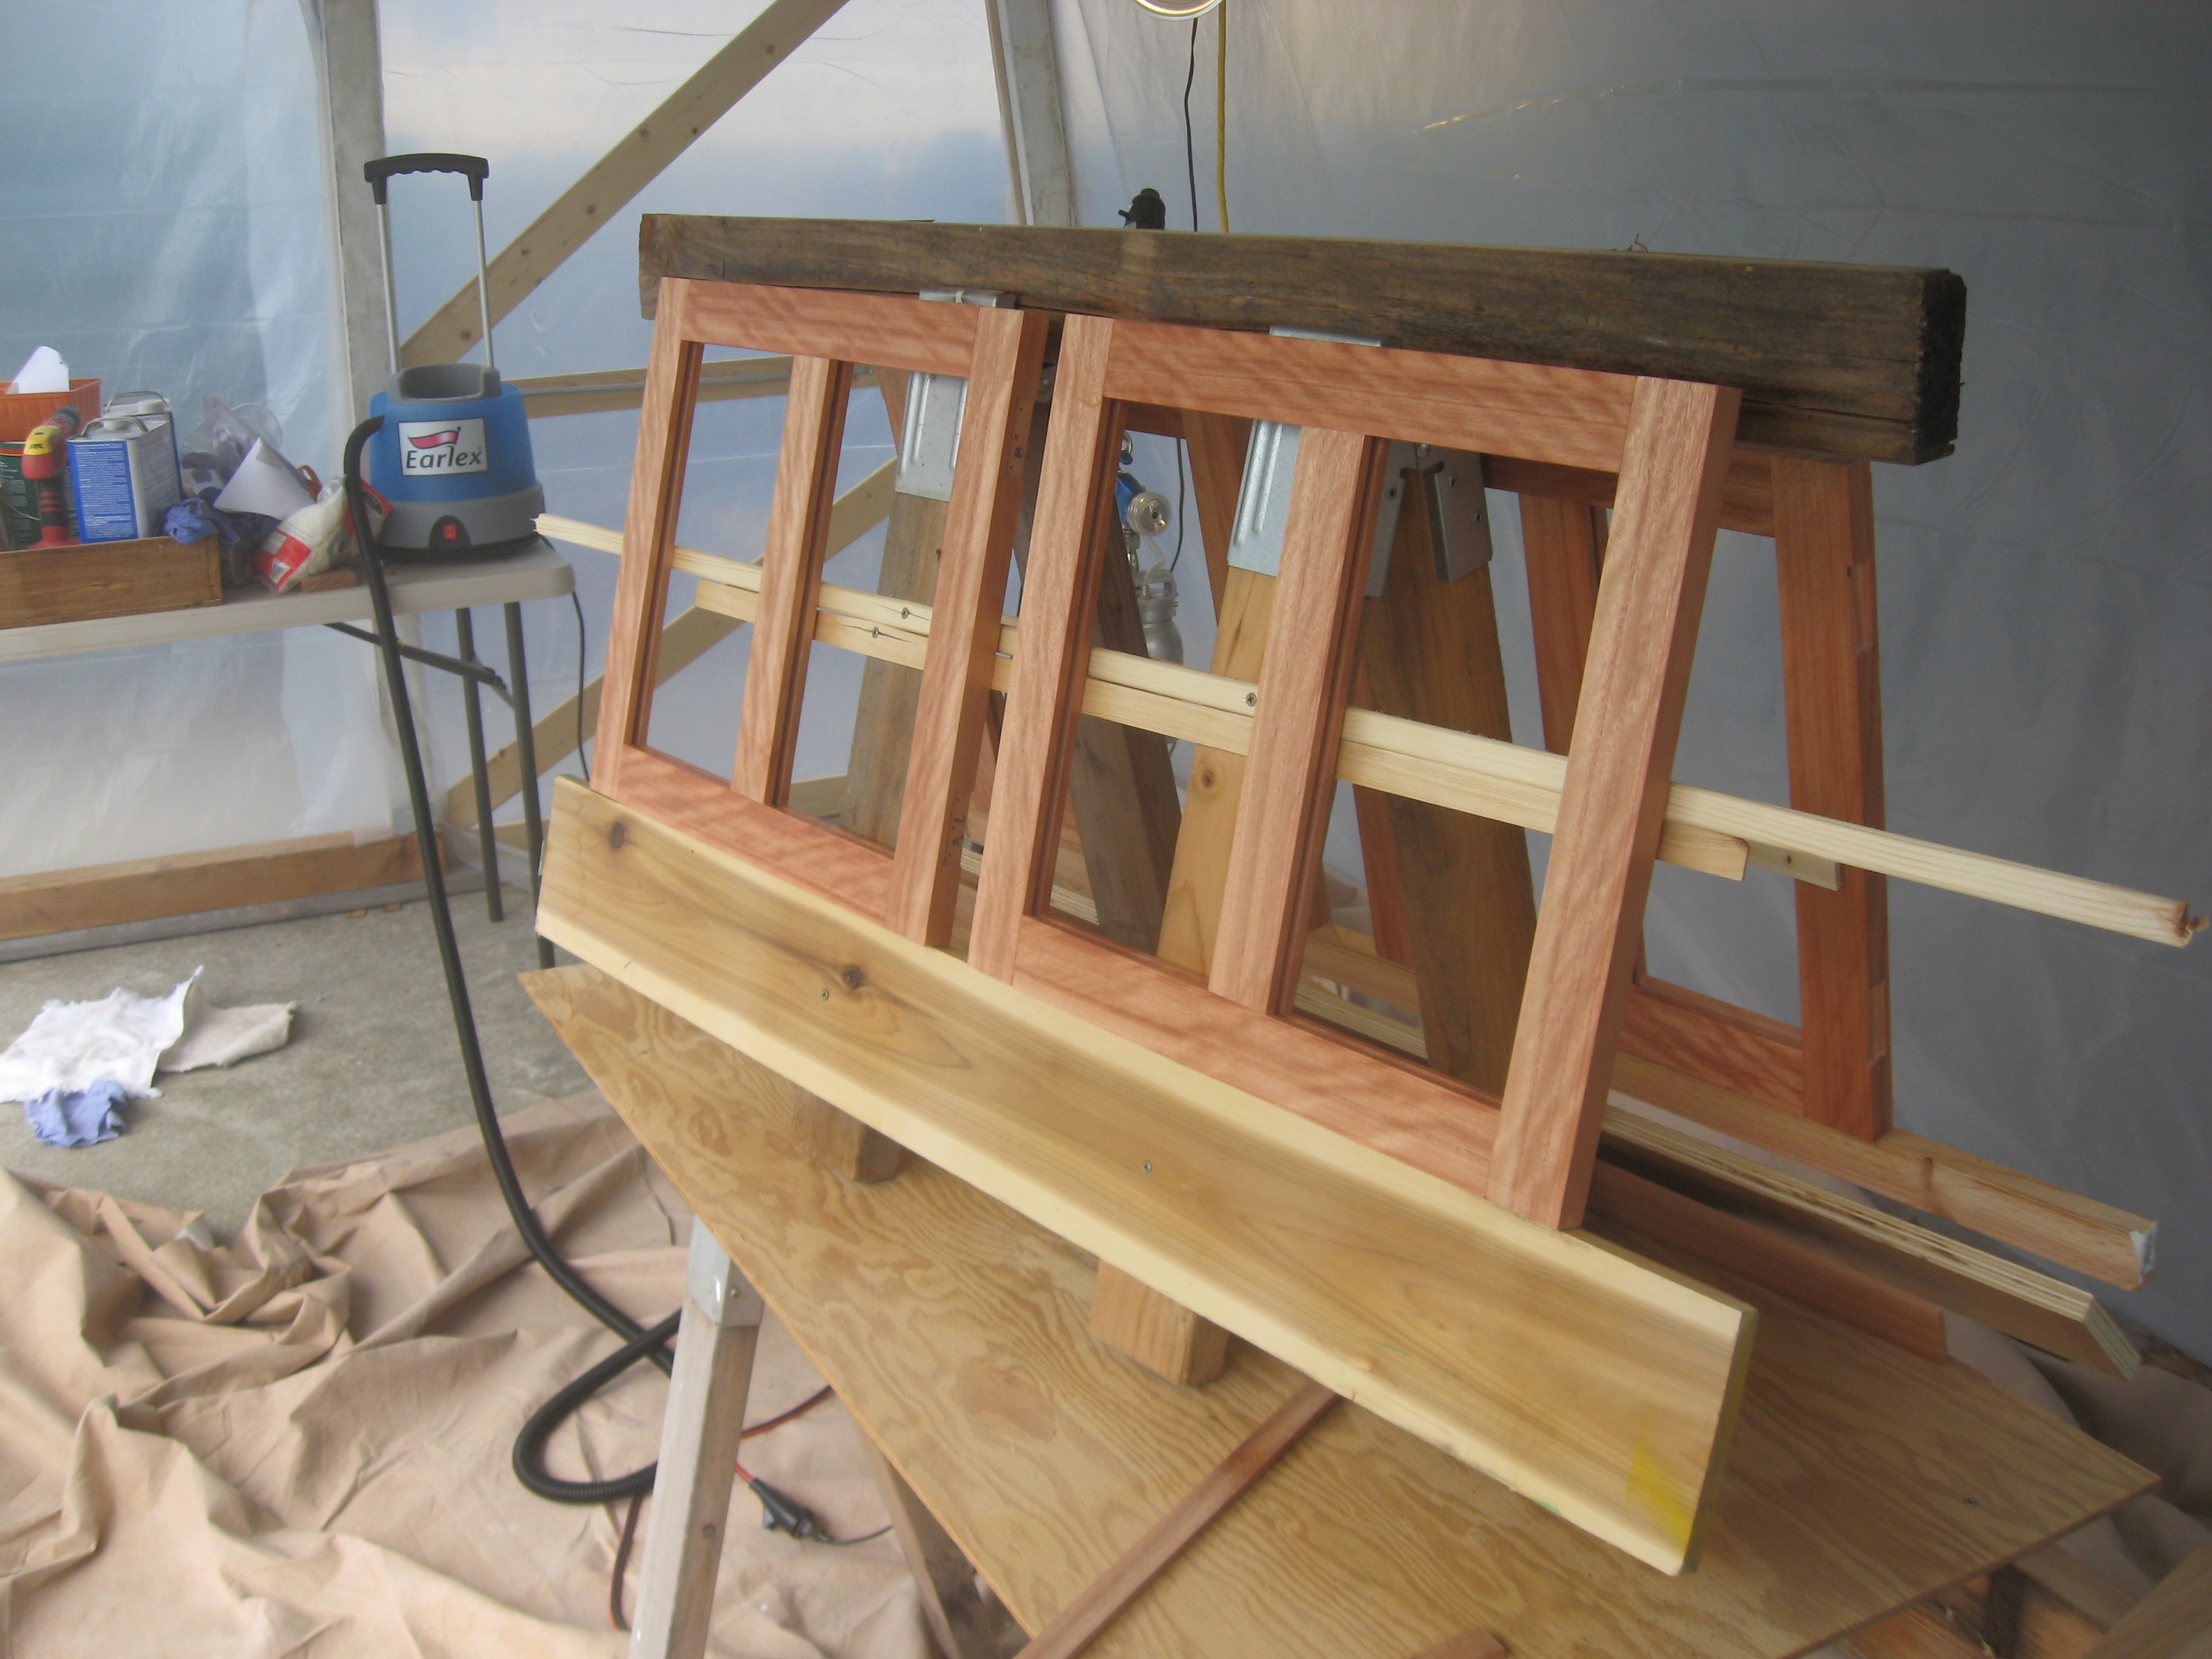
I will be finishing the cabinets with oil based polyurethane. Due to the odor and the VOCs I need to do this outside. Because of the wet time, the bugs, pollen dirt and other outdoor stuff will ruin the quality of the finish. A large work shop would be better but I don't have one yet. So, I am building a room under the porch to do this work in. This space is 8' X 16'. It required about $130 for the all the plastic, furring strips, hinges, and the wood for the door. The other lumber is leftover from other projects and for the most part is salvageable when this room is torn down.
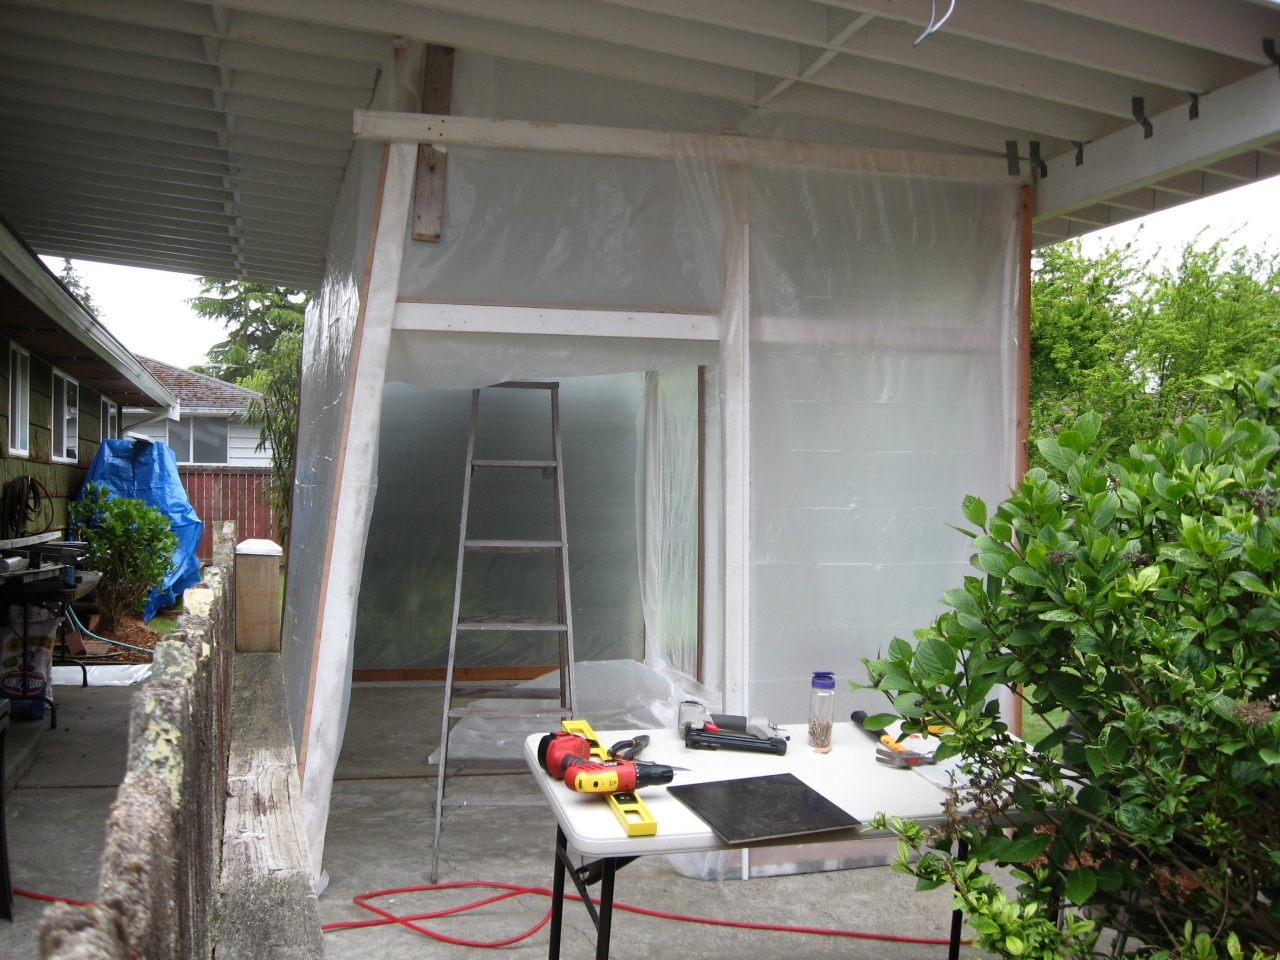
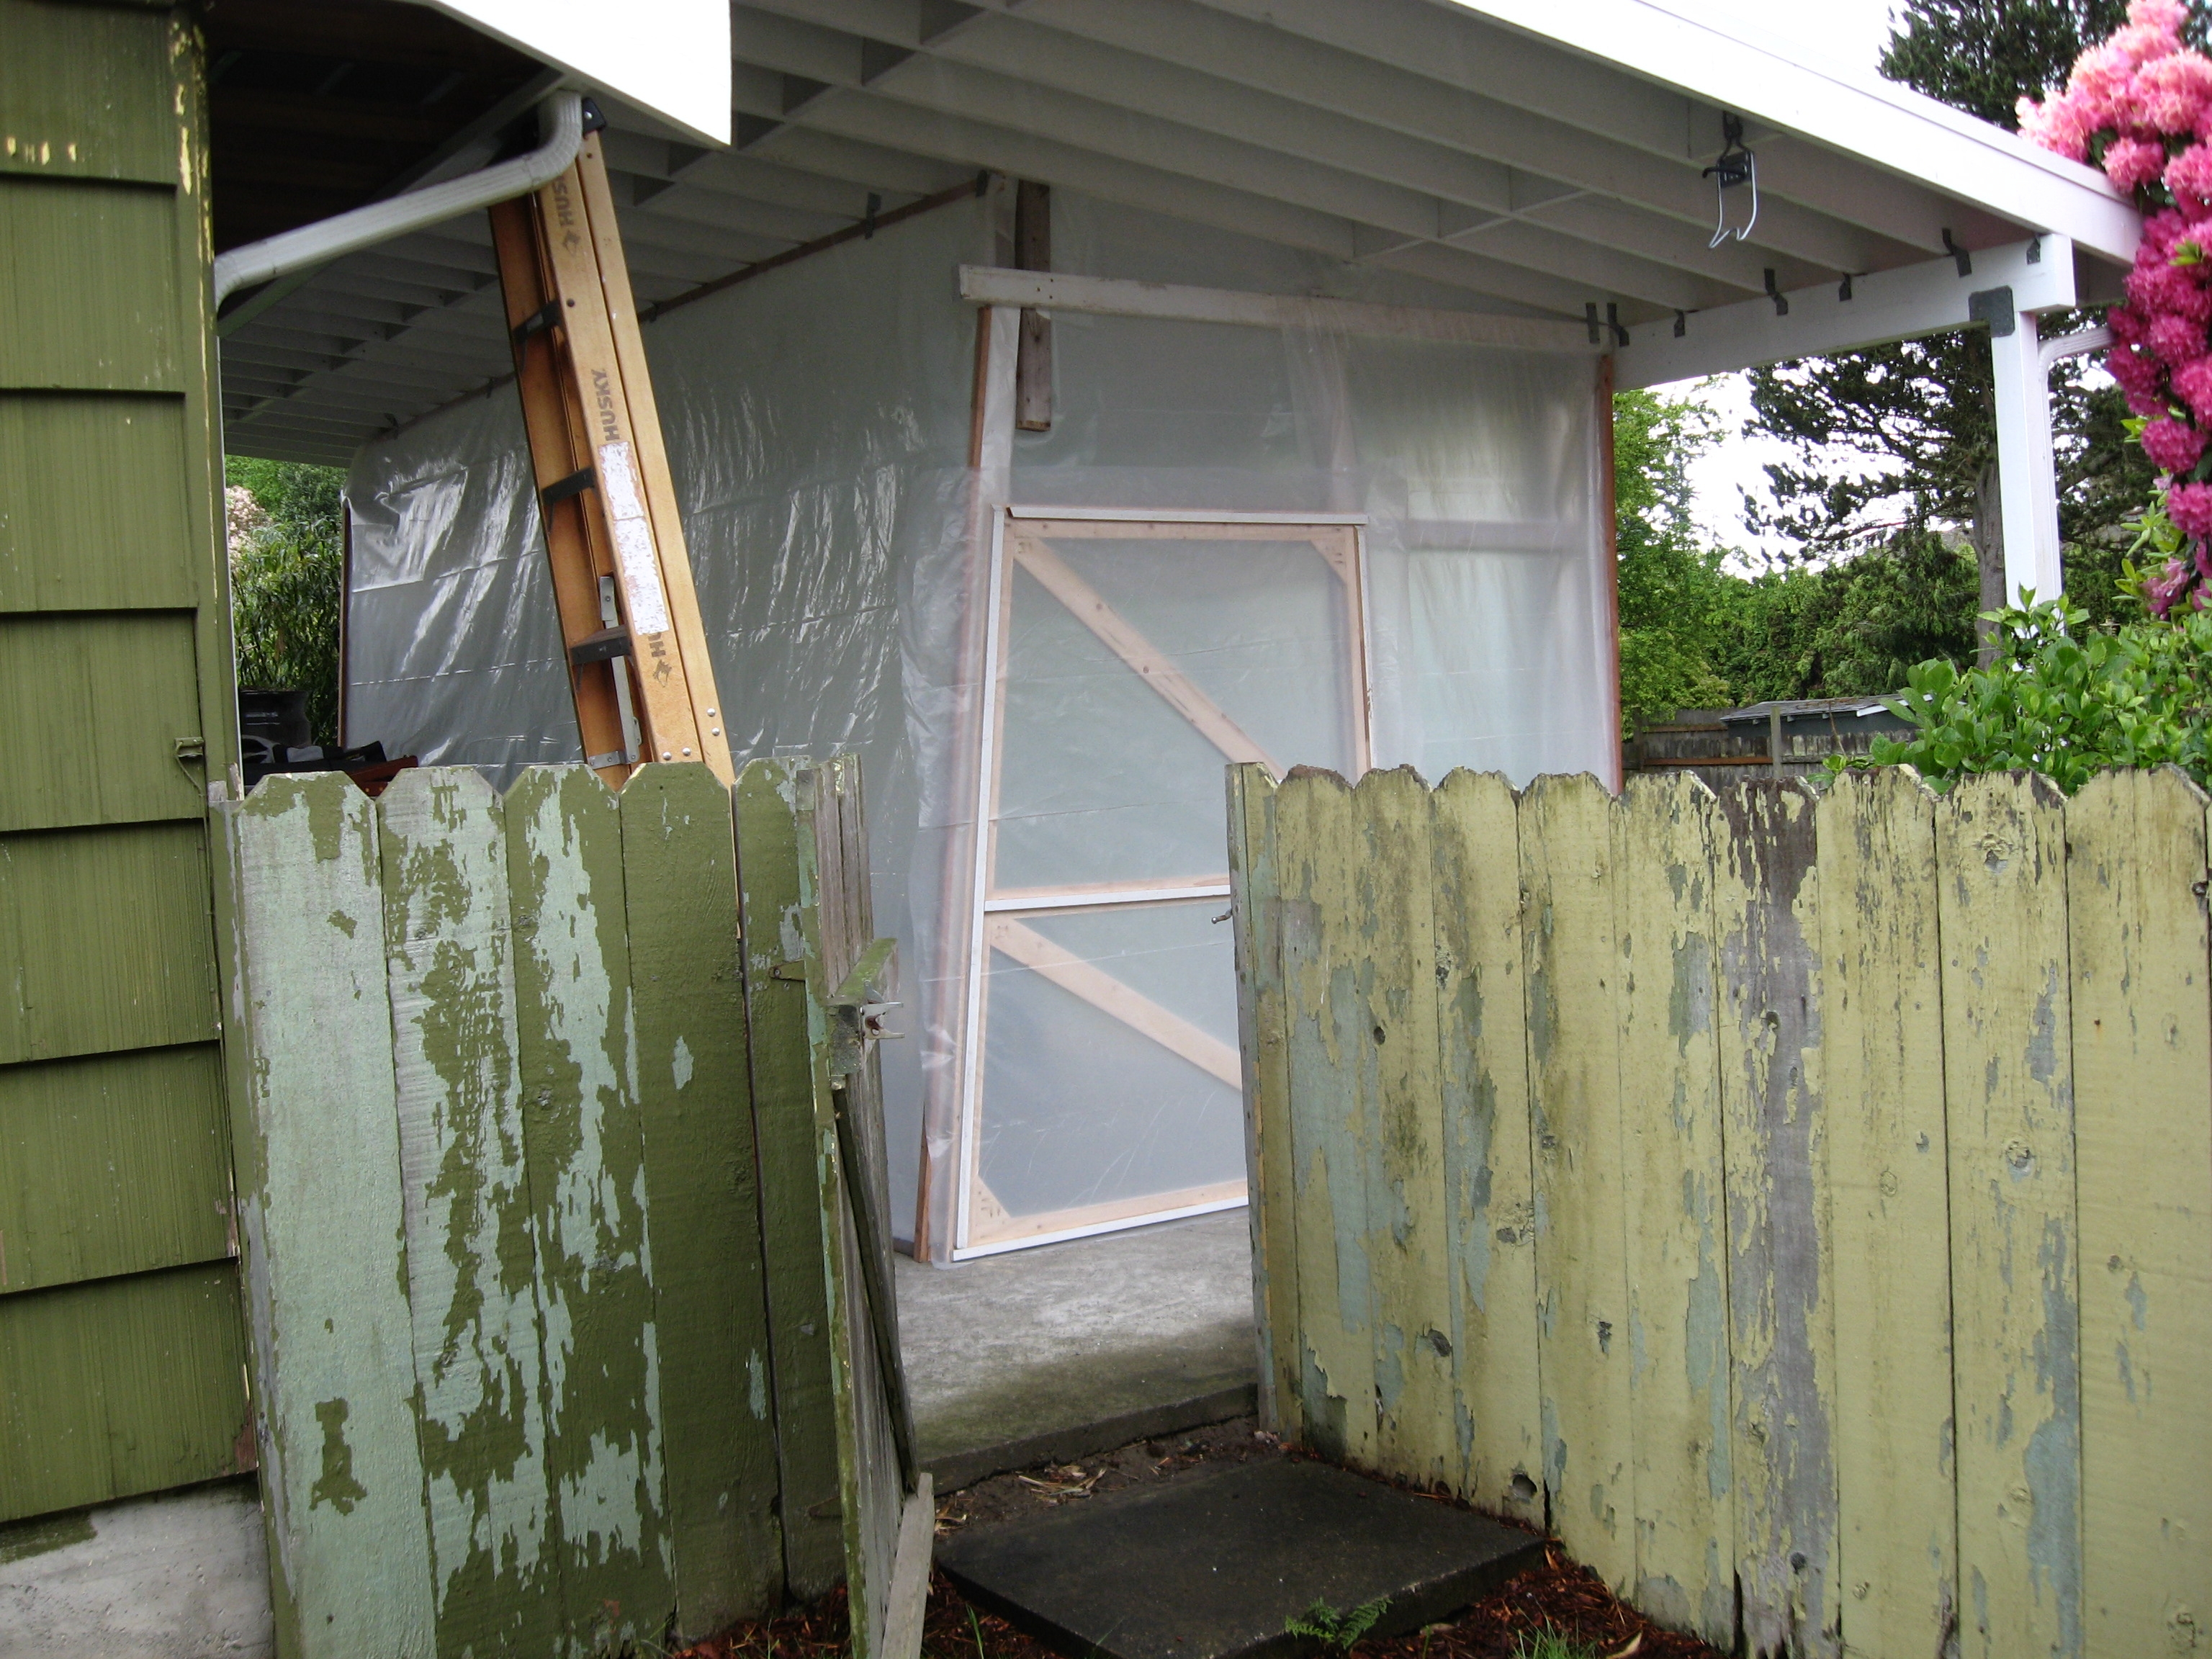
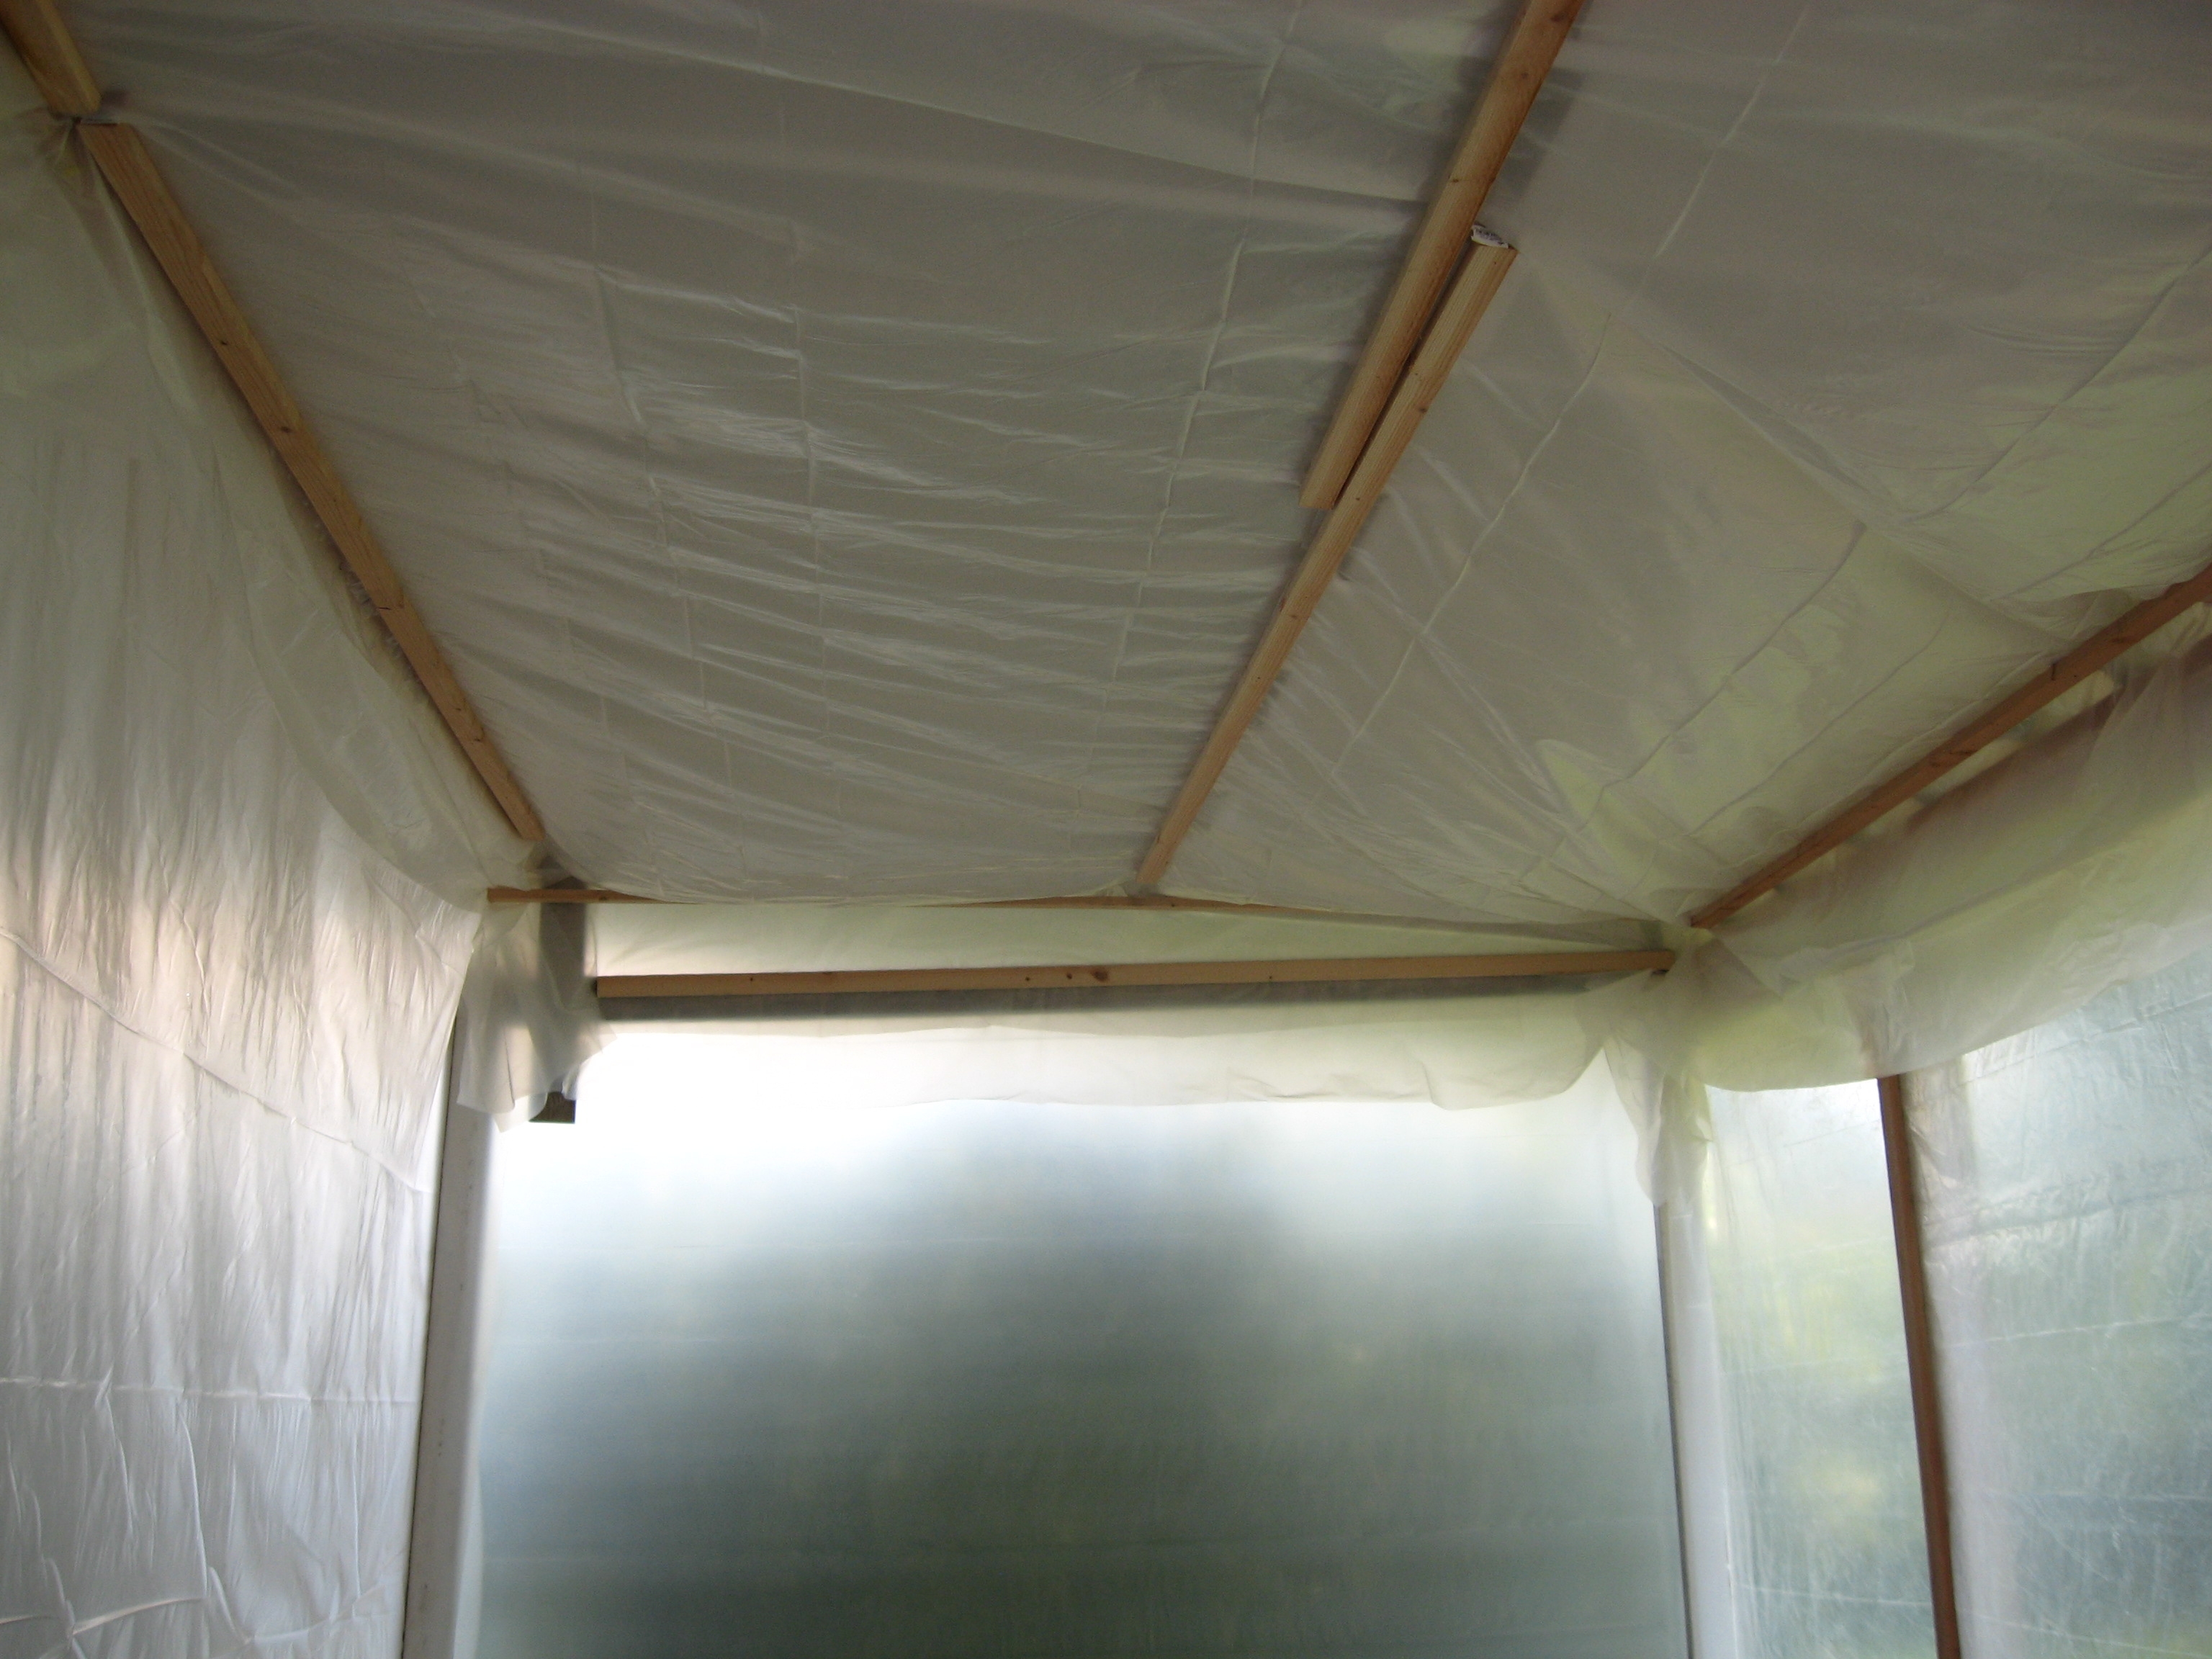
First went up the walls. Then I constructed and installed the door. I then put up the ceiling. While it is not air tight (not intended to be) it will keep all the particle pollution off the wet poly. I brought the LP burner into the room and with a very low flame it raised the temp from 50 F to 60 F. I might need to do this overnight sometimes as this has been a very cool spring.
:
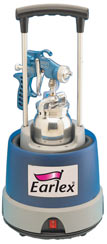
Having never sprayed using a HVLP sprayer or the Earlex before, I had to experiment and follow good controlled processes. To read the Material Safety Data Sheet (MSDS) for the Denatured Alcohol click here.
The viscosity test for Bulls Eye SealCoat Universal Sanding Sealer resulted in 13 seconds for the cup to empty. The test was performed twice with the same results. The Earlex gun manual says that the lowest ideal limit for the default gun setup is 25 seconds for the viscosity test. So out of the box I replaced the 2 mm needle with a 1 mm needle. The 1 mm needle is the smallest available. At $45 each I chose this rather than the 1.5mm. Inspecting the needles I purchased and the one in the gun I find that all the needles are marked on the thick part of the shaft except the 2.00 mm (.008") that comes in the gun. This is good to know.
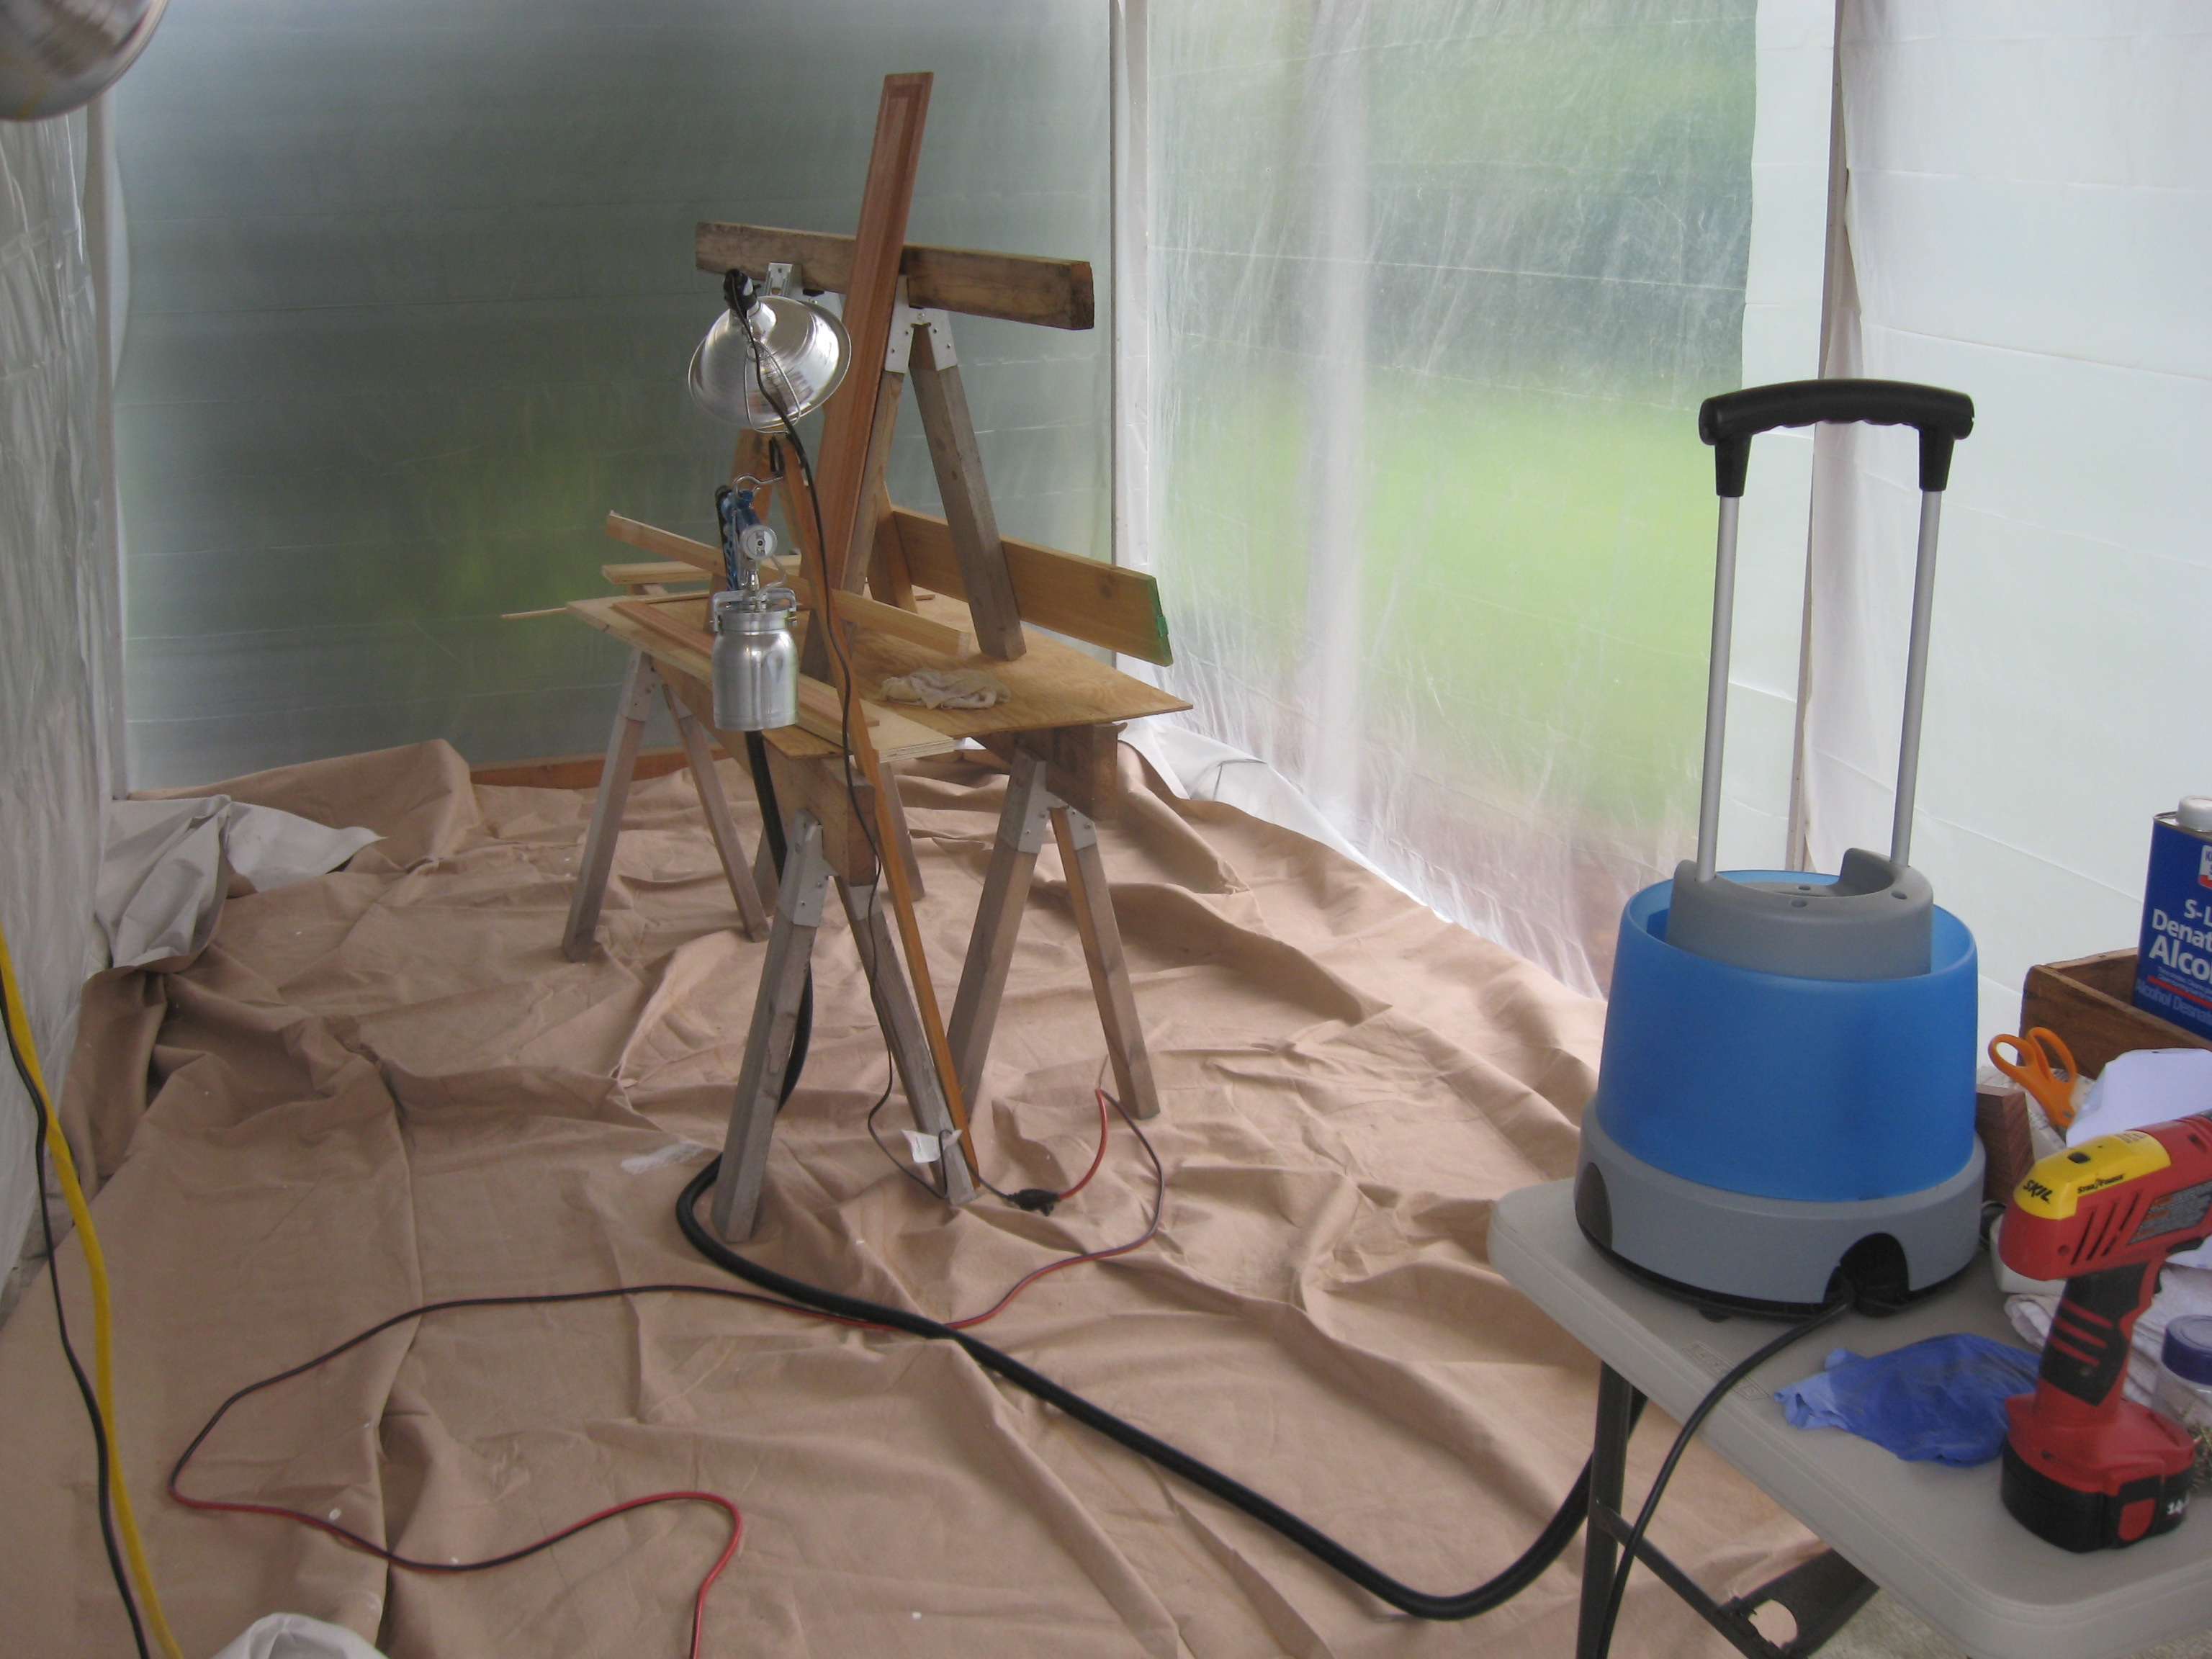
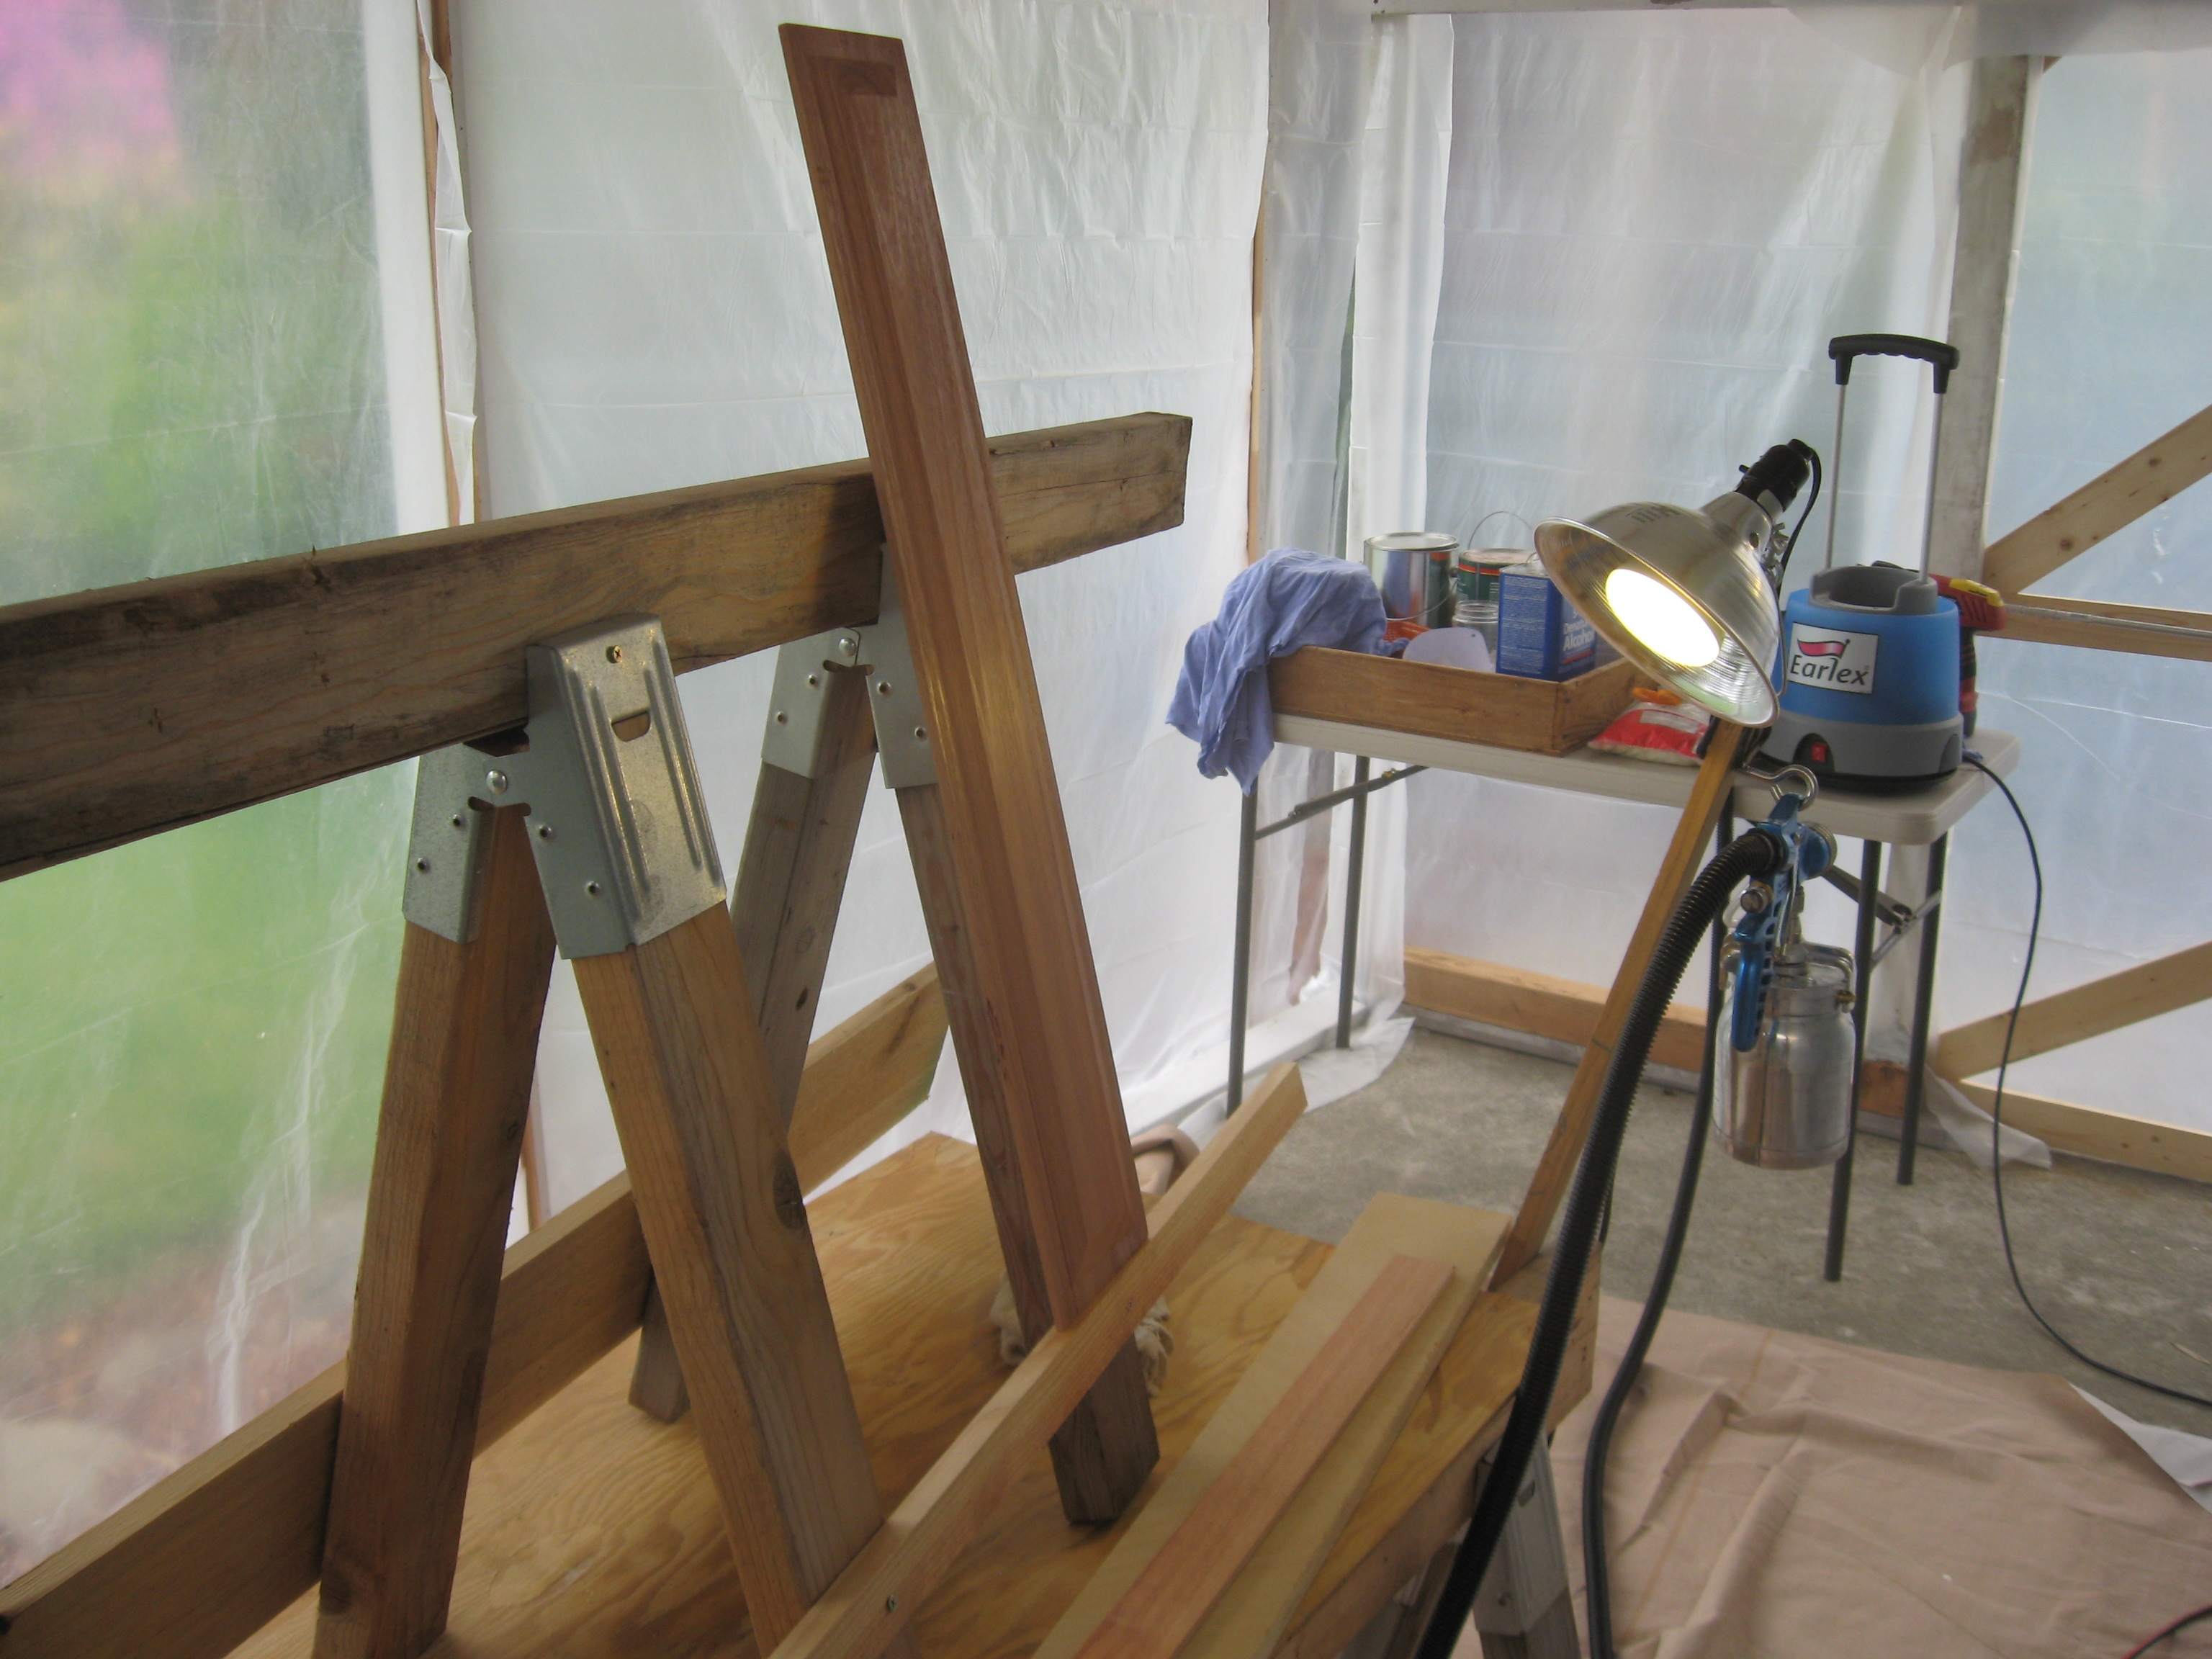
This is my initial setup. You must arrange some sort of hook for the gun. The cup is aluminum and if it is dropped it damages easily. The Teflon inside will flake off. I now need a new cup. D'oh! Two cups are worthwhile as a 2nd cup filled with the appropriate thinner is good to have around to pre-clean the gun with. To get it right I played with the gun's settings, the distance between the gun and the items to be painted, the orientation of the operation, and even ended up having to thin the sealer by about 2% or so. I used nearly a quart testing and adjusting before I attempted to spray the sealer on the door panels. I'm spraying four to eight pieces at a time. It doesn't take much time and then I'm out of there. This spray system is working great. At first I was worried, as it would start and stop spraying when I had the trigger on. I was getting a splatter pattern and I need fine work. But just by playing with it all this went away.
One day I thinned the Bulls Eye about 6% I got some dripping, not good. Next time I'll try 4% and see what happens. When I use a rag to apply this material I get good results when I thin to 10% applying it to a horizontal face. The 6% is too thin for spraying in the vertical face position. Also the hose got a small puncture in it. I had stepped on it. I used 3M 88 Tape for the repair. First two times I use this sprayer its flimsiness shows through. The Earlex is working well, its just fragile. Not a good mix for me. Don't step on the hose and don't drop the gun & cup. So now I have an extra hose and an extra cup.
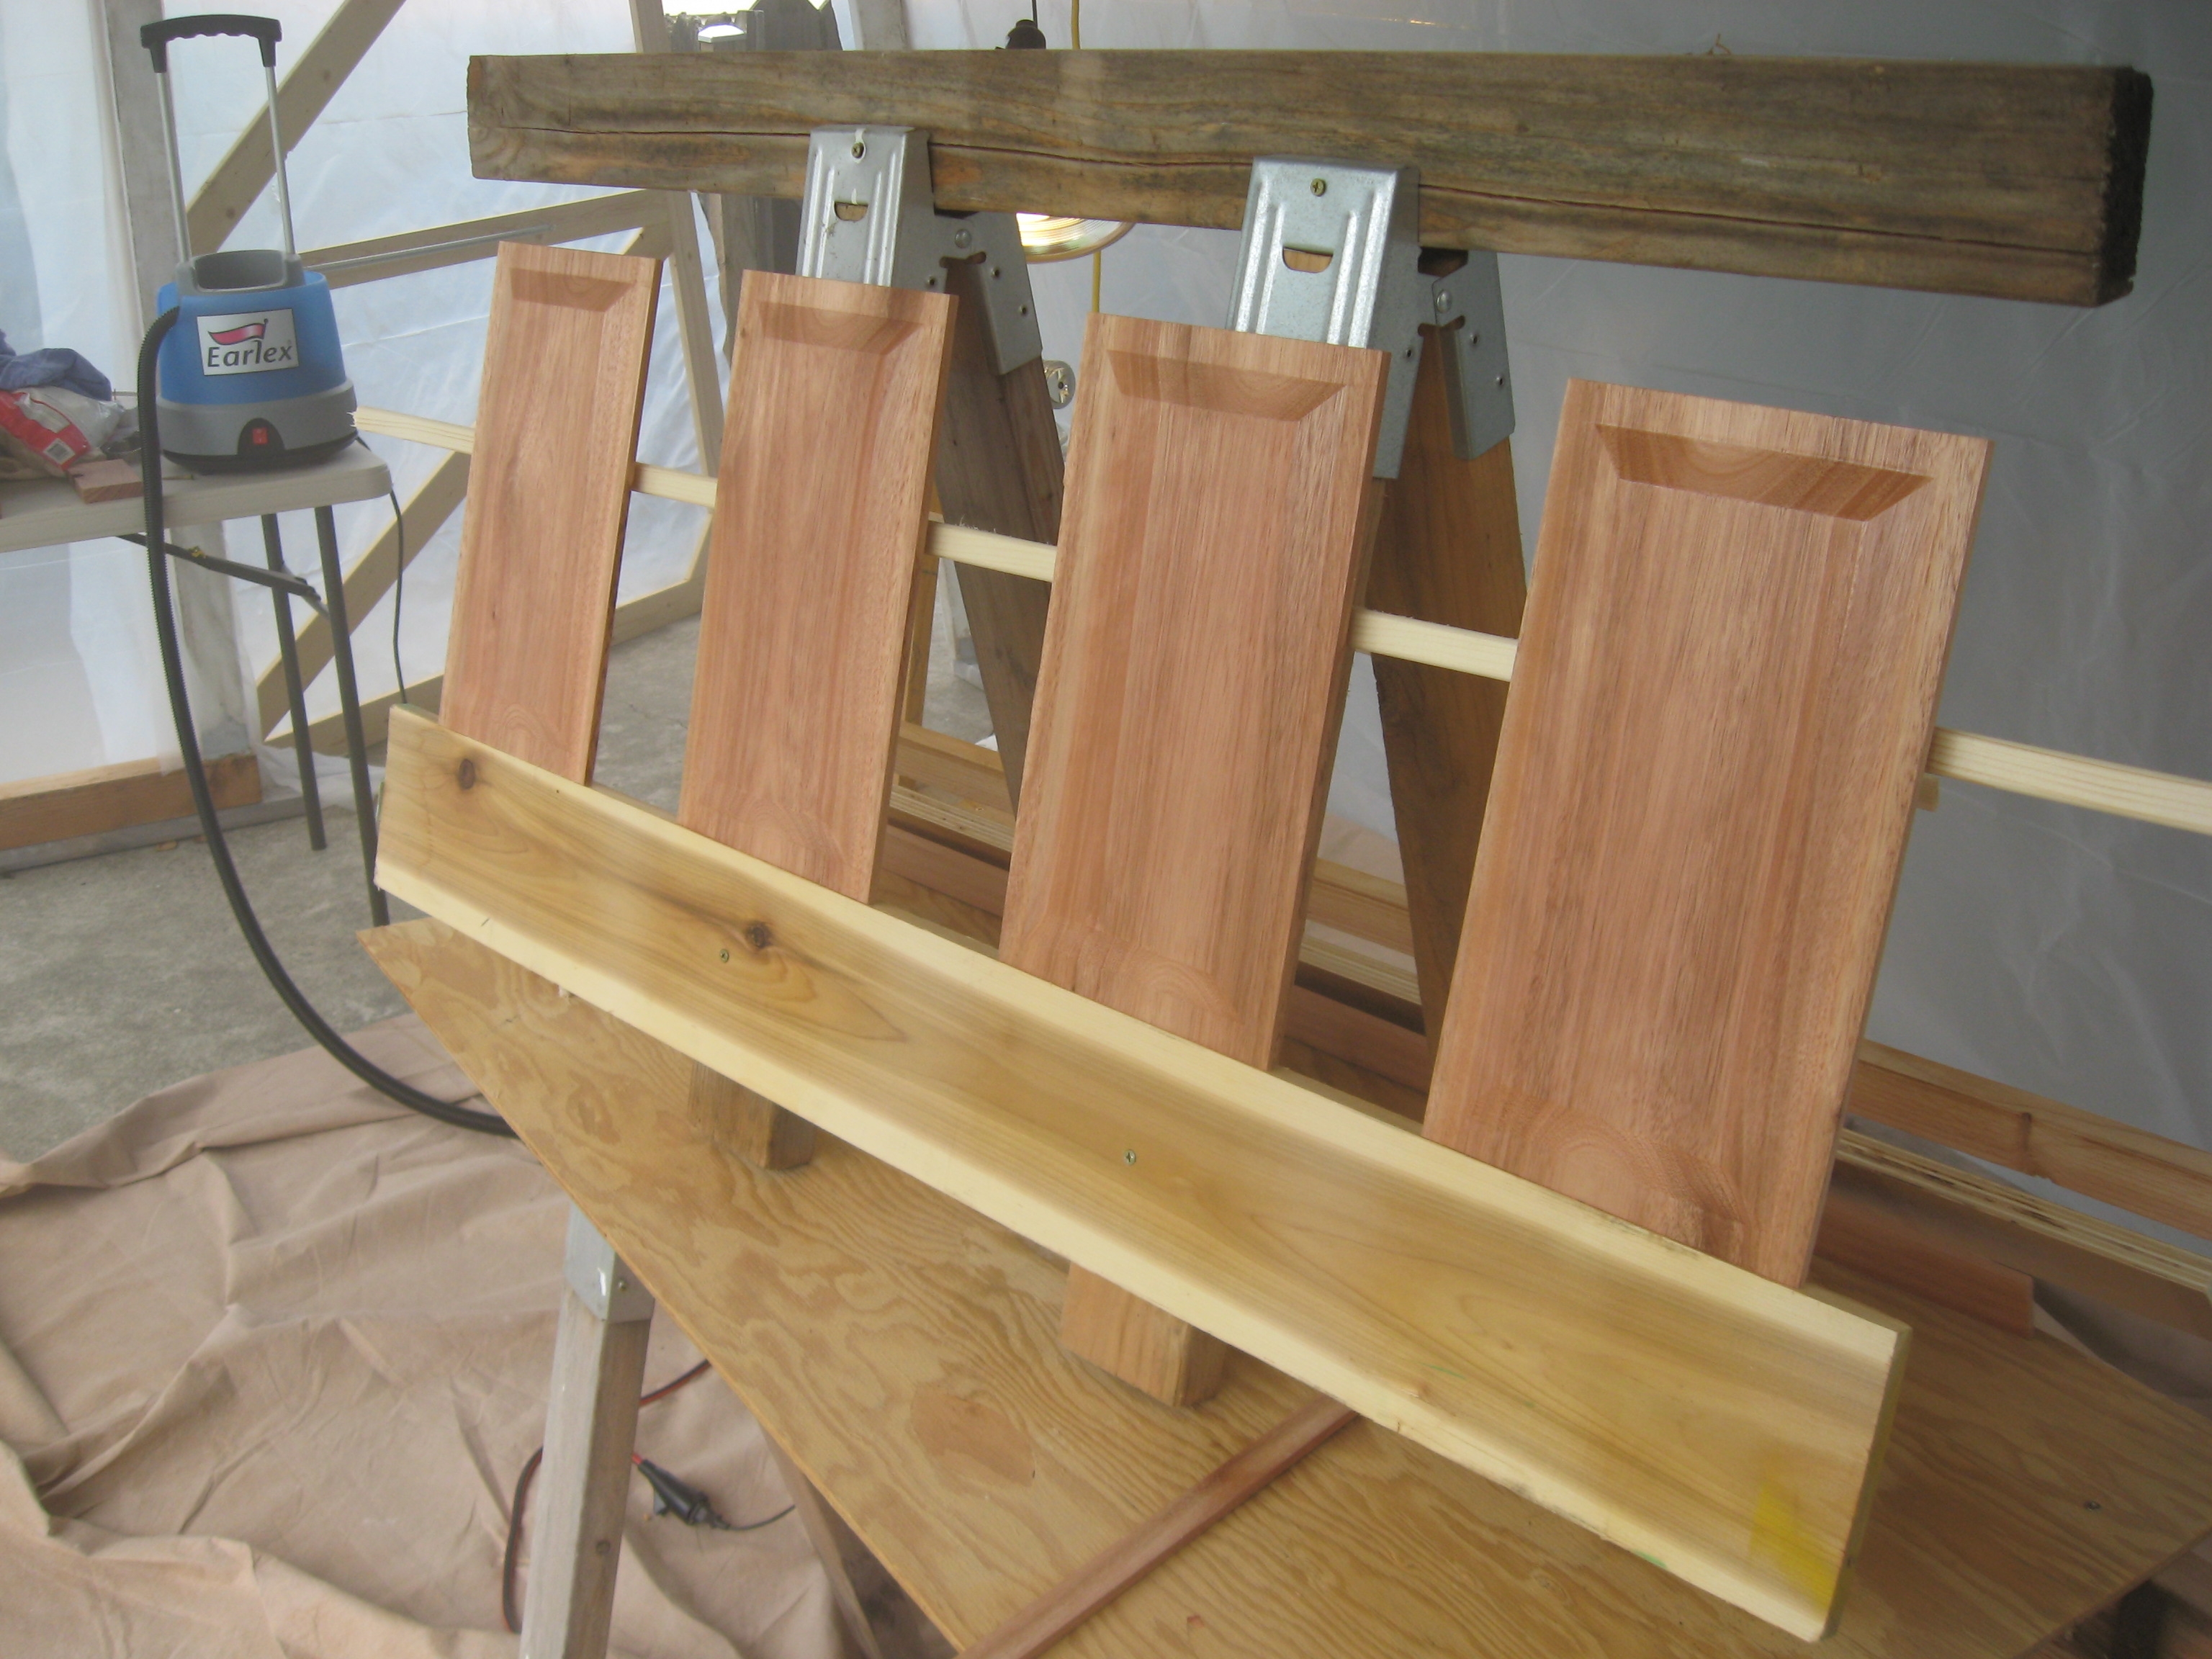
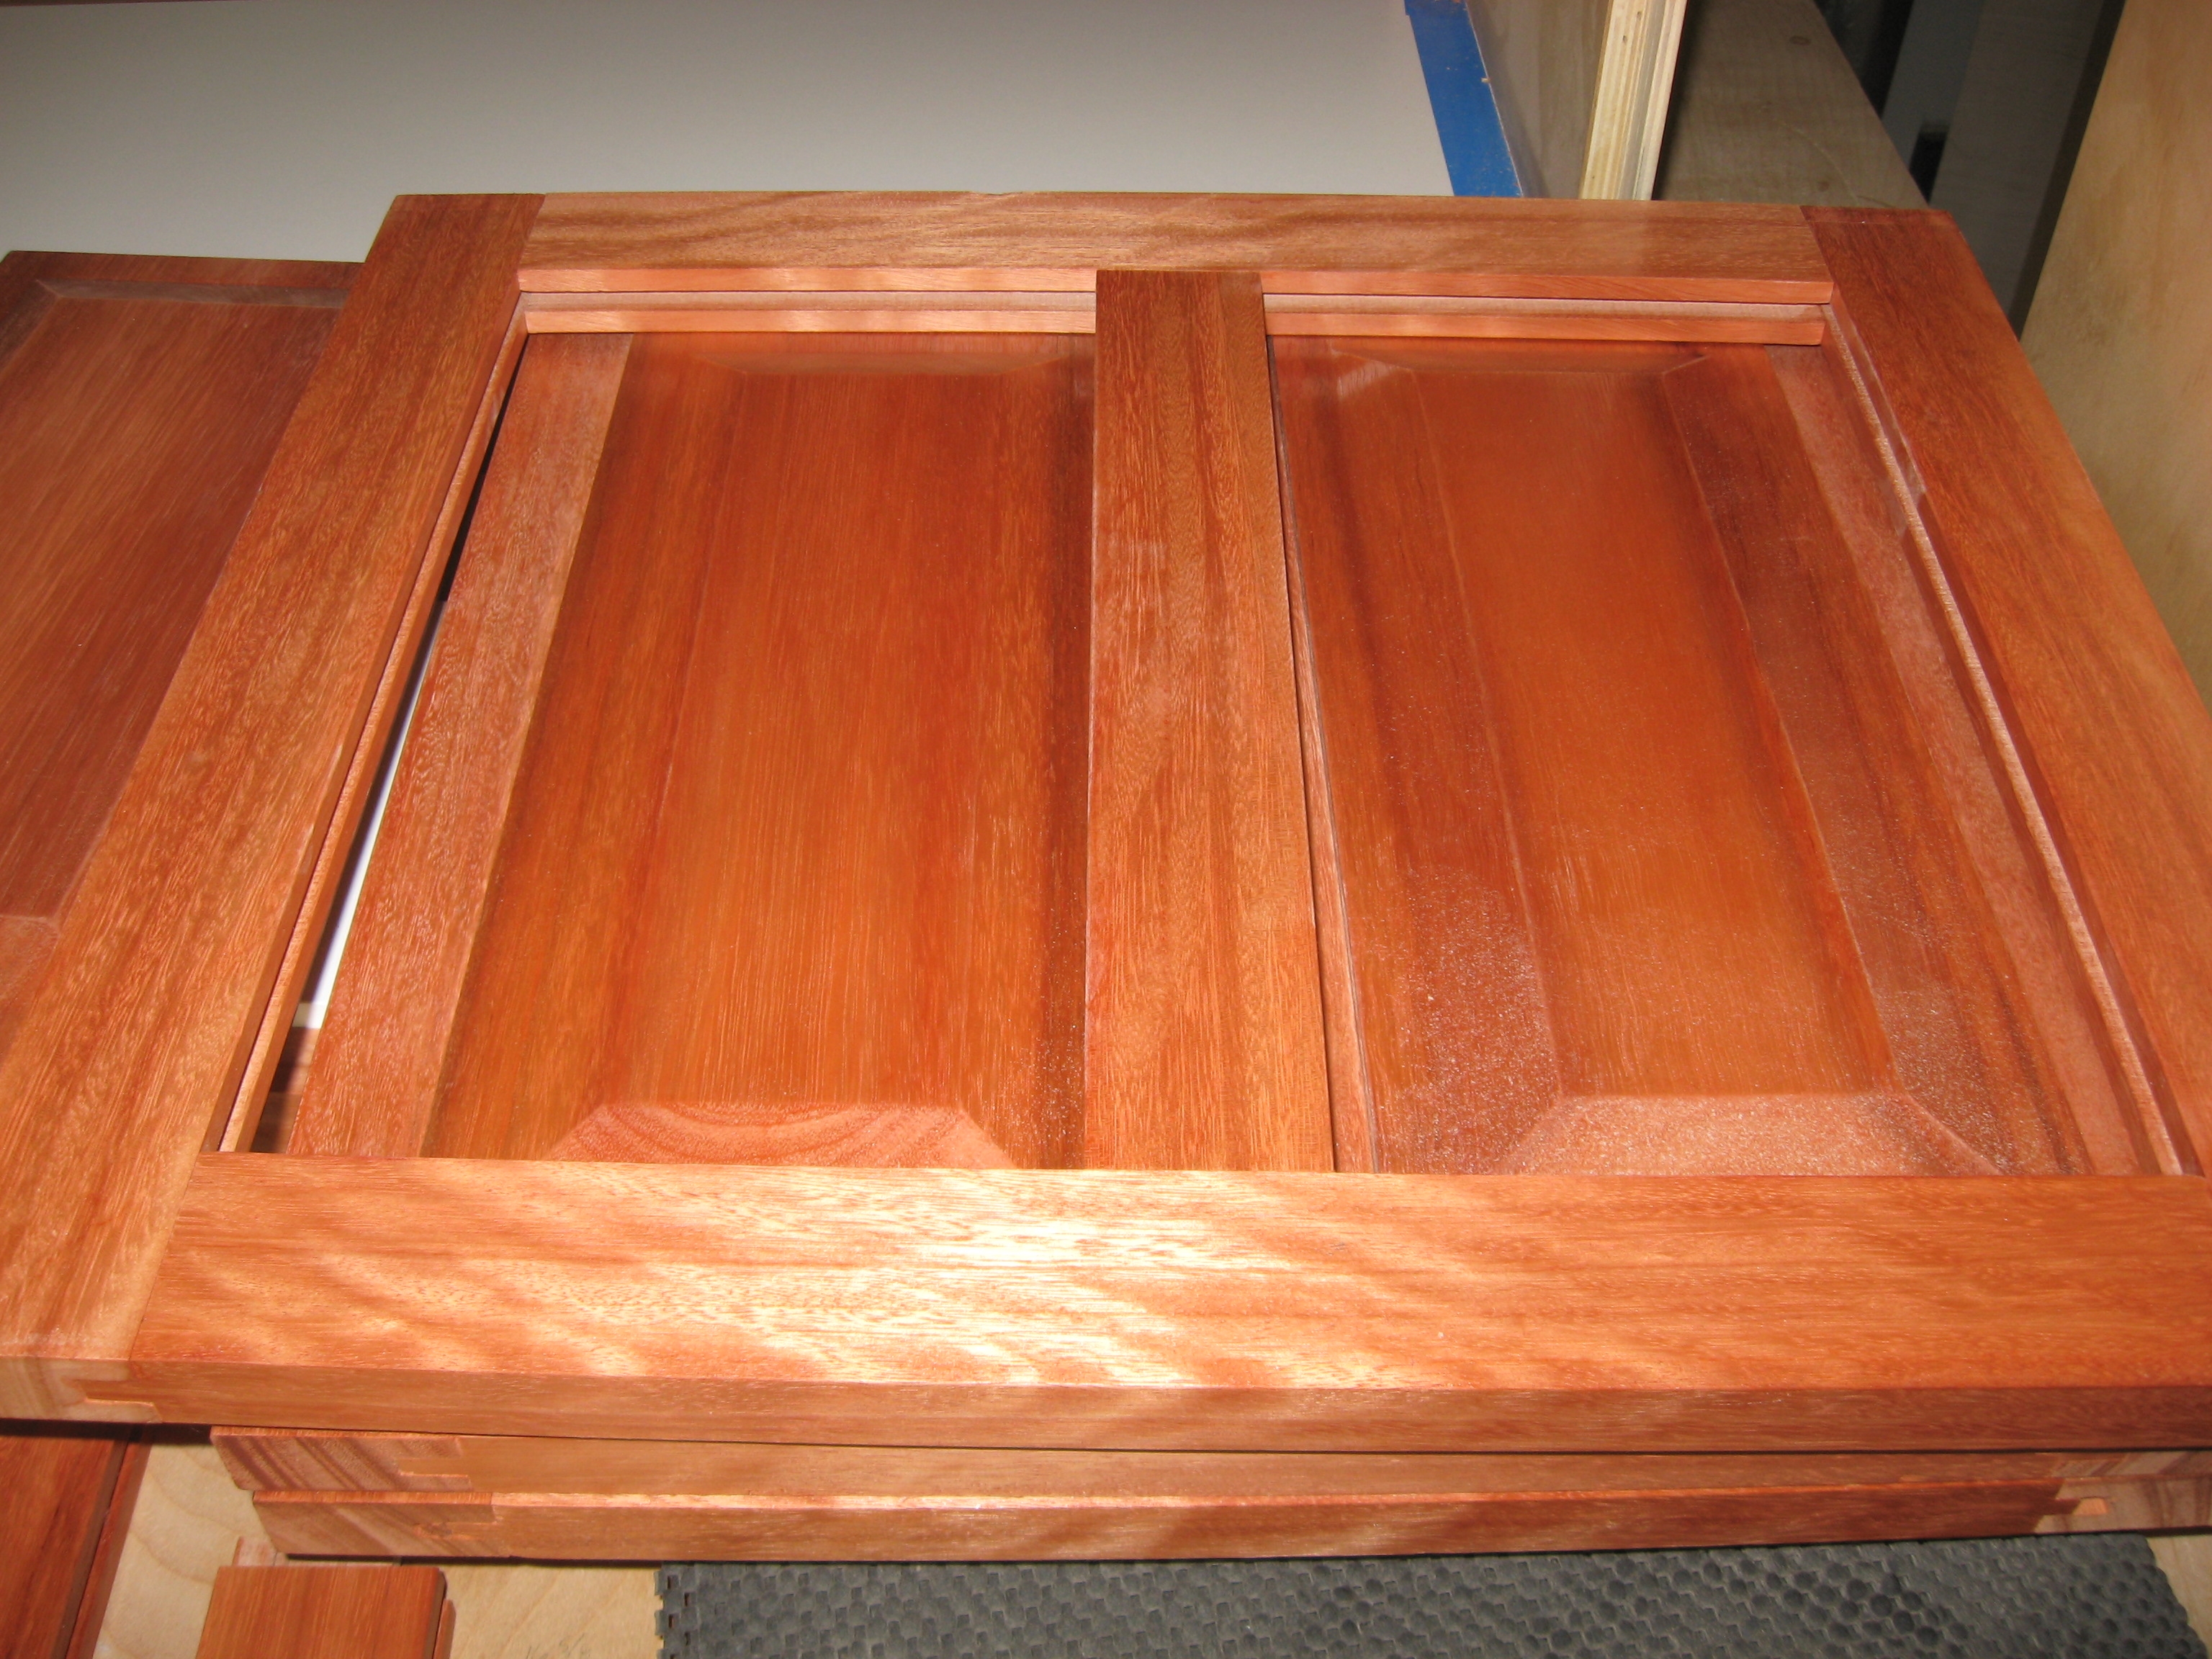
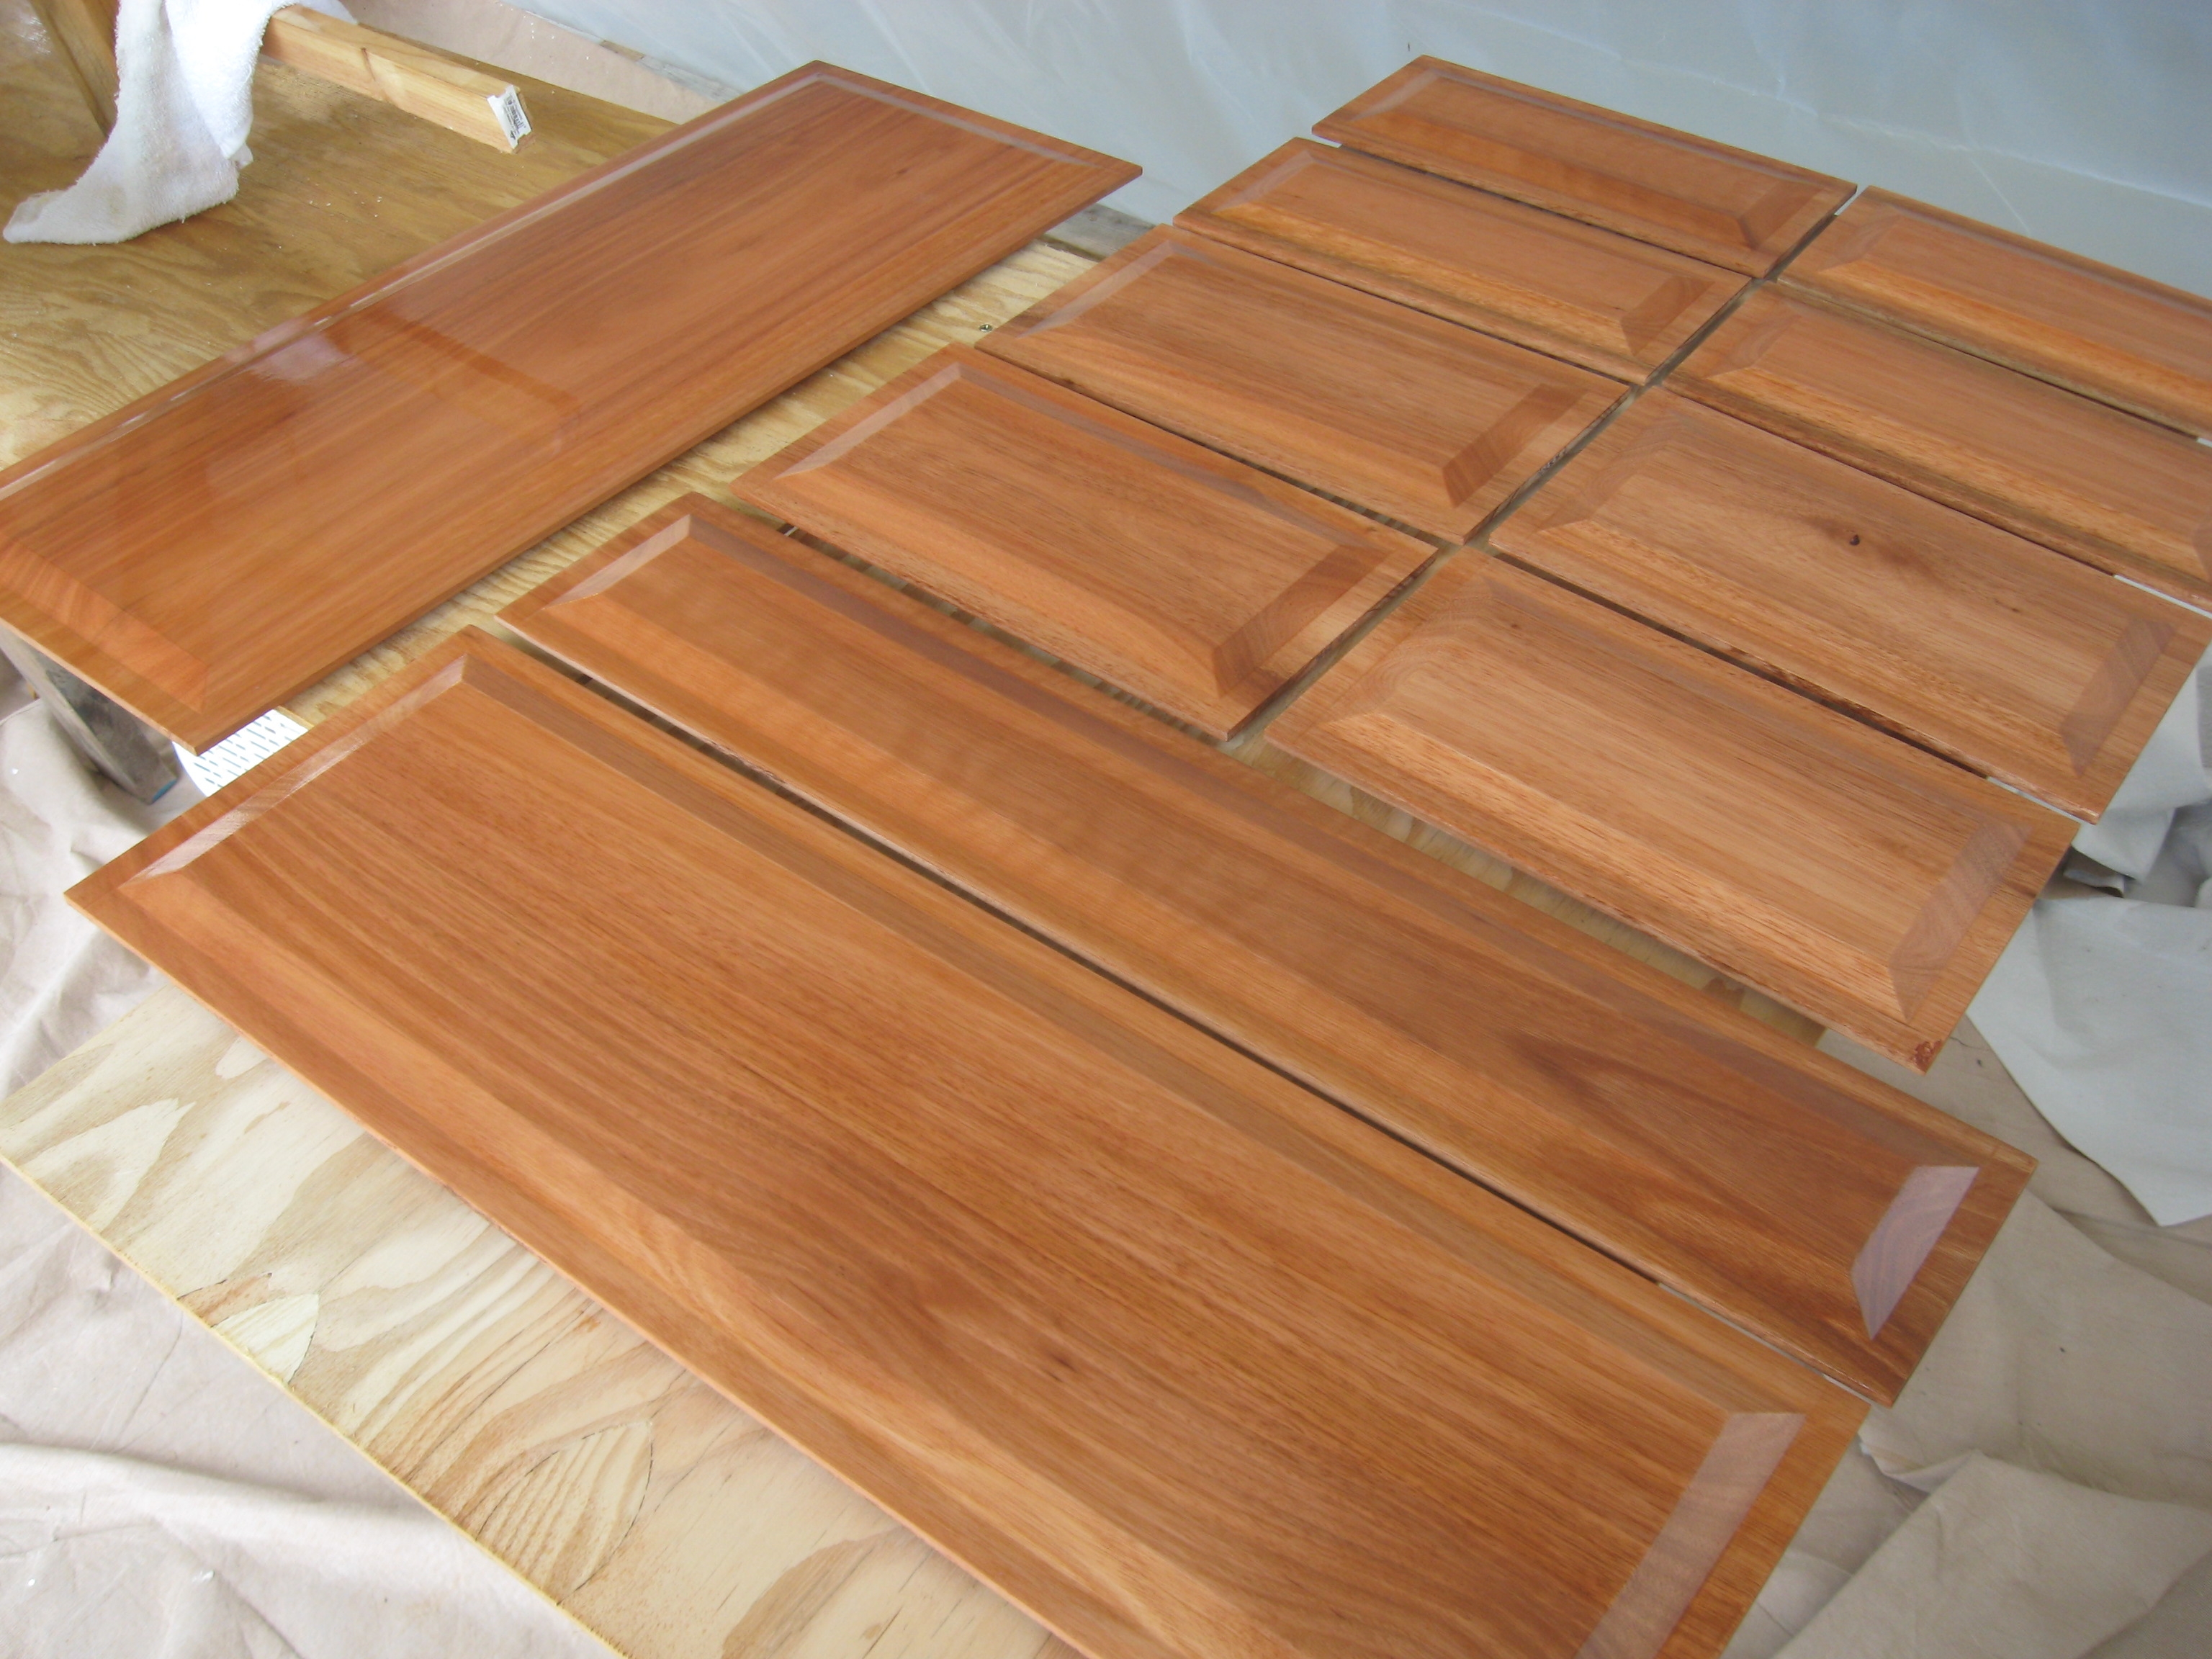
After applying two thin coats of the sanding sealer I sand the surfaces with 220 and 320 grit. I re-apply sealer if needed and re-sand. Sometimes I use a clean rag wet with alcohol and wipe the entire area. This re-dissolves the sealer and spreads is out into a more even layer. I am using a coloring solution made by putting bloodwood sawdust into alcohol, mixing it, and then filtering out the sawdust. The resulting solution is the color of a dark red wine. I apply it with a rag by wiping it onto the surface. The alcohol re-dissolves the sealer and it binds into that layer. I'm using about two applications of this solution. It adds red to the lyptus. I like the result very much so far. I find that it enhances the color of the lyptus. I'm trying for subtle here and I'm getting some "pop" and I like it. I really have come to like working with shellac in this way. Blemishes can be fixed so easily. My question is will the polyurethane induce any negatives into the final product? The picture below is not a true color match. It has too much red in it. Like my picture on my home page, I'm blond not a redhead.
::
Urethane Application
After applying the sanding sealer and color, all the surfaces are scuff sanded and all the dust cleaned off with a tack cloth. Now its time to apply the urethane.
Minwax® Helmsman Spar Urethane
To read the Material Safety Data Sheet (MSDS) click here.
Minwax® Fast-Drying Polyurethane
To read the Material Safety Data Sheet (MSDS) click here.
Helmsman has a viscosity time of 118 seconds, Fast-Drying Polyurethane 28 seconds and paint thinner 11 seconds. If I thin the Helmsman to a point where it can be sprayed it will probably loose some or most of its important material properties. The Helmsman can says not for spray application anyway.
So I'm going to use the Fast-Drying Poly. As the viscosity is greater than 25 seconds I will try the 2 mm needle in the gun first. Sanded w/ 220. cleaned and dried w/ mineral spirits and applied one coat from 18", 1:30 AM. 54% humidity and 73 °F.. I moved board into horizontal position. I see some specs that look like contaminates in the wet surface. Maybe these will even out as it dries out. Could a little thinner help? Could Japan Dryer work with this stuff?
The first coat of poly went on well, mostly. One board got some contamination on it and I wiped off the poly with a mineral spirit soaked rag. Another board got a ding in the poly. I had to aggressively sand off the surface and start over during the scuff sanding operation. I have put a 20" fan with a furnace filter on the intake side into the paint room in an attempt to capture contaminants in the air as I found a few bits of stuff on the surfaces. The constant filtering of the air should help. I finally found that using as much thinner as possible was the best. I ended up with near 25% thinner and a very thin coat. I turned the boards from vertical to horizontal as fast as possible.
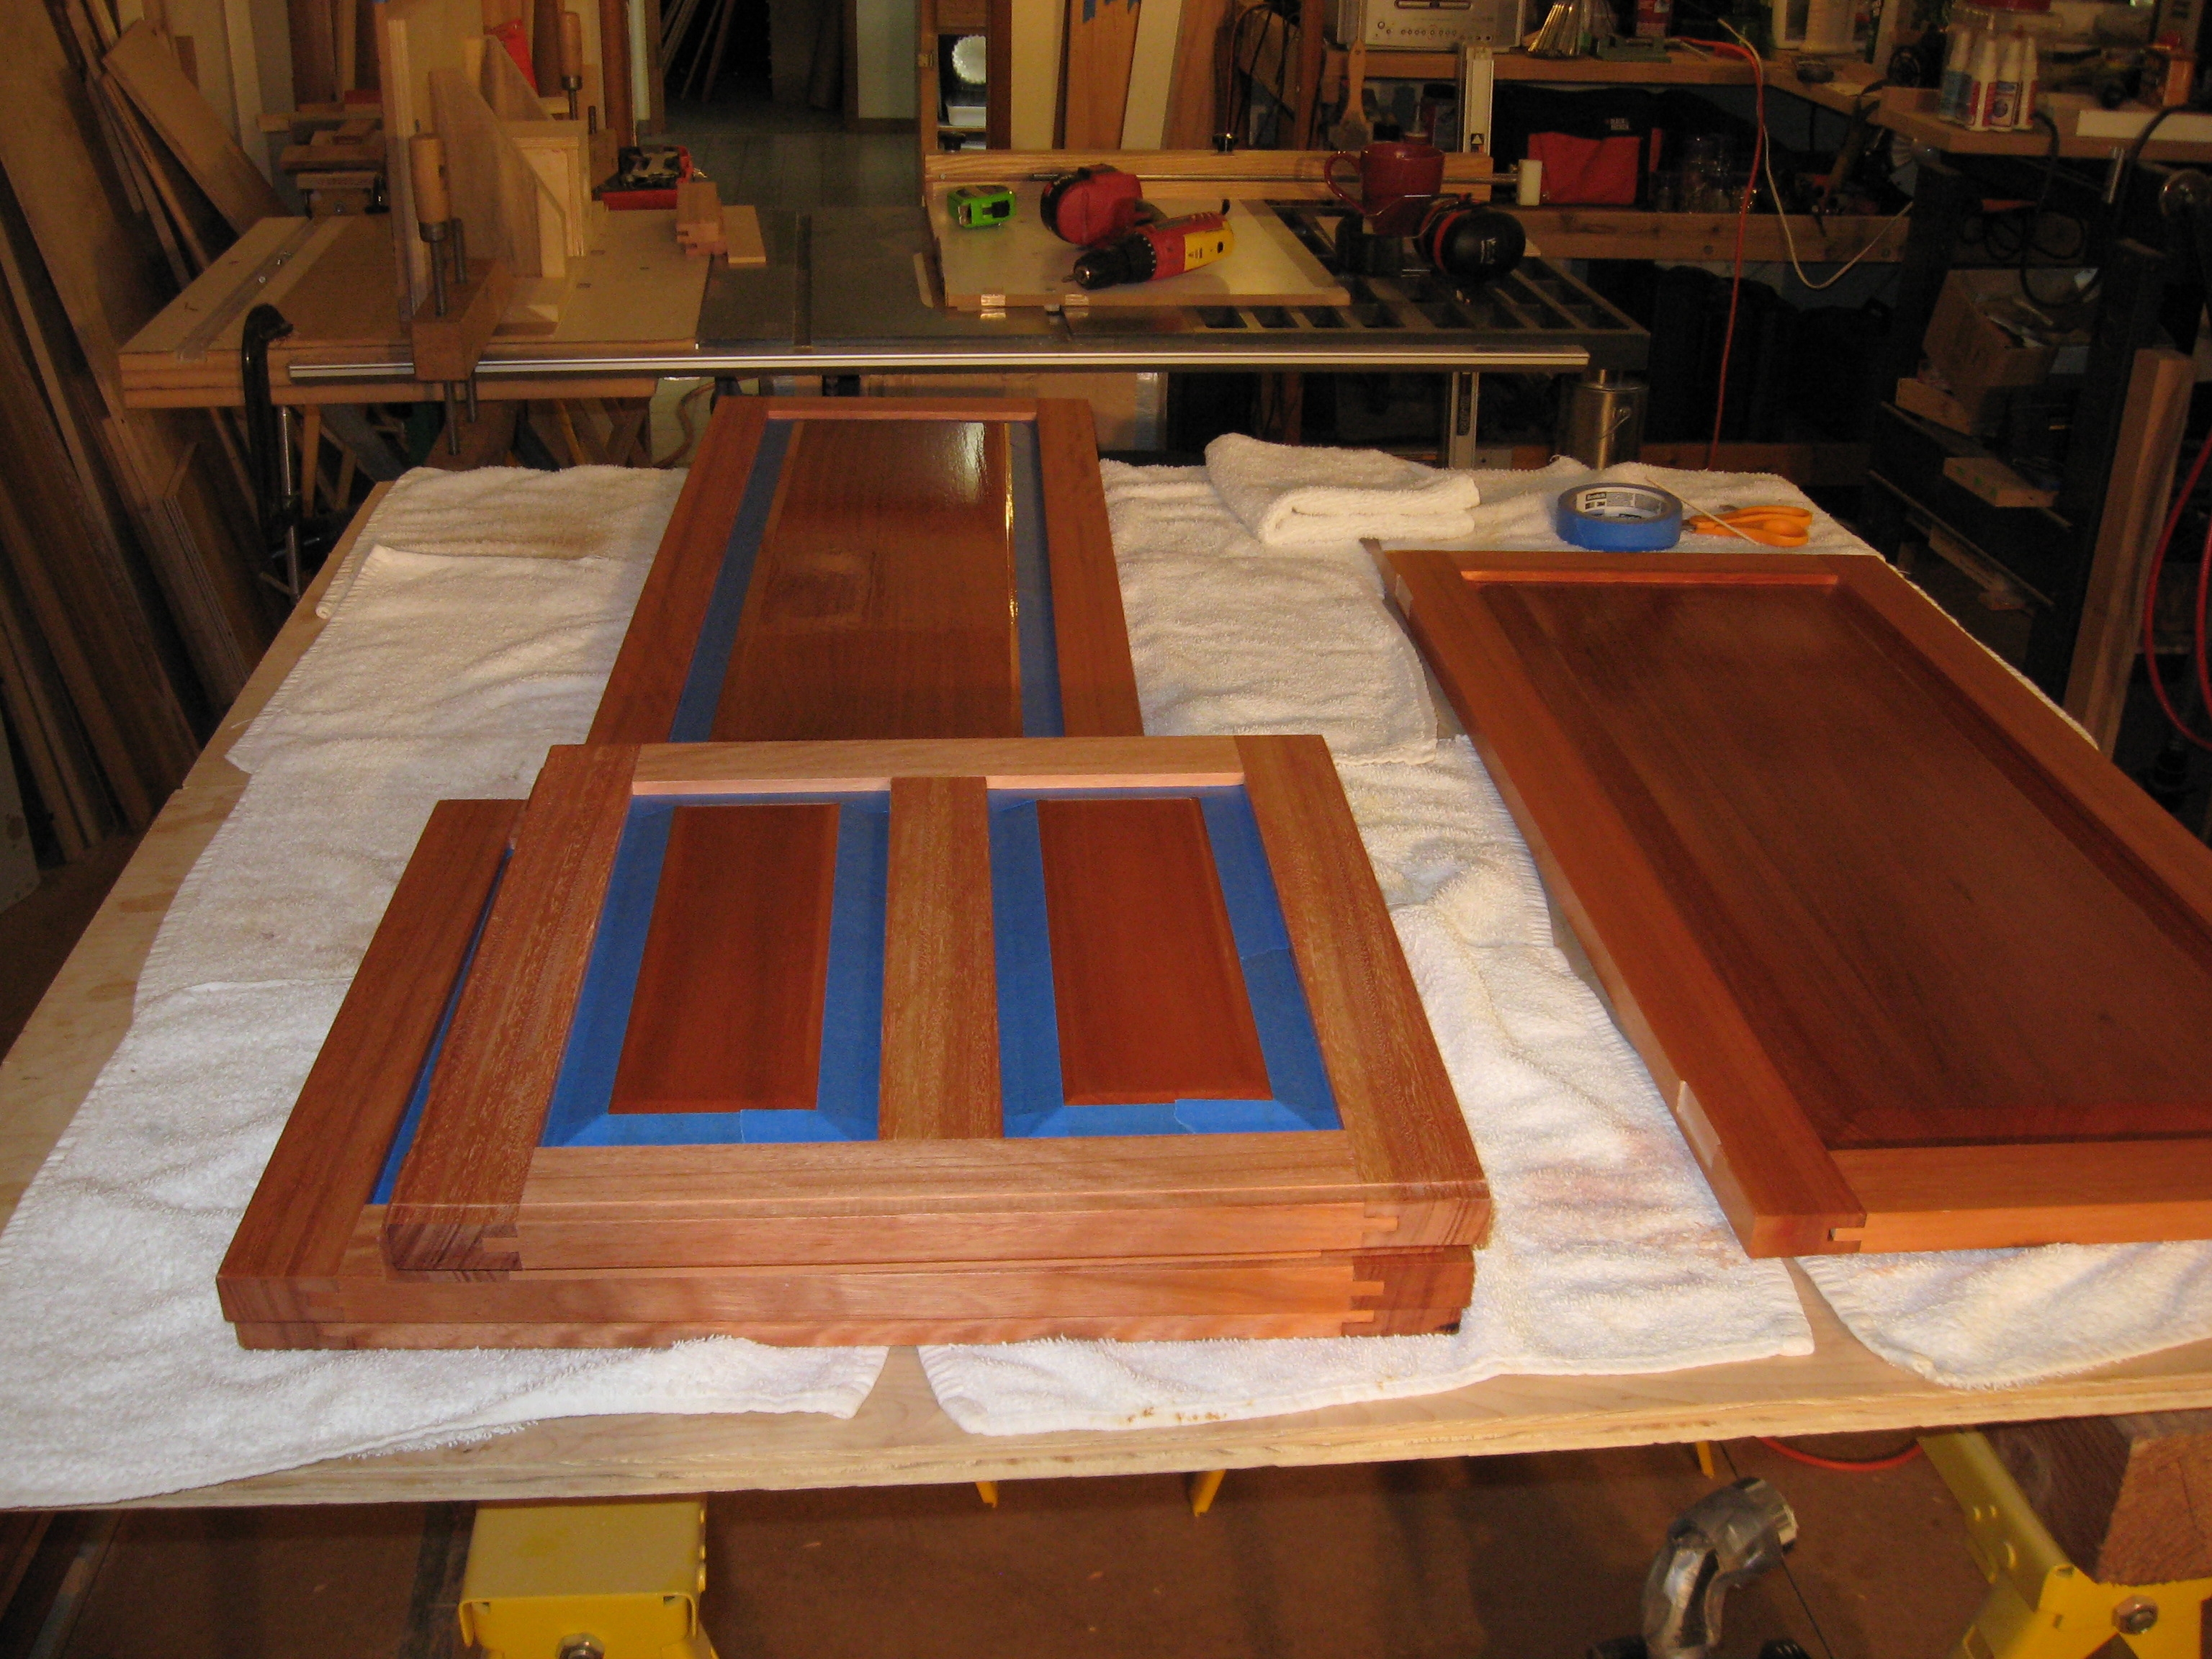
Maybe I'm doing everything the hard way but it makes sense to me that in a floating panel the whole thing would NOT be assembled then finished. I want the panel to float within the stiles and rails. To apply the finish over the assembled door would not properly allow the panel to expand and contract freely. I spray finish the panels first. Then I assemble the doors. This picture shows the masking of the panels in preparation to apply the finish to the stiles and rails. I will apply the polyurethane to the stiles and rails with a rag.