The Wet Wall
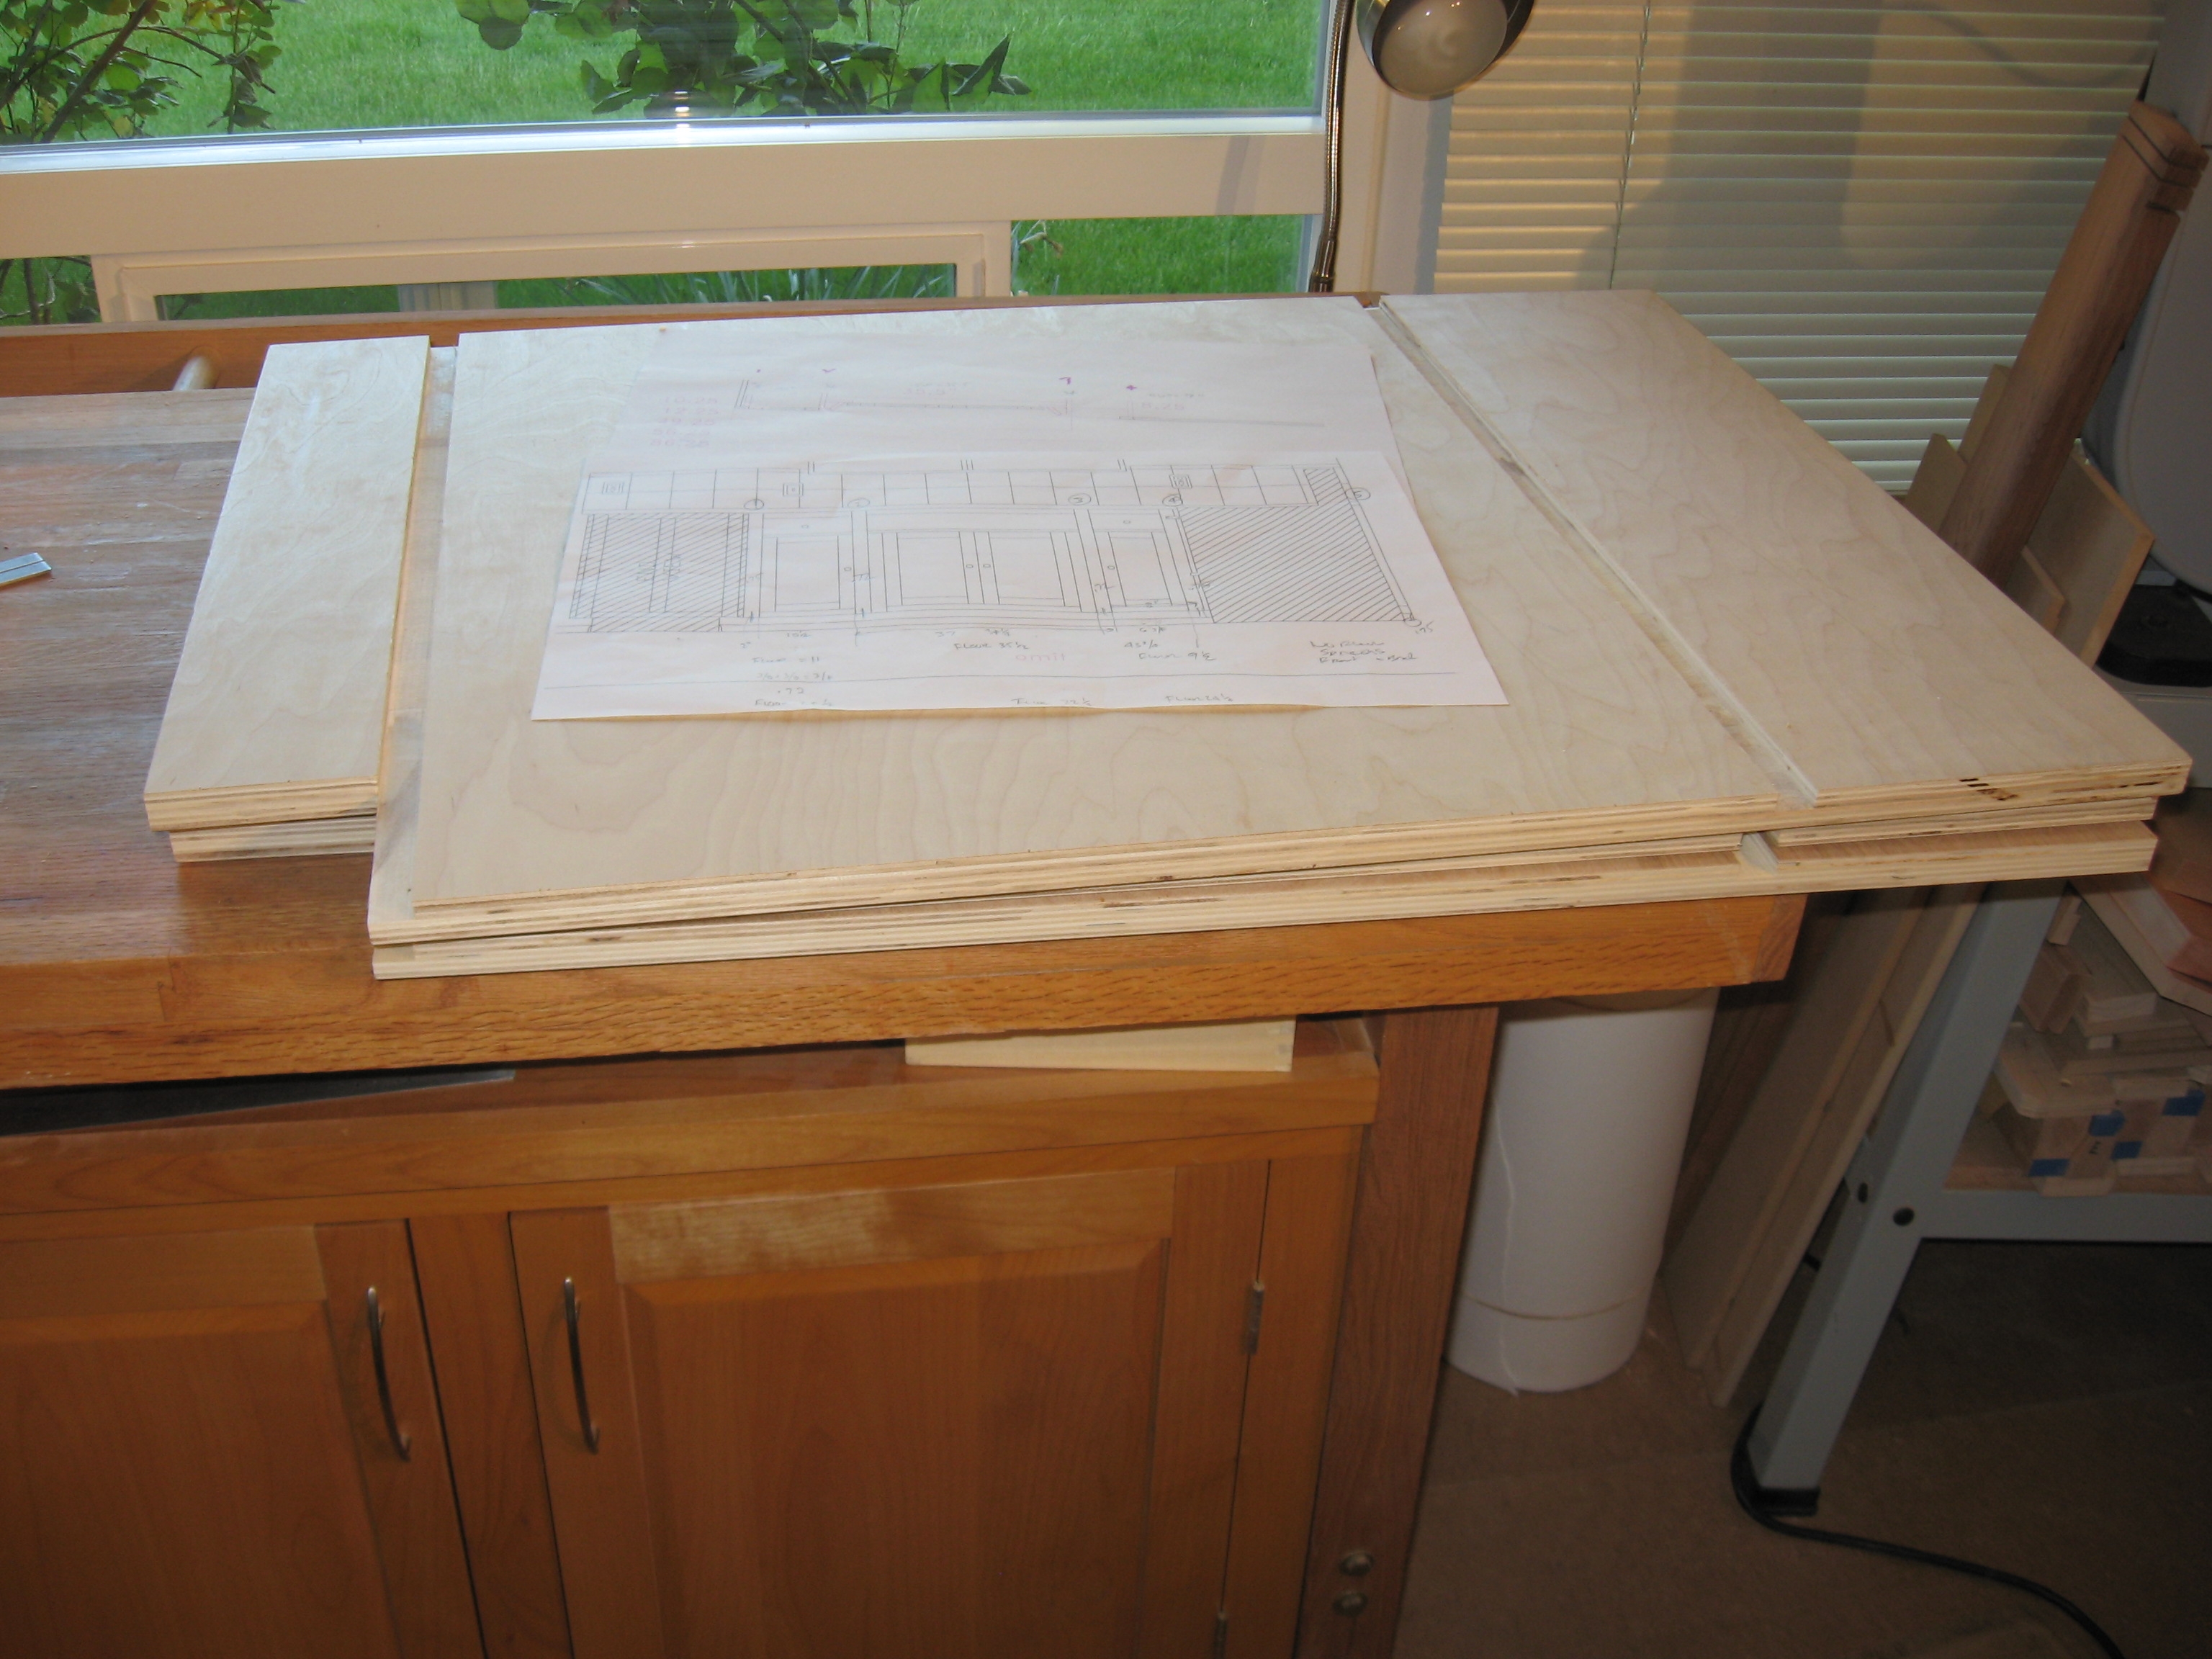
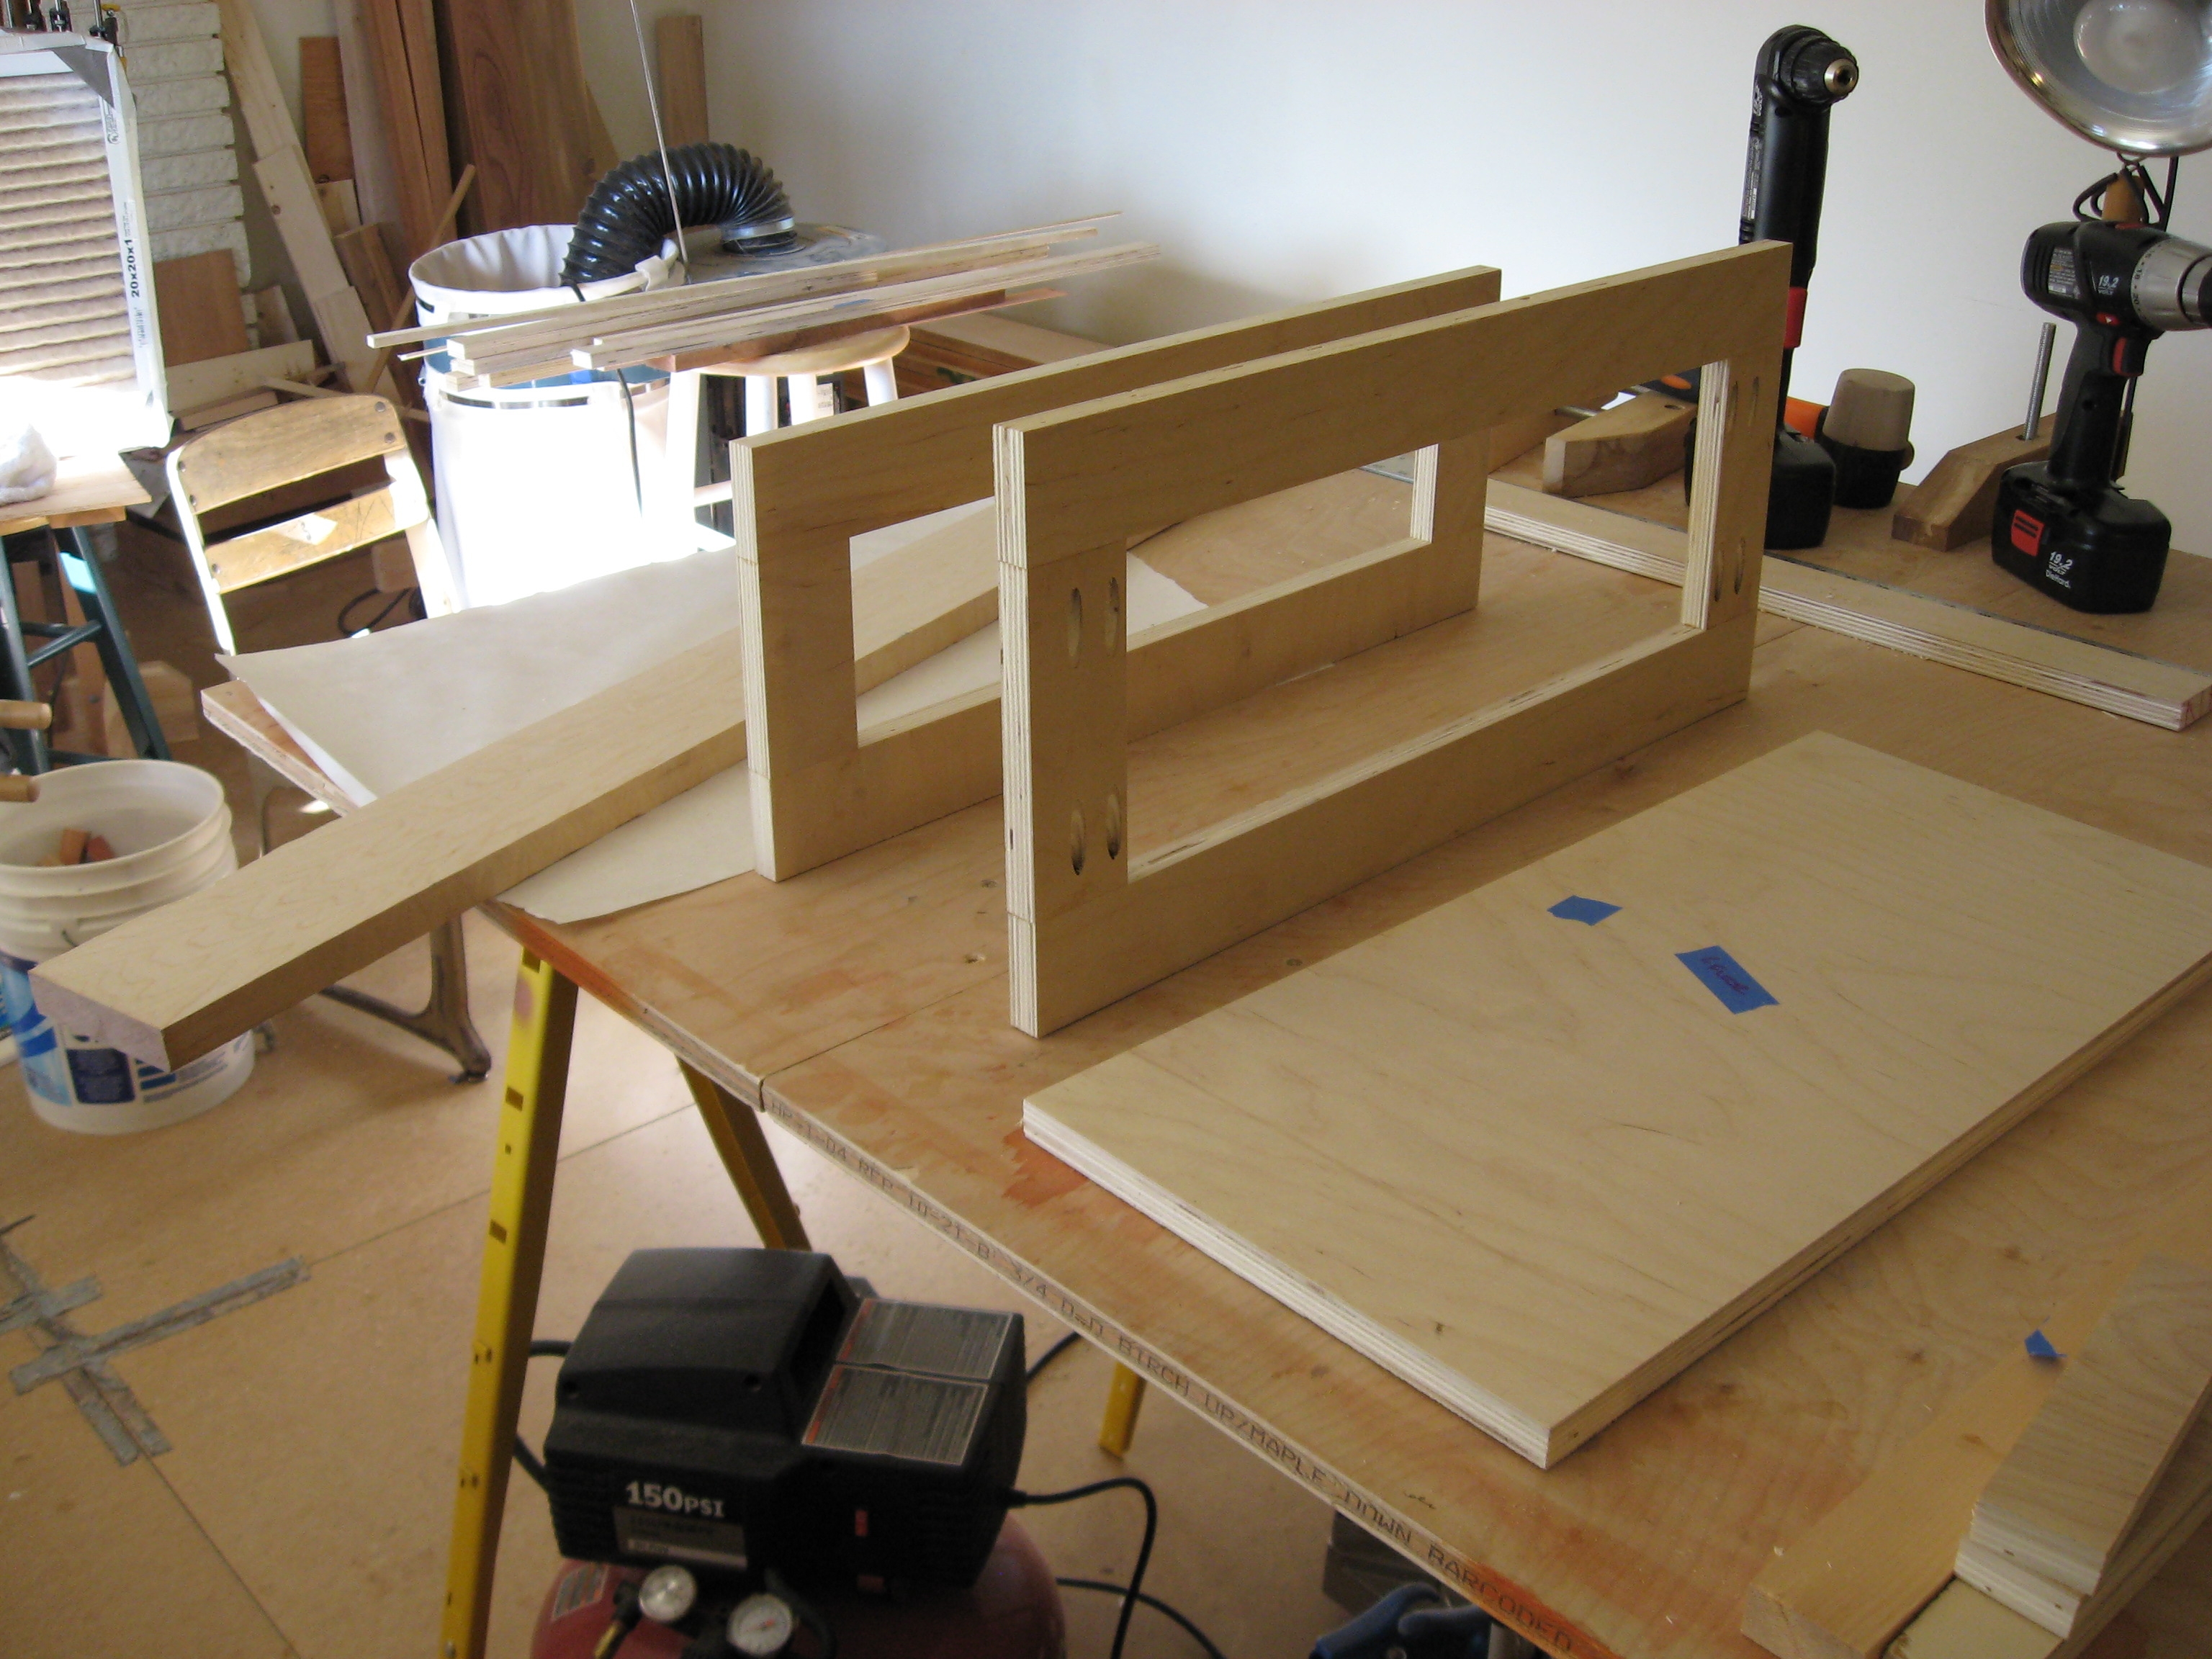
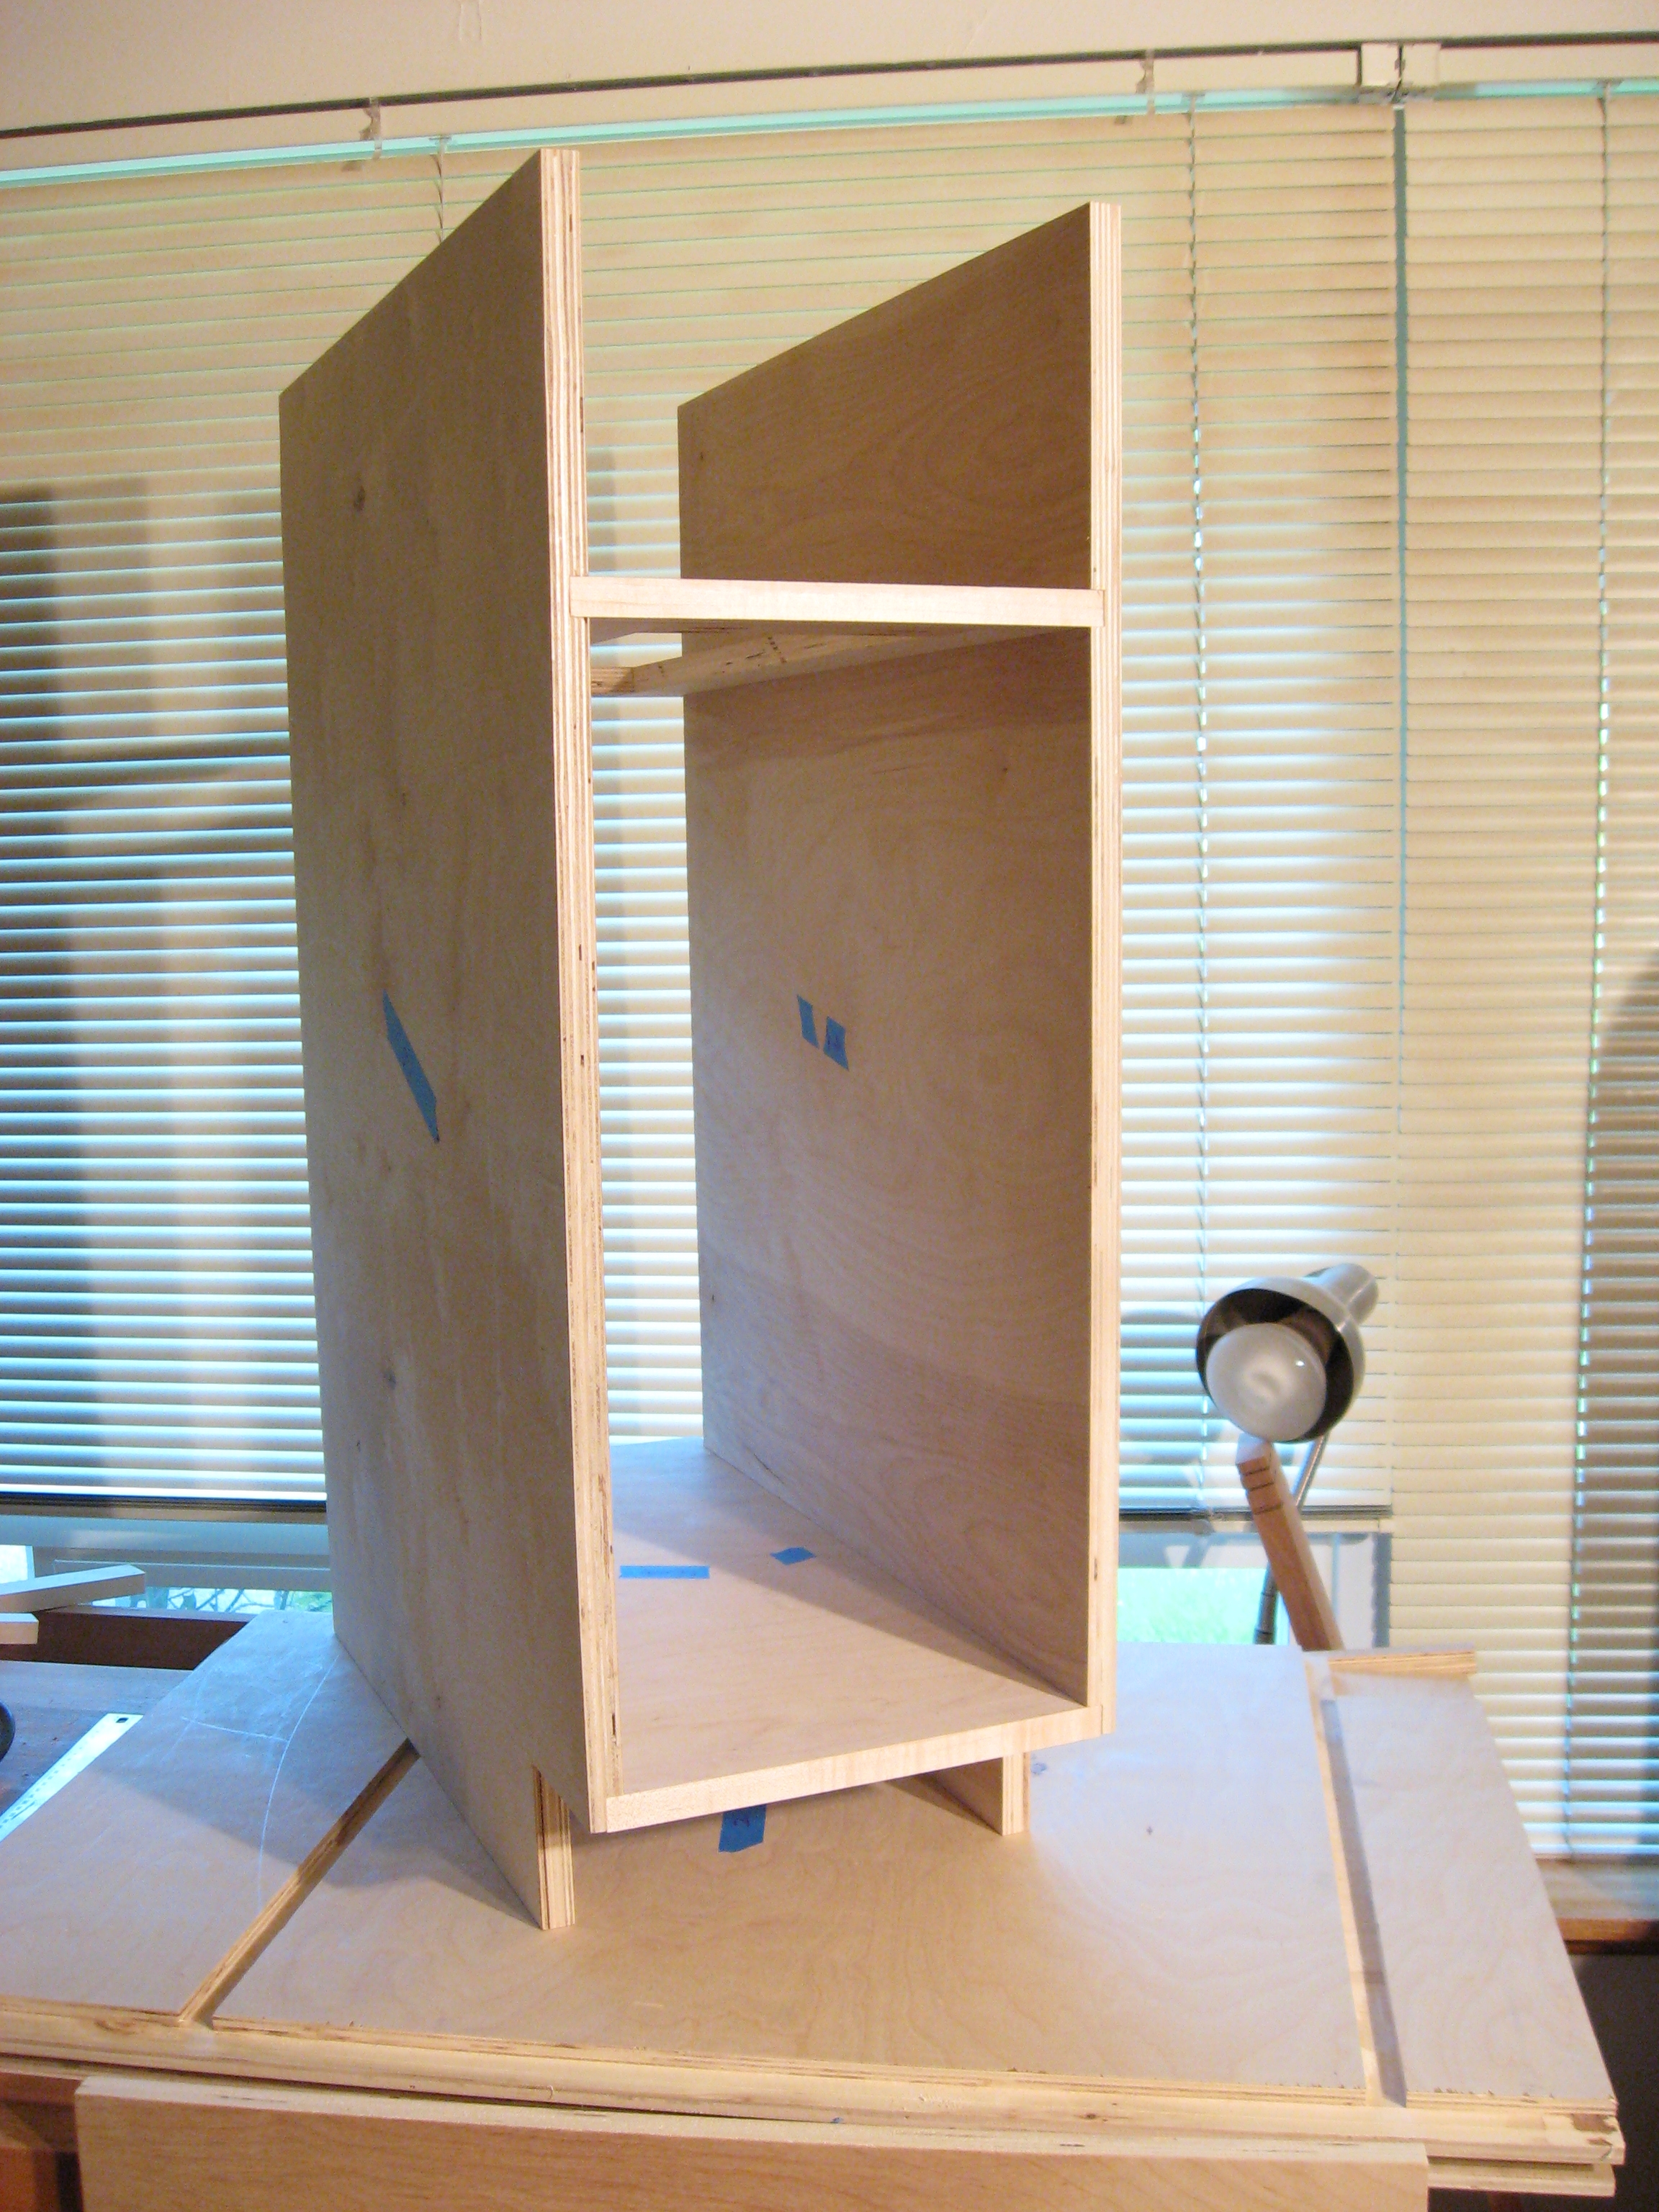
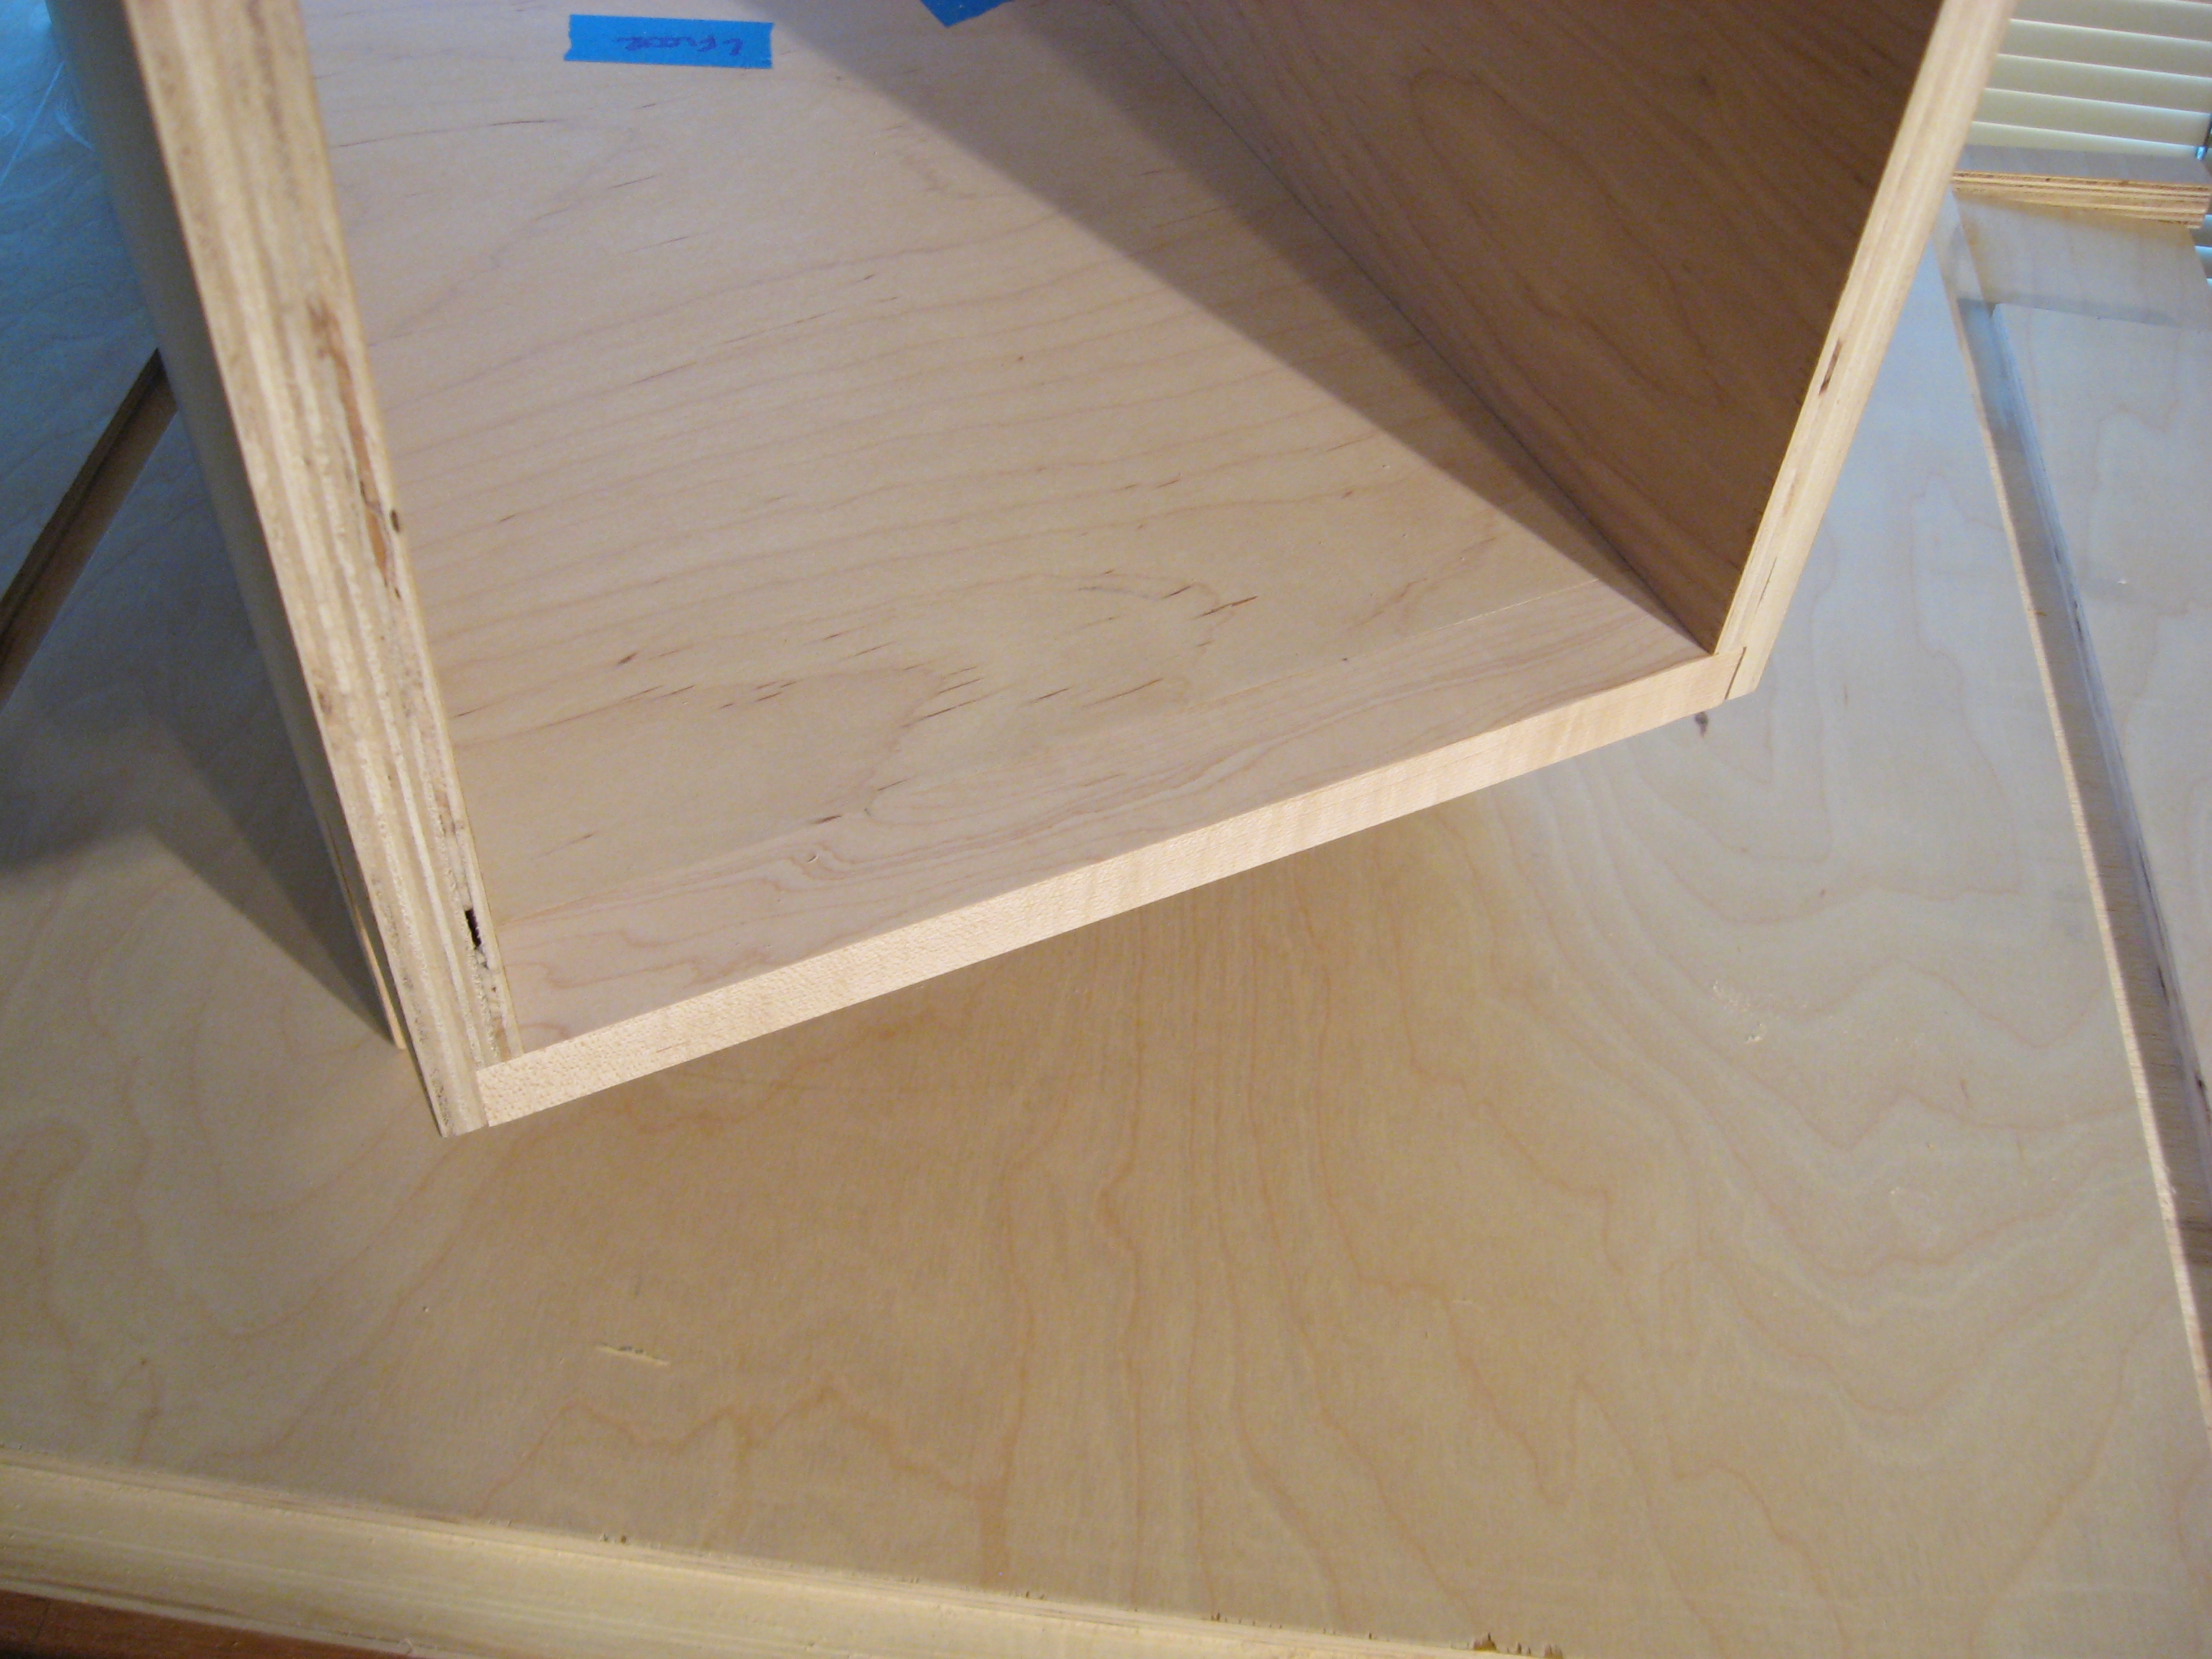
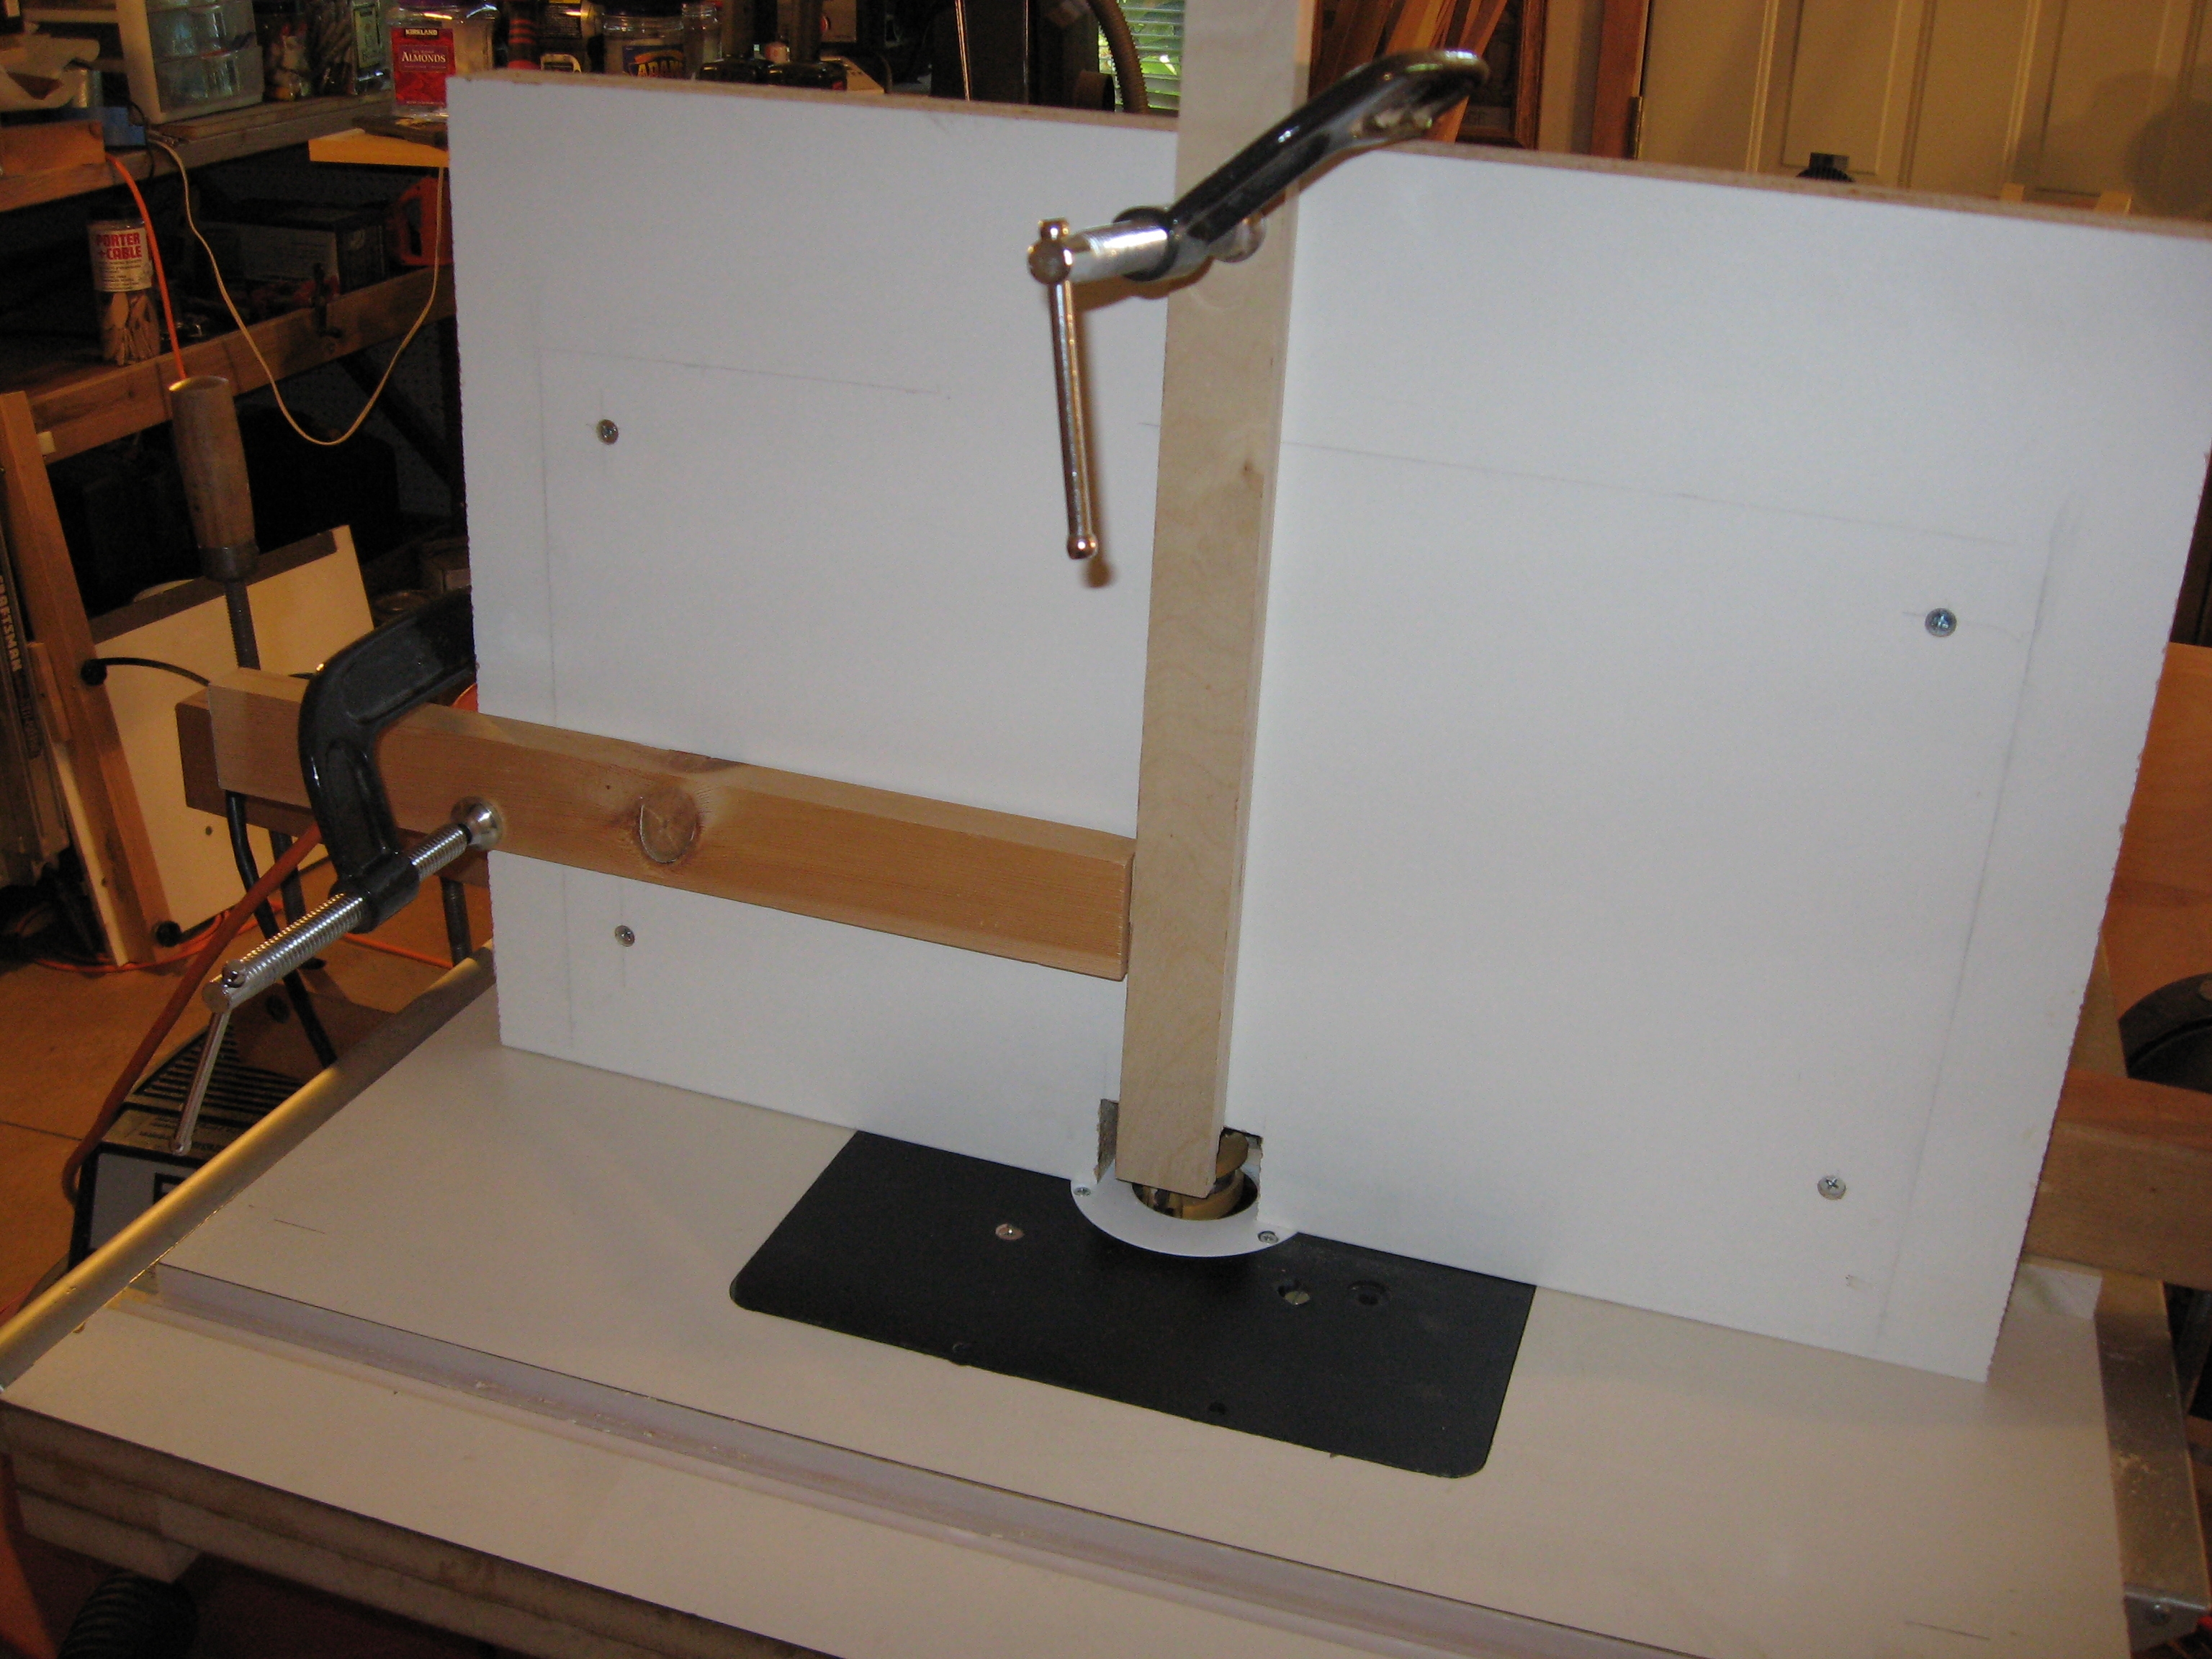
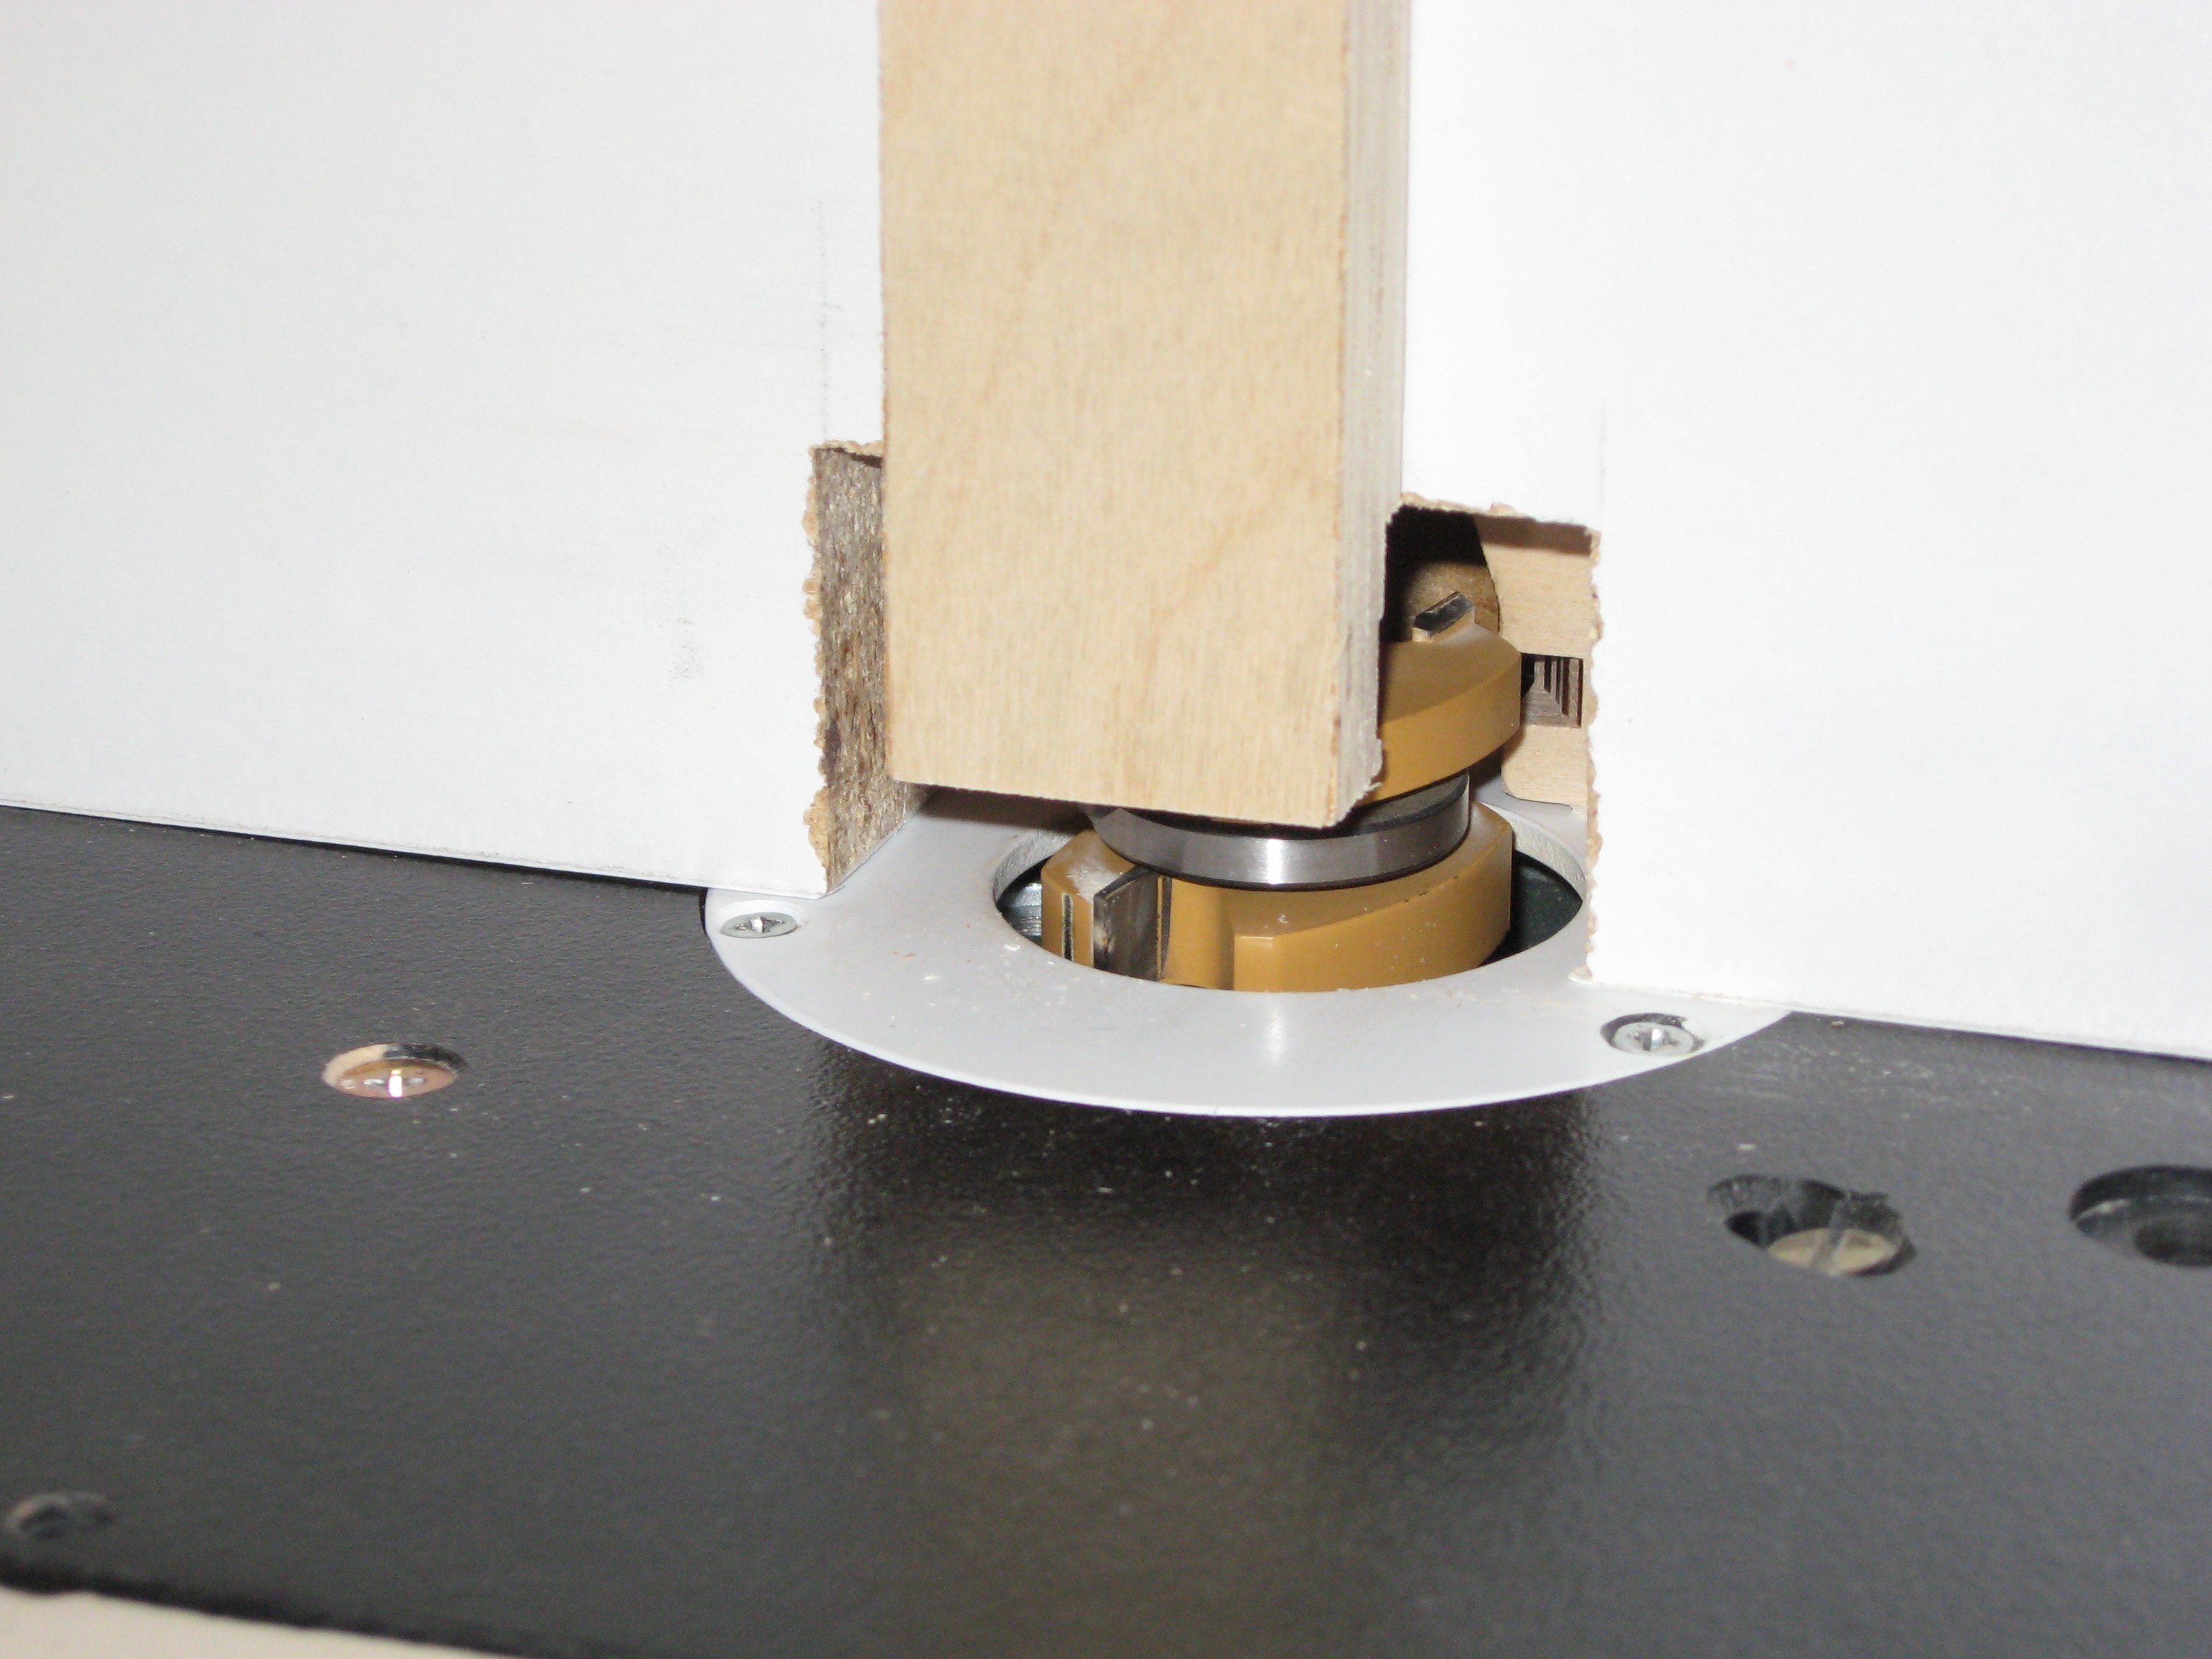
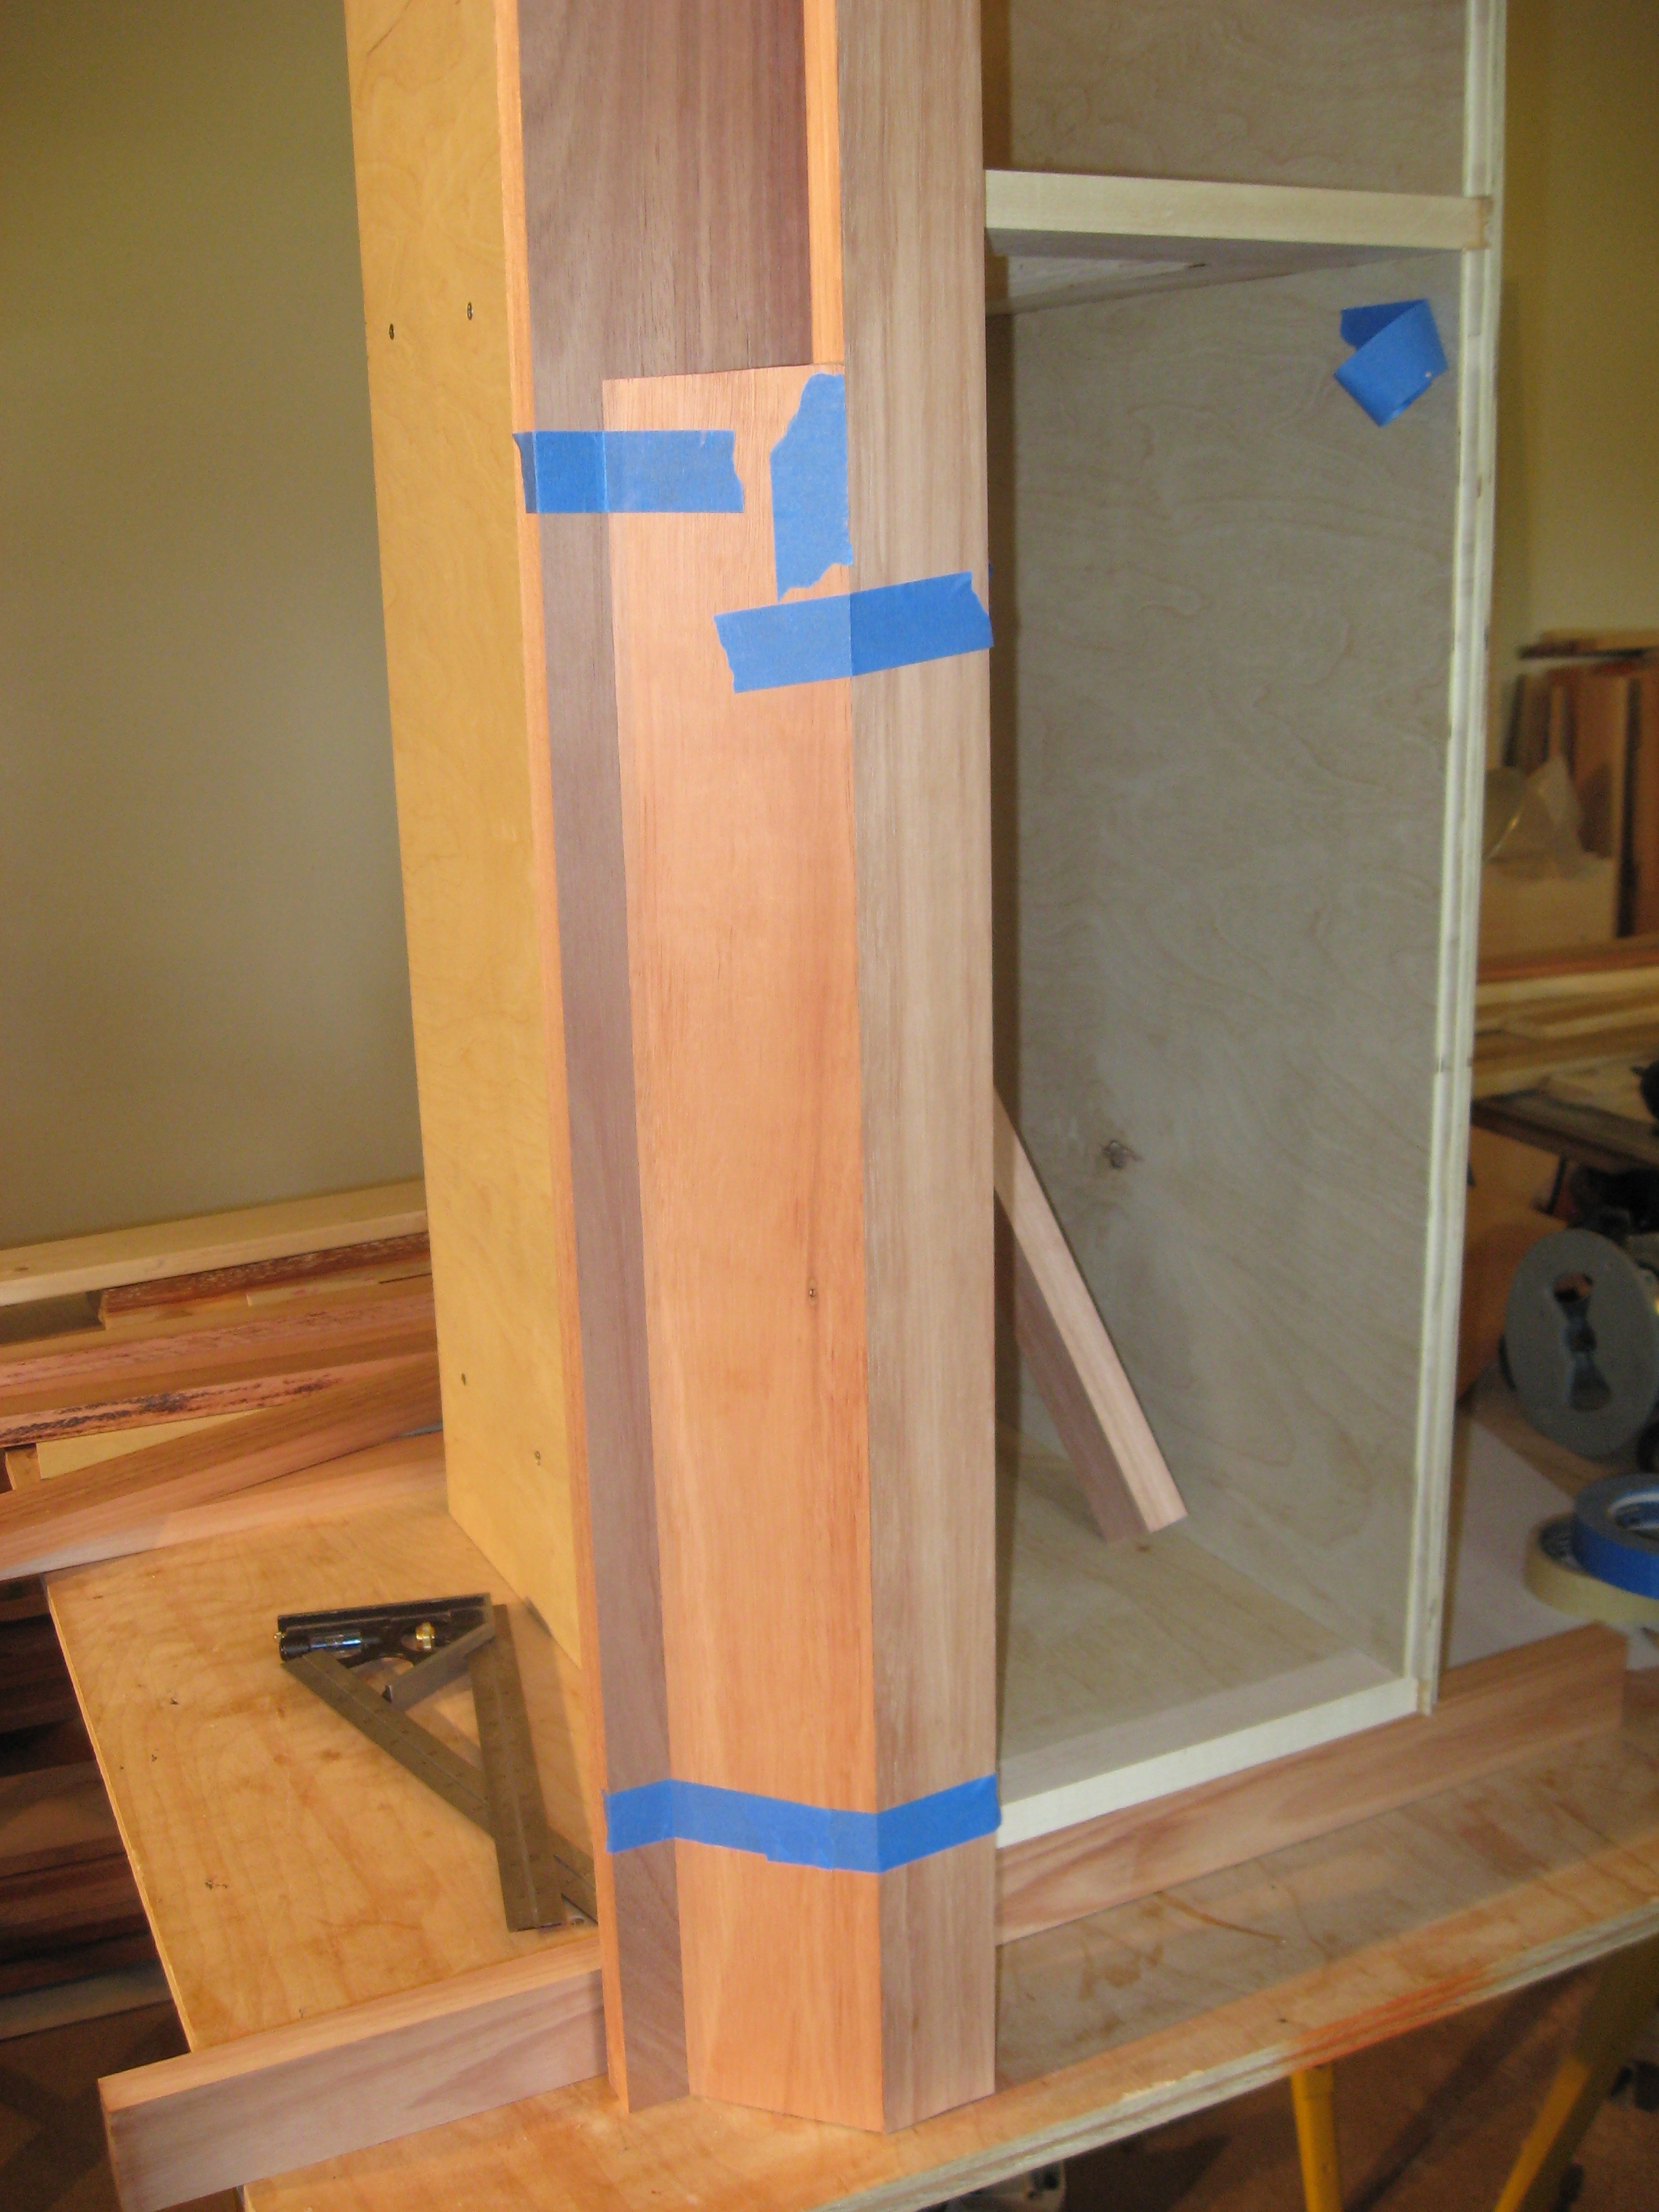
It all starts with five partition walls. All the outer walls for this first cabinet section are hidden. This cabinet will fit from the hot wall to the left of the window, about 82". It will hold the sink. The partitions are cut to size with a toe kick cutout and dadoed to accept the cabinet floors and drawer frames. The drawer frames are made of the same plywood as the floors as this allows for only one dado setup. They will be assembled with glue and pocket screws and serve to keep the cabinet square. A white hard maple strip will be applied to the front of the drawer frames. The floors will have a strip of white hard maple attached along the front in the same manner. The hard maple will resist the dents and dings along the front edge of the floor. A dado is added to accept the back panel. No back panel will be installed under the sink to ease access to plumbing and electric. Tongue and grooves will be used to align the face frame to the partitions. I use Marc Summerfeld's router set for this.
:
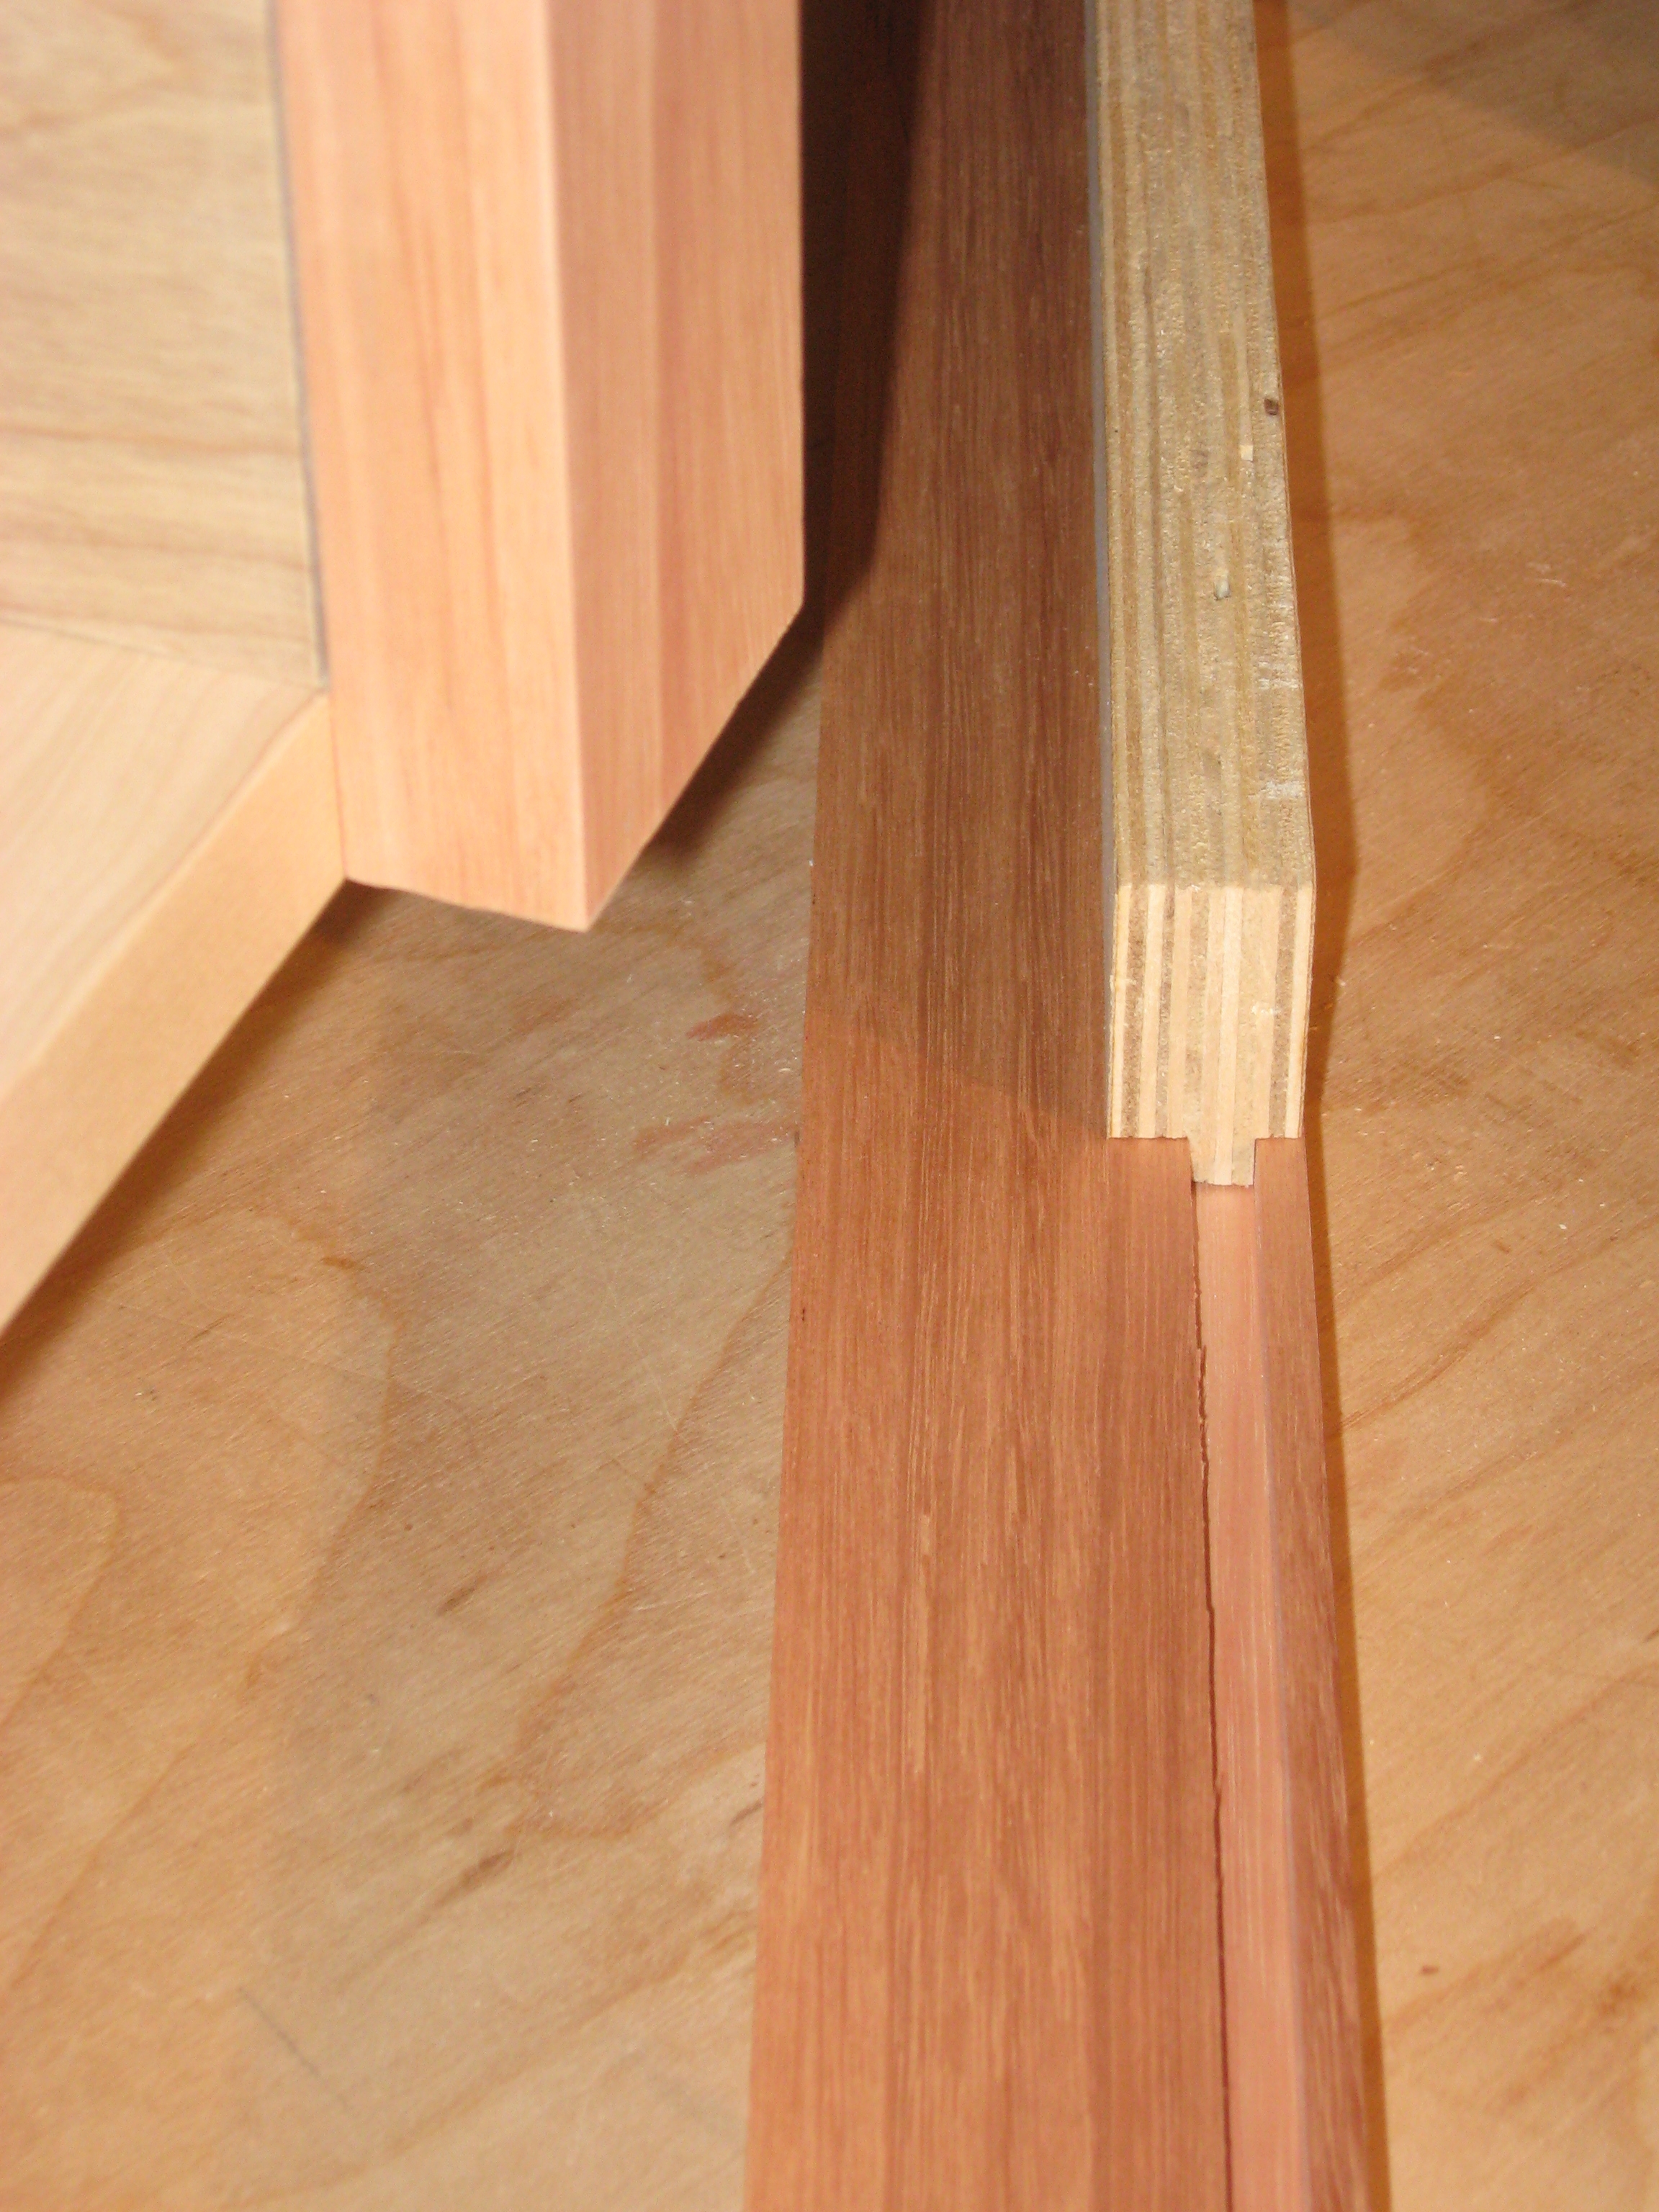
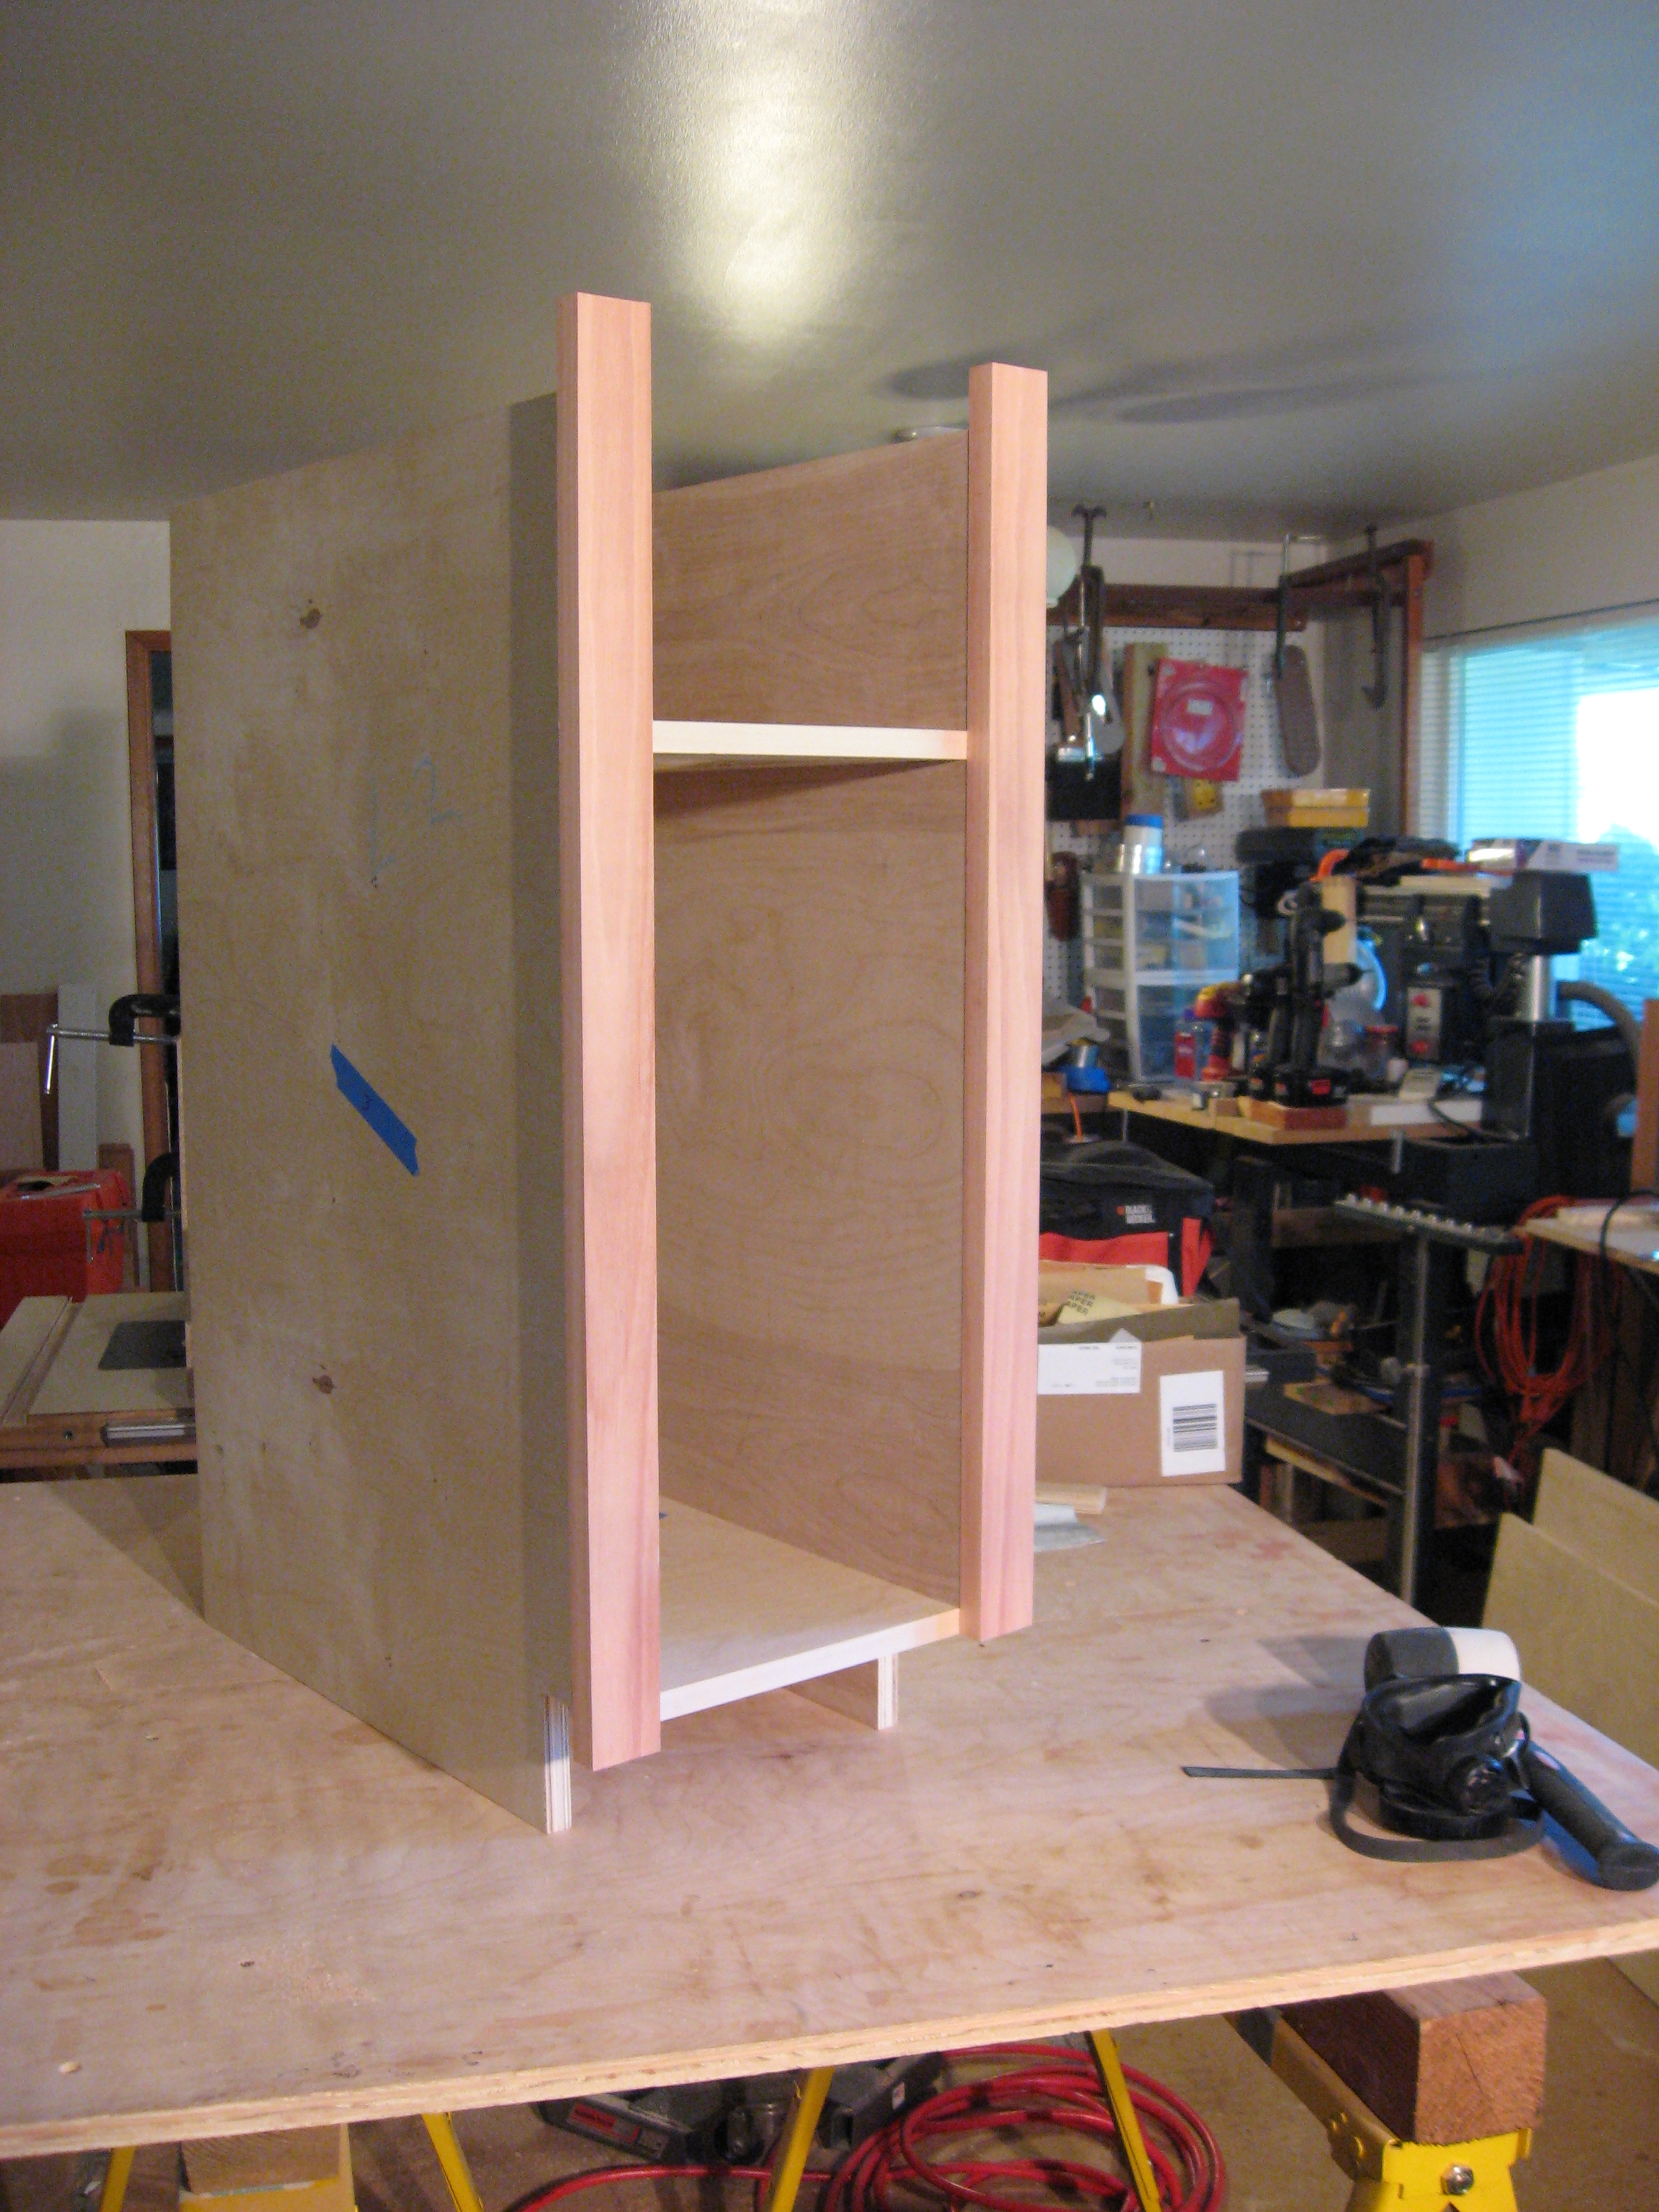
Picture #1 shows the panels cut to size with the dadoes for the floor and the drawer frame. Picture #2 shows the assembly of the drawer frames. Picture # 3 is a dry fit of the left cabinet so I can check for square. Picture #4 is a close-up of the maple strip for the front of floor. Picture #5 is a close up of the tongue and groove cut. Picture #6 is the dry-fit of the styles. Picture # 7 & 8 are of the router setup for cutting the groove. The tongue setup is the same.
Cabinet Cove
The cabinet face under the sink will be set in about 3". This creates a knee recess in addition to the standard toe kick. It also results in easier access to the disposal as a trade off for more cabinet space. This mock-up of the 45 degree recess transition rests on the floor. The assembly will really be flush with the bottom of the lower cabinet floor and extend to the top of the drawer frame.
:
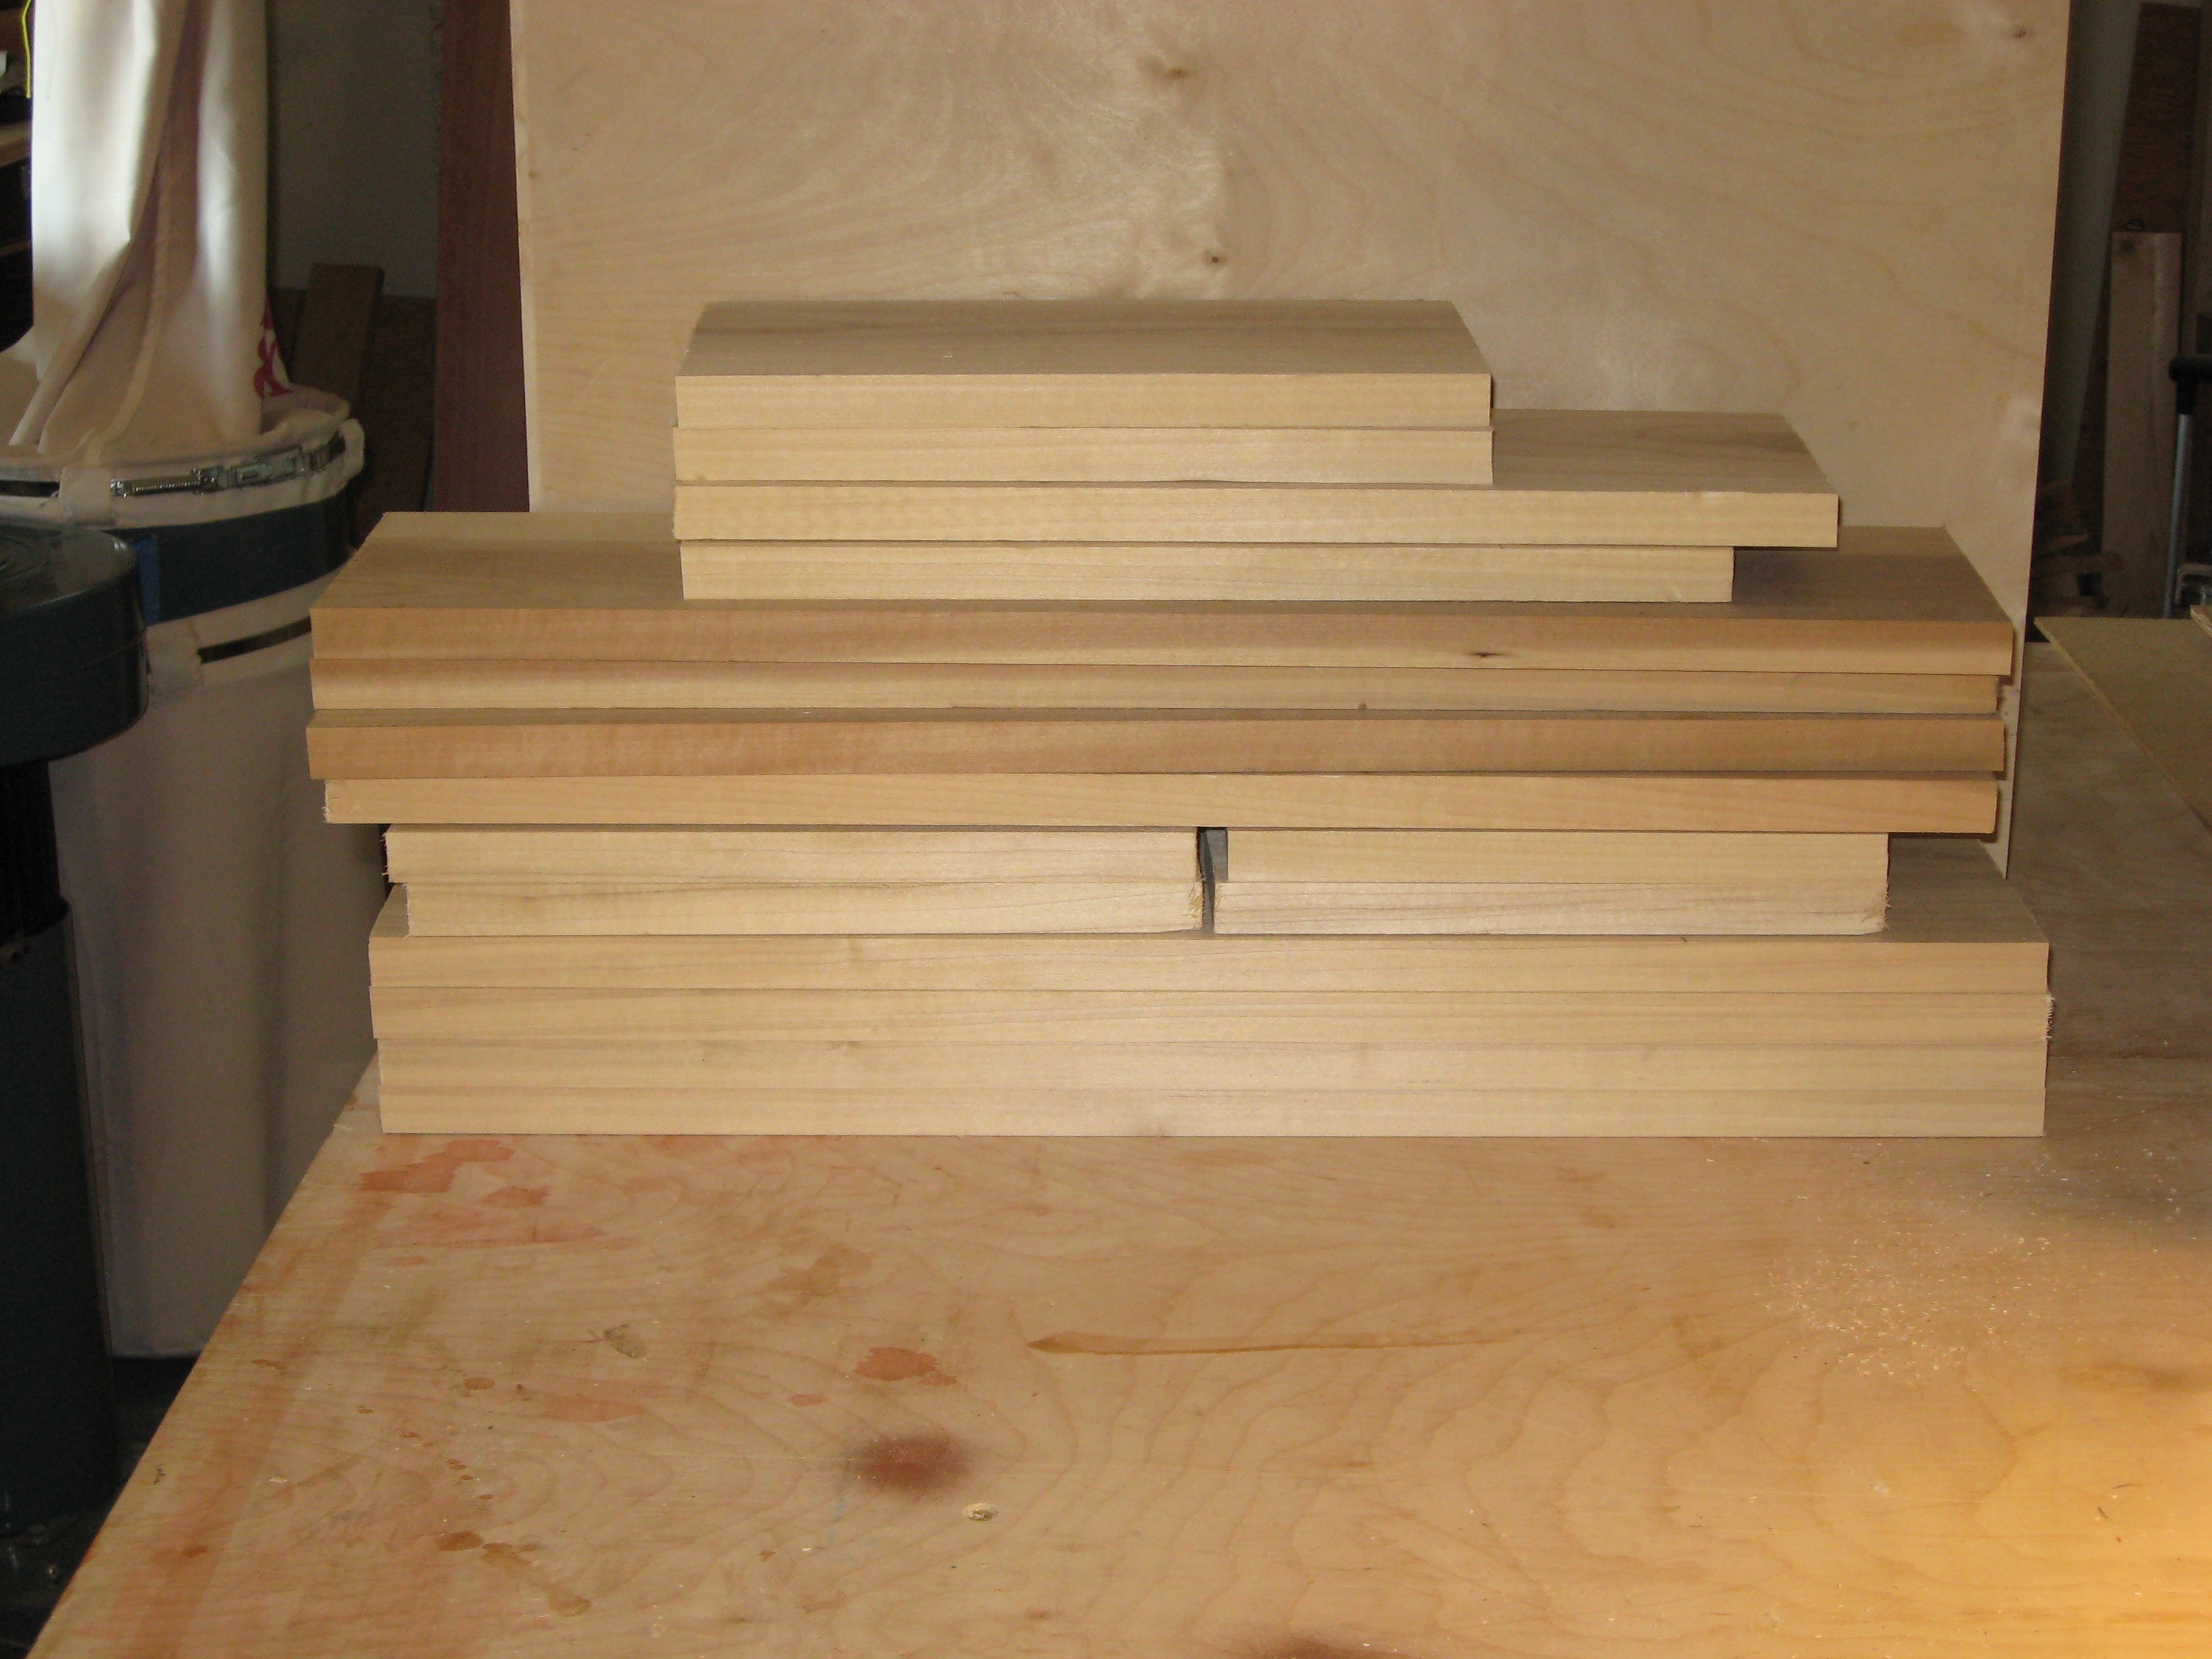
Drawers
The stack of rough cut 3/4" poplar for the drawers. Four drawers. Two upper drawers, one on the right and one on the left and two drawers in the cabinet to the left of the sink.
:
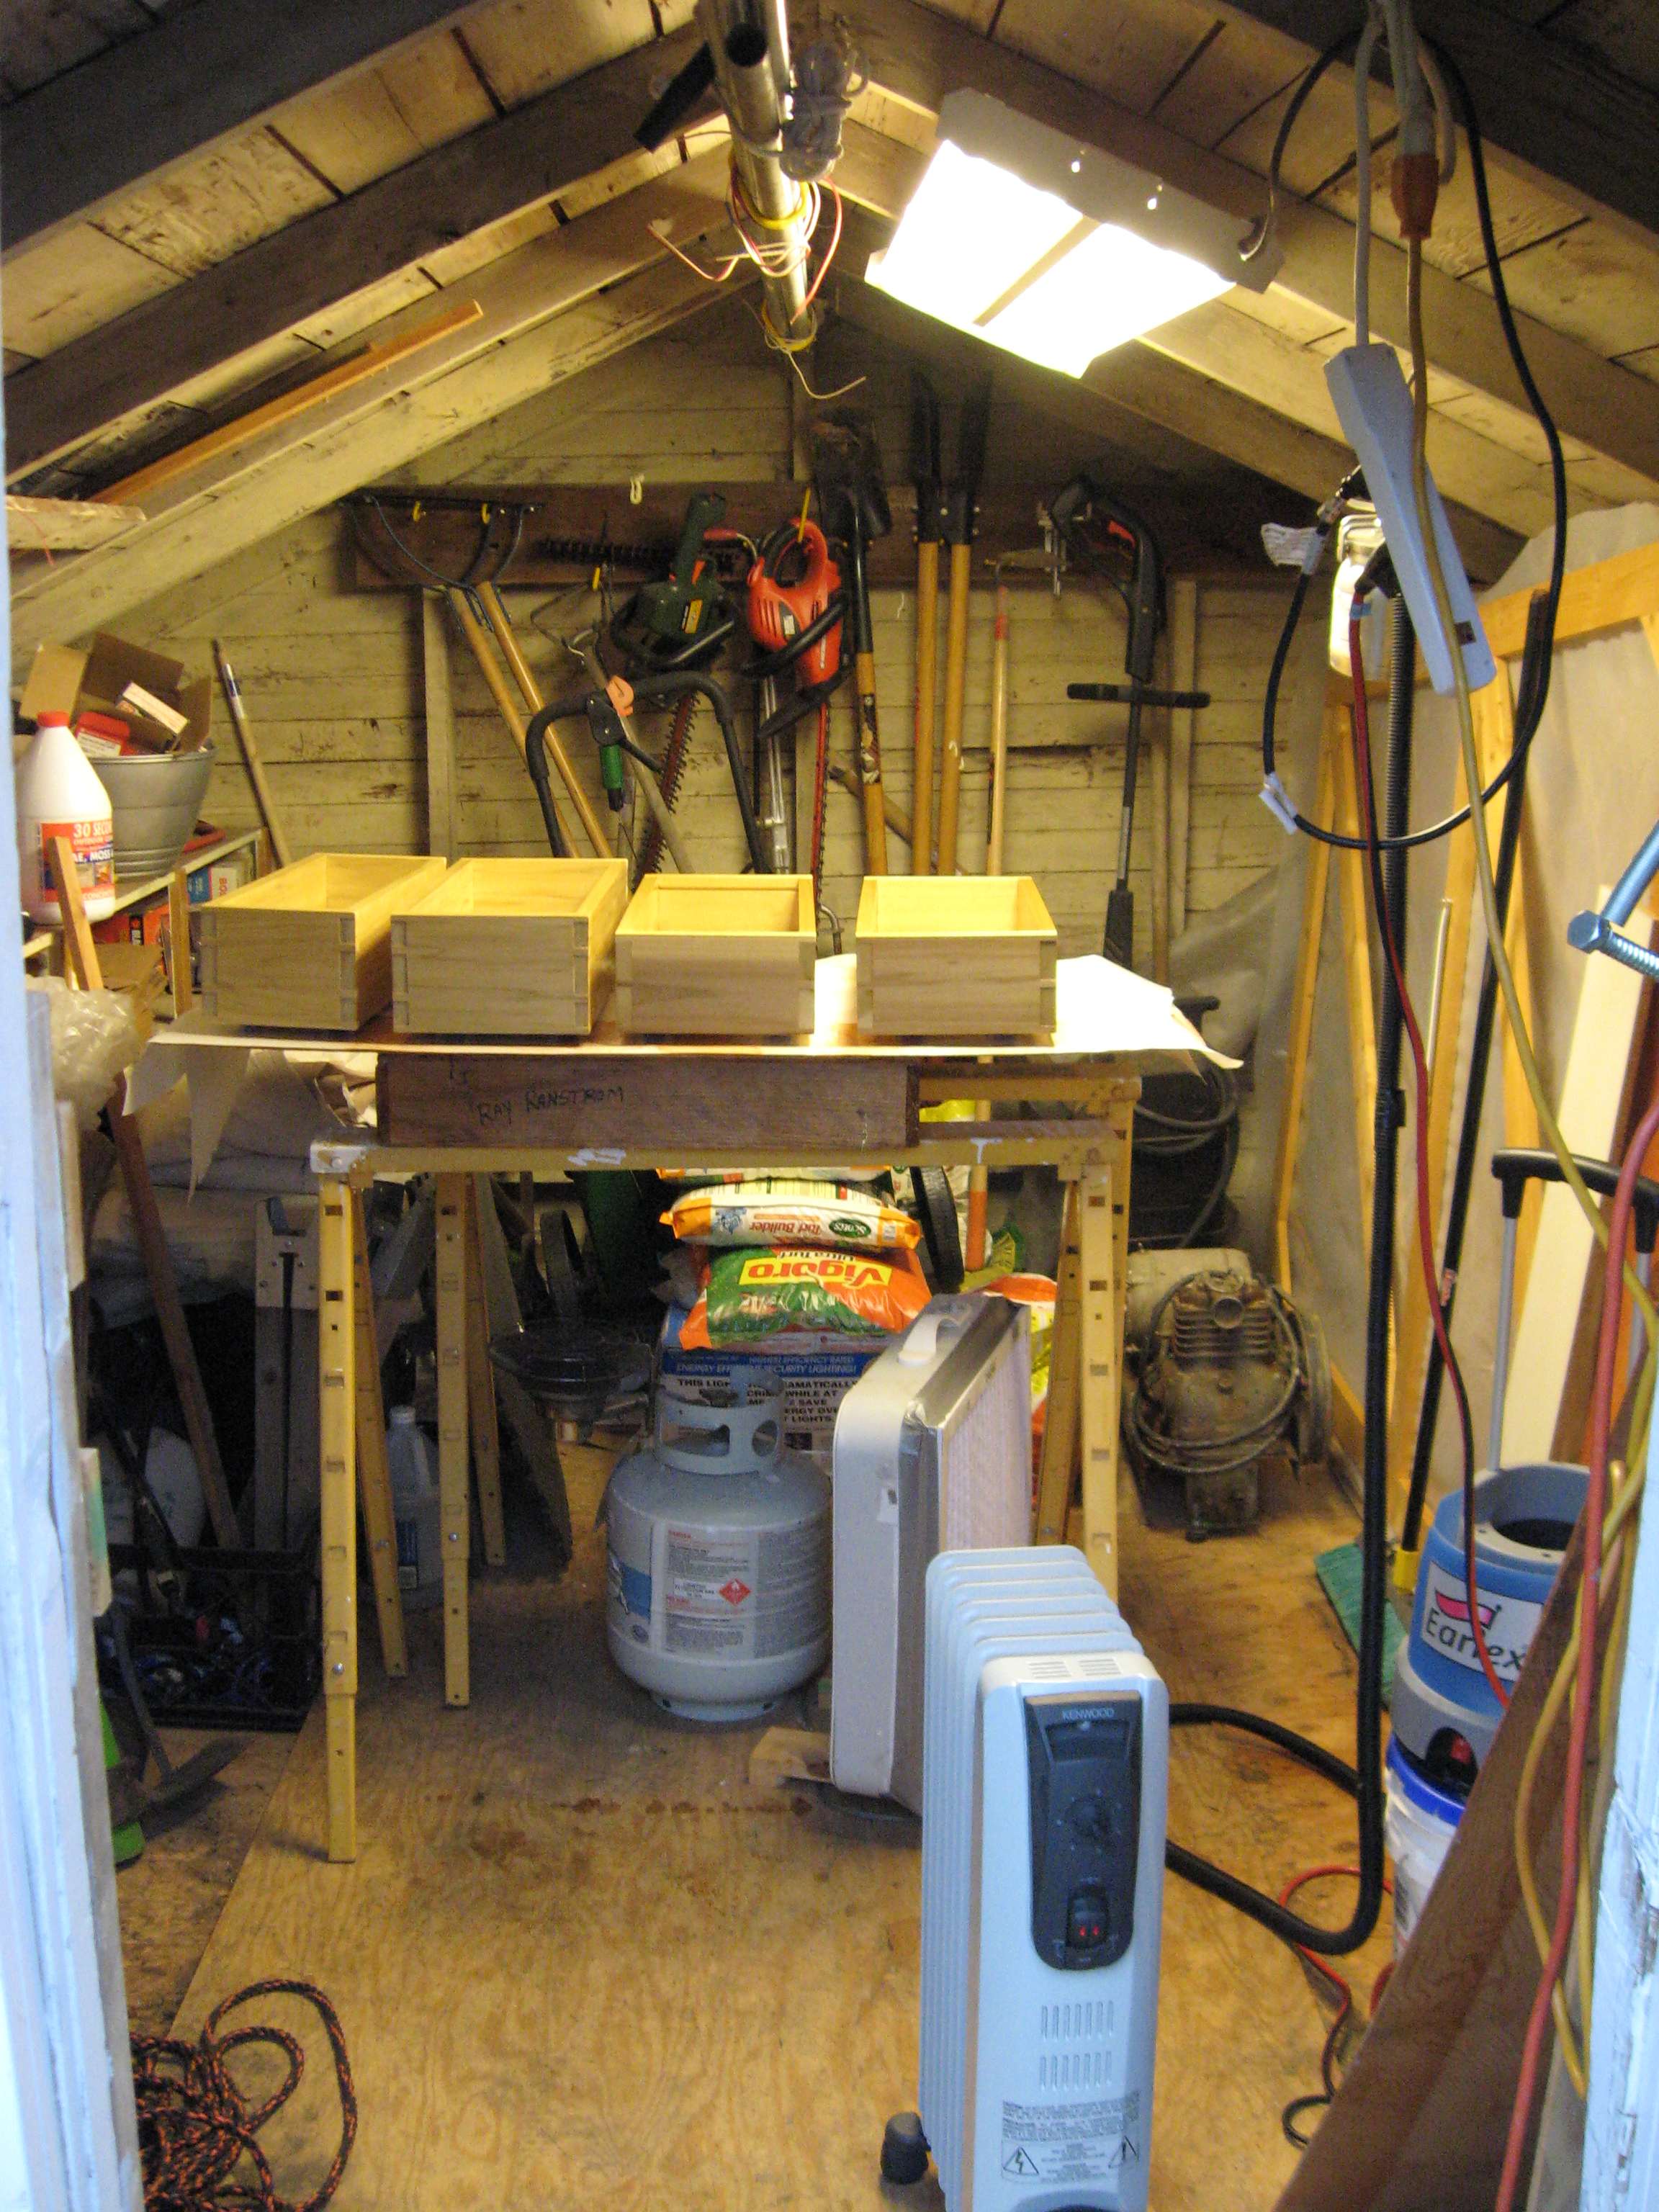
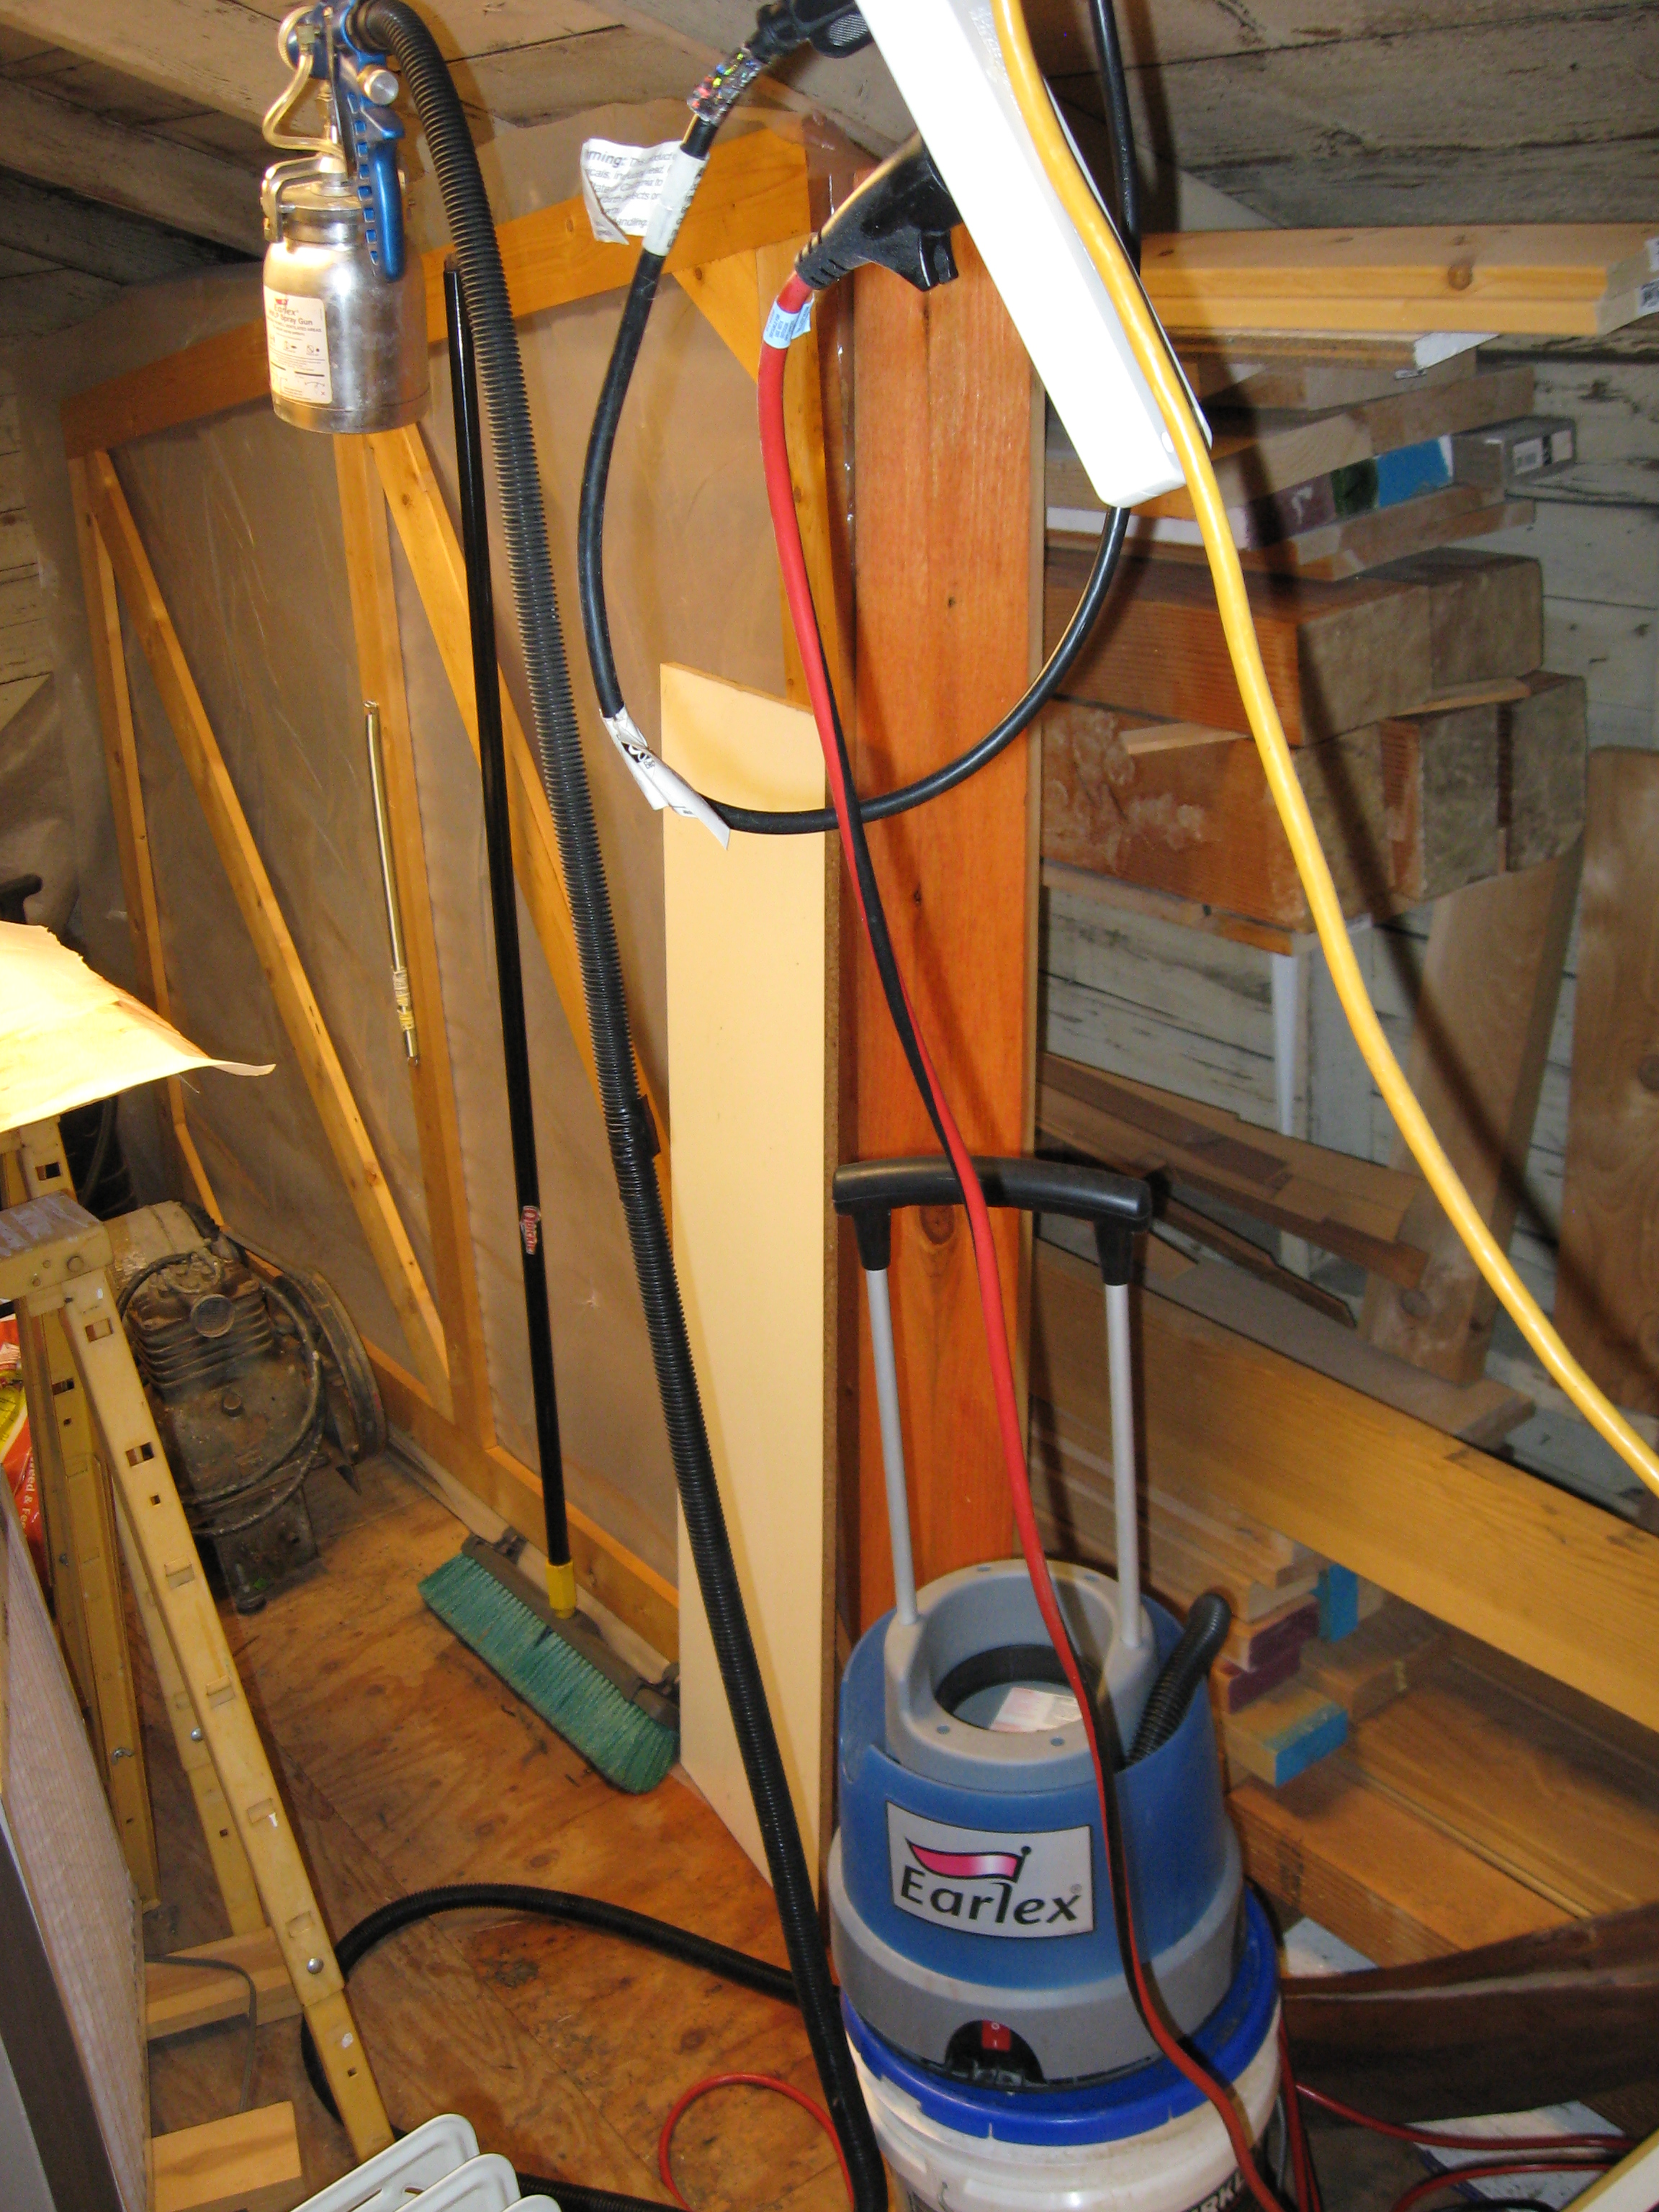
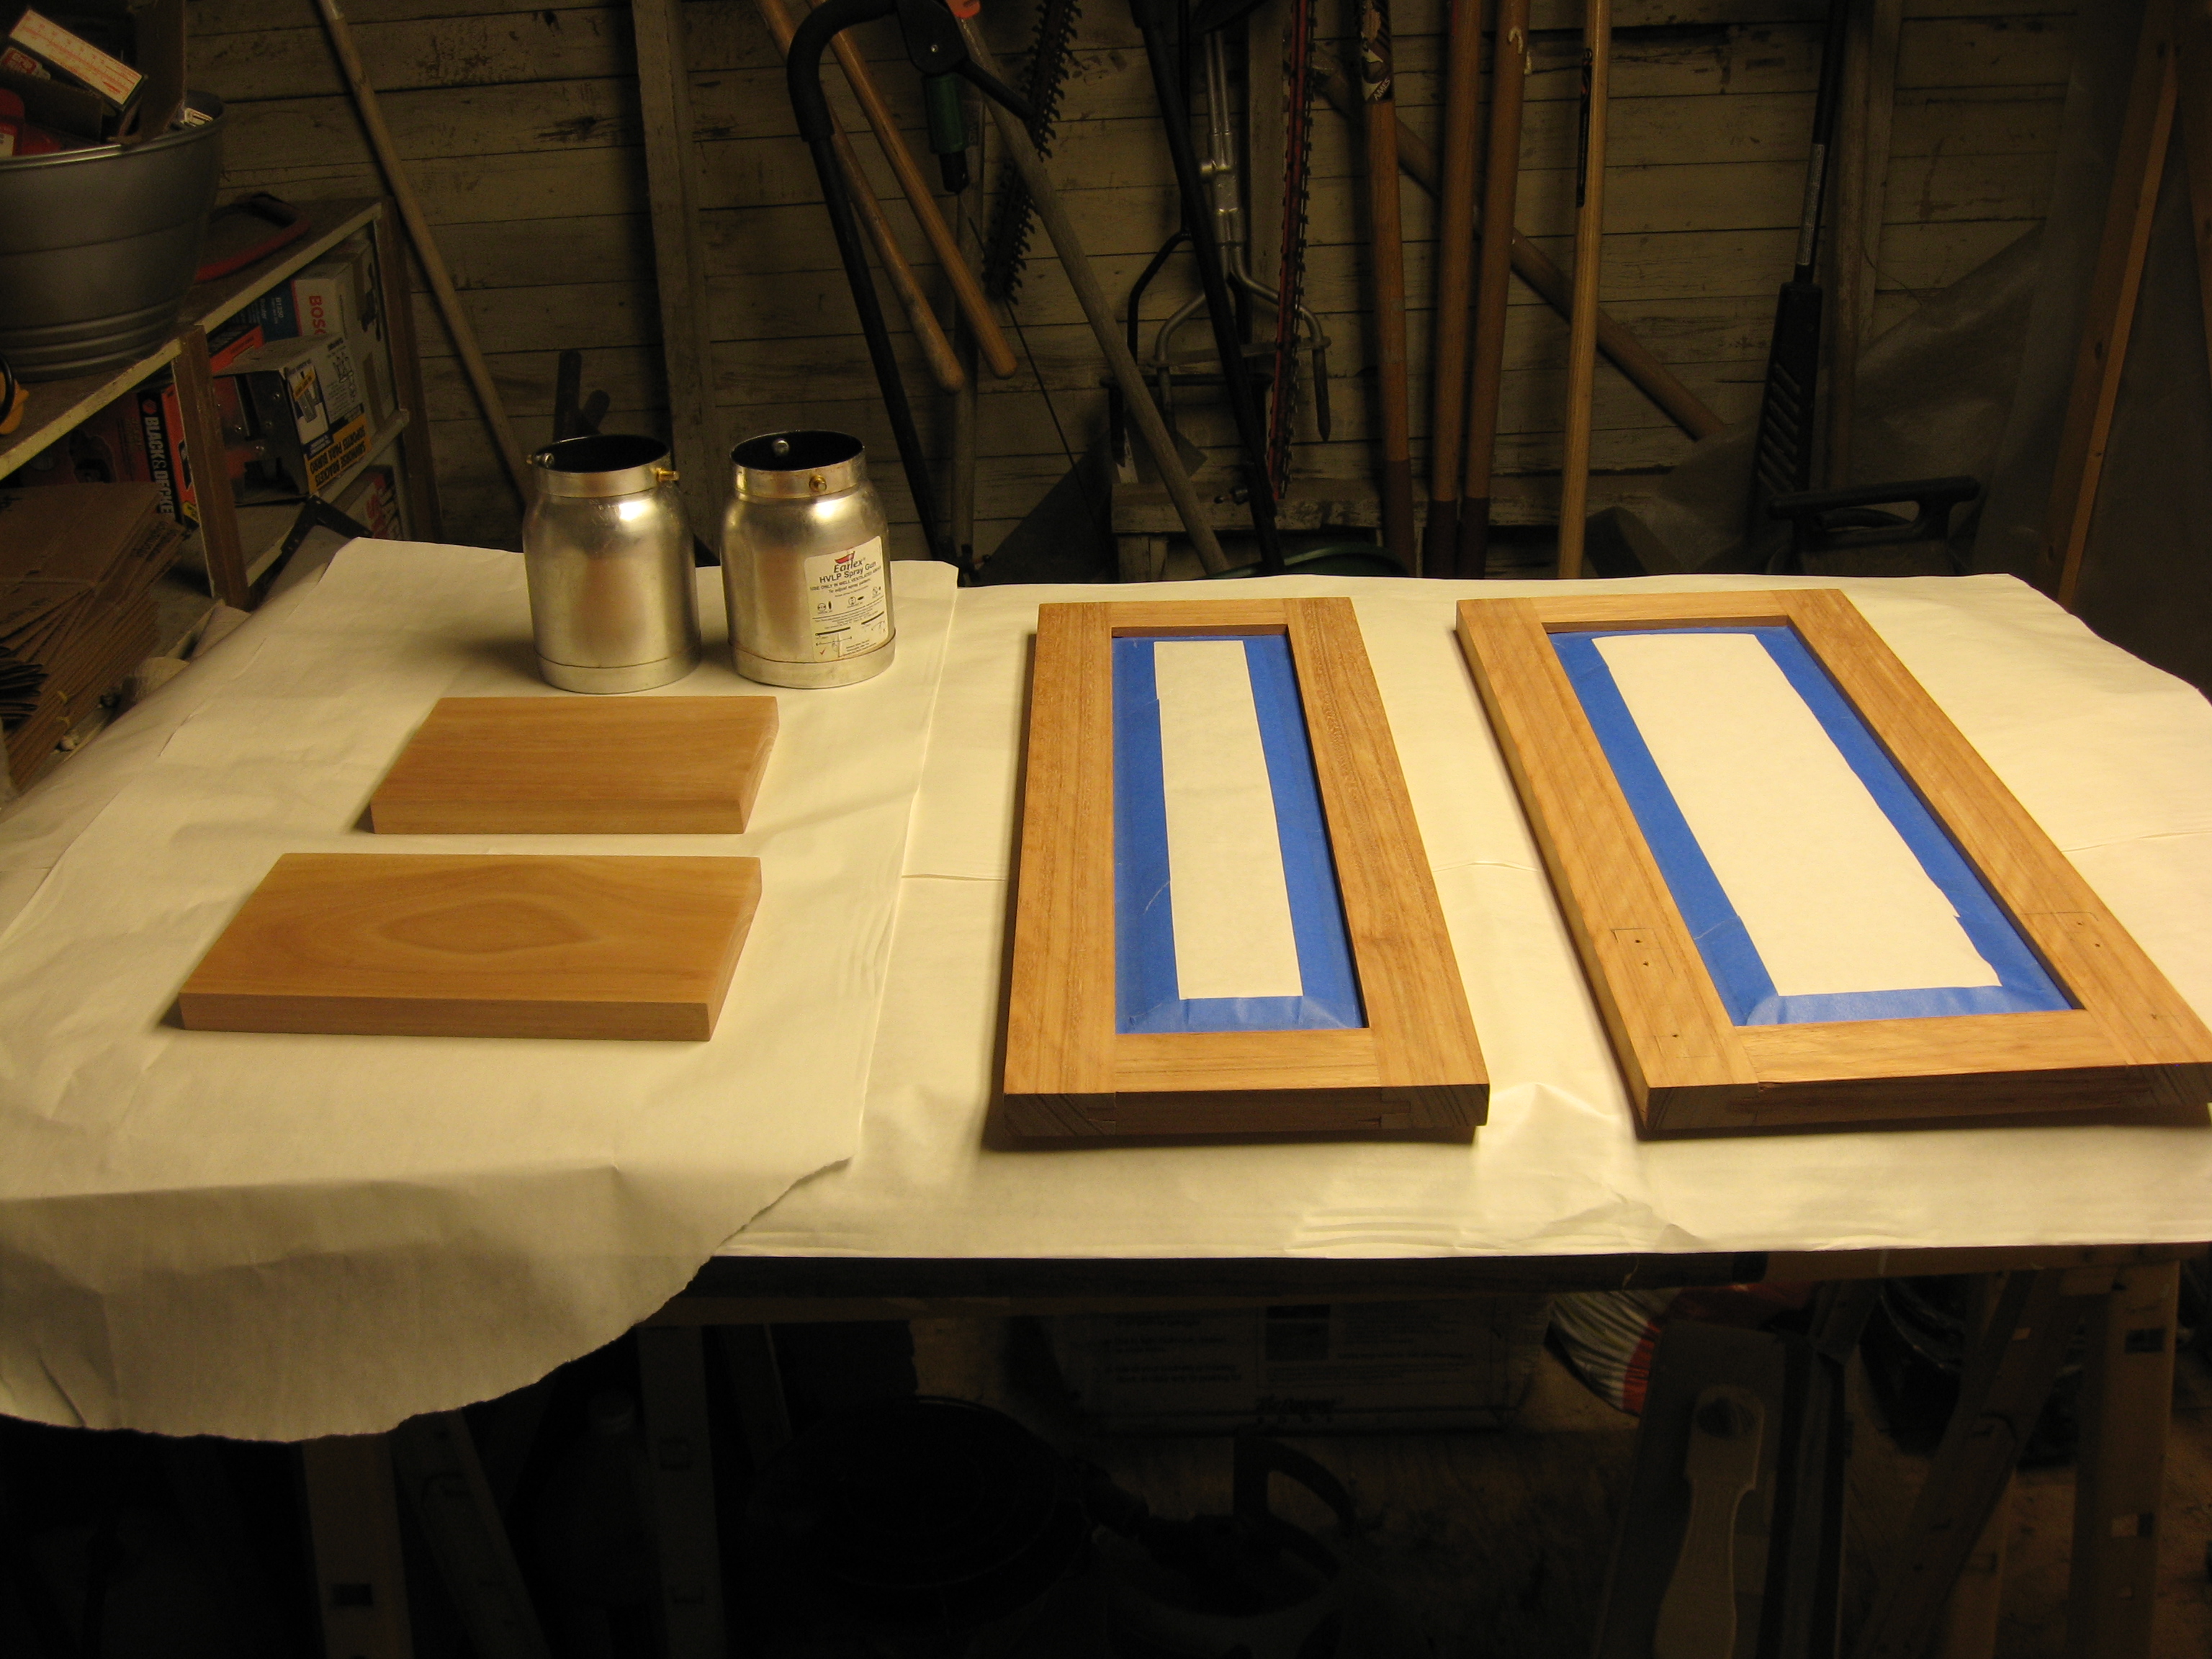
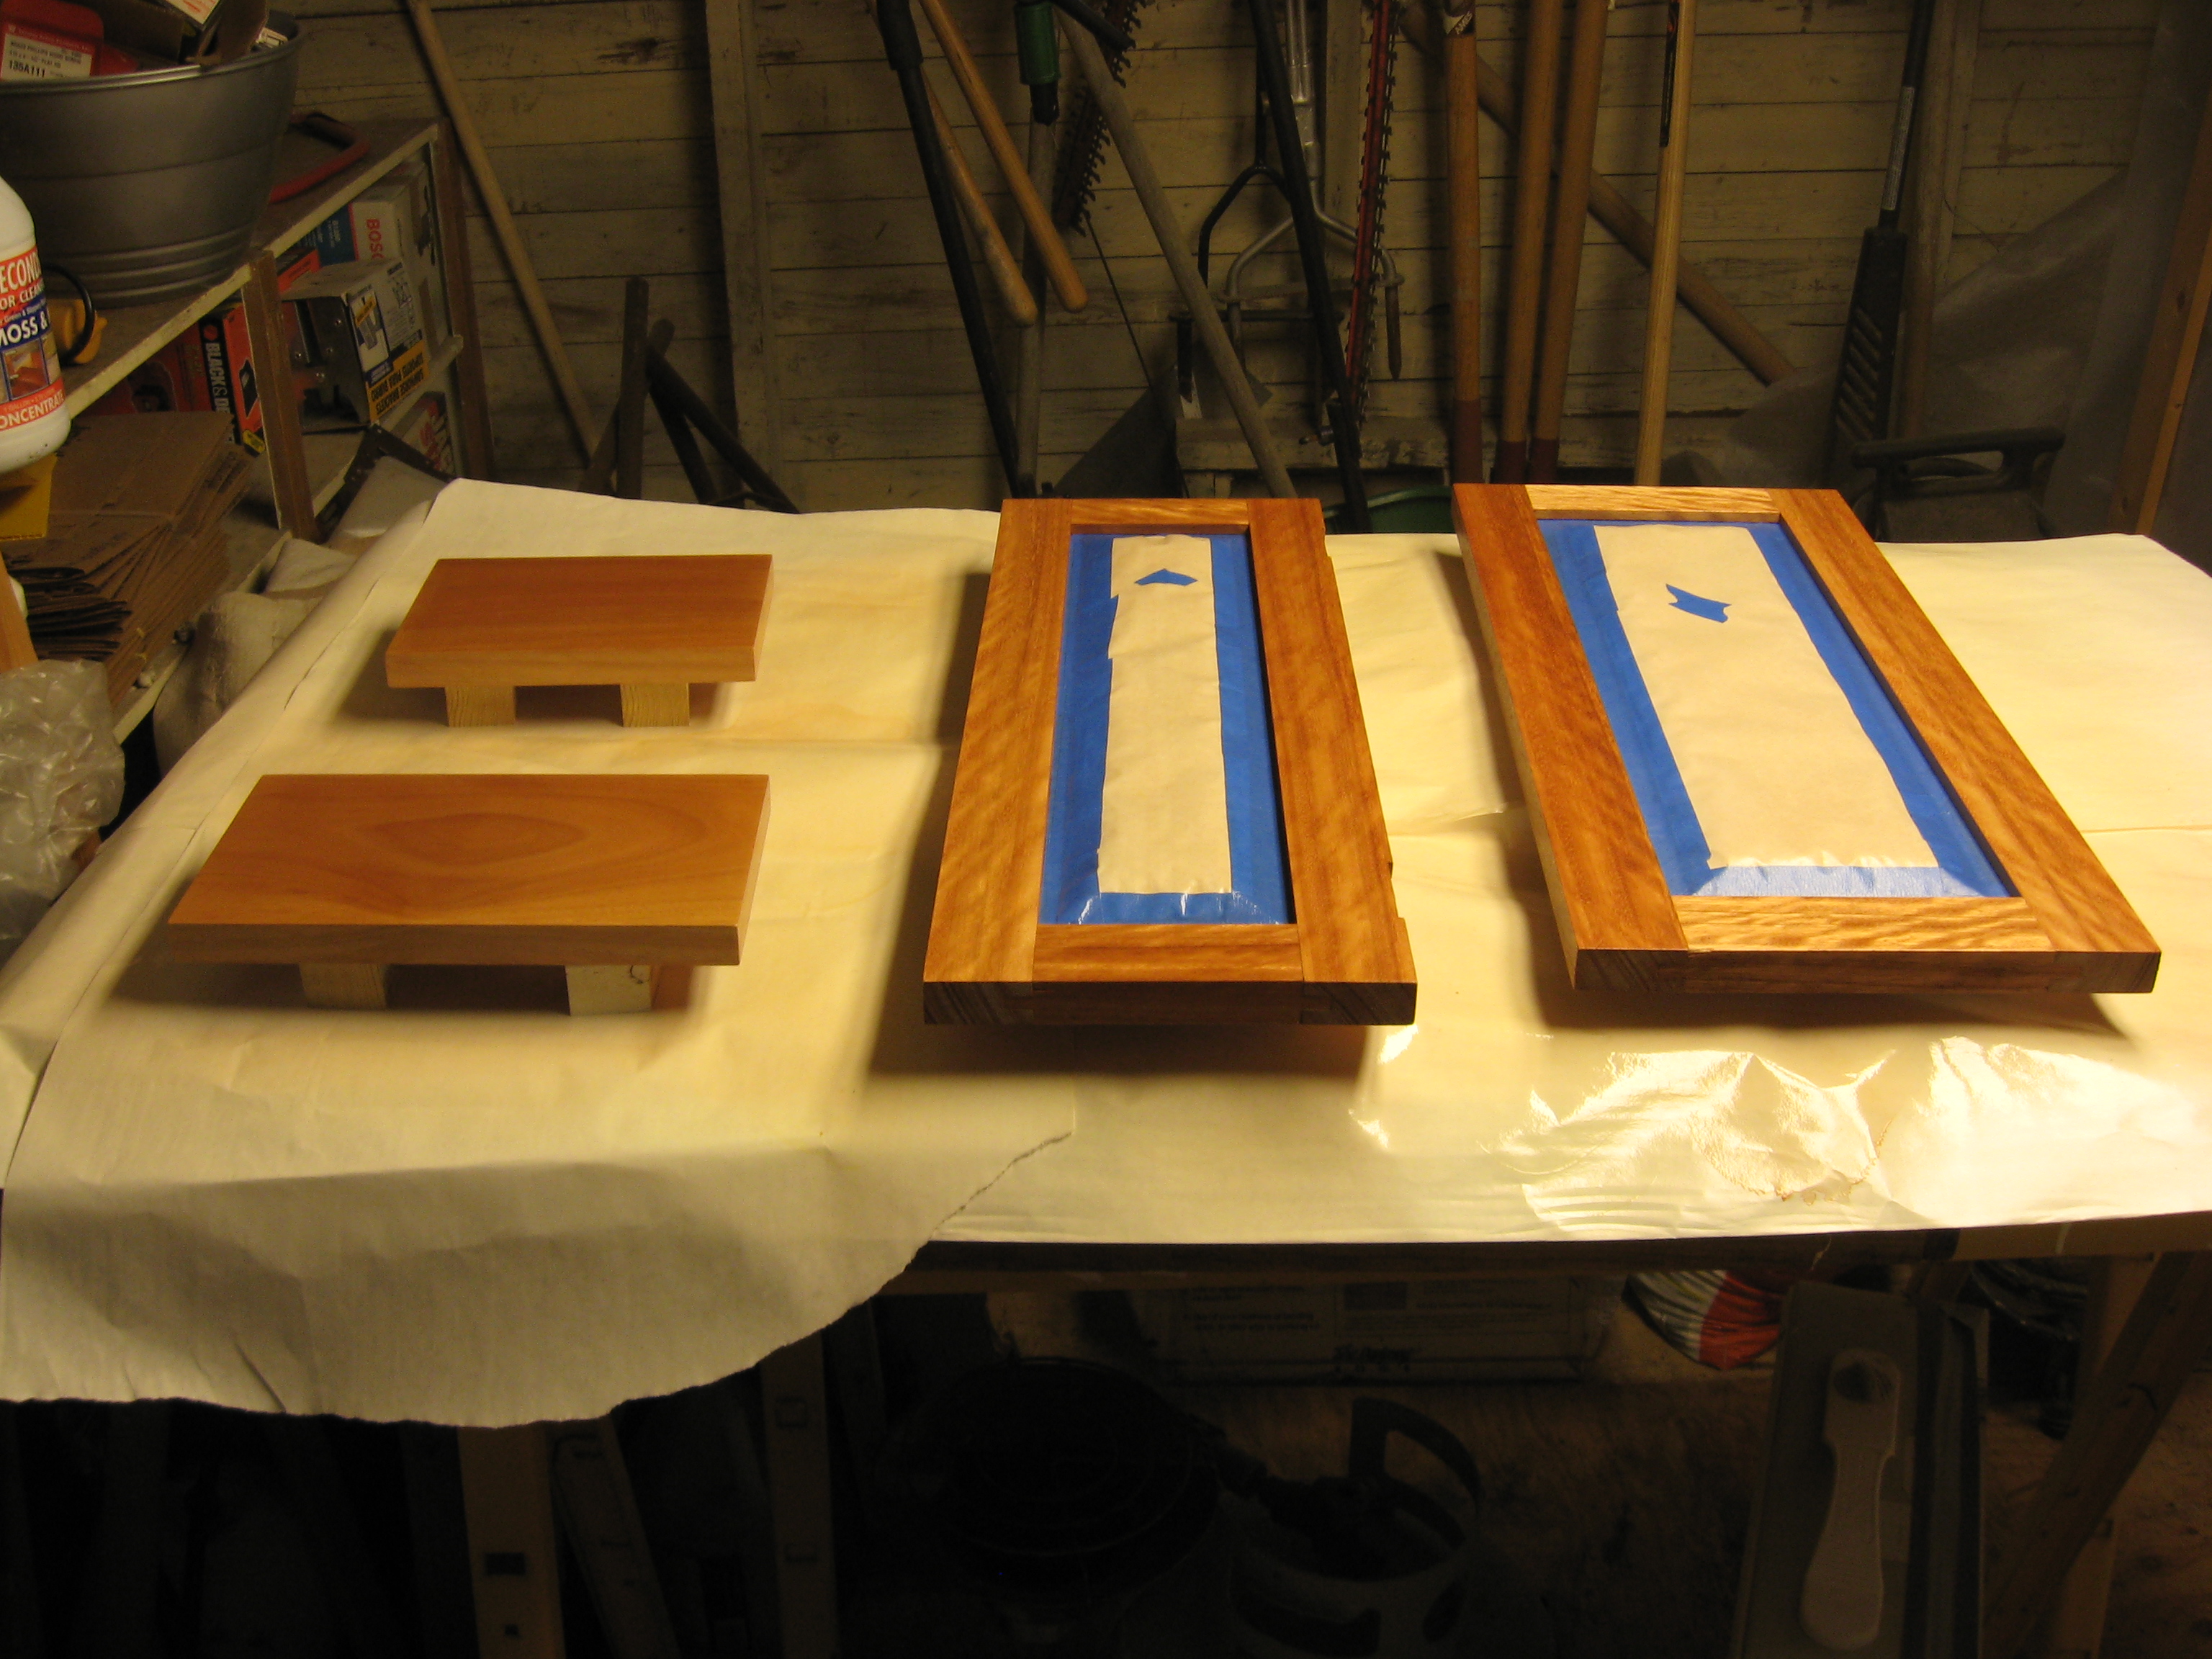
Painting in the Shed On Cold Wet Days
I'm using an oil filled heater, exhaust fan, lights and the Earlex 5000. Applying three coats of poly on the drawers that go on the wet wall.
:
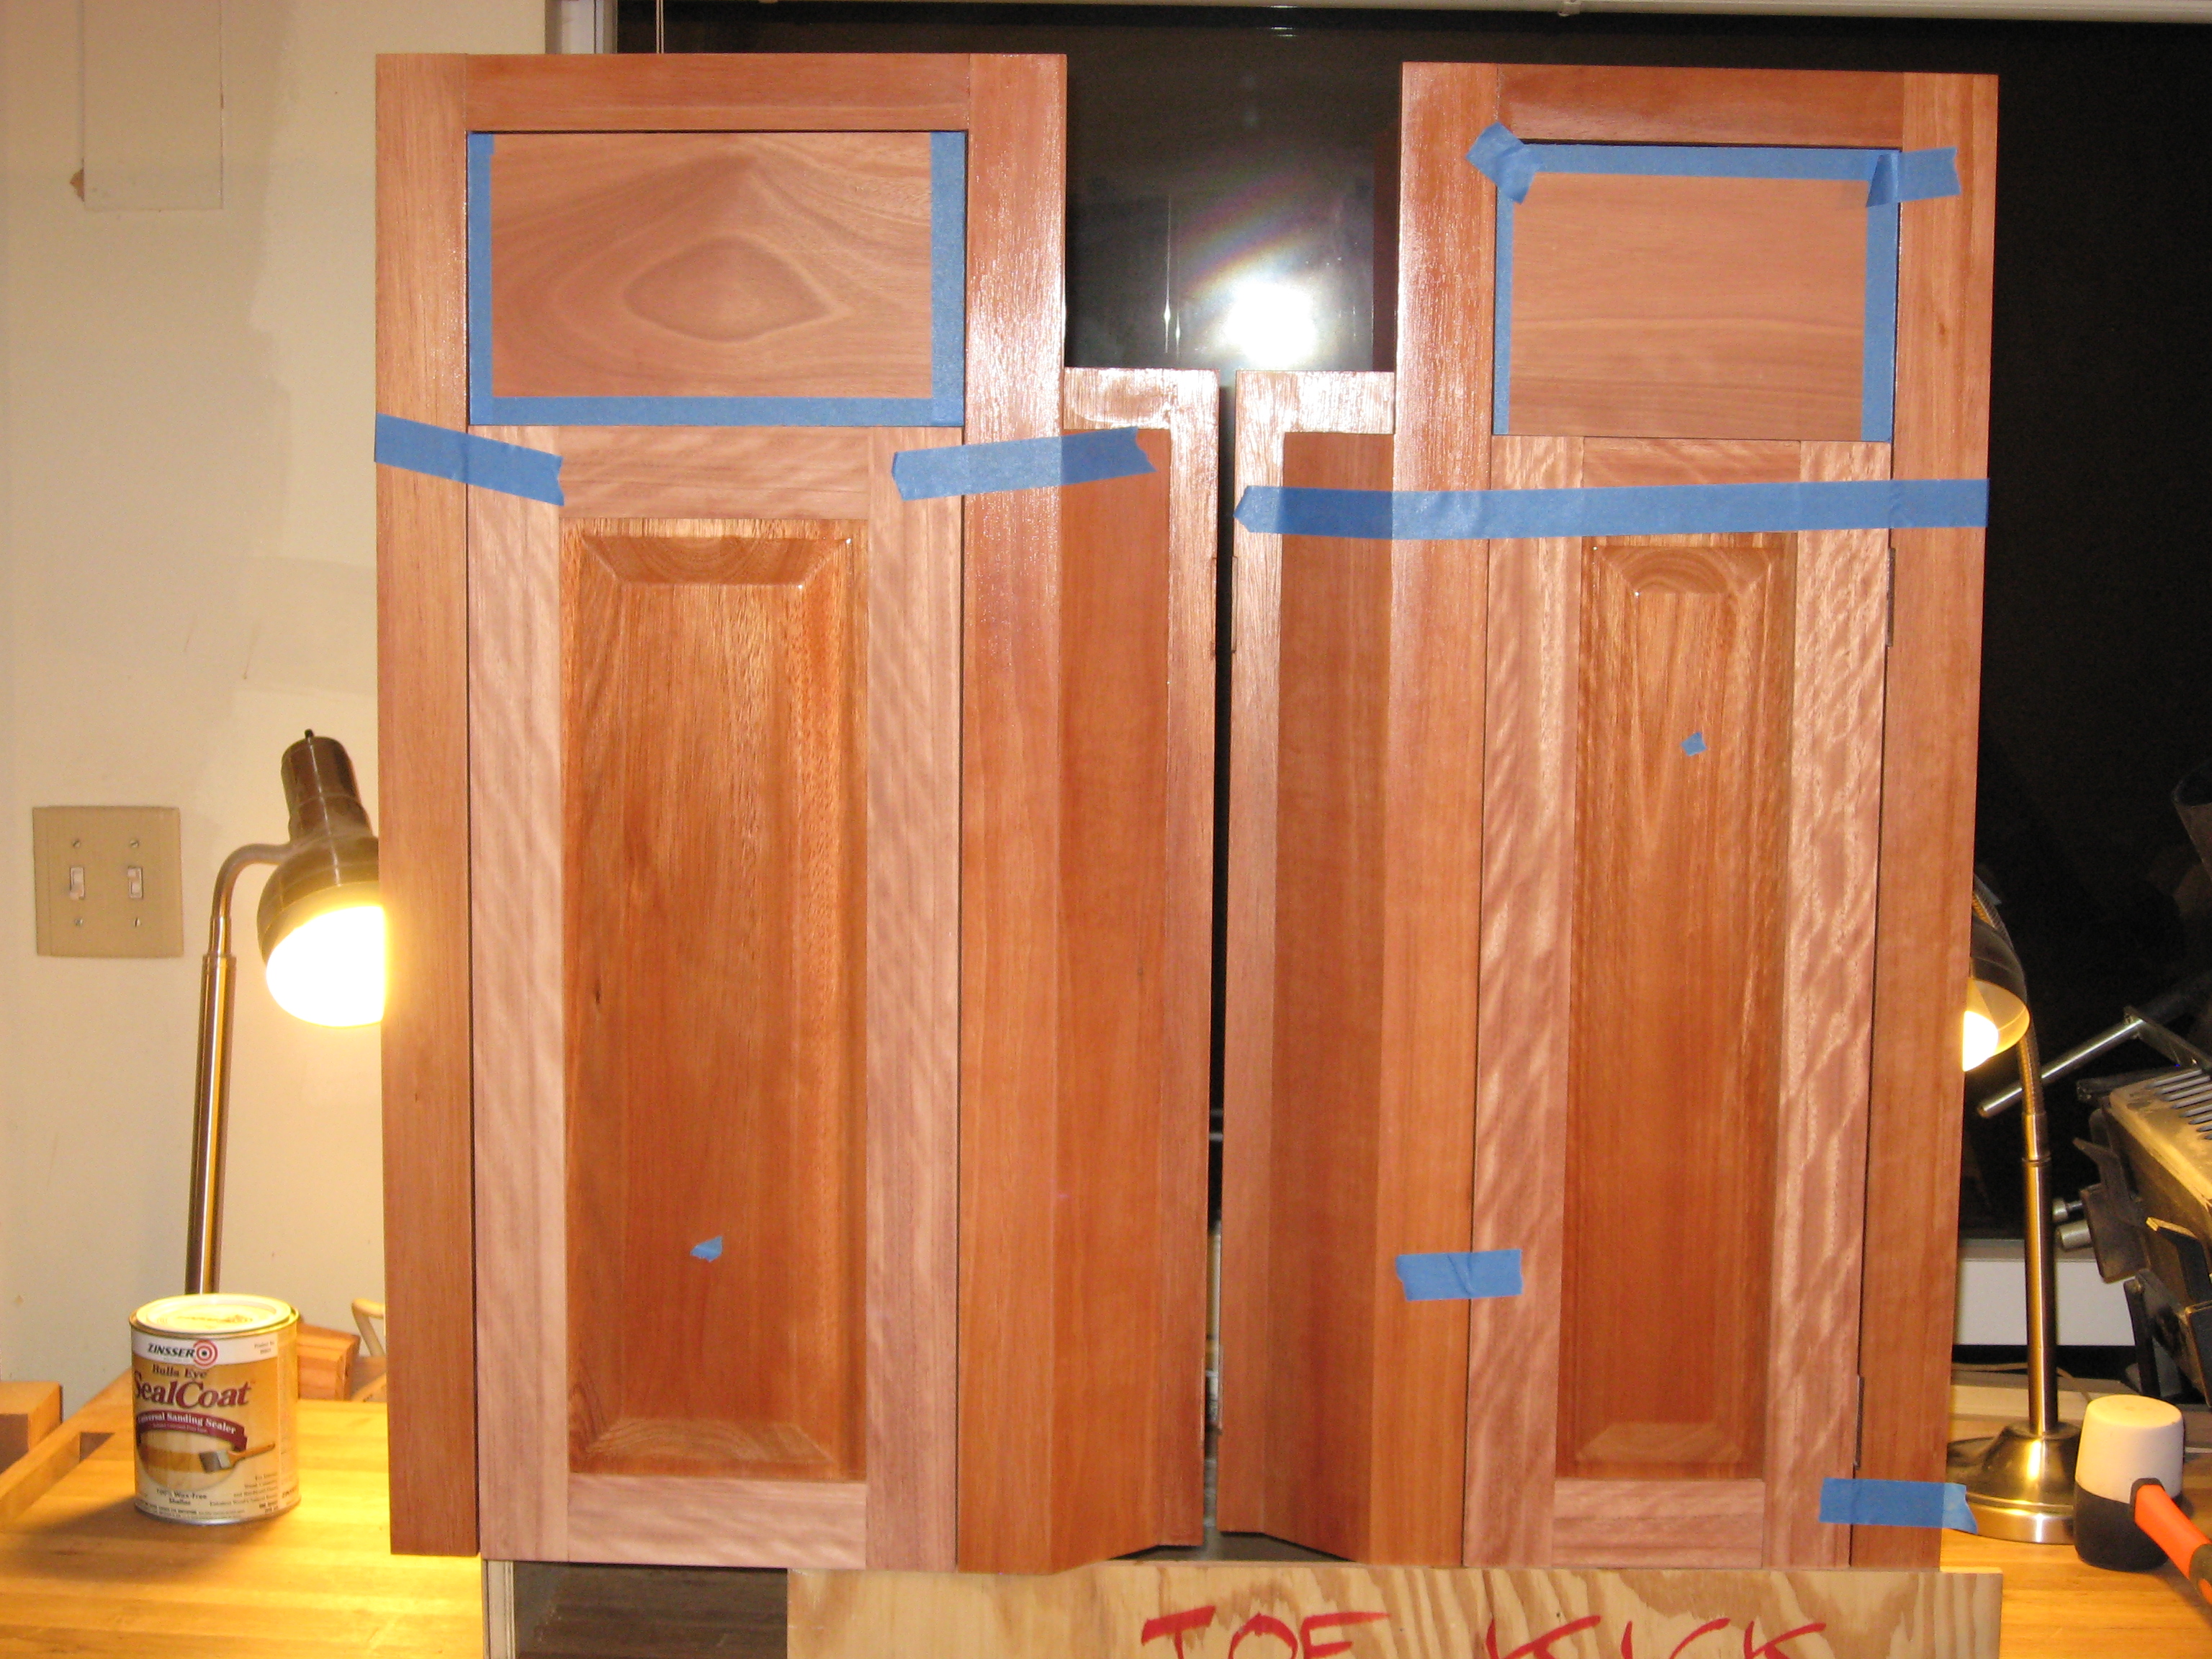
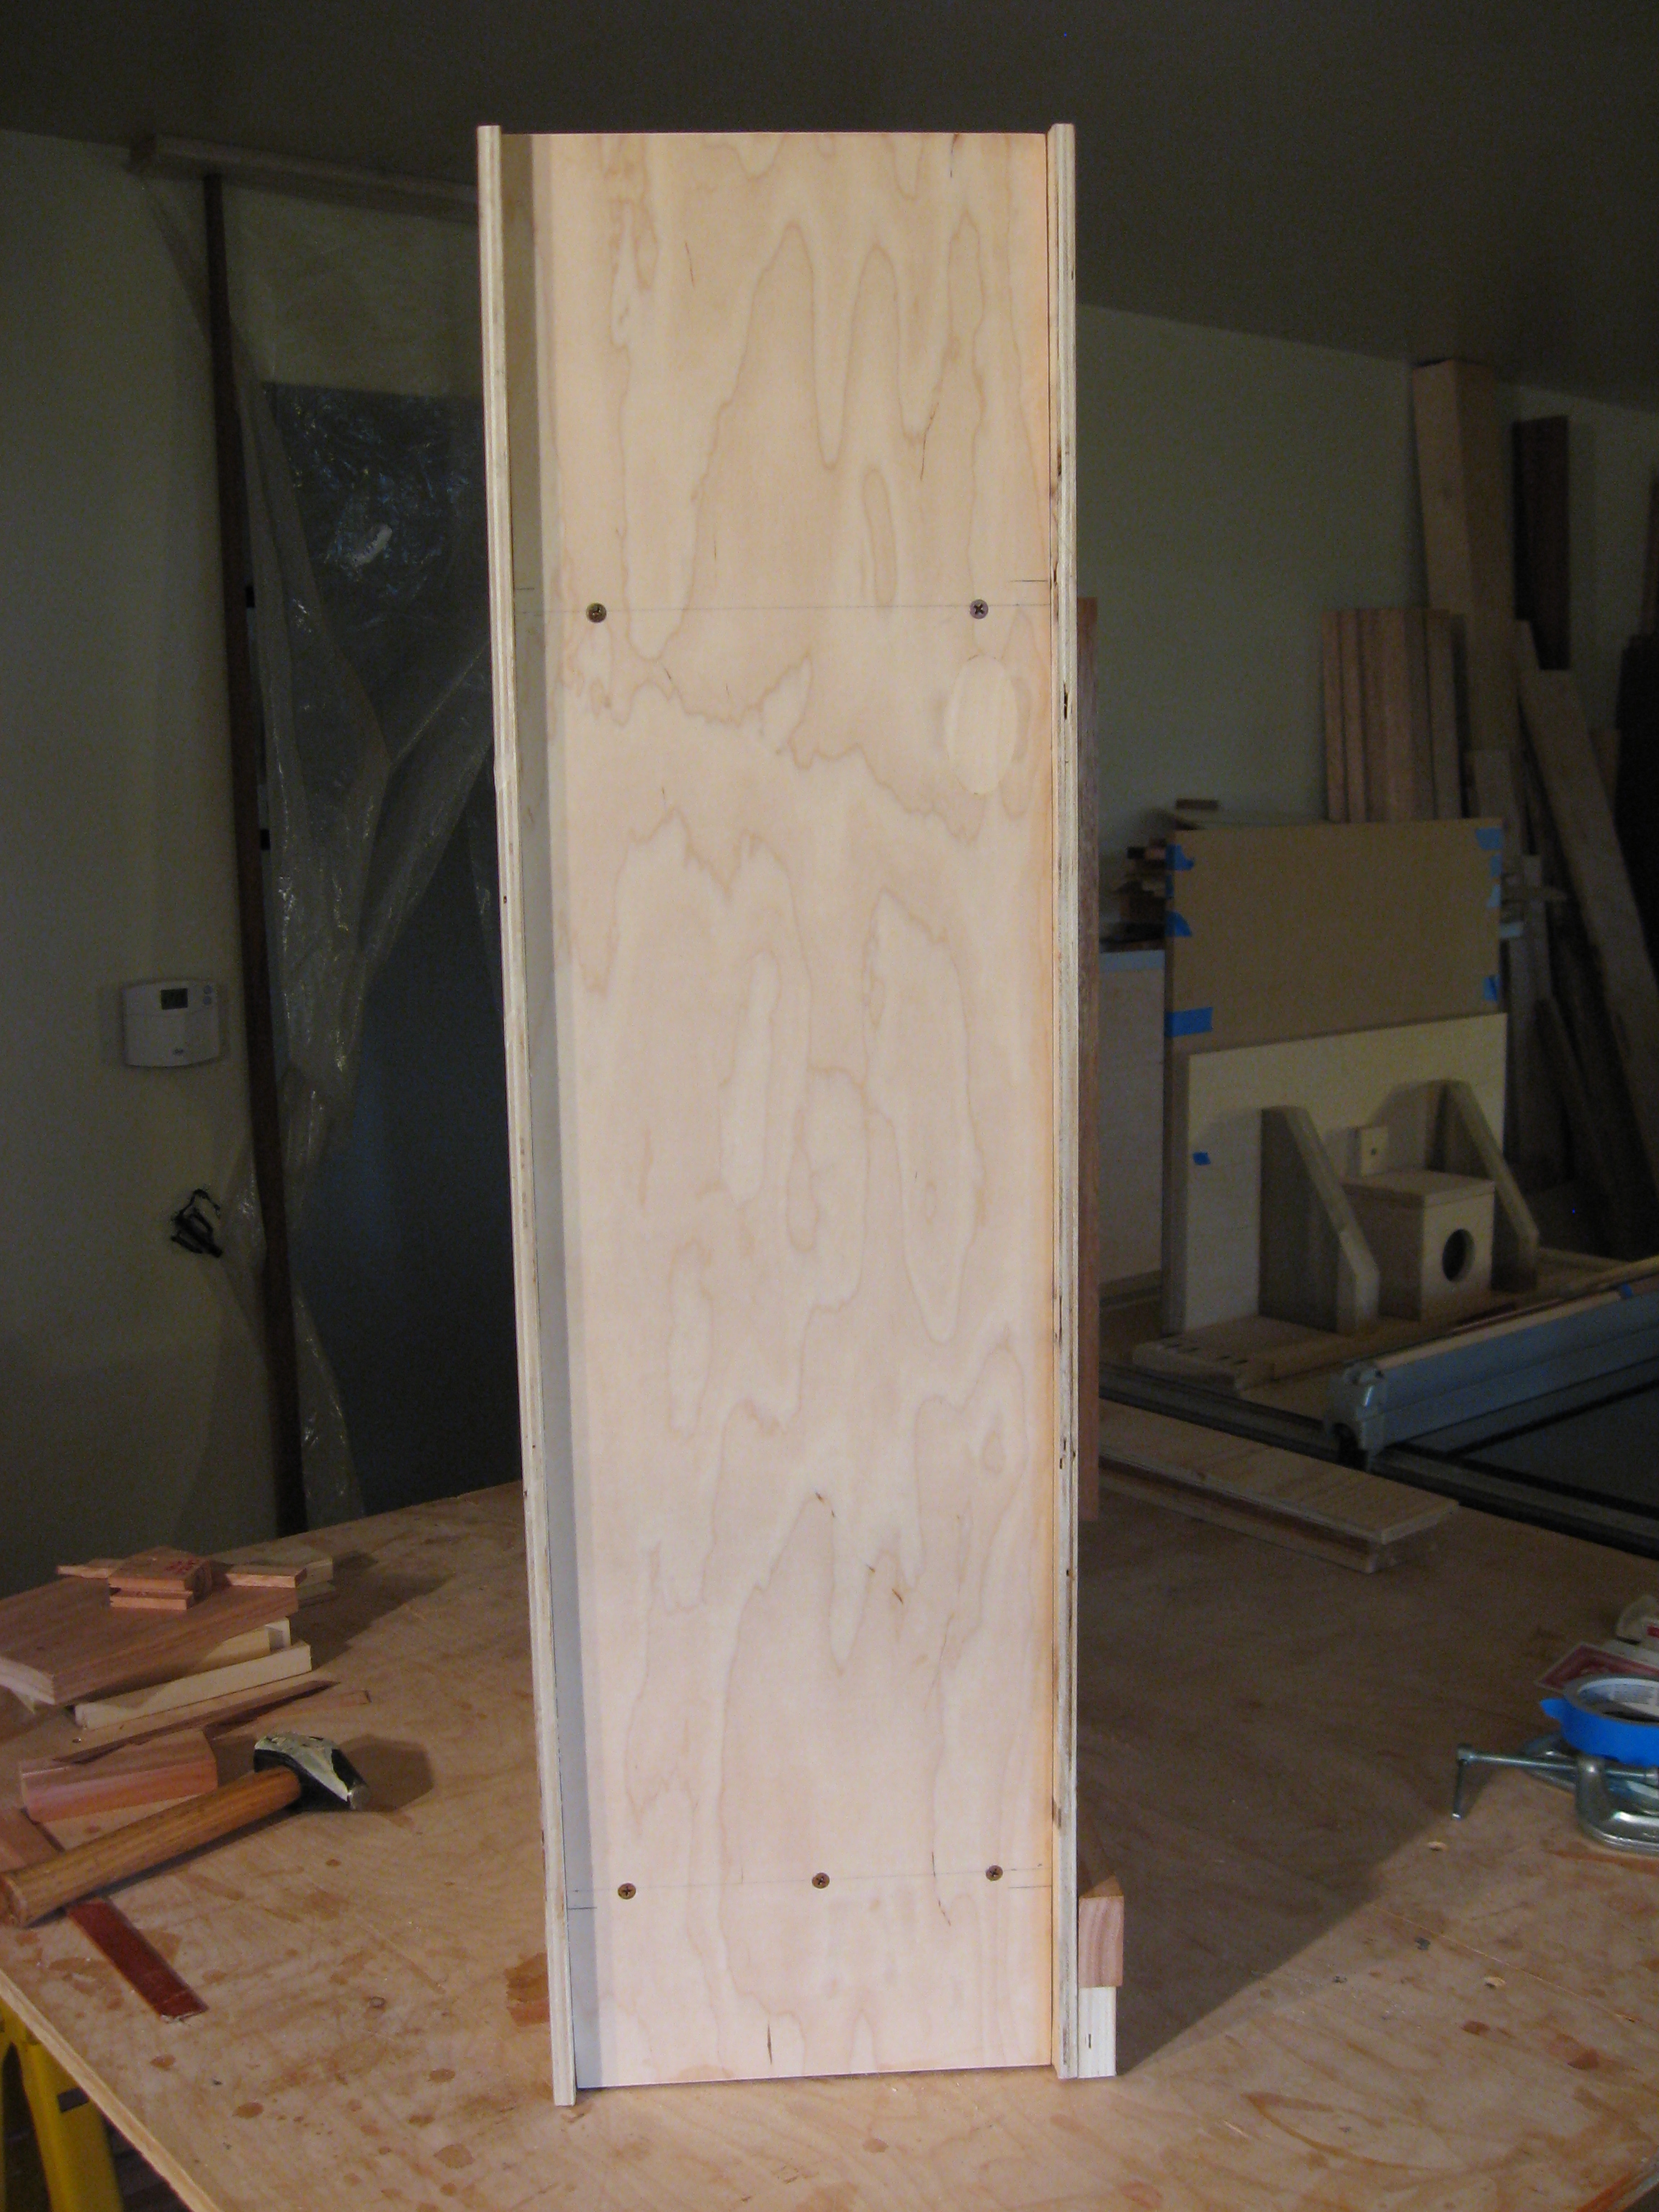
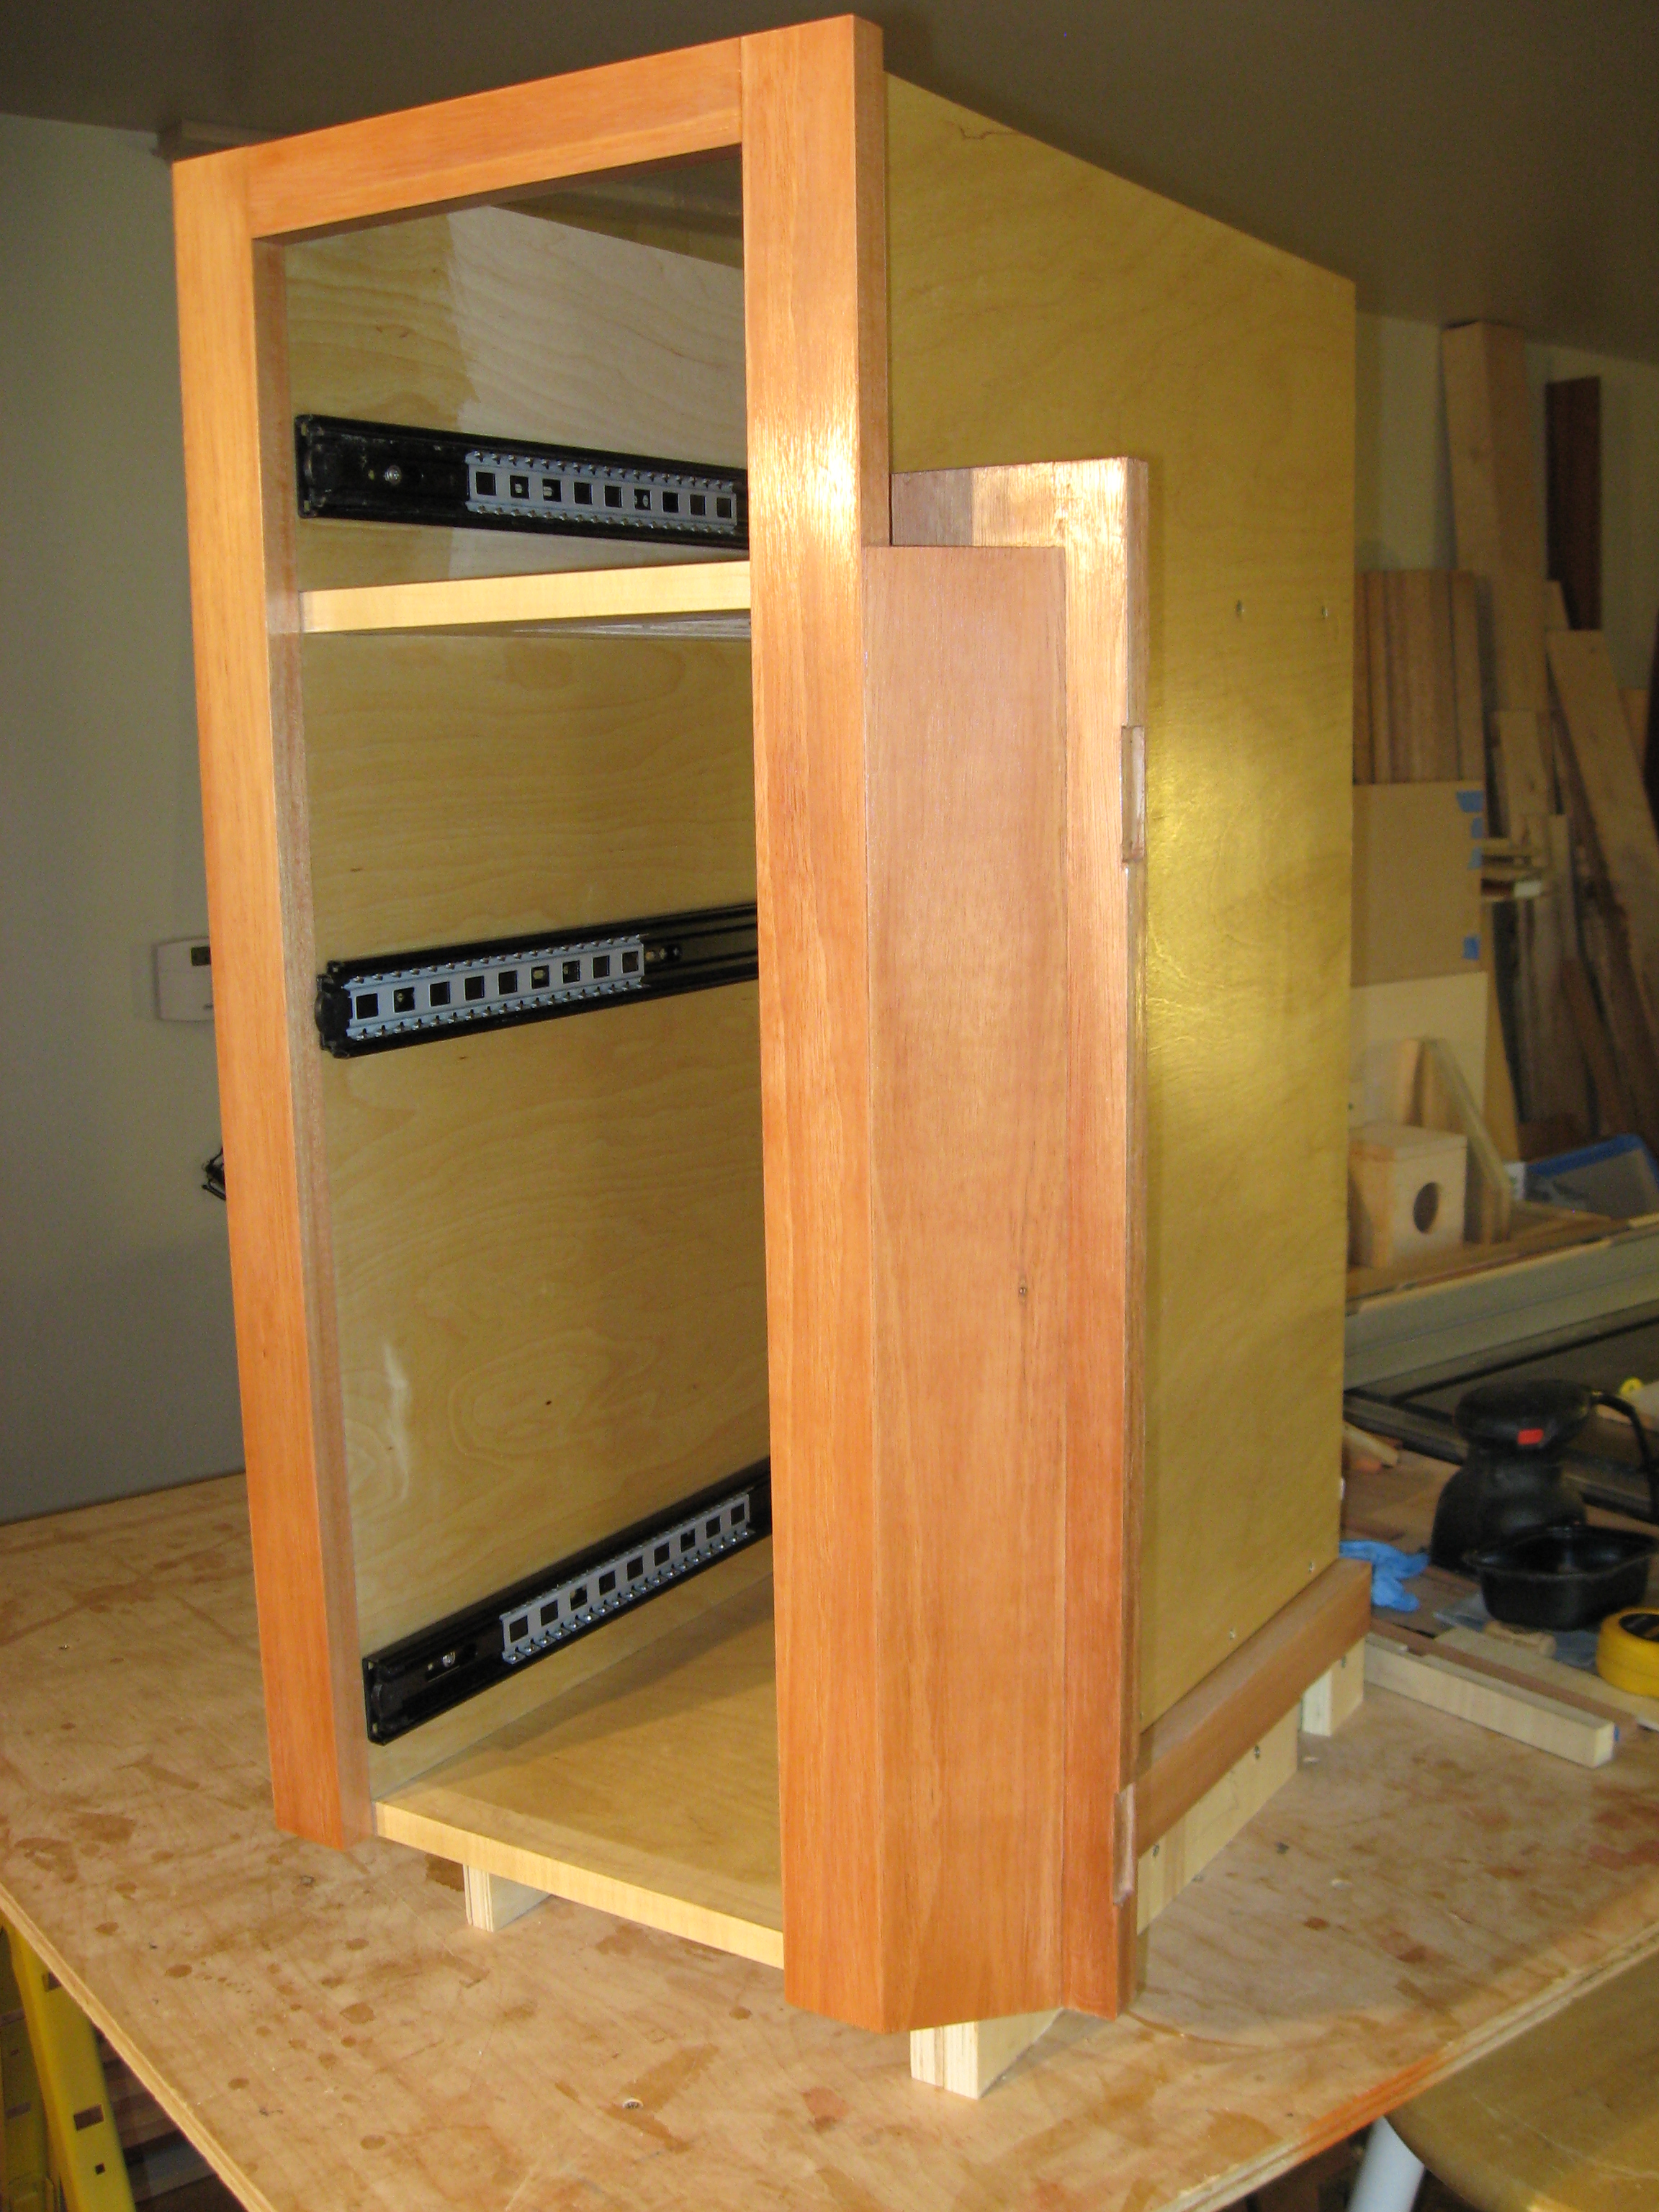
WET WALL CABINETS
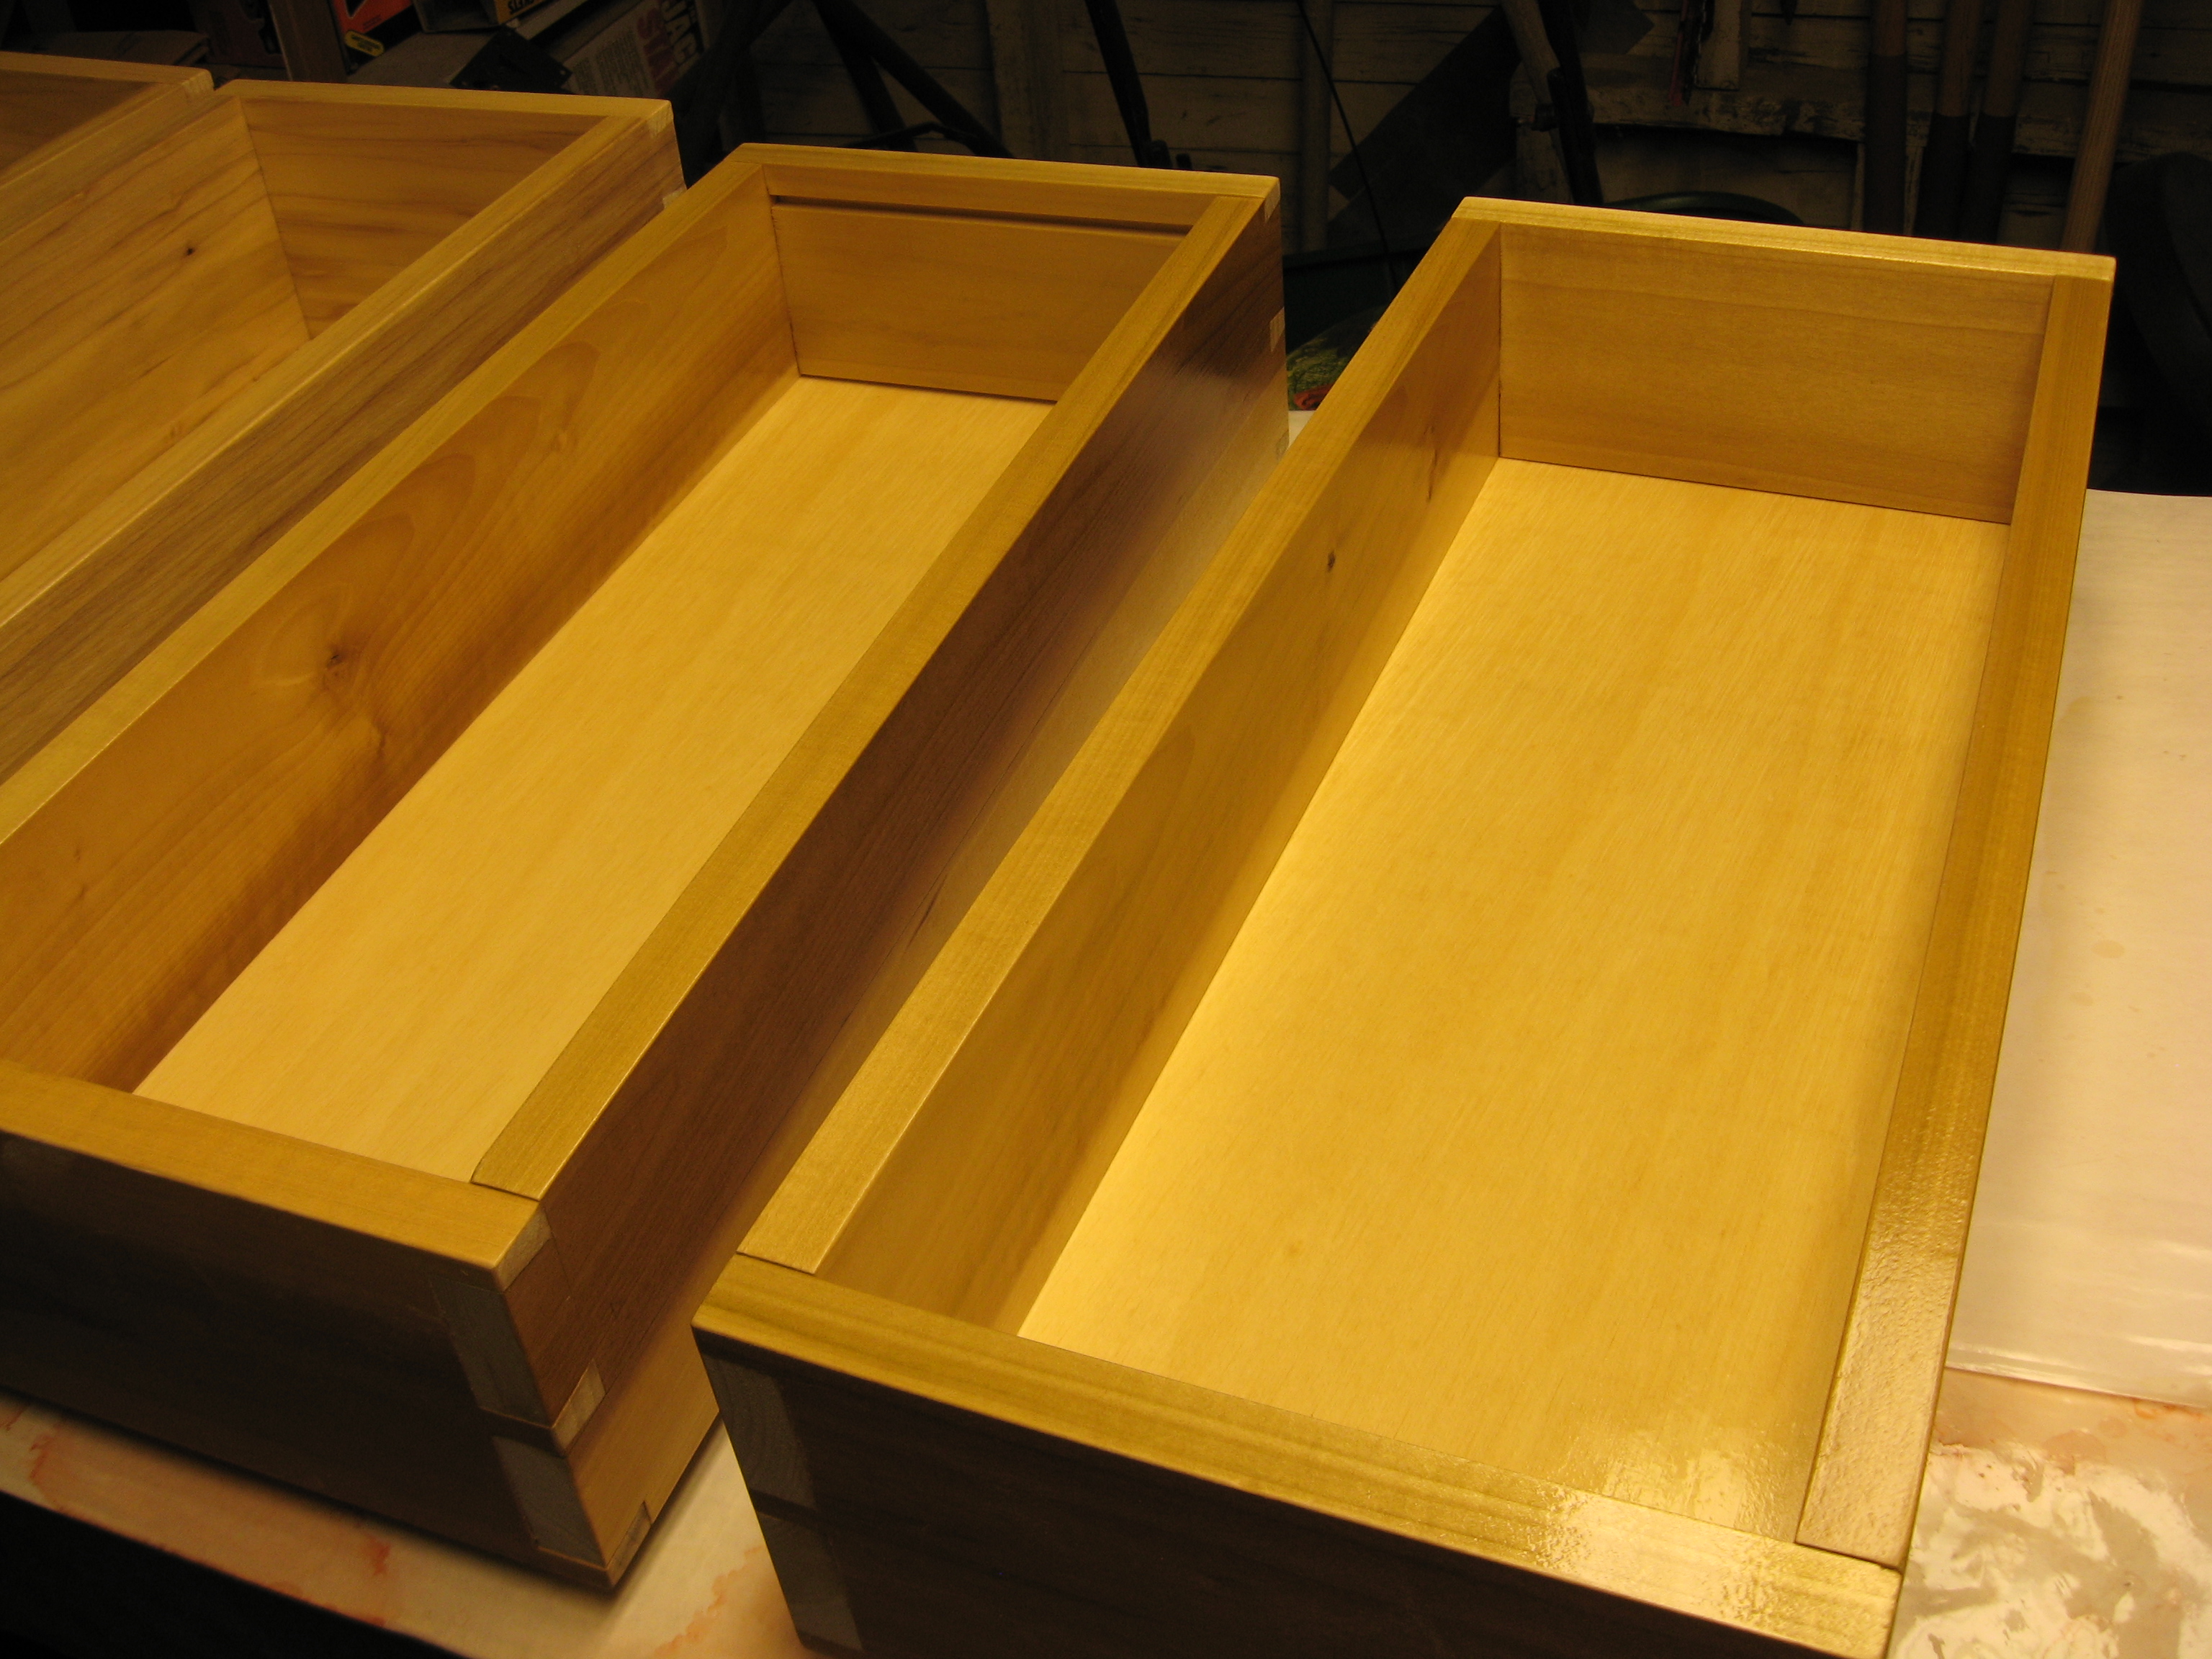
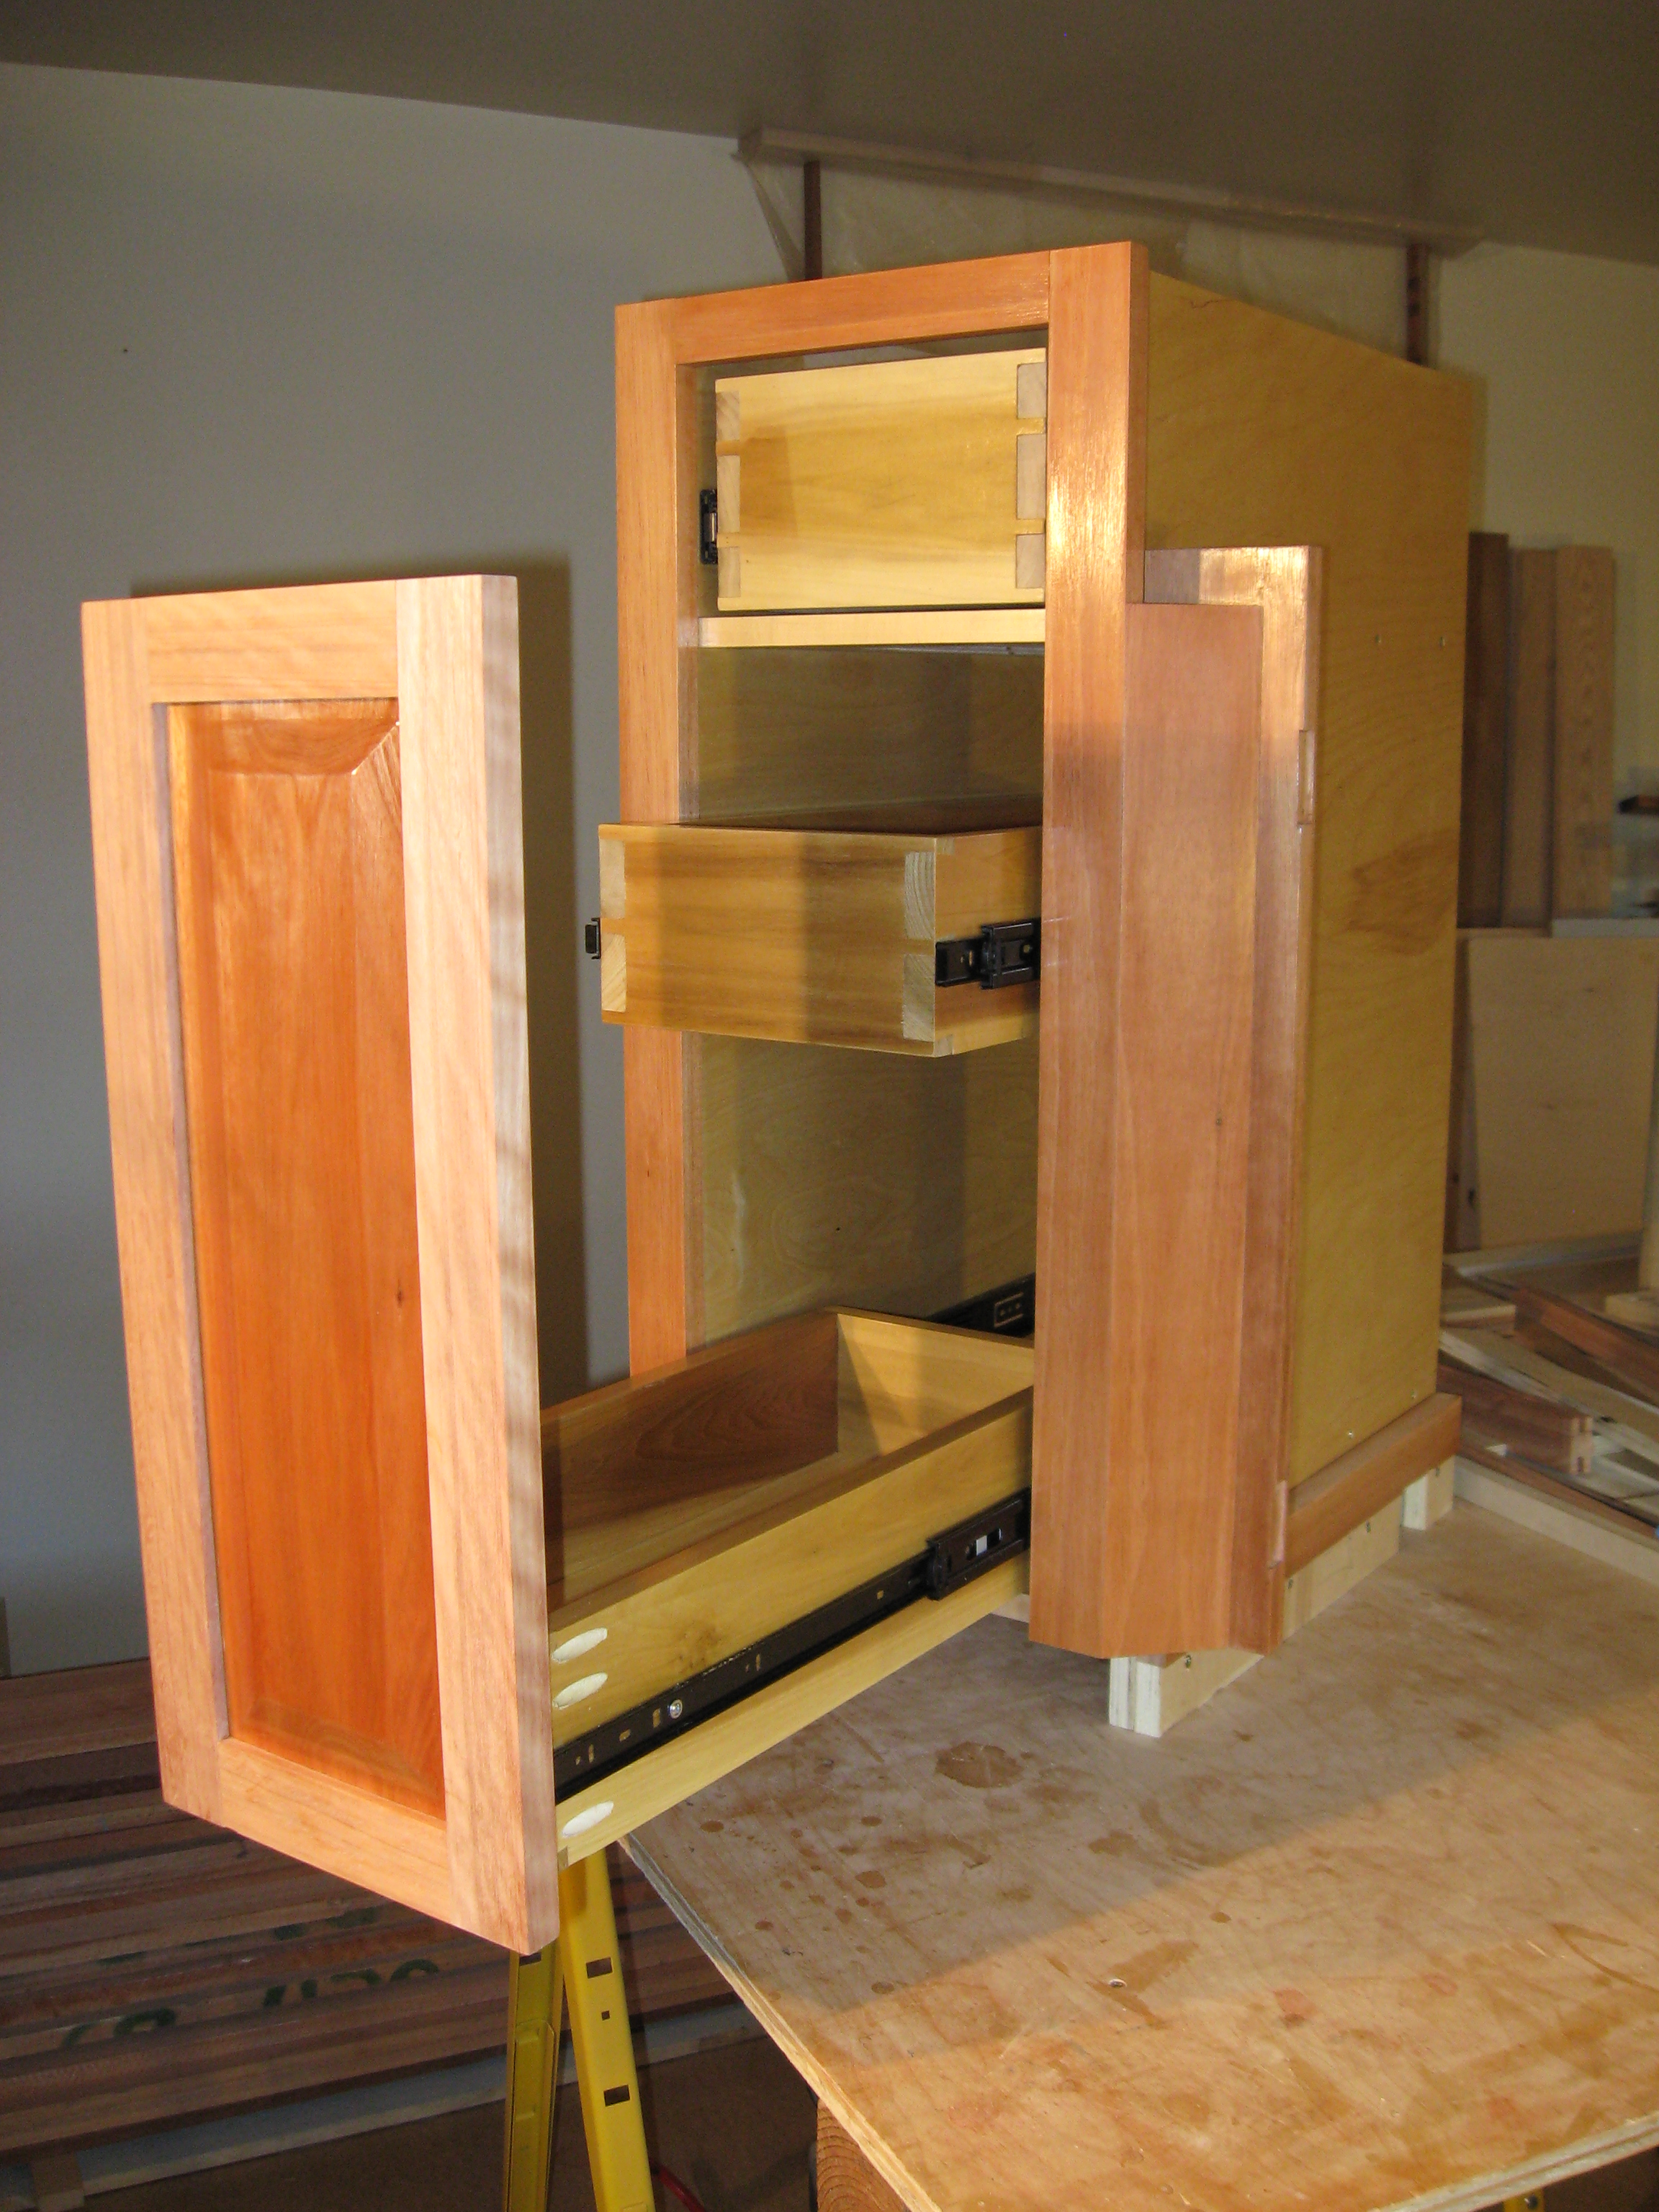
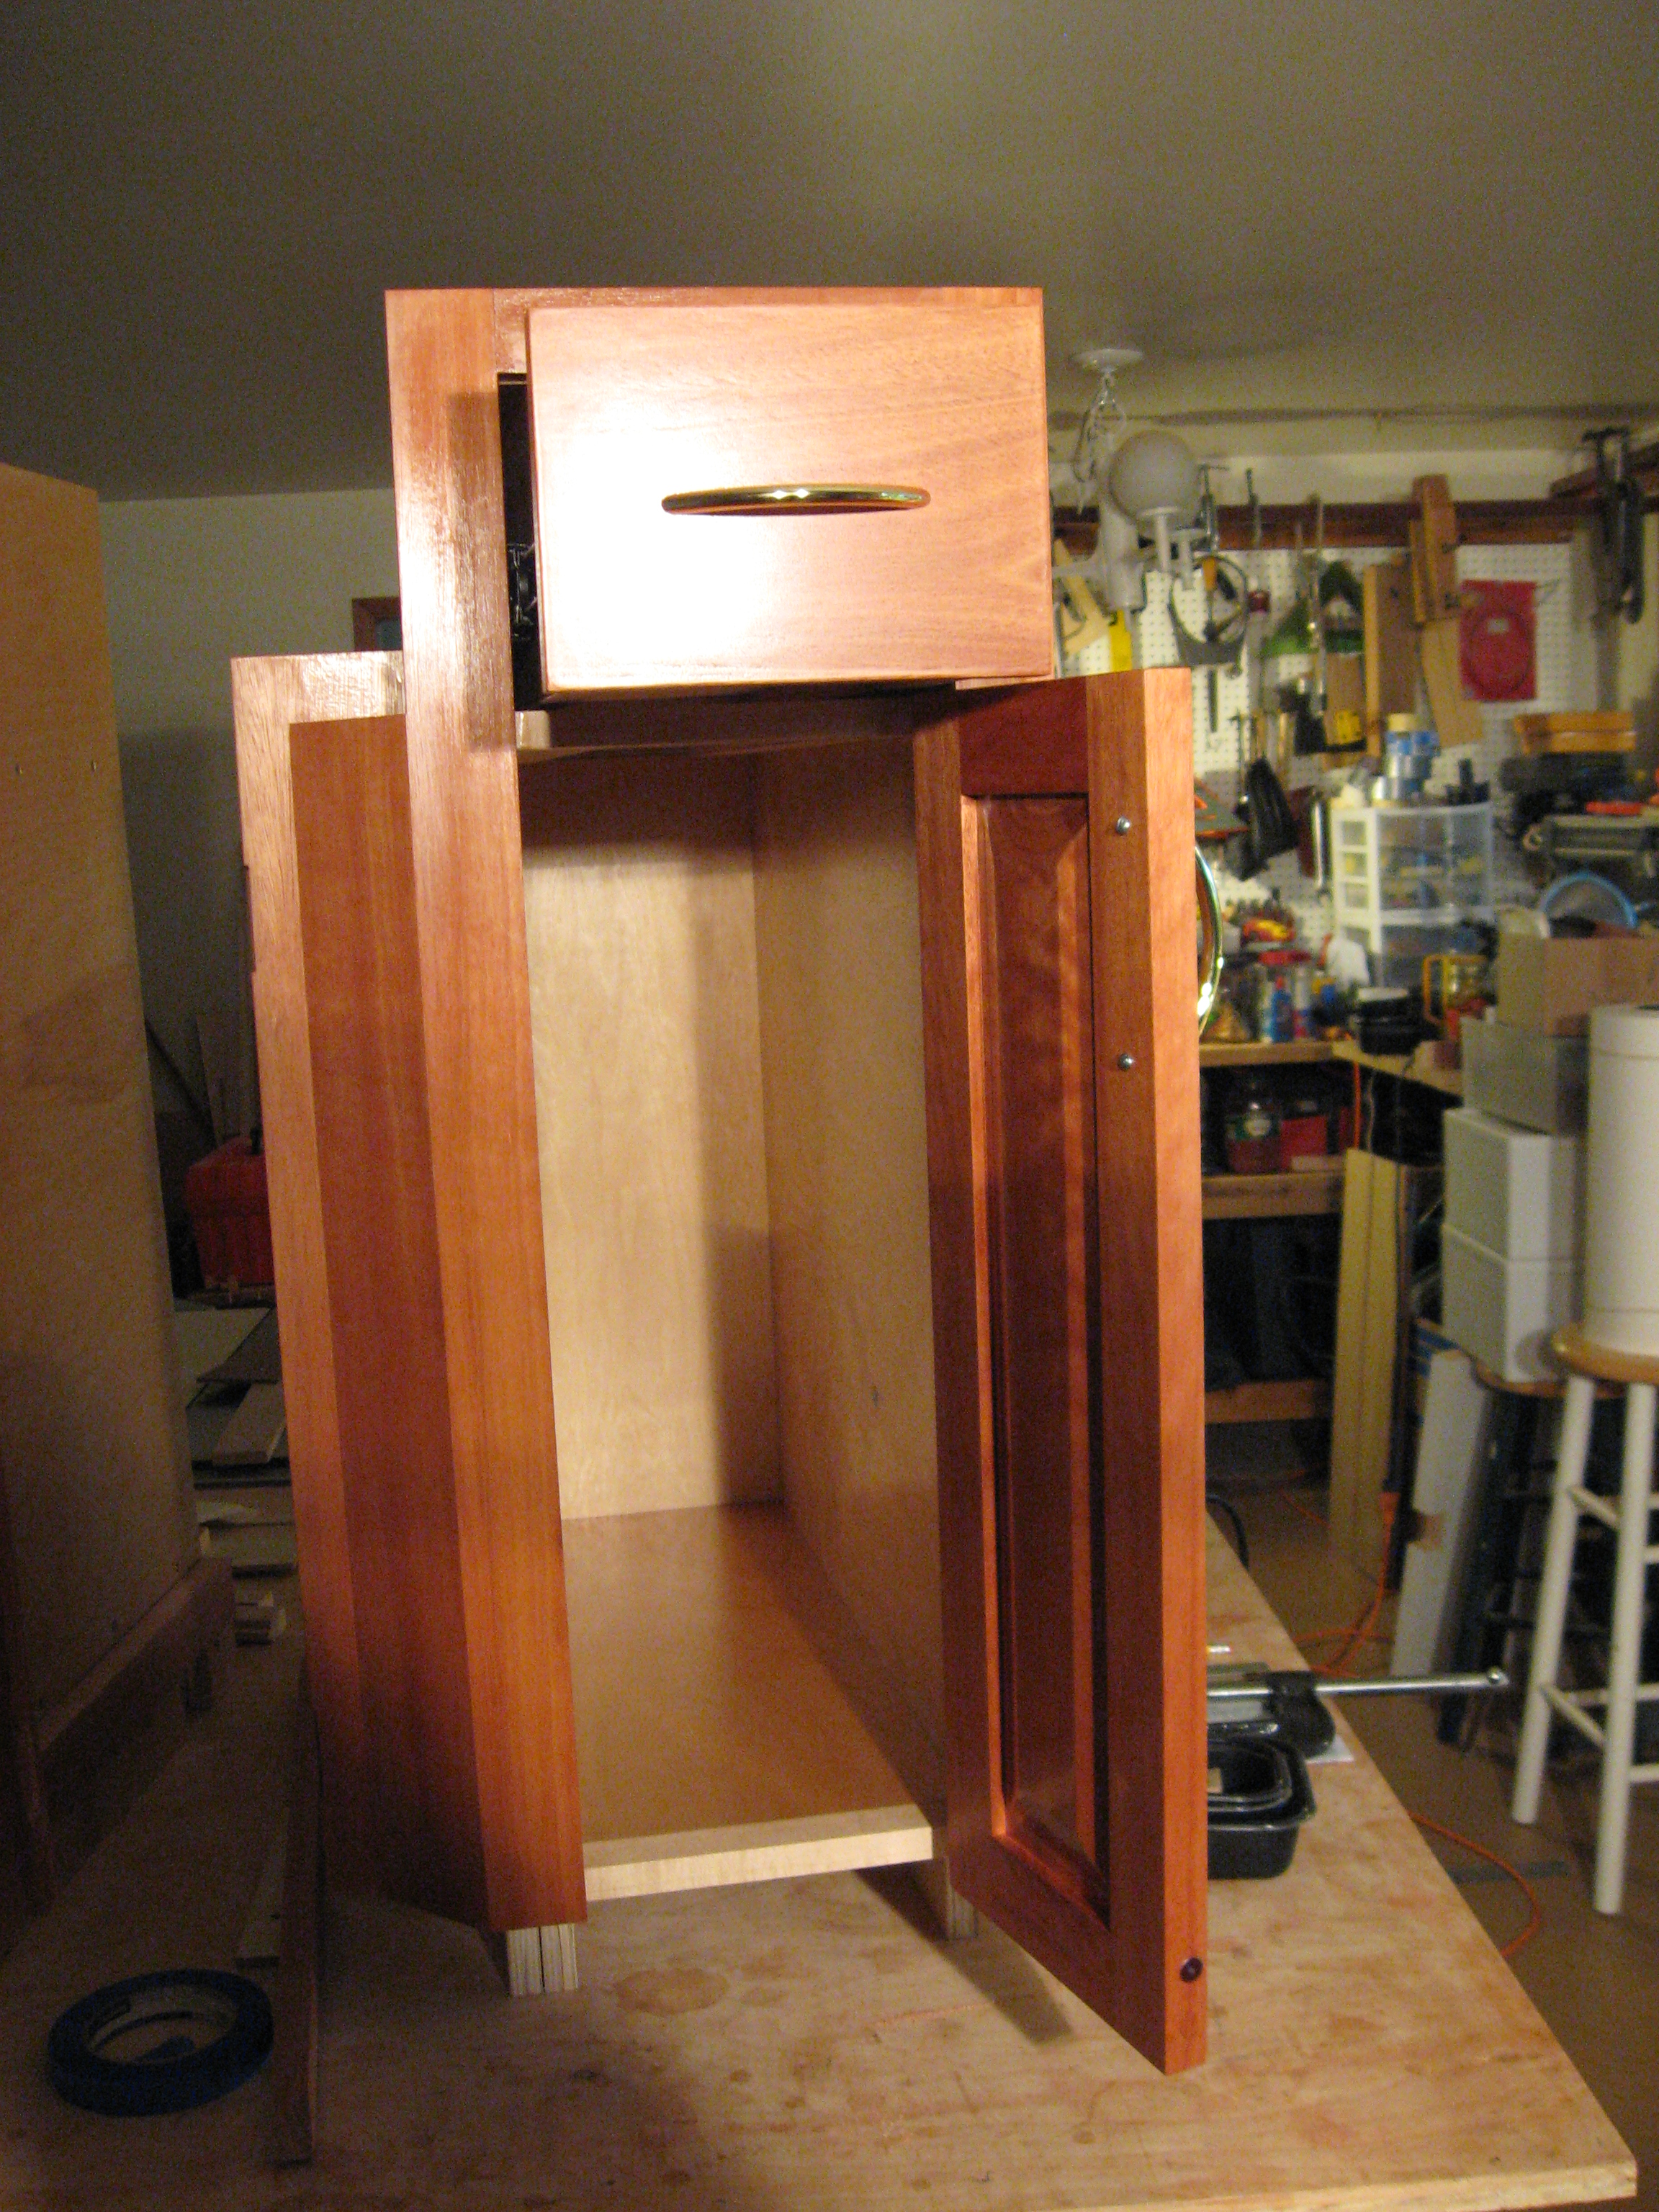
I'm nearing the end of the process for the right and left wet wall cabinets. The inside length of the drawers is 21.5 in. The drawer slides are 20" full extension. The drawer face is screwed to the drawer box from the back. There is a set of 7mm neodymium rare earth magnets installed to keep the door closed. Back panels are attached with only a few screws. Did you ever have a problem opening a drawer because something popped up and jammed against the top rail when you tried to open it? This really irks me, so I'm going to put a stop to it. These cabinets will have a dust panel installed flush with the bottom of the top rail to prevent this. Its installed at a slight angle towards the front to compress things that want to pop up when the drawer is opened.
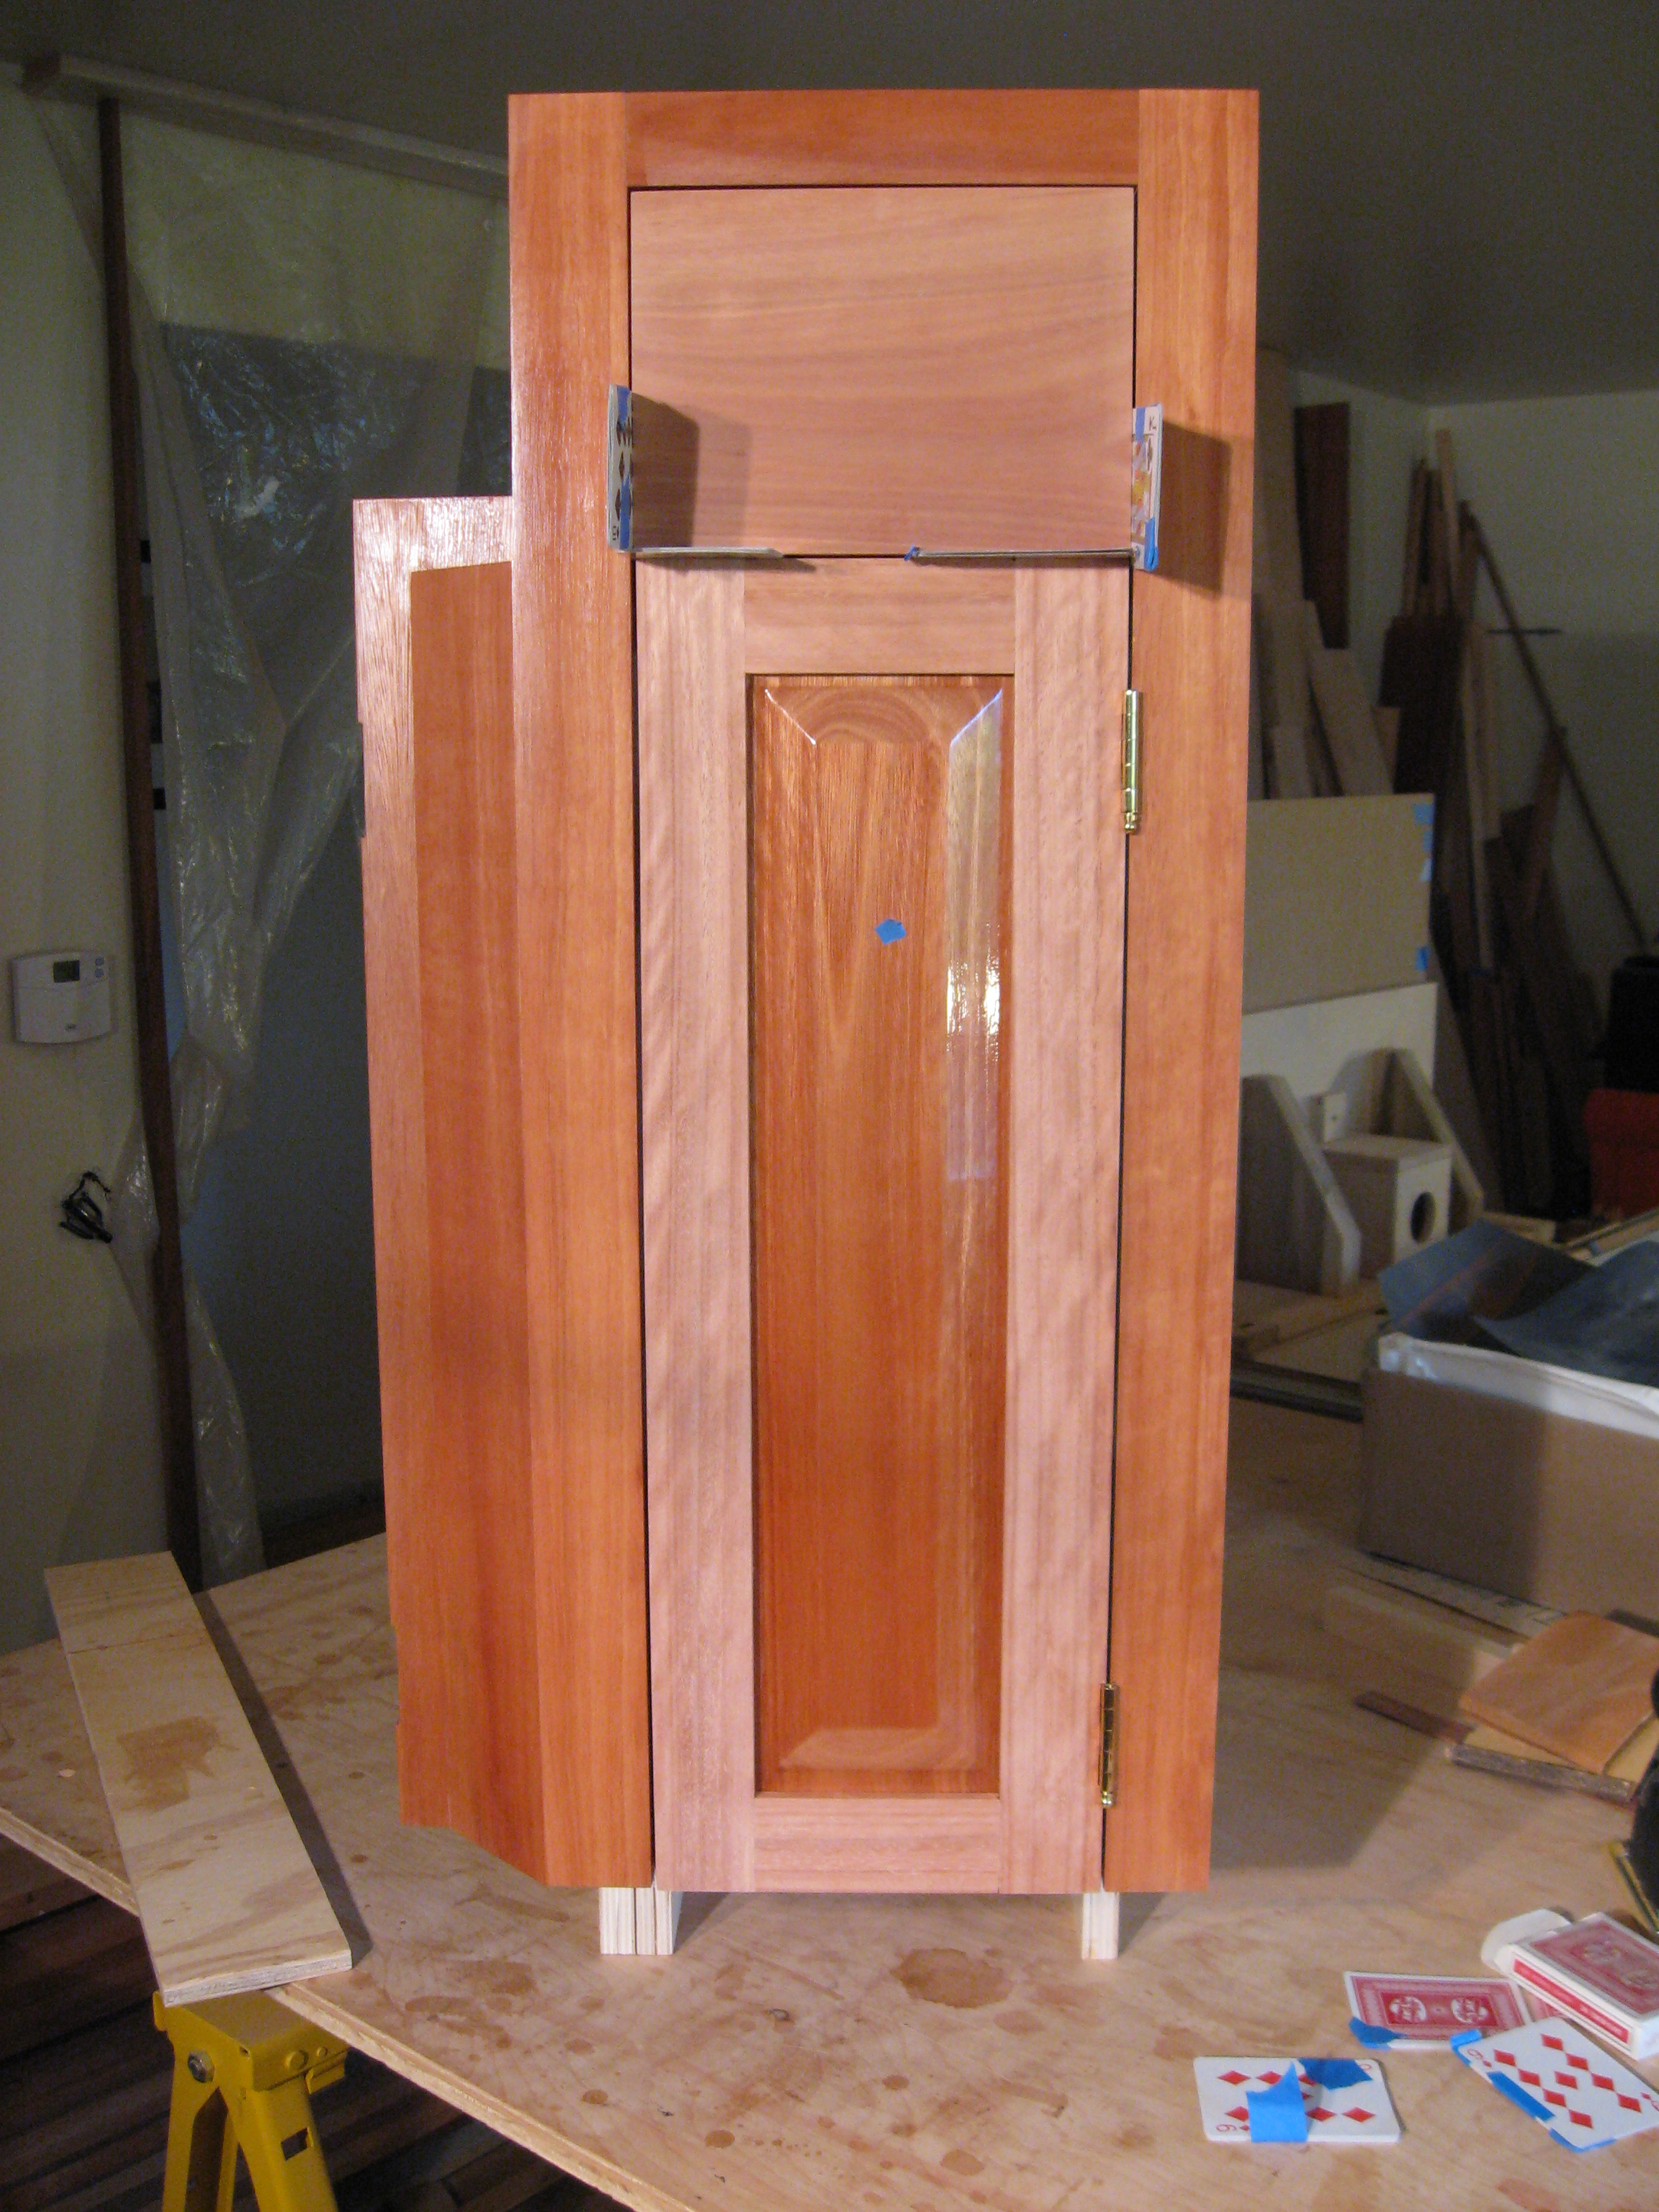
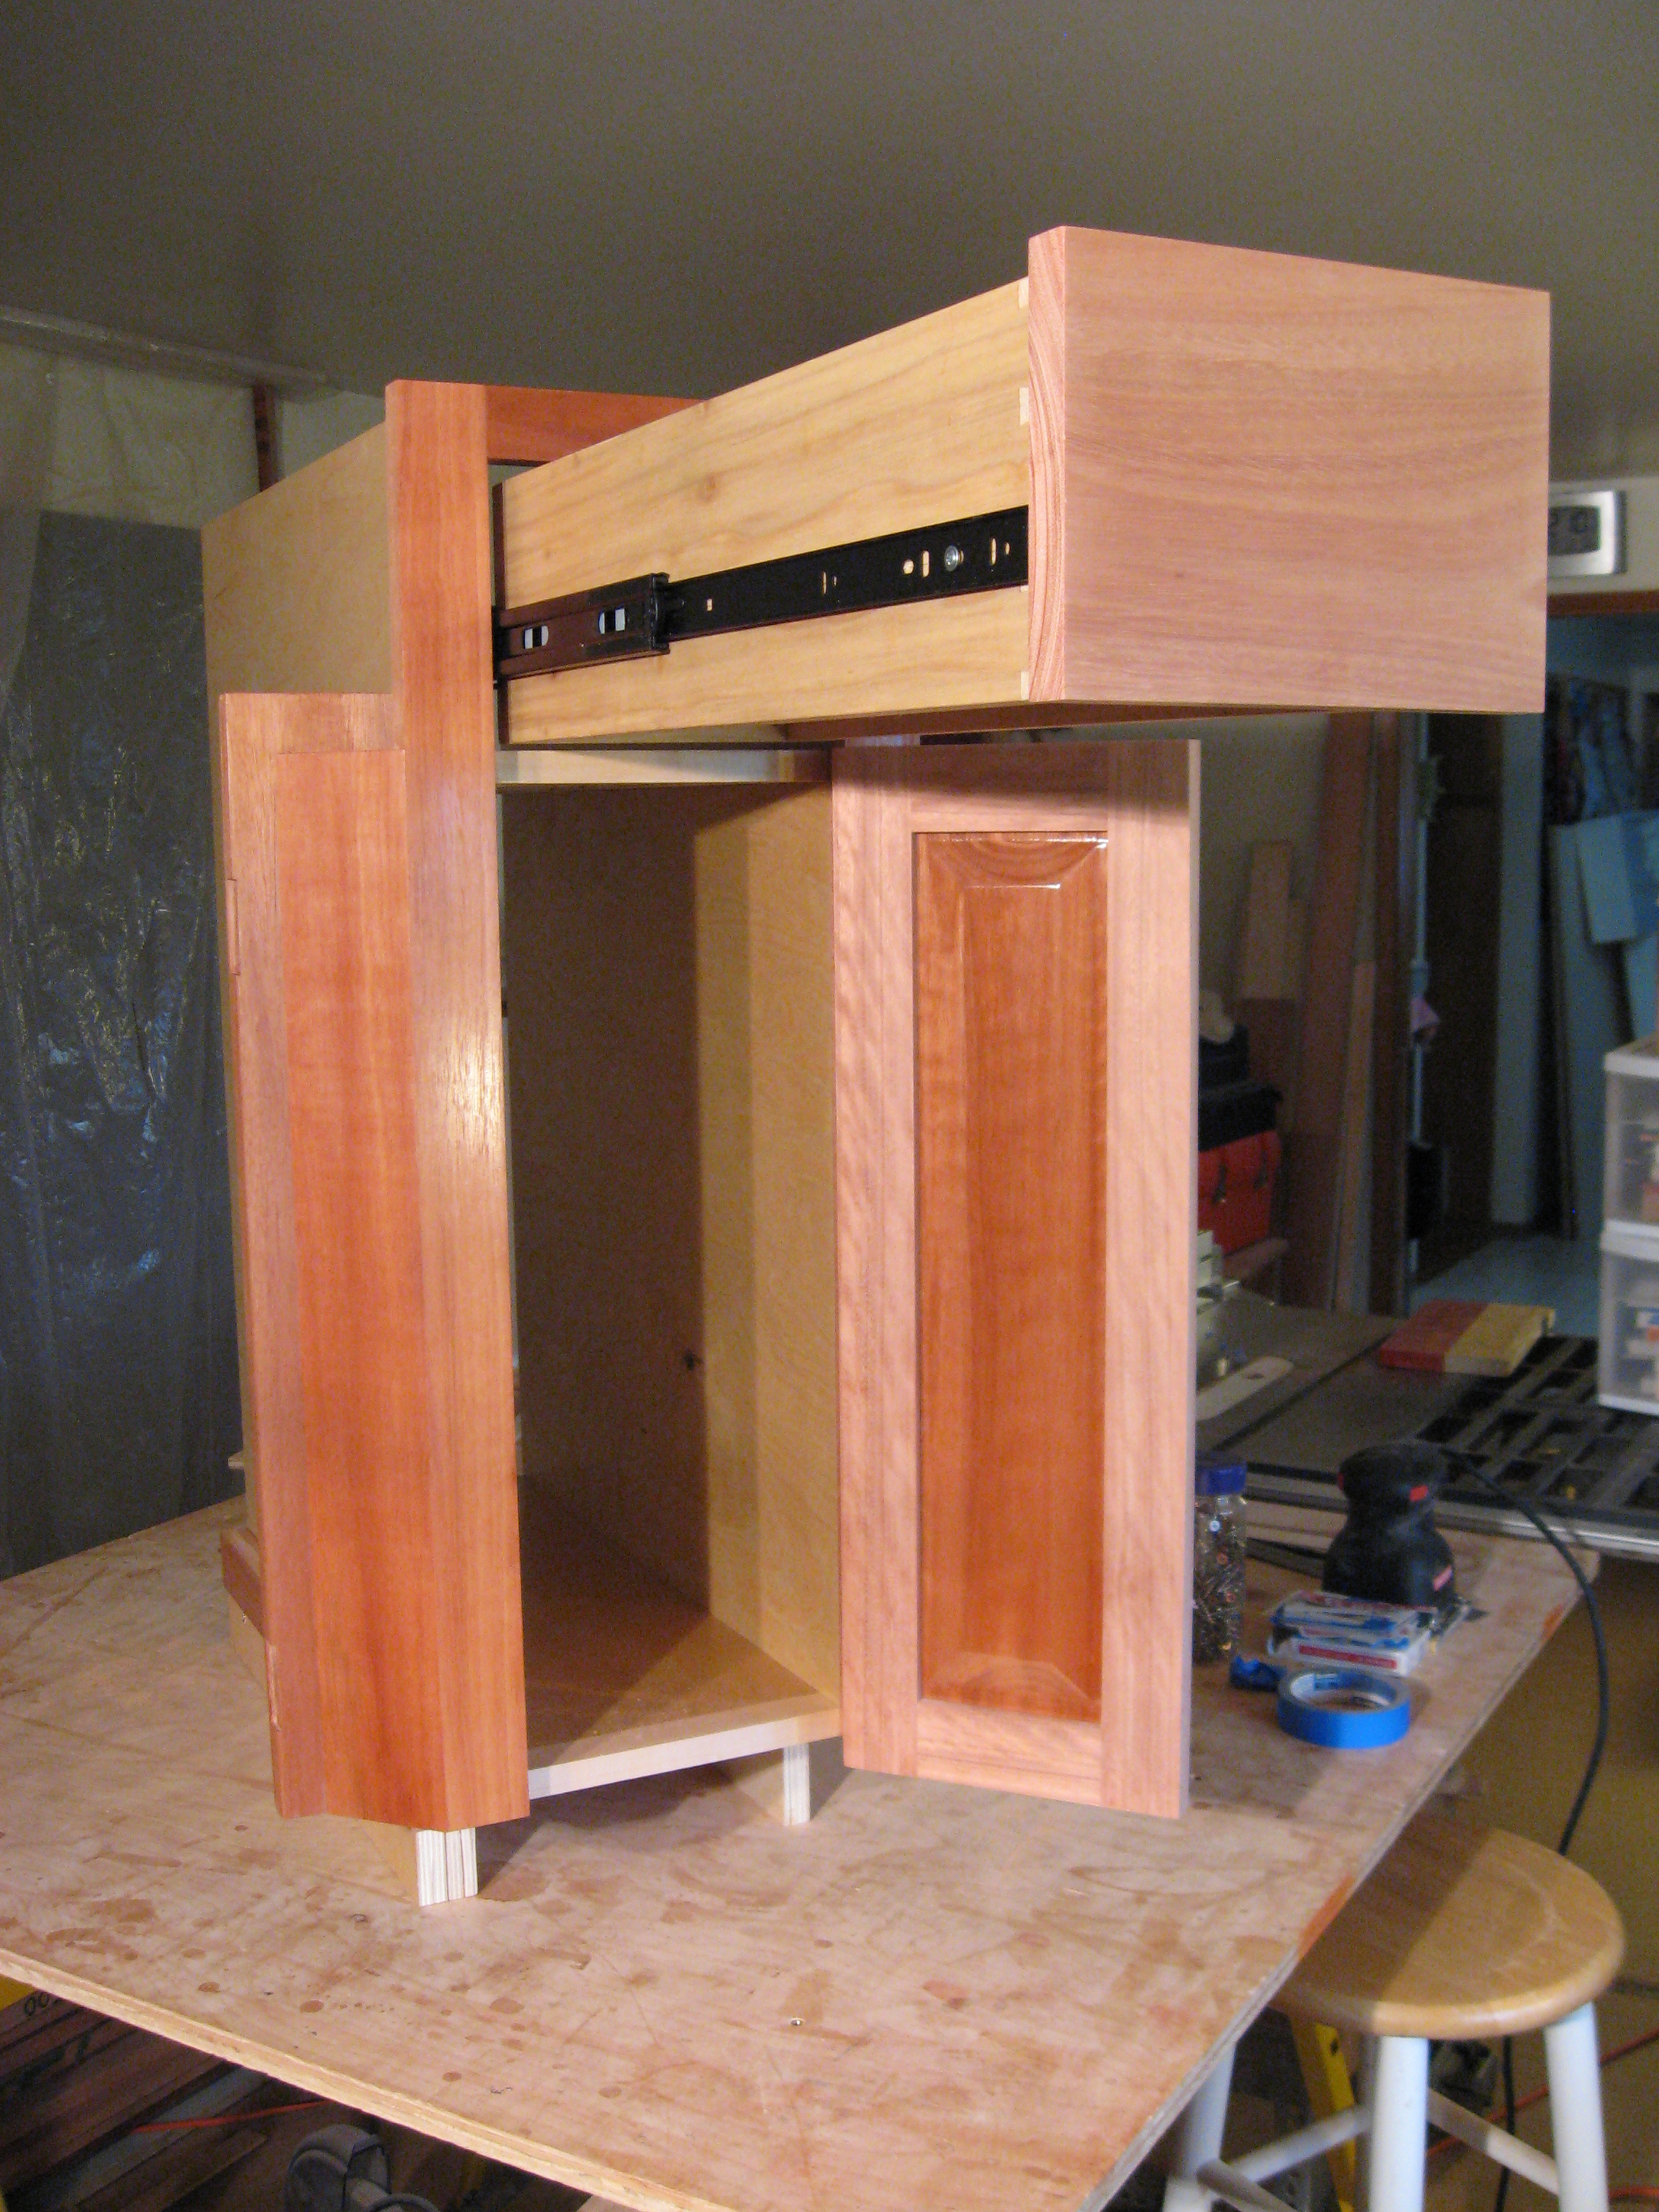
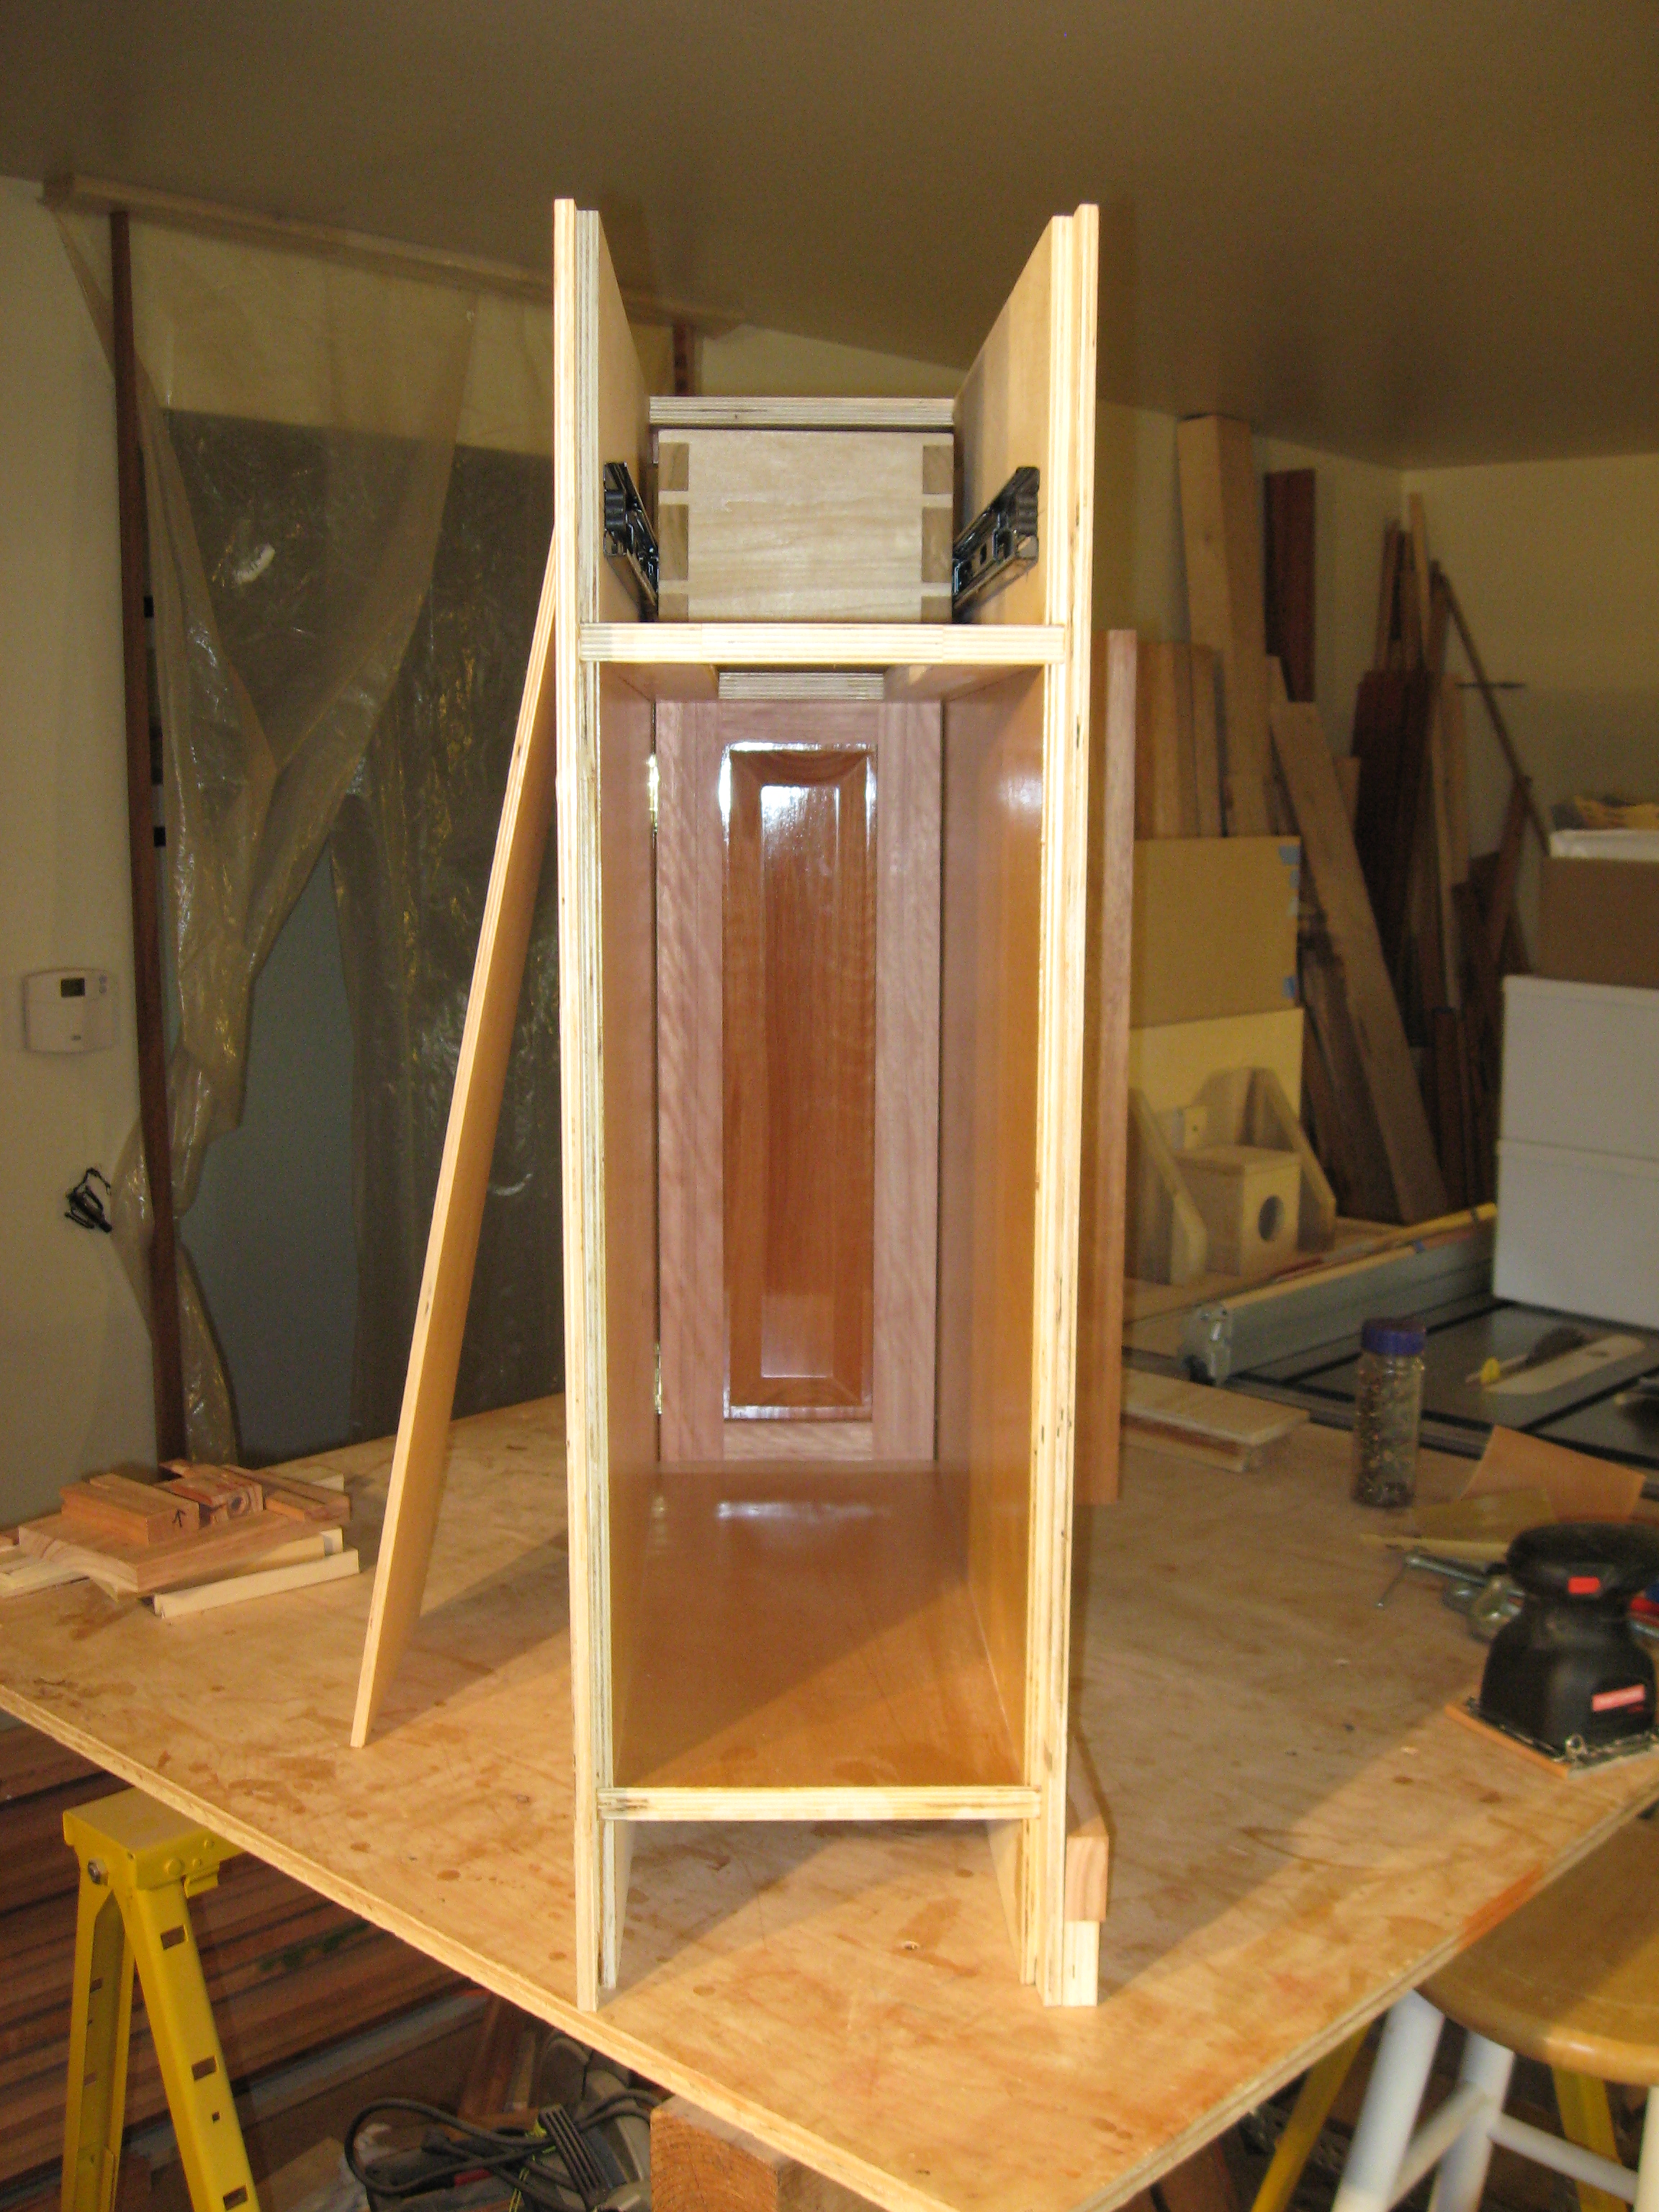
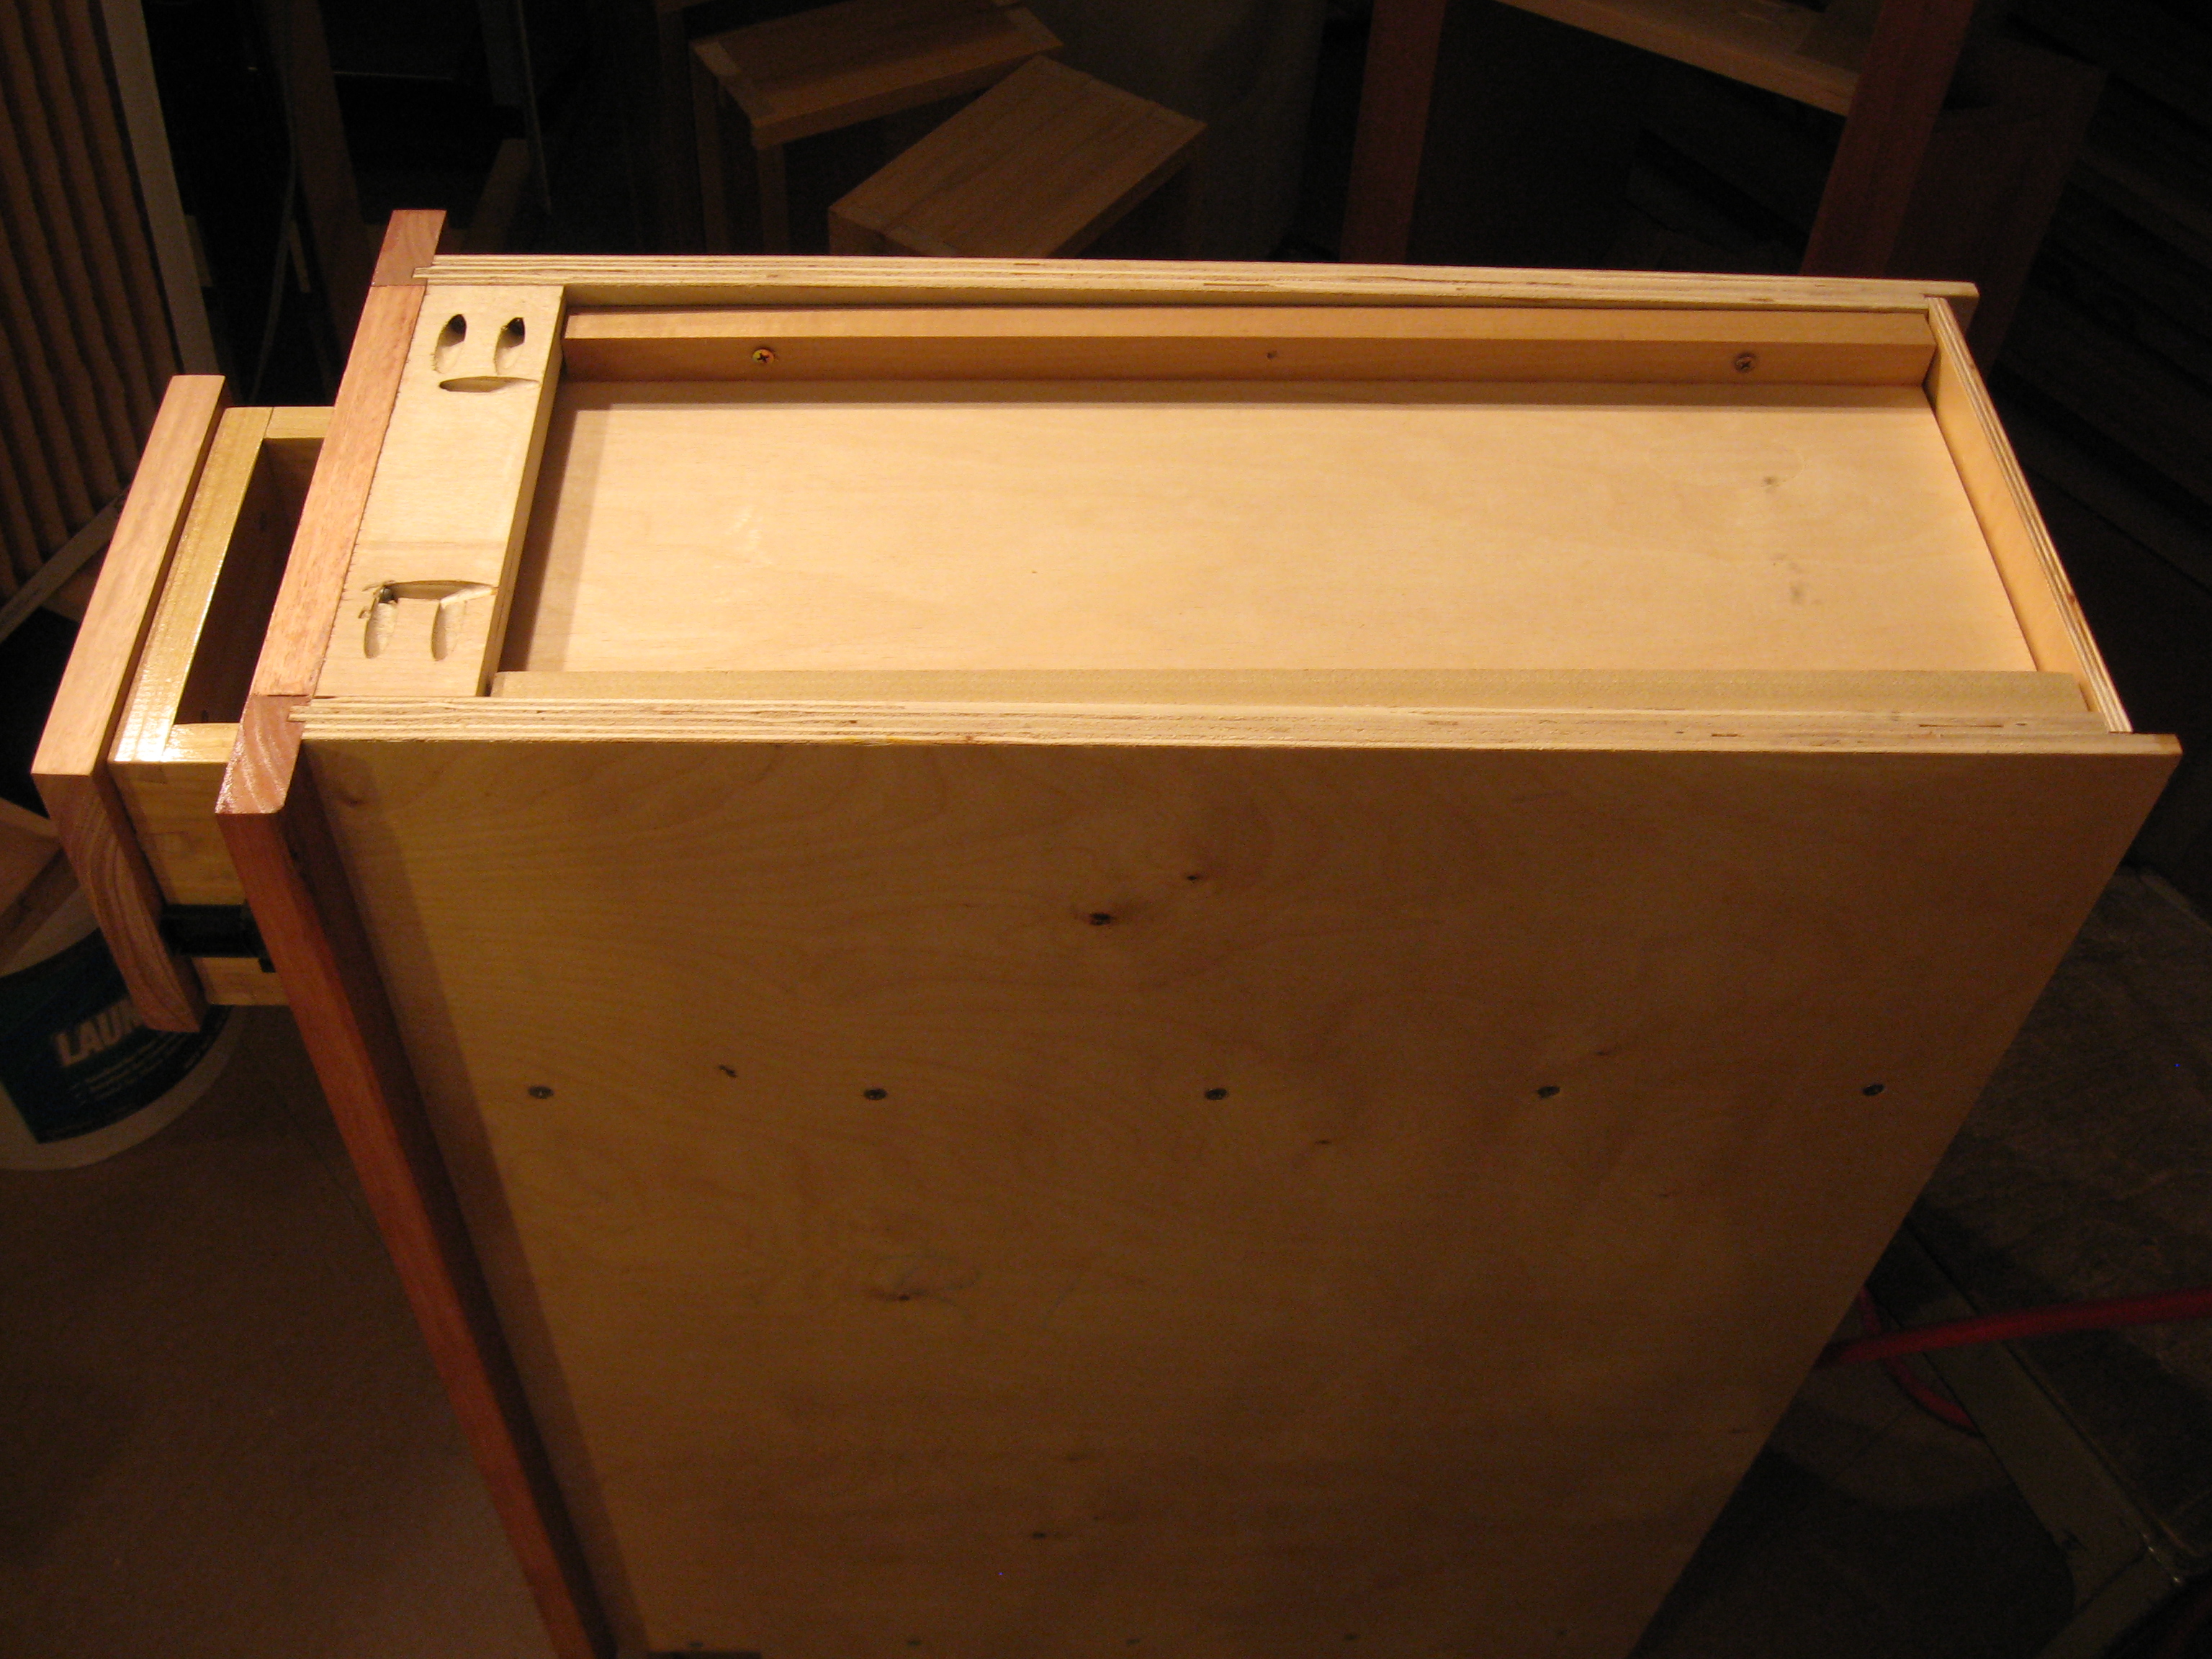
The wet wall lower left cabinet has a pullout drawer attached to the door. This door must be pulled out to access the other drawer. These drawers will allow for full access clear to the back of the bottom drawer.
::
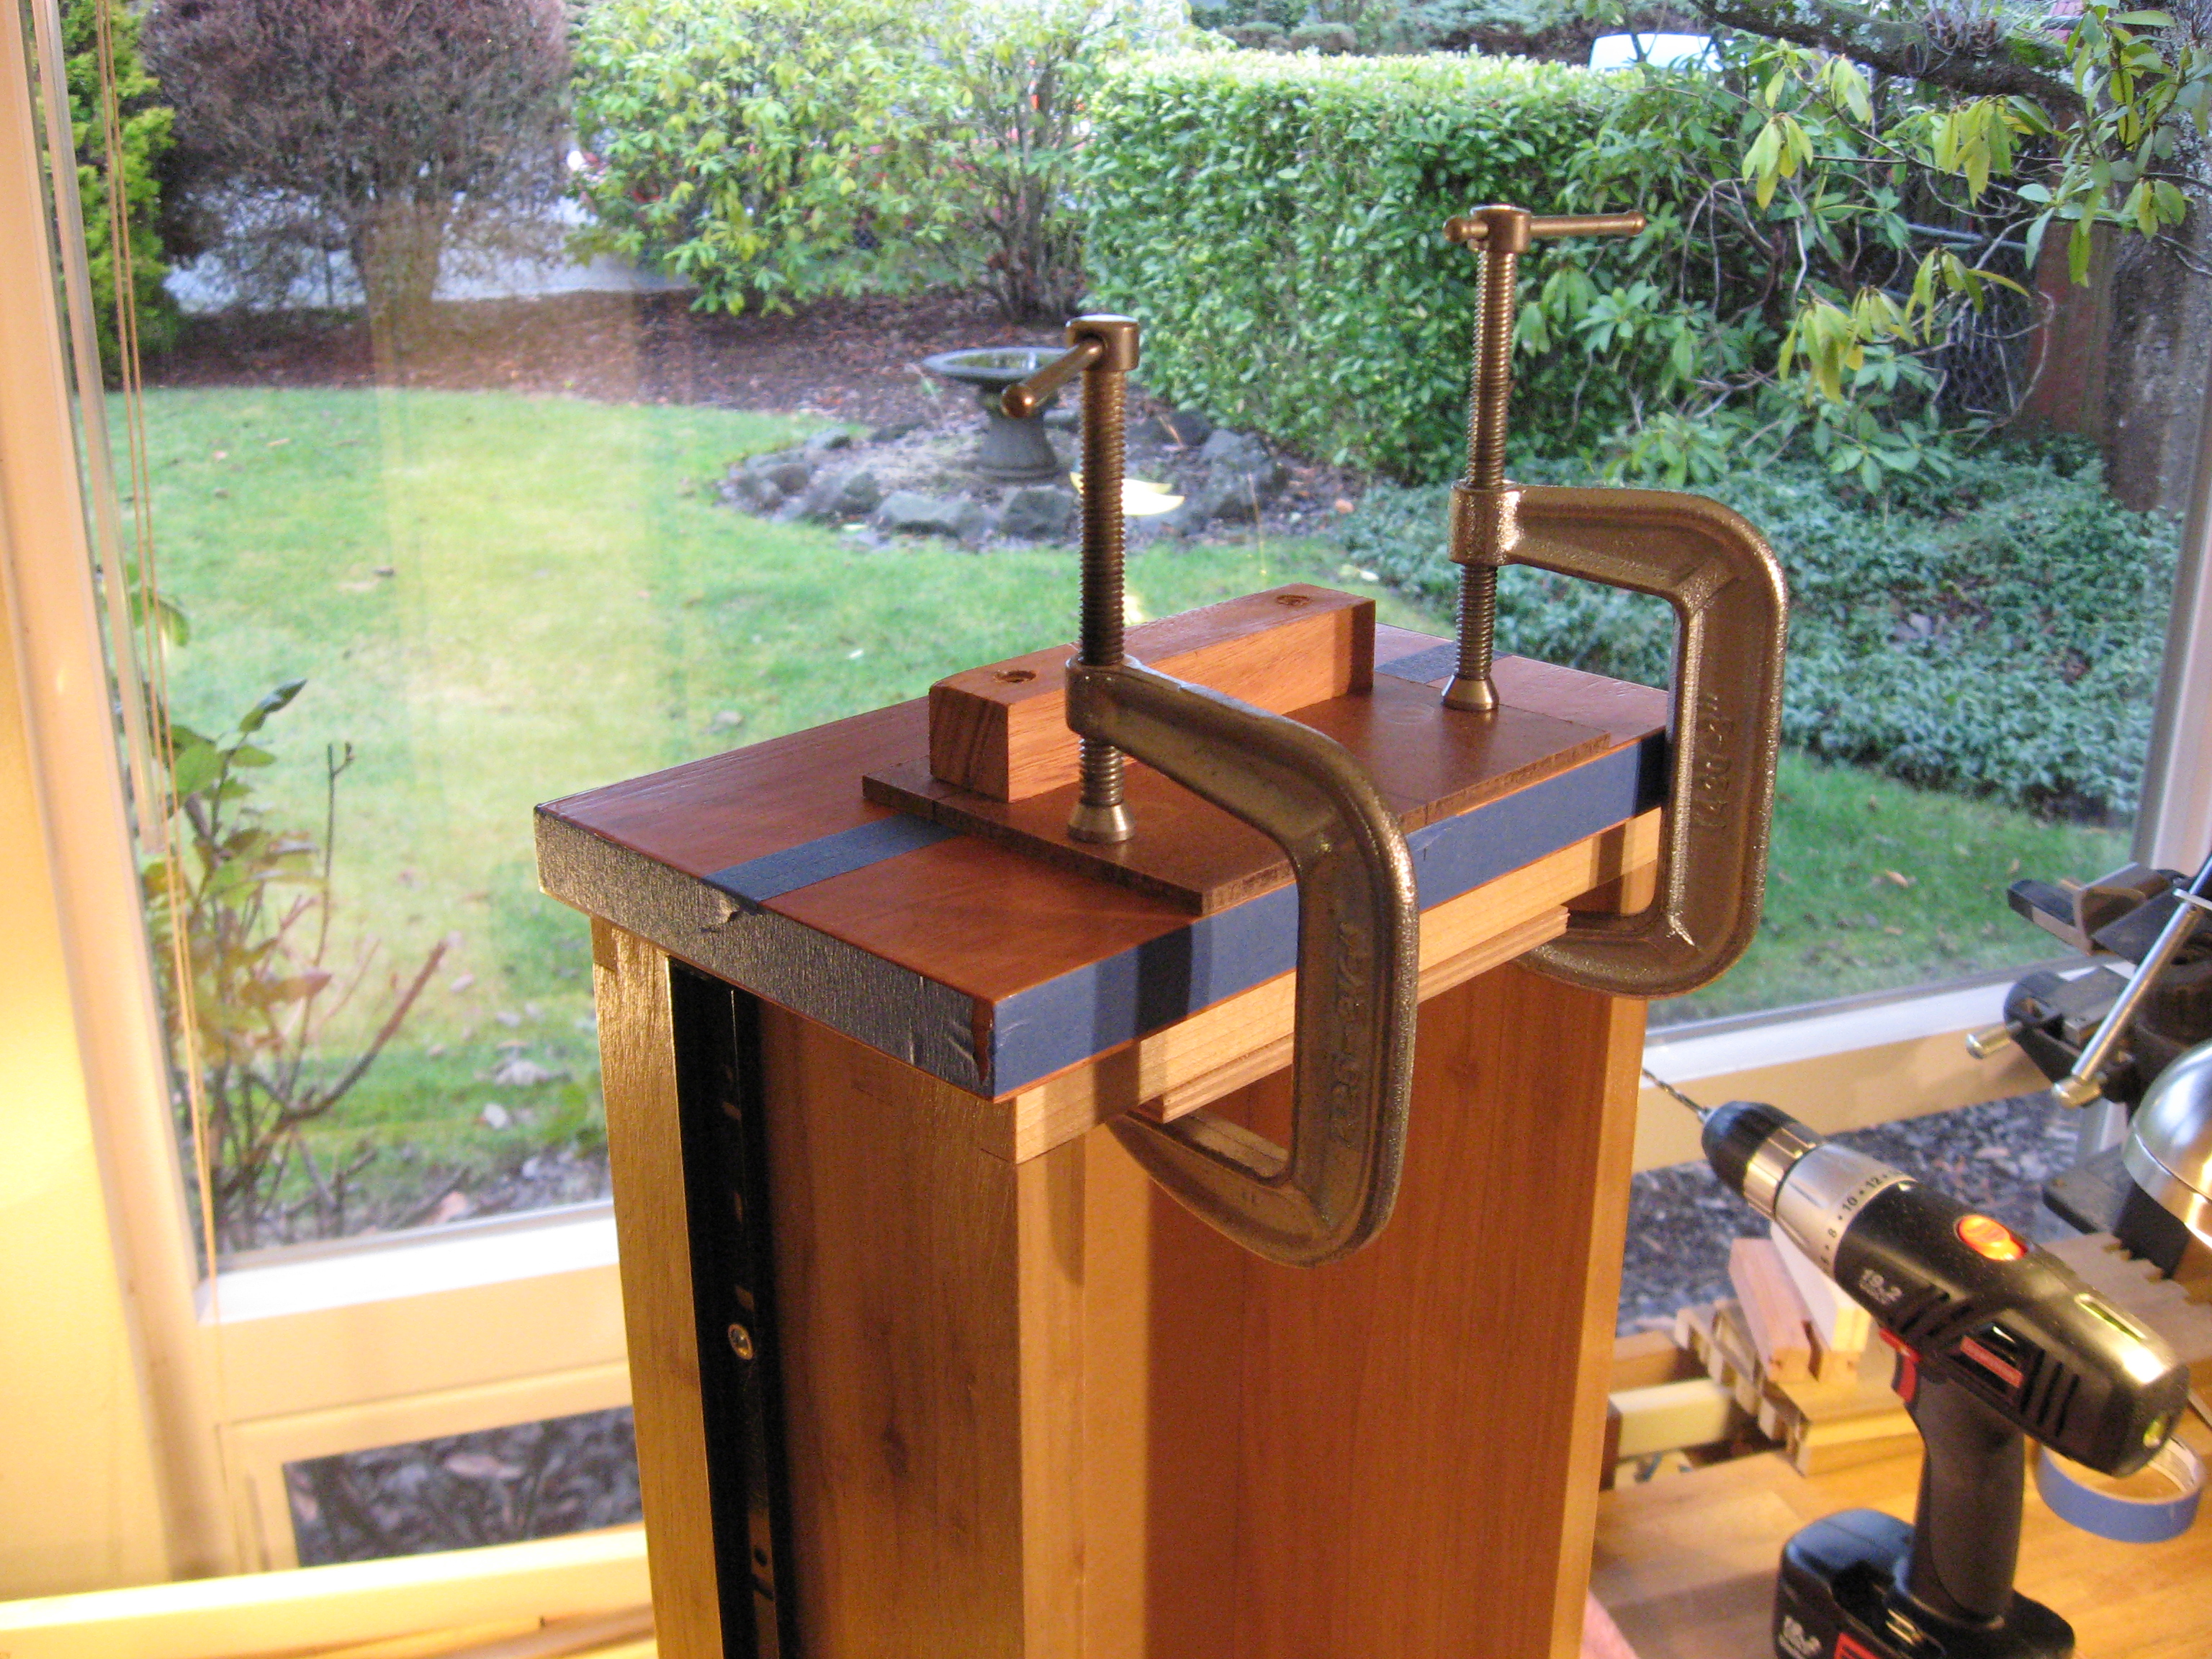
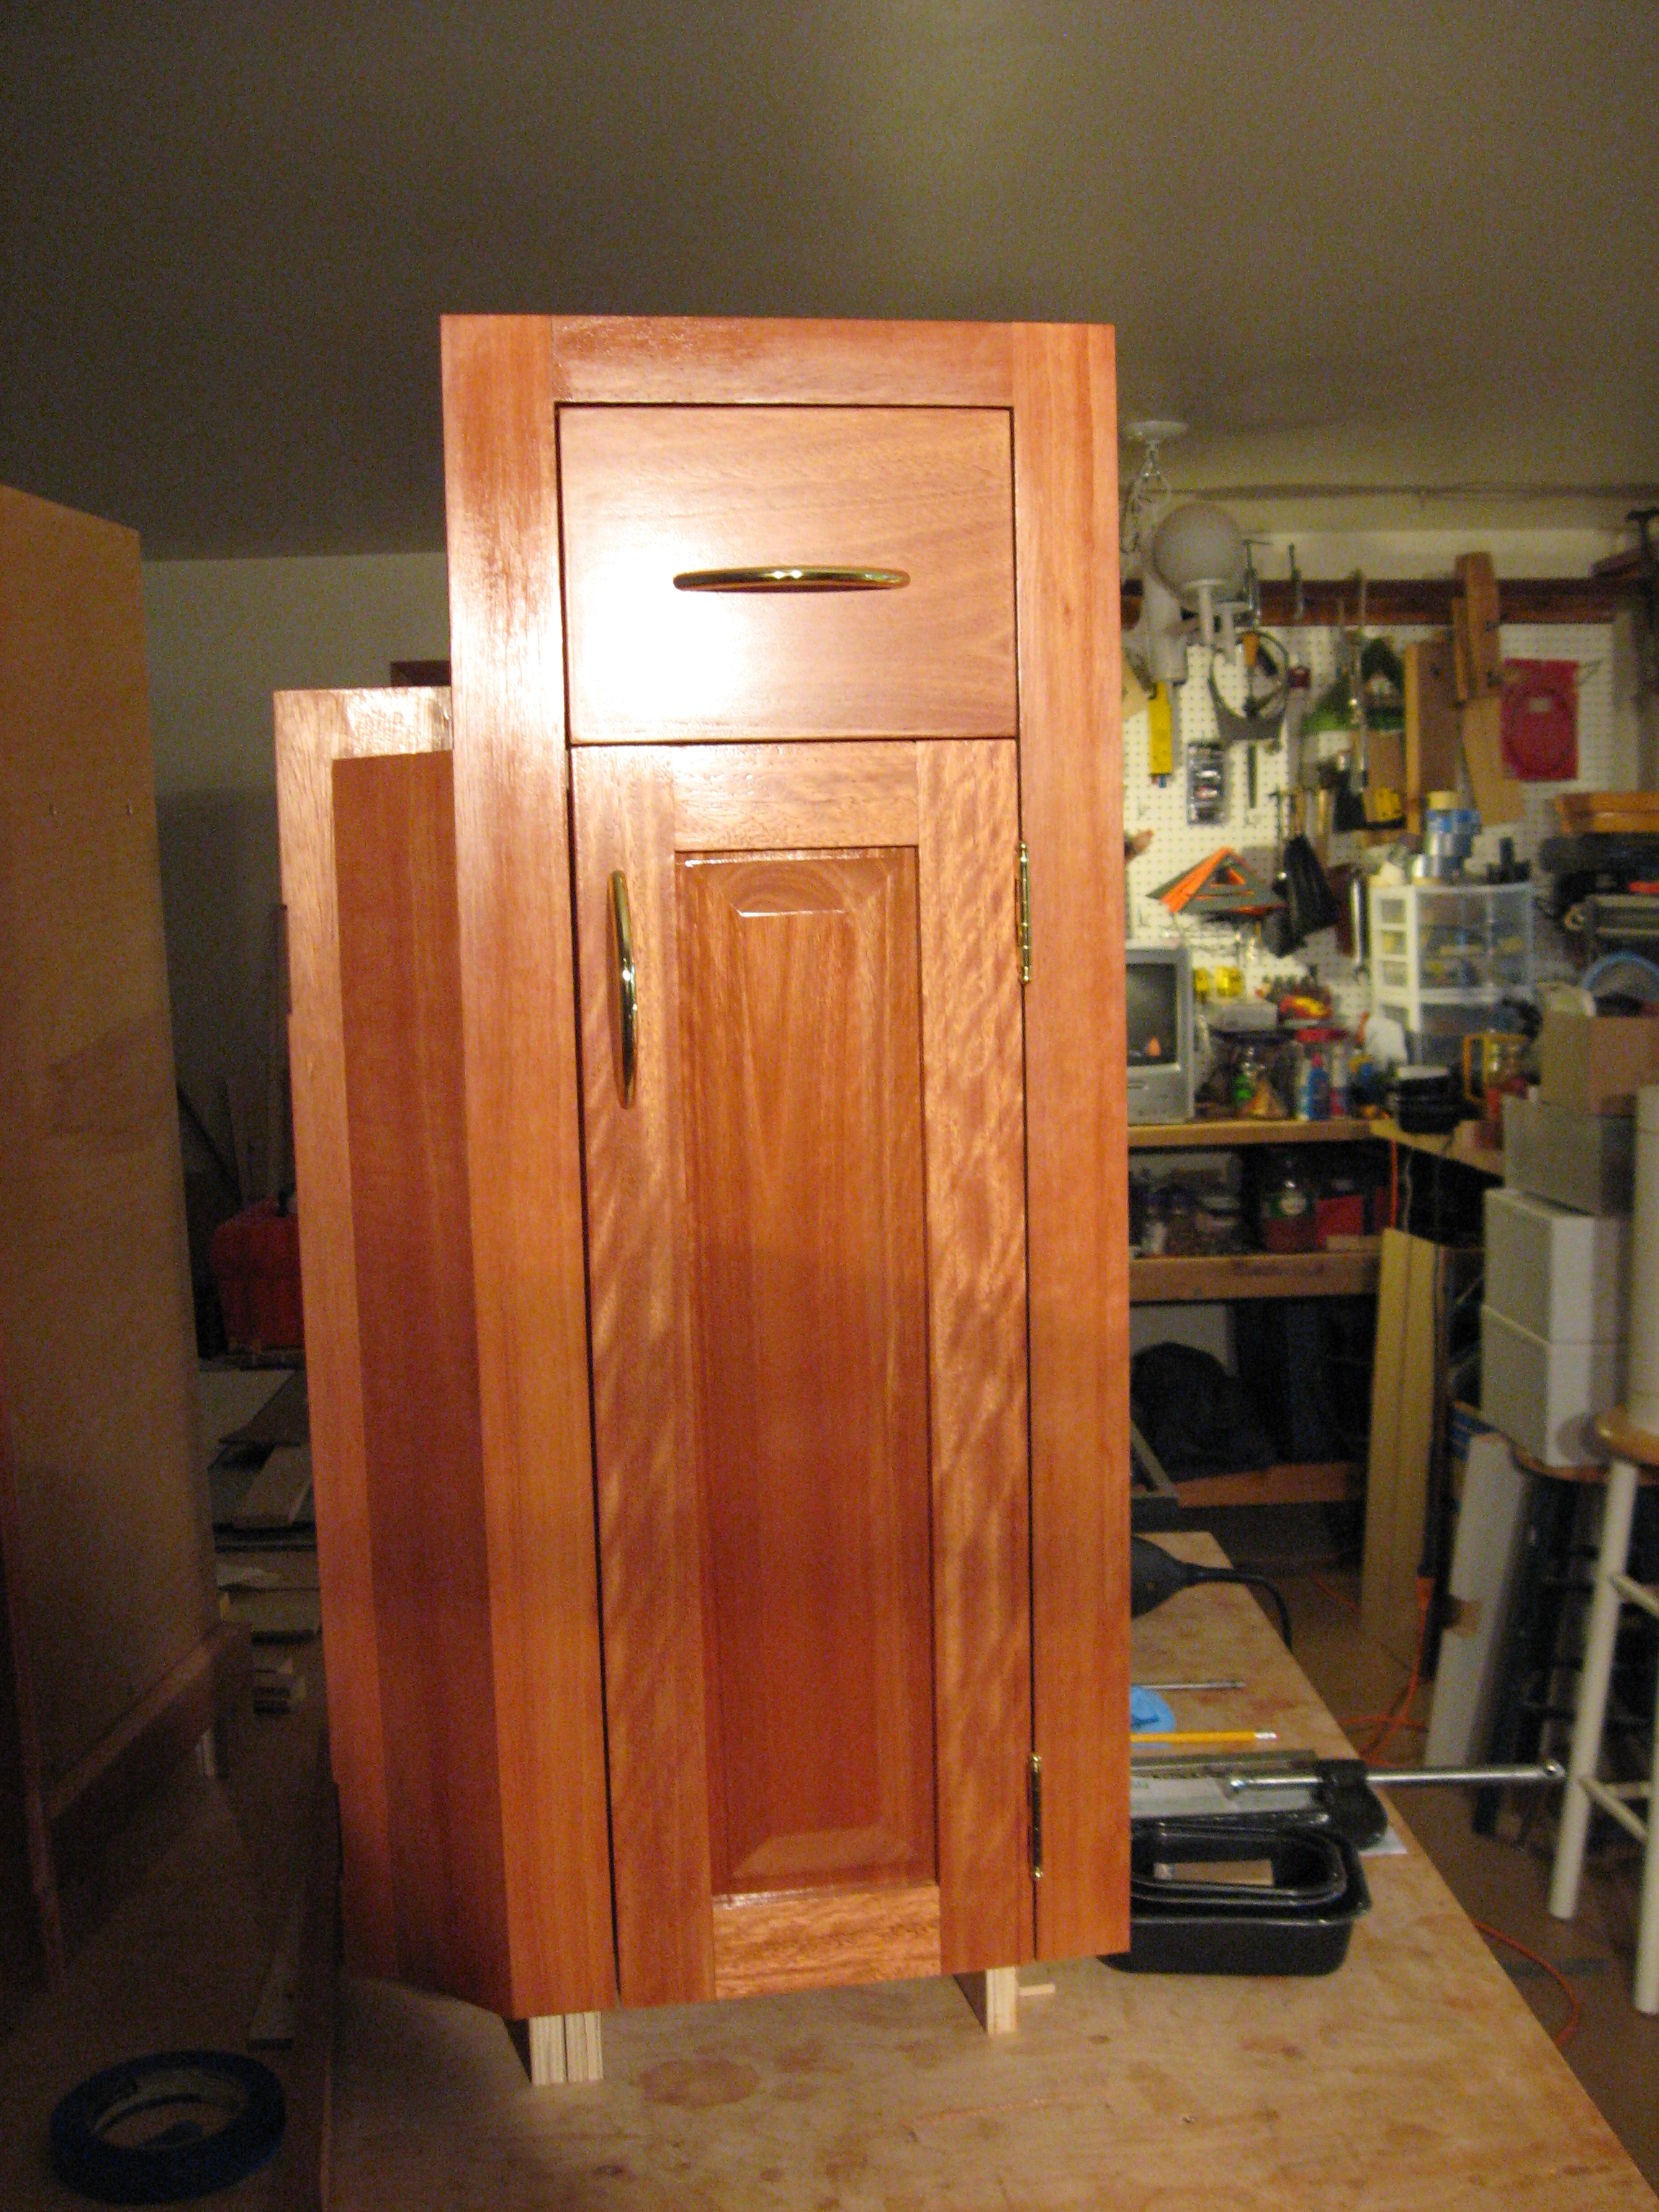
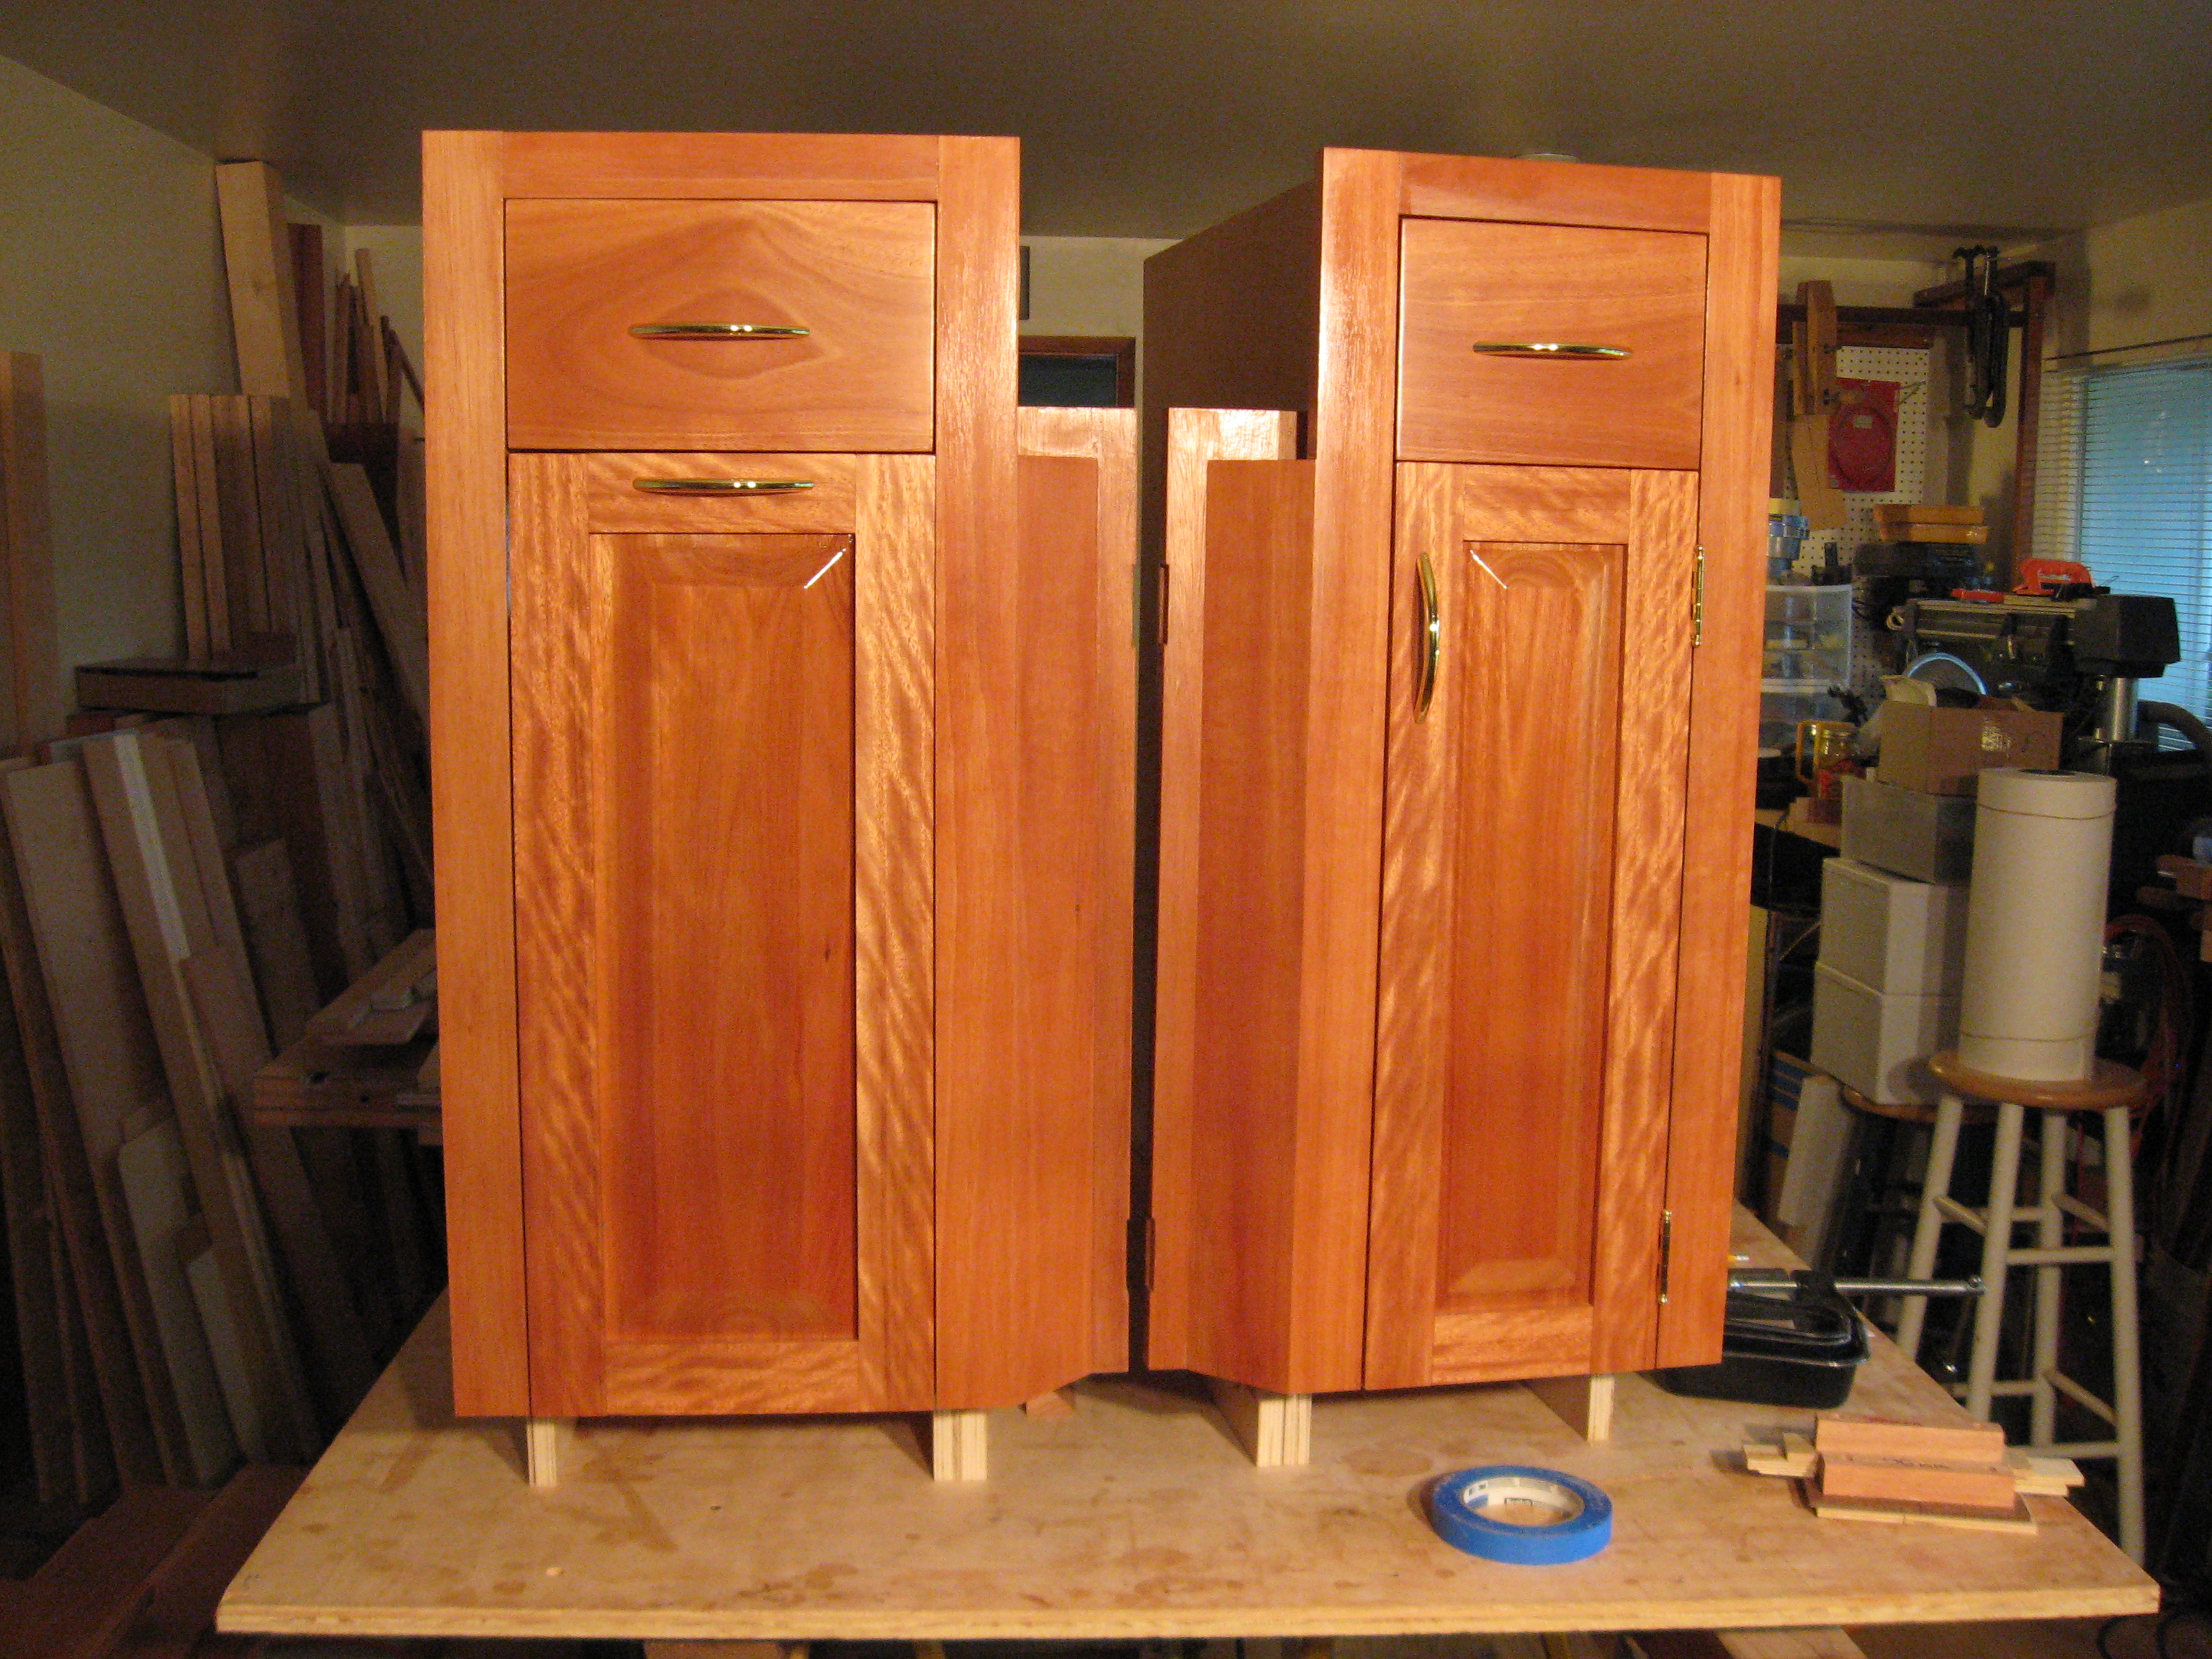
Handles installed
This is the jig for the 96mm handles that registers the position and proper hole spacing. The other pictures are of the cabinets showing completed assembly. These two cabinets will receive an additional coat of poly after the bridge is built between them. I will spray them after they are in place in the kitchen. Otherwise the cabinet will get to long and I won't be able to move it around. The bridged area is where the sink will be.There will be a floating panel of bloodwood (pterocarpus angolensis) just below the sink and two doors opening under the sink.
Words of Wisdom
Power plaining to dimension wood is easy. Knowing when to stop isn't.
:
: