Storage Cabinet Project.
I am preparing to build new cabinets for the kitchen. As I have never built any cabinetry before I am building this cabinet as a practice effort. I intend to learn the process and develop some skill first before attempting the larger project. This cabinet will be placed under an oak workbench to hold tools. The cabinet comprises a 2" face frame assembled with a Kreg pocket hole jig. The drawer and door faces are insert style. The drawer material is poplar and the joinery is hand cut through dovetails. The doors are stile and rail with a solid wood raised panel and are mortise and tenon joined. The exterior material is alder and alder plywood. The alder is treated with Watco Golden Oak to match the oak workbench. Then three coats of shop made de-waxed amber shellac are applied with a final coat of water based semi gloss polyurethane for the finish. The interior floor and shelf material is melamine. The back panel material is 1/4" birch plywood. The drawer slides are Accuride # 3832 rated at 100 lbs. I'm keeping a list of my mistakes as I build this cabinet. I find that my mistakes fall into three basic categories; designed it dumb, did it dumb, and dumb ass. I intend to learn from my mistakes as I move on to the next project.
:
::
:::
::::
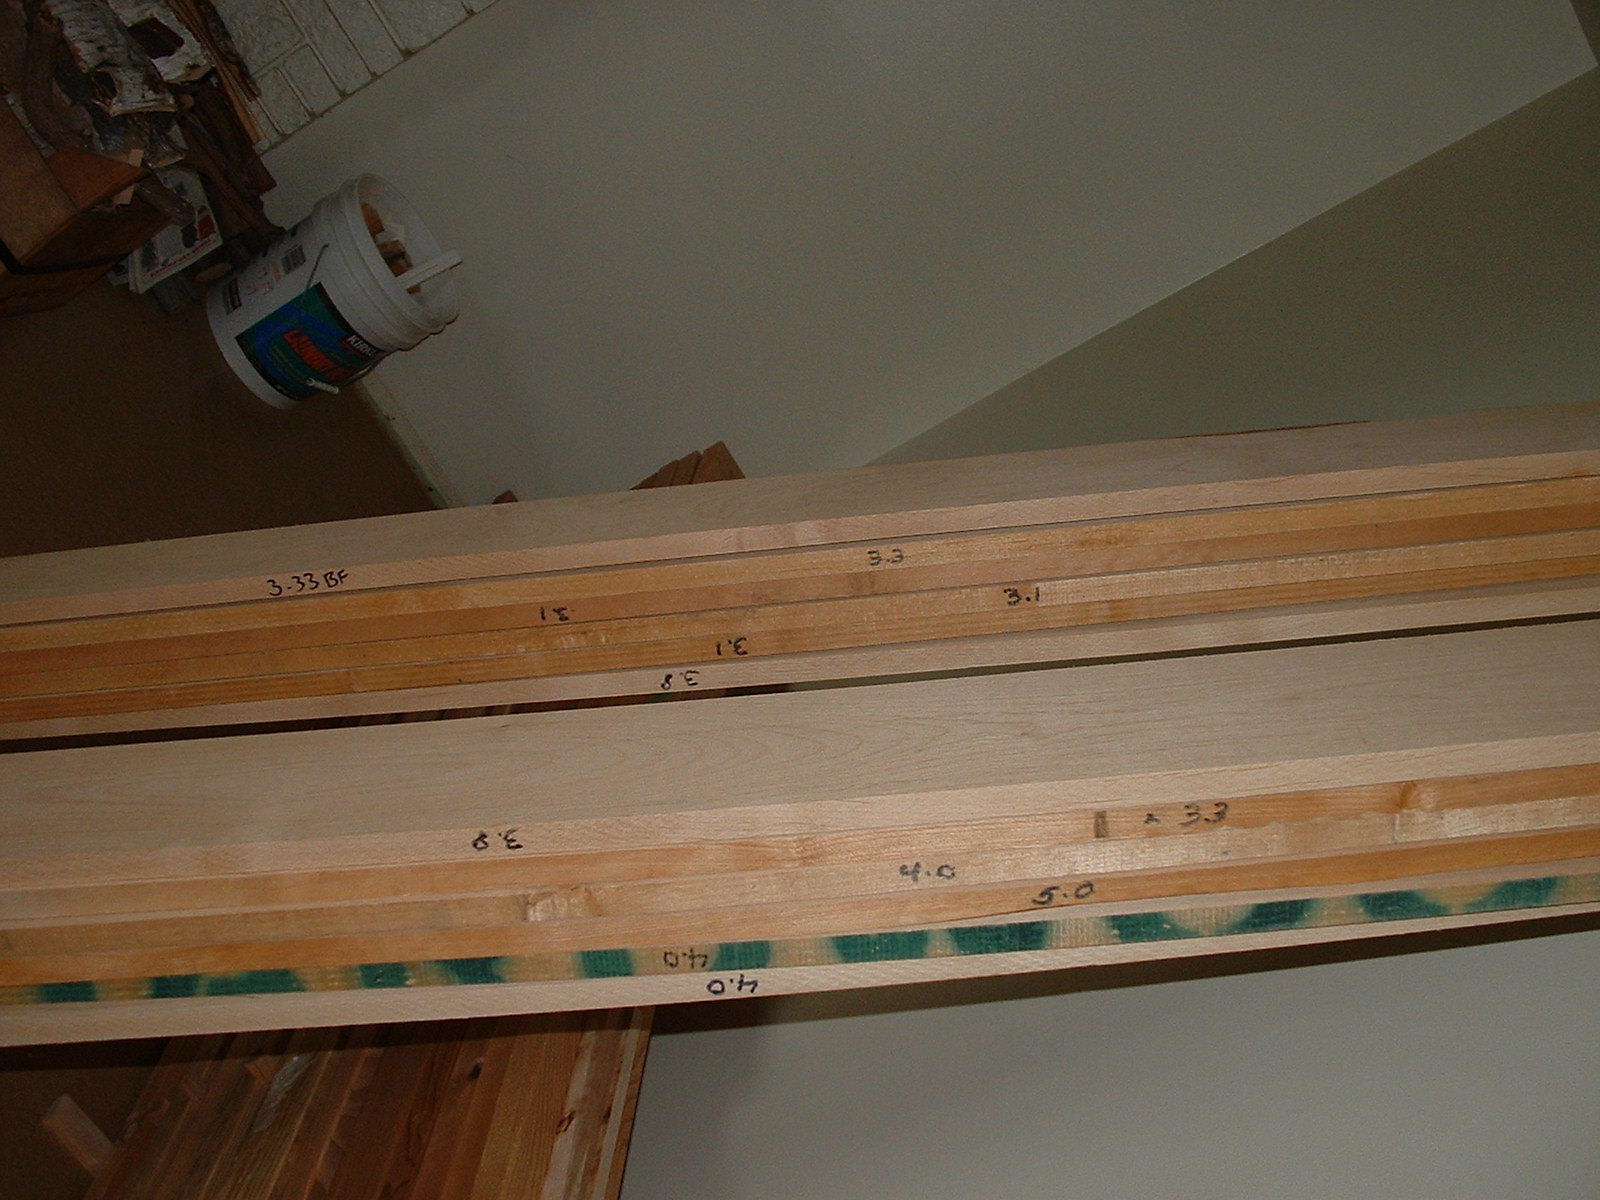
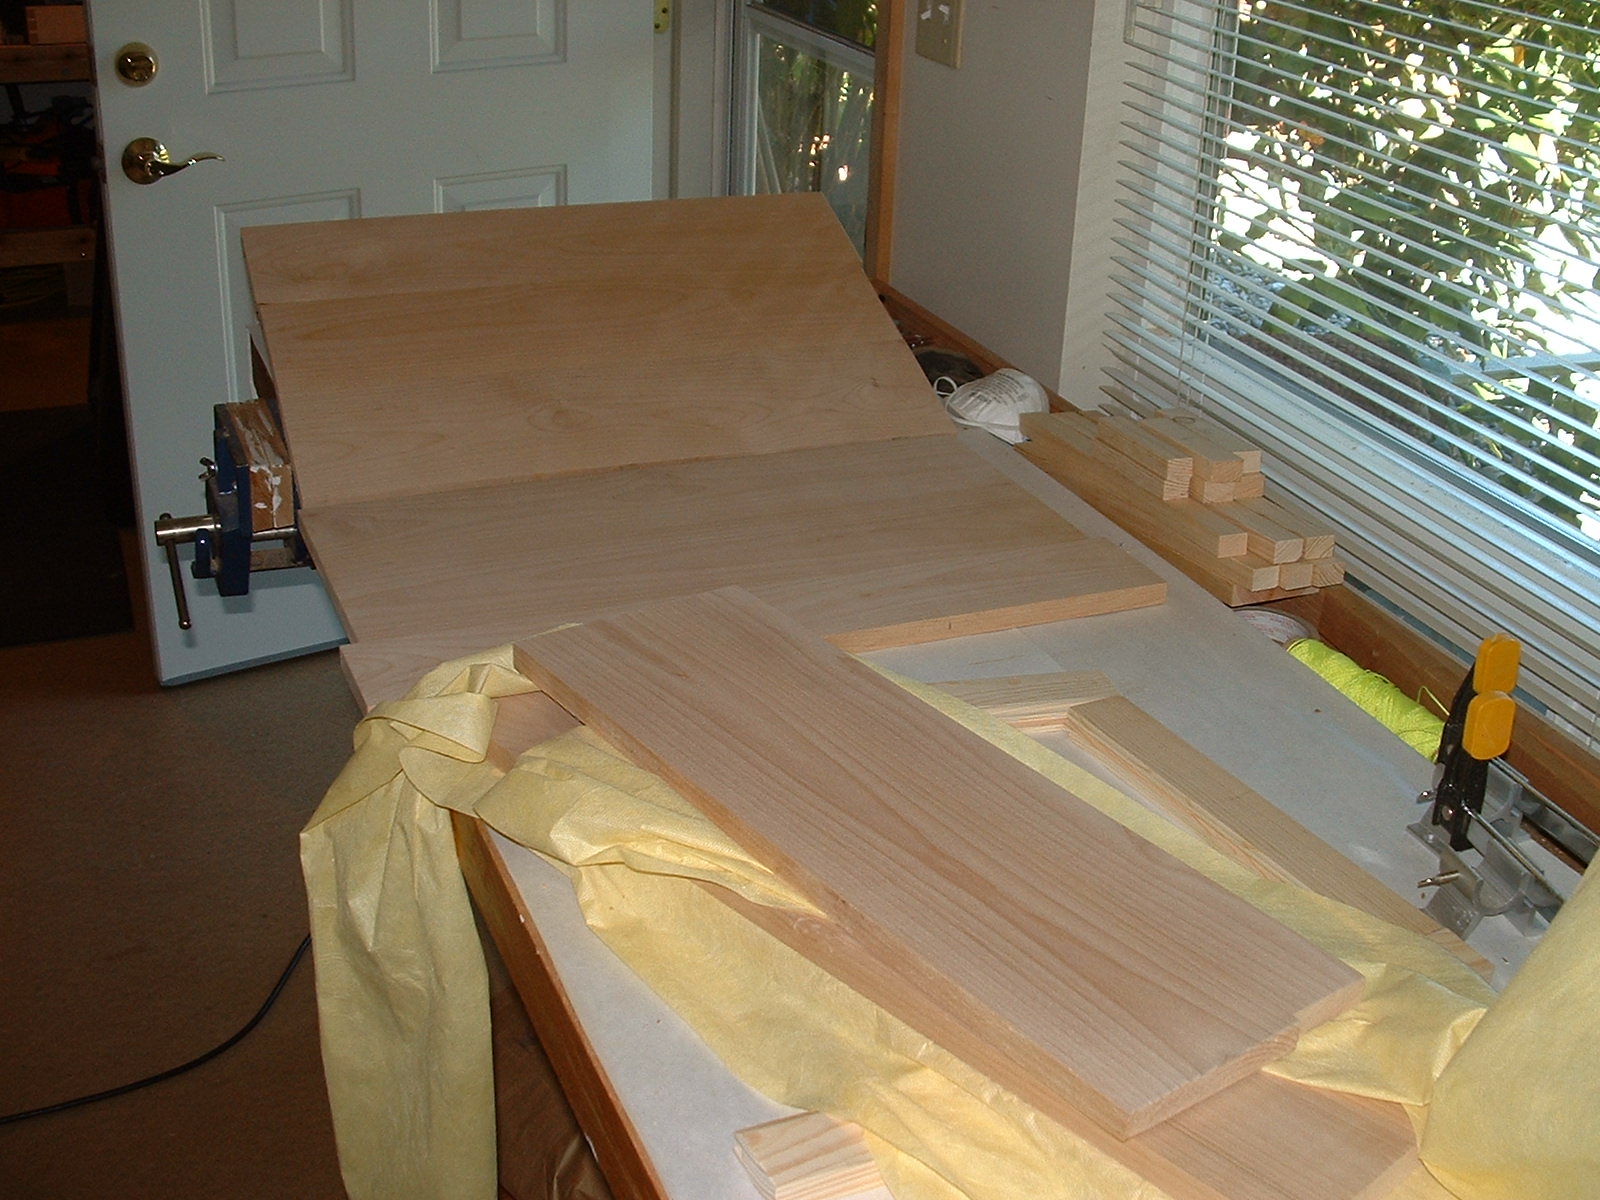
Alder stock.
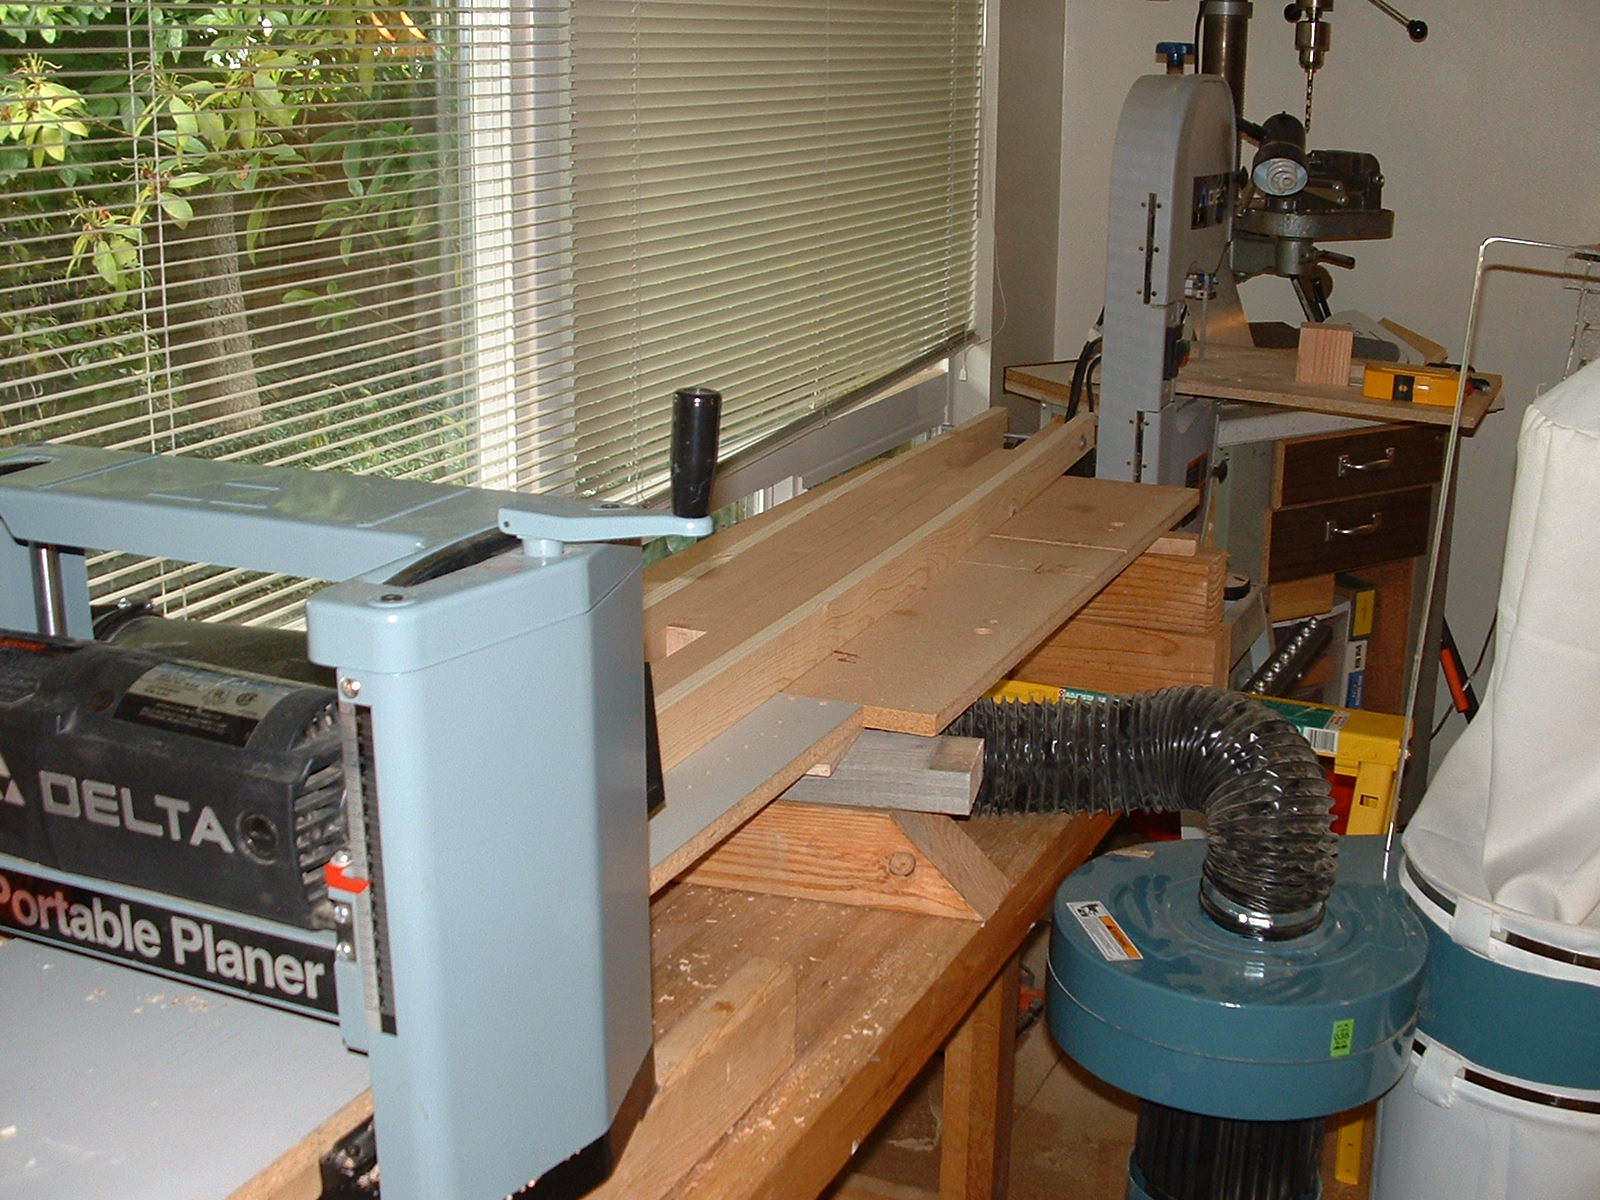
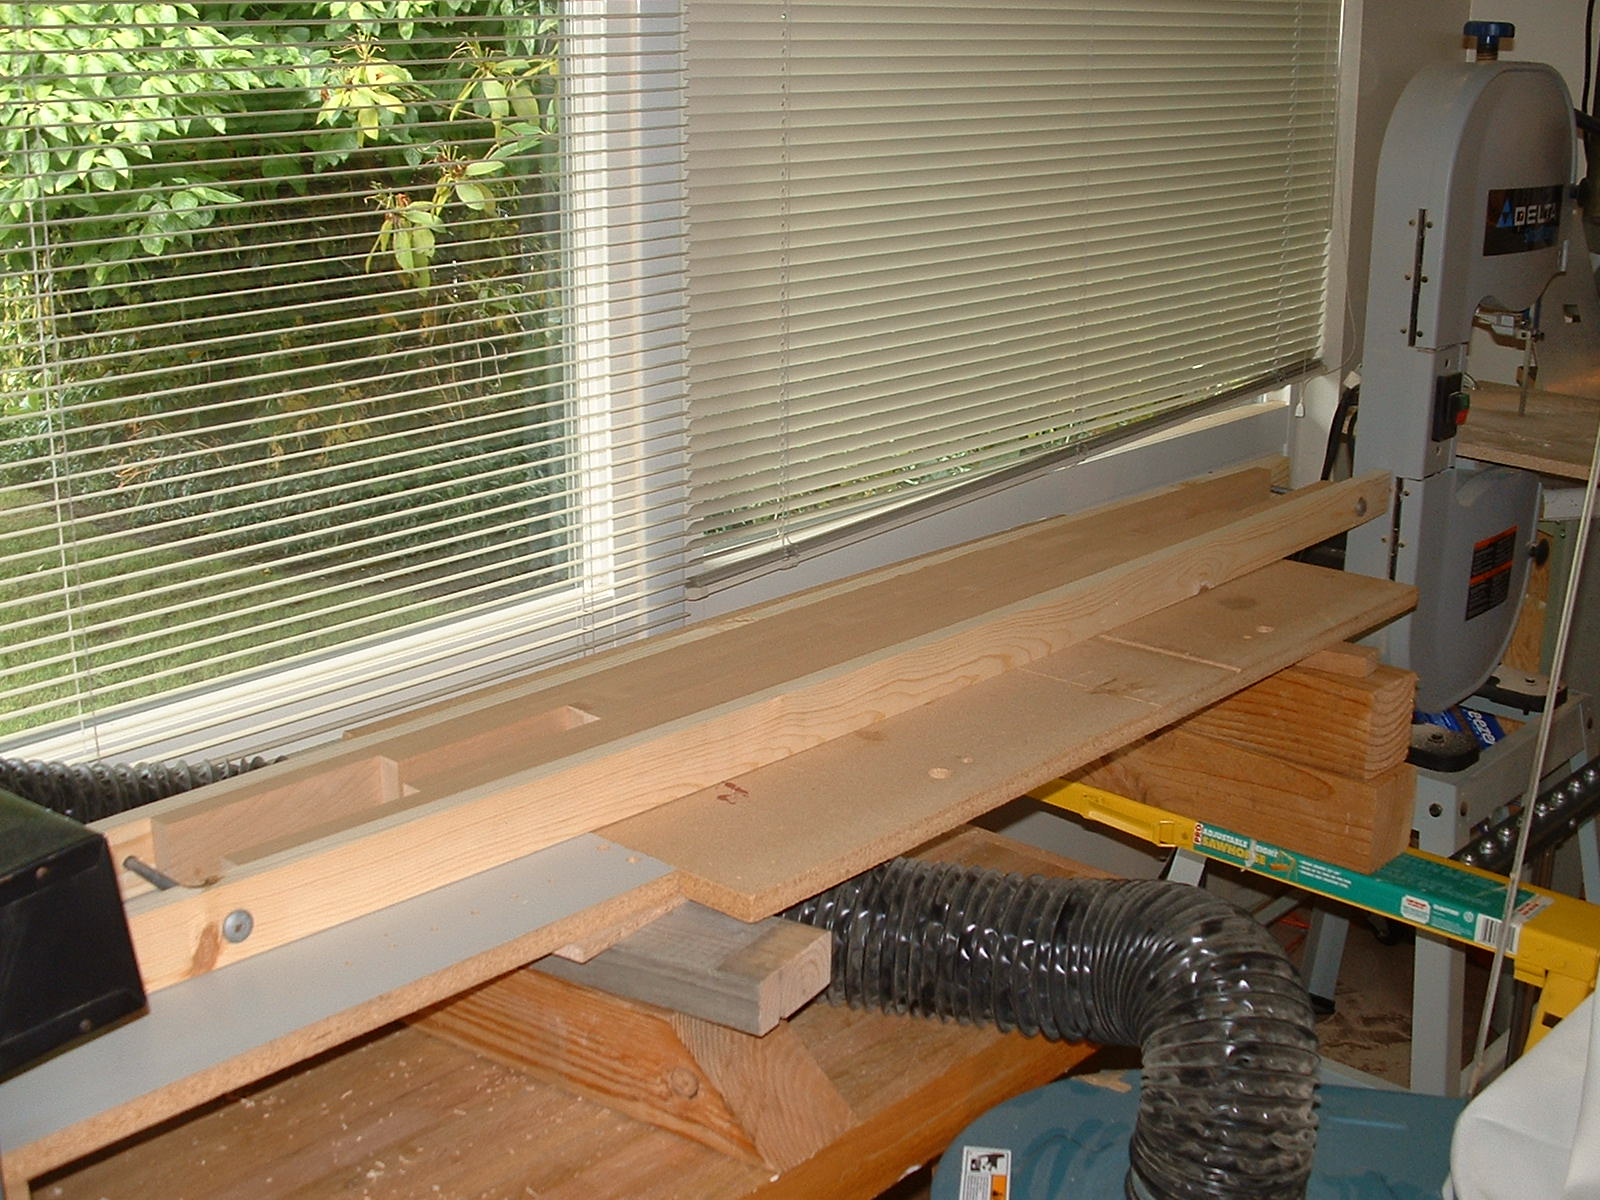
After the lumber had been sitting in the shop for a few weeks to acclimate to the environment it was all face planed. This batch of alder was kiln dried and so it is dryer at 8% than the environment here in Seattle in the summer. The lumber was crosscut more than 4" long on the RAS to allow for snipe when run through the planer. All the stiles, rails and trim were planed to a thickness of 25/32". This allowed for finish sanding. Planing the edge of the face frame boards together will make them all of equal width. The jig is made of scrap pine held together with carriage bolts. The jig is longer than the boards so that the snipe happens only to the pine jig.
:
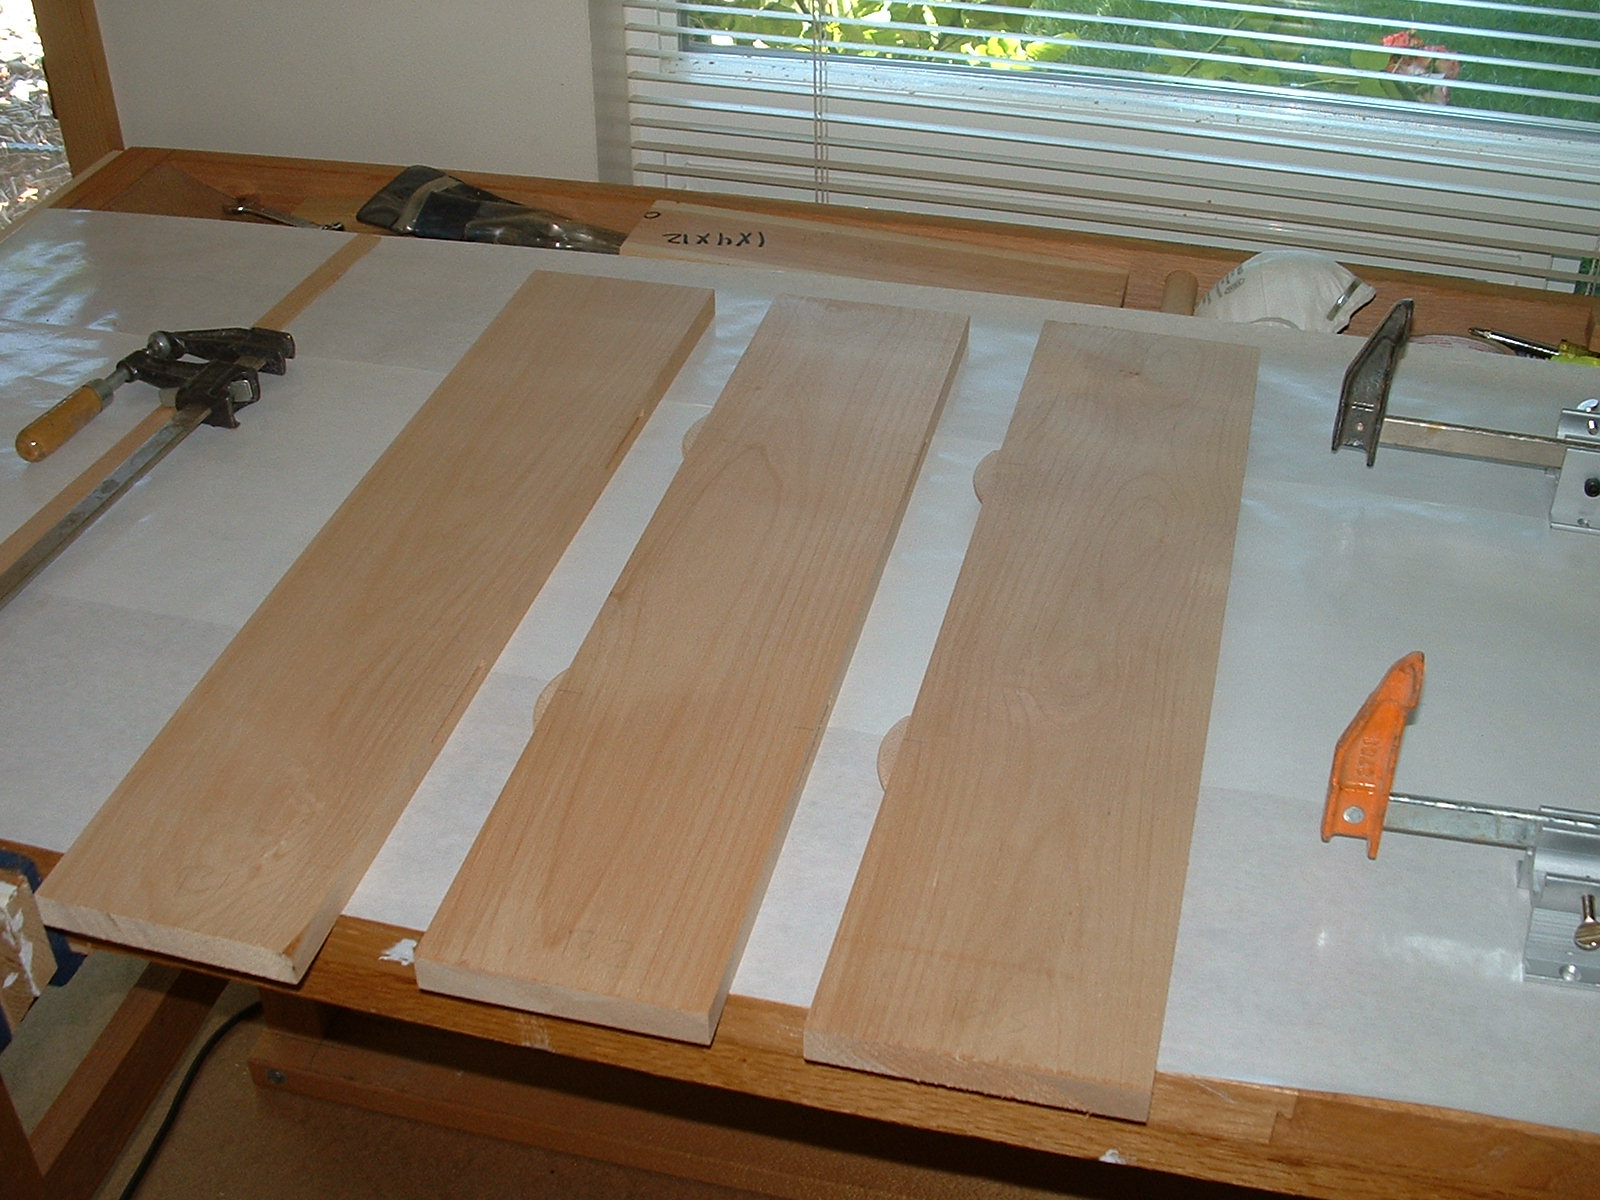
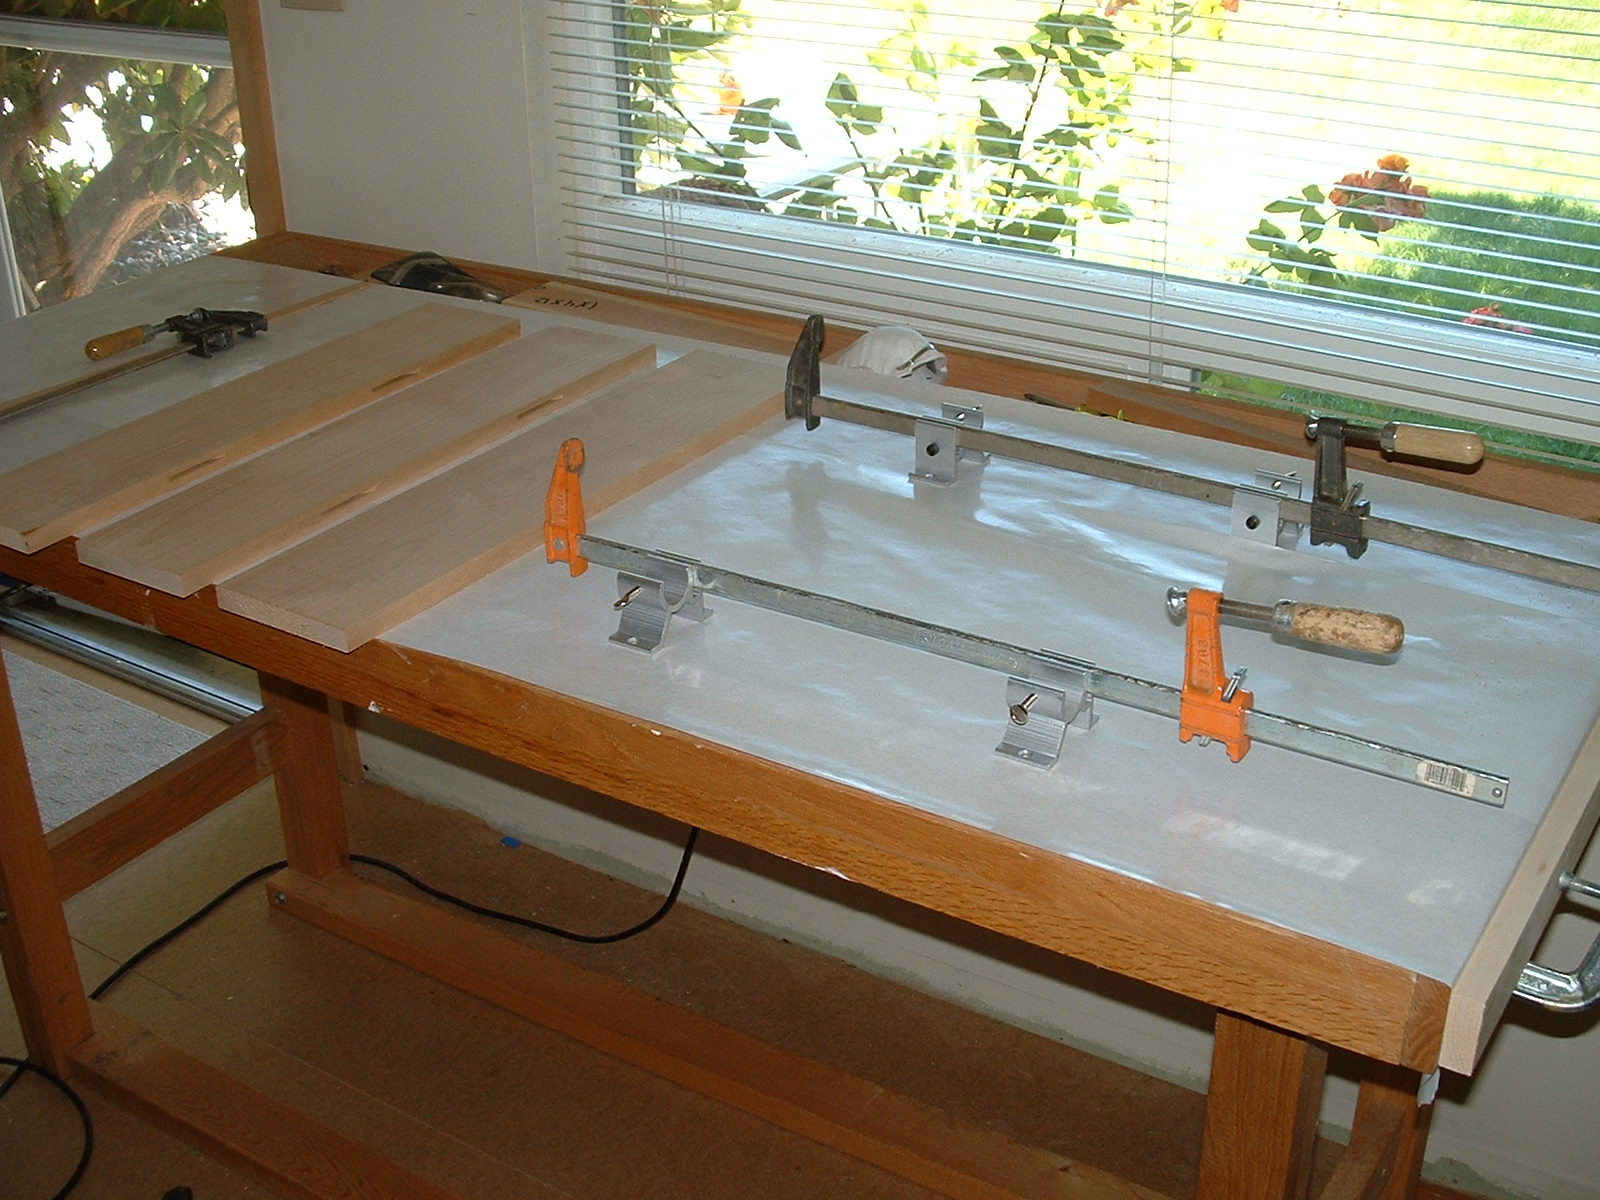
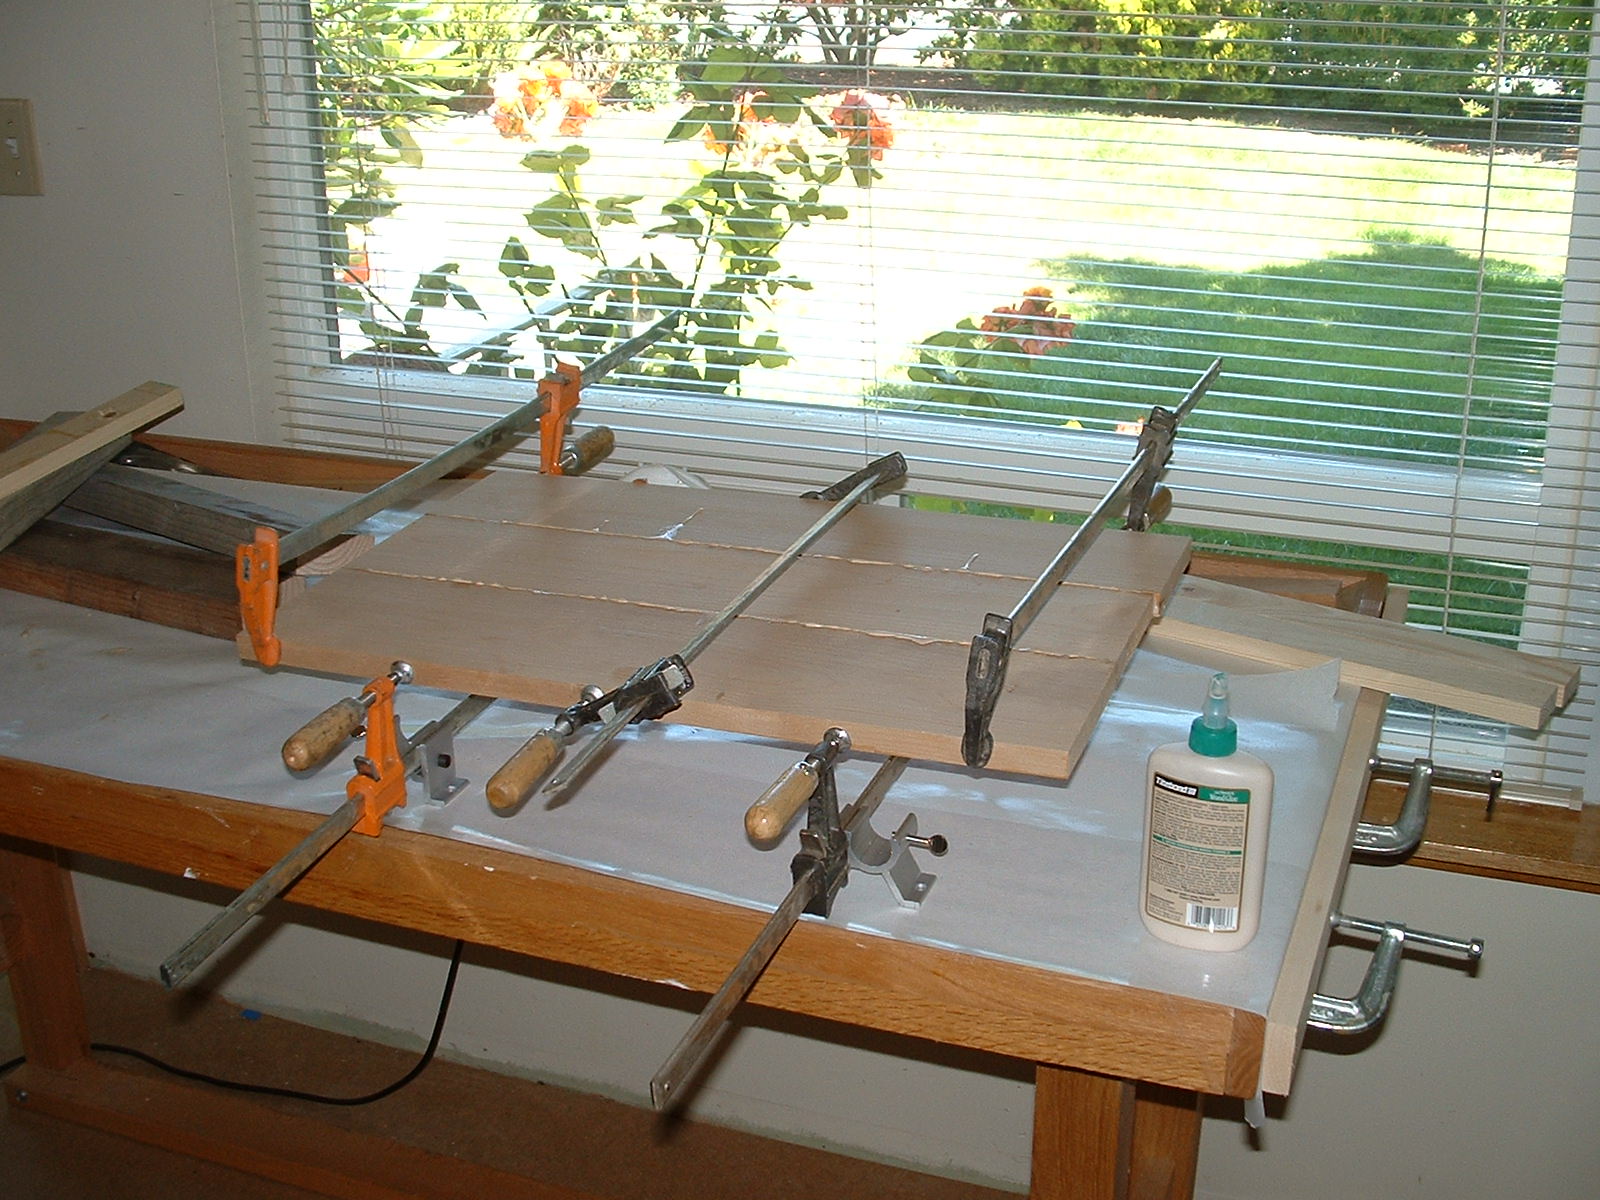
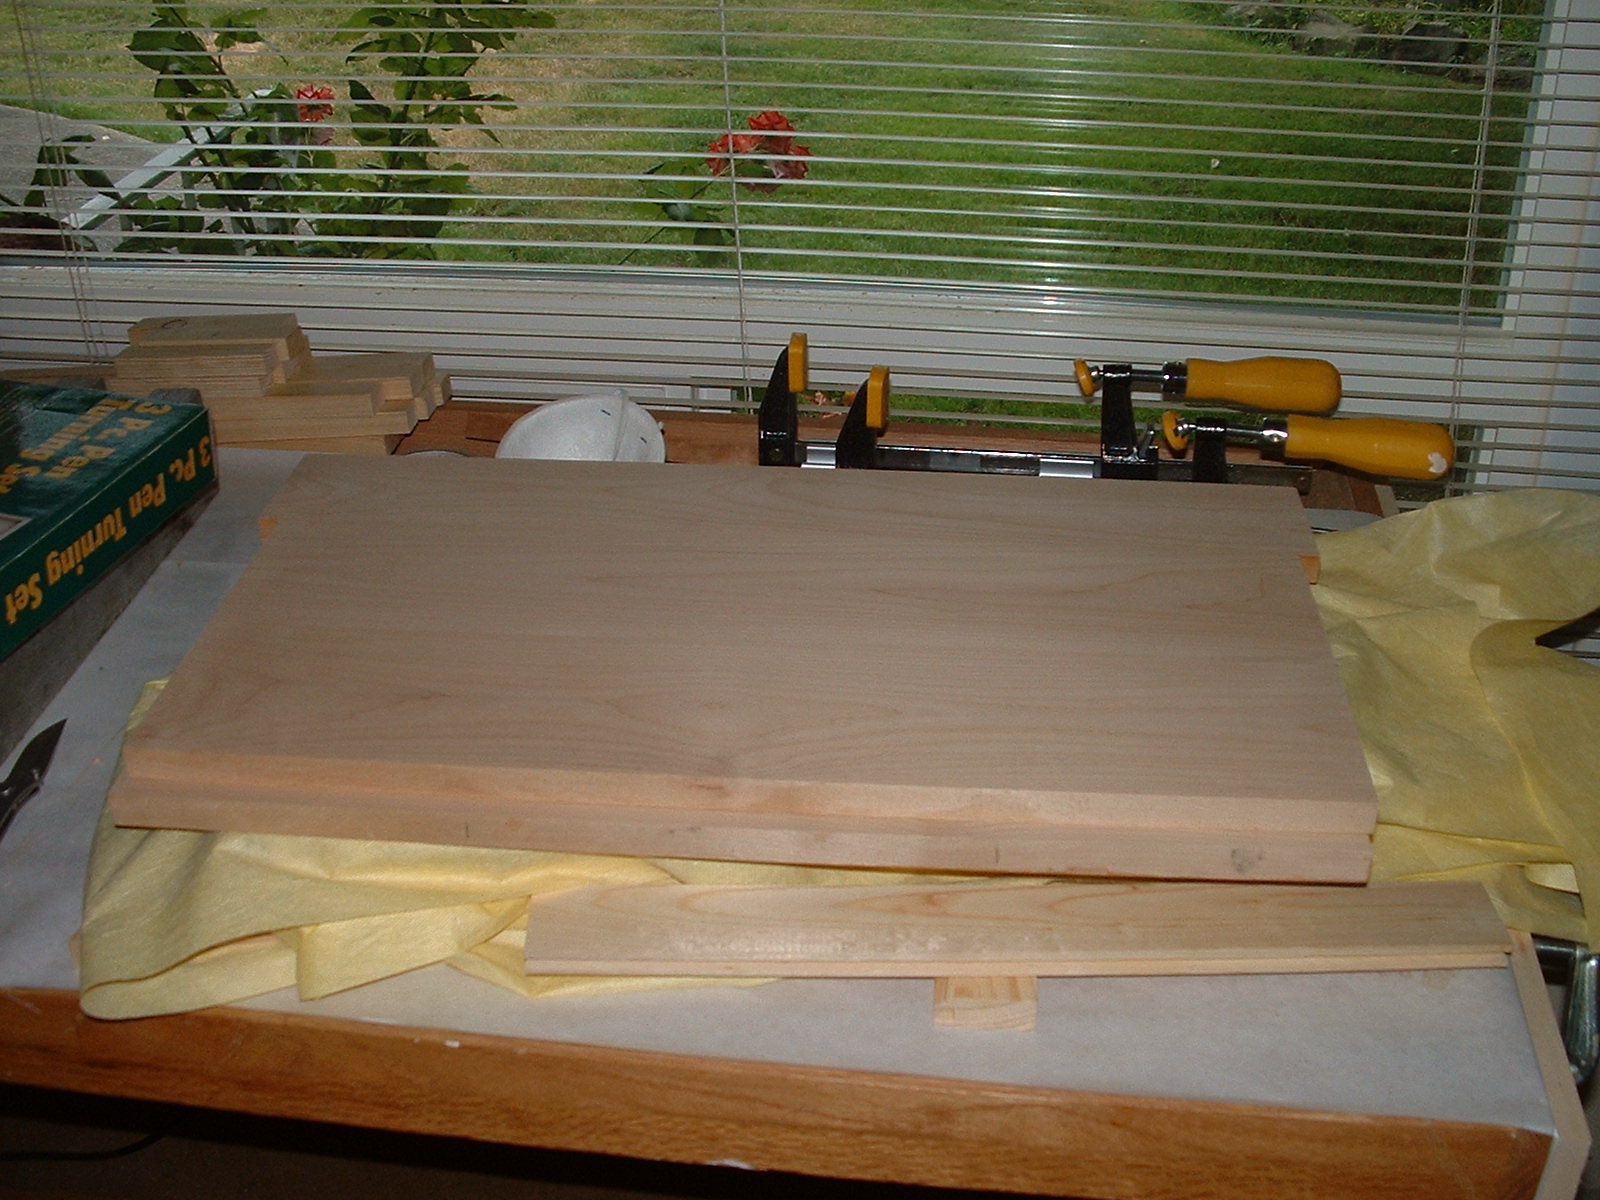
Glue Up
These are the glue-ups of the drawer and door fronts. Using biscuits and PVA glue the boards are joined. After the glue is dry I scrape off the excess and sand.
:
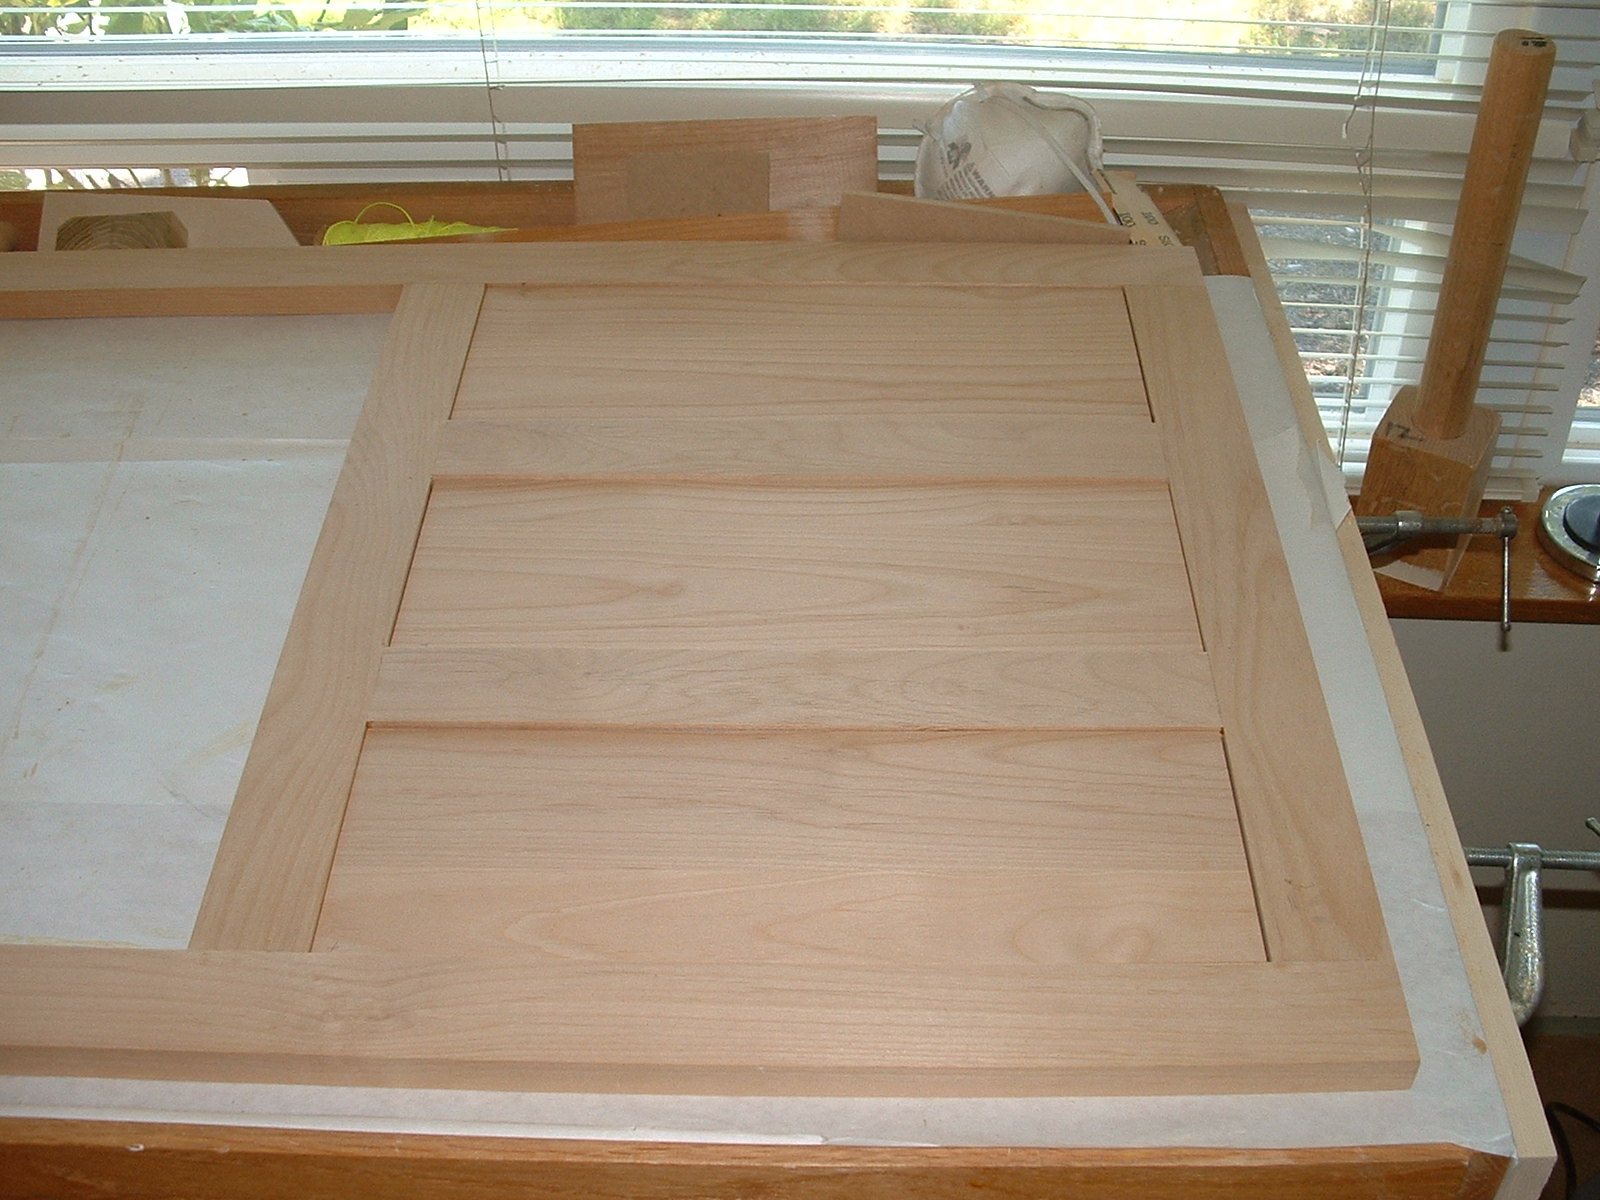
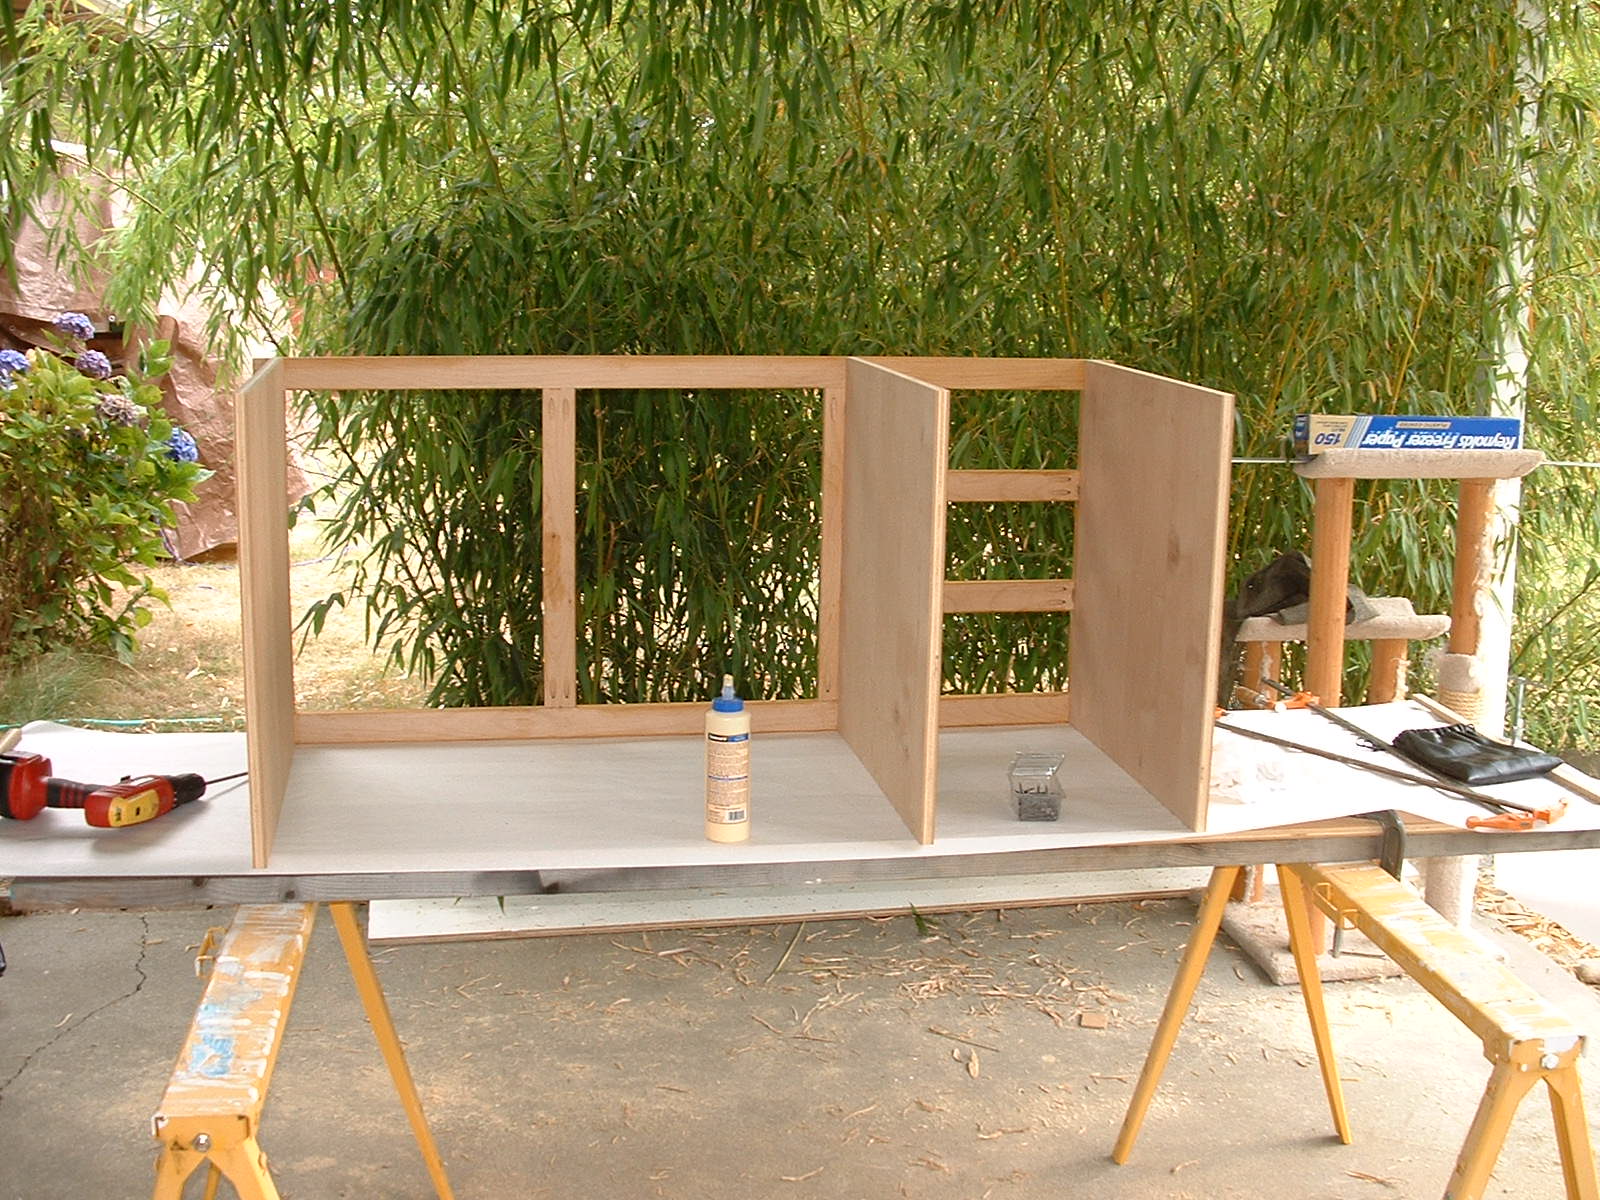
The is the dry fit for the face frame. The cabinet will be placed under this work bench.
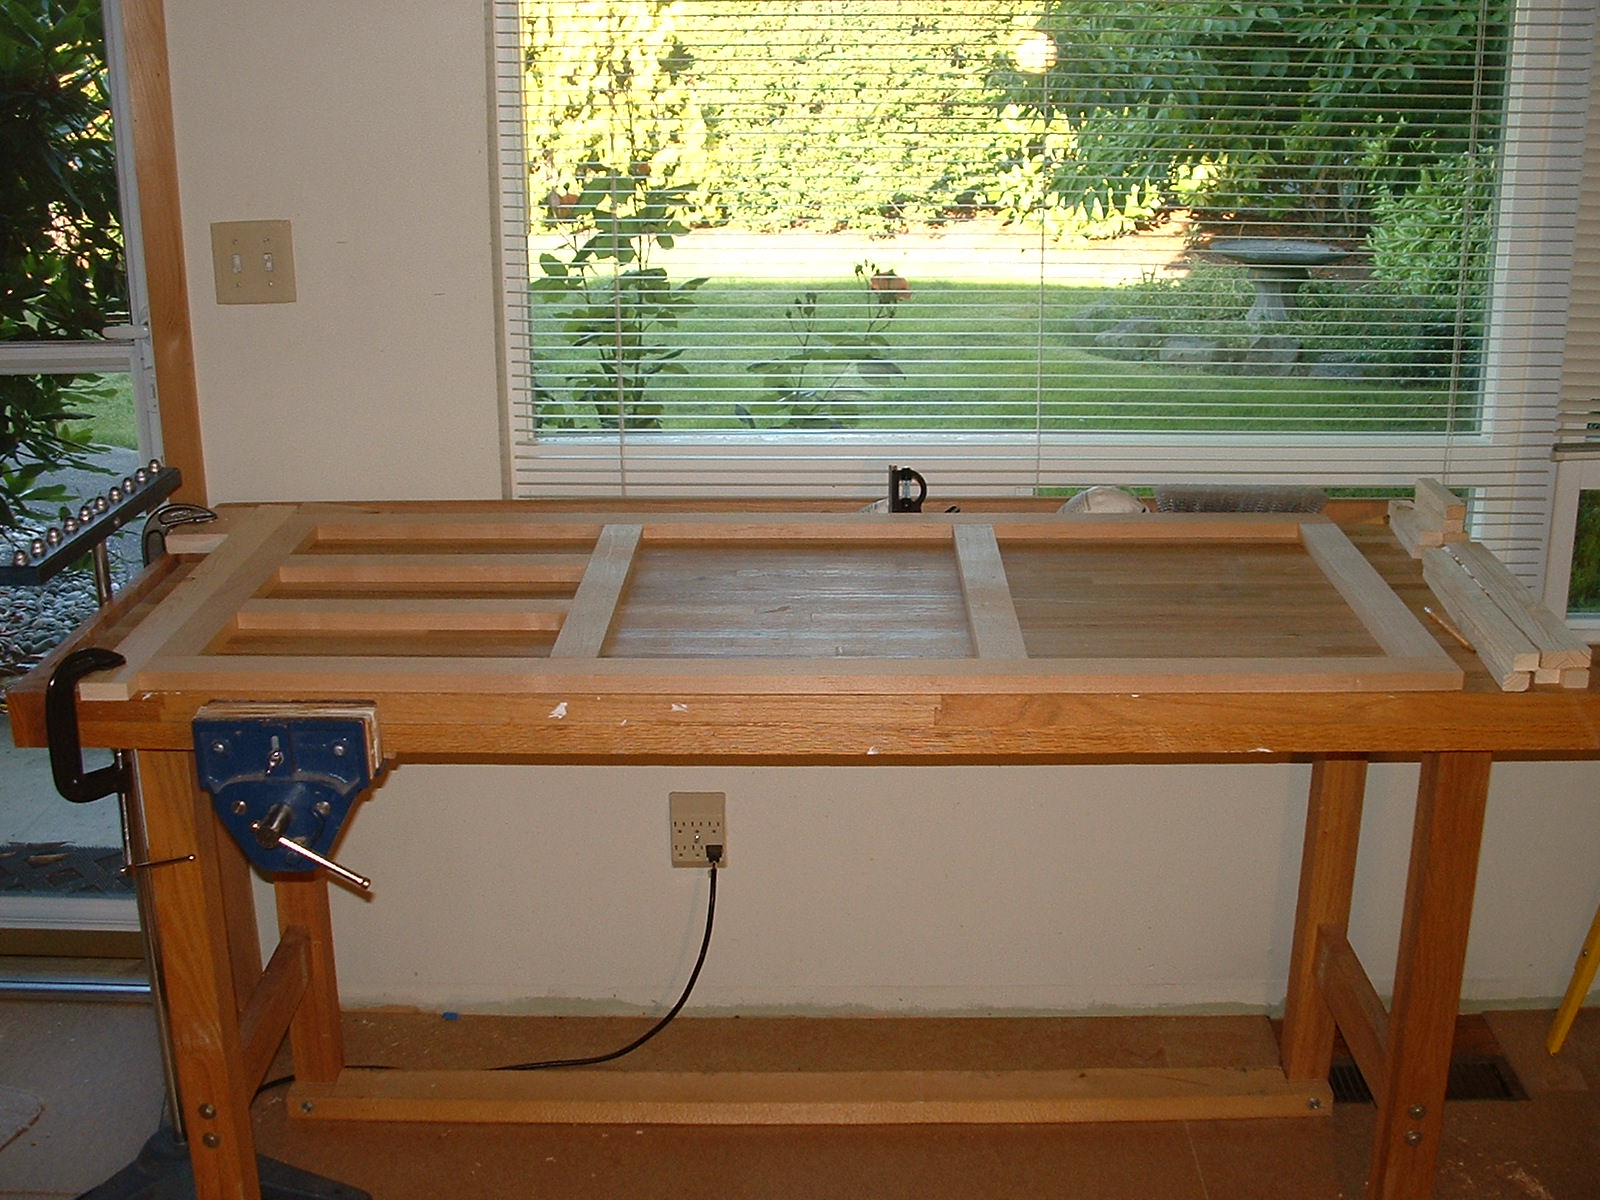
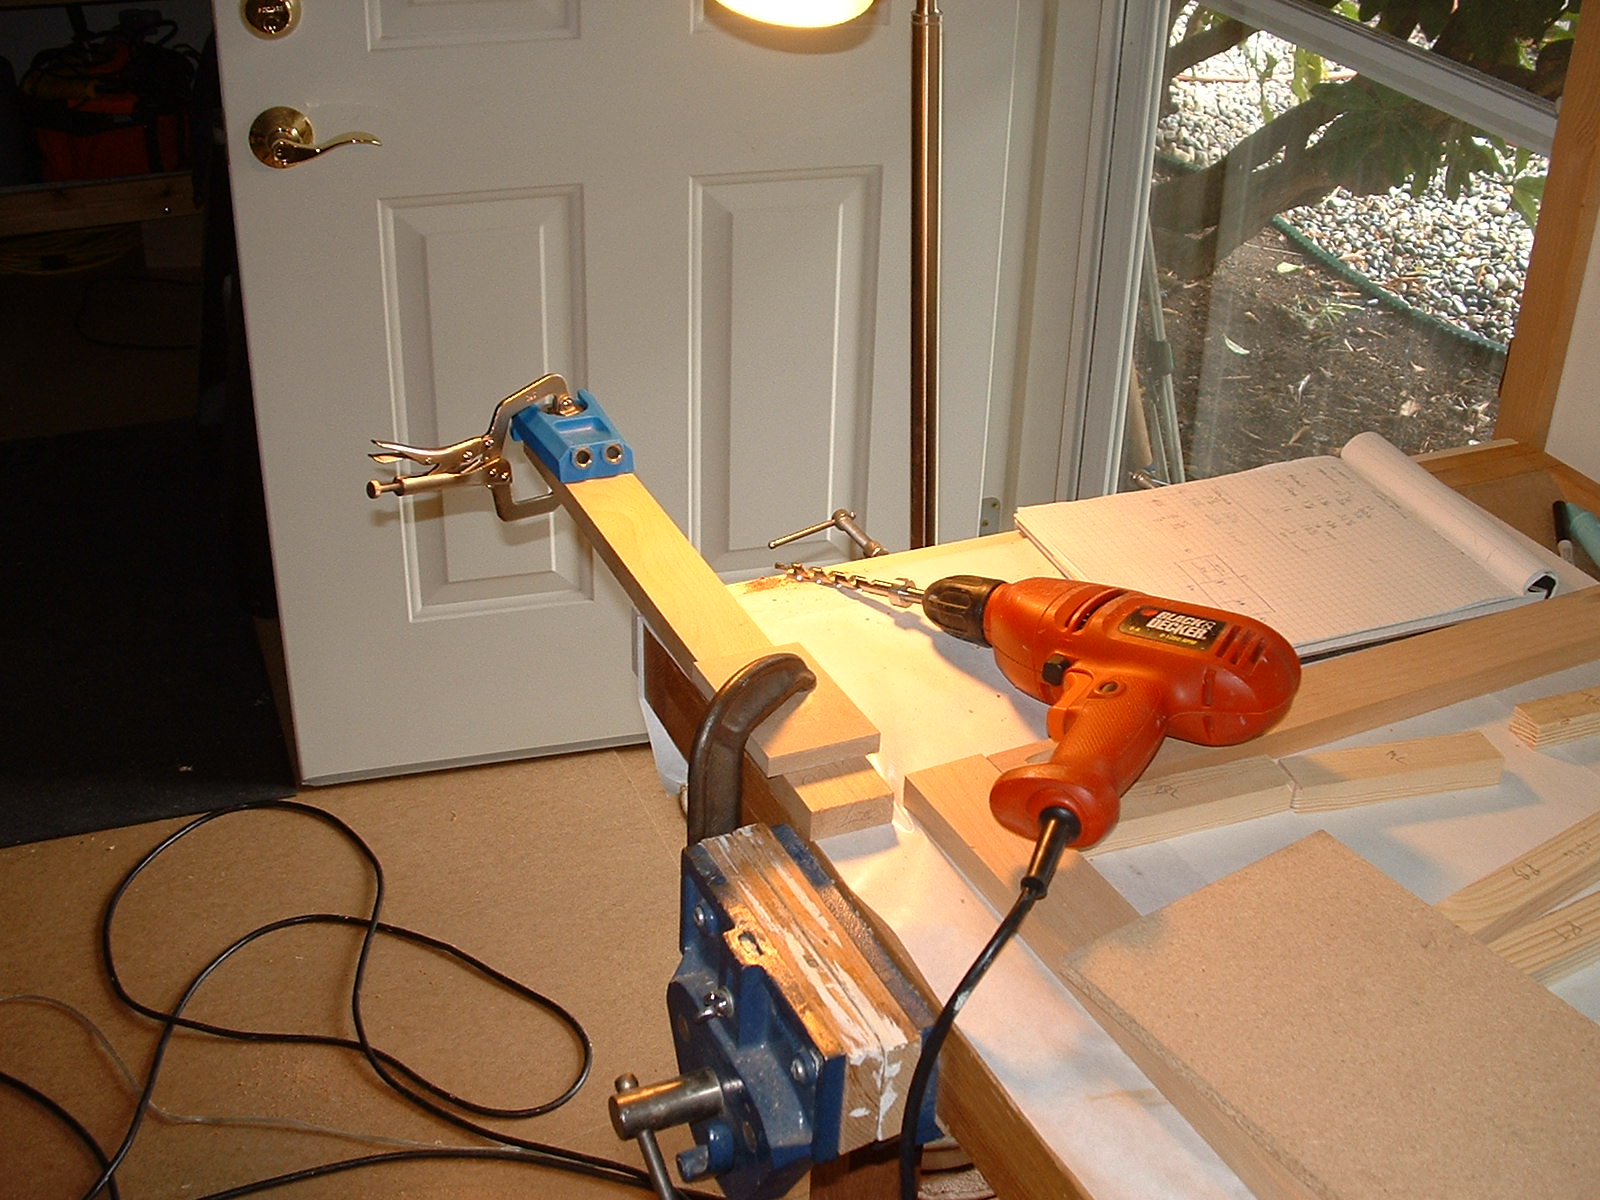
The face frame is joined with pocket holes and PVA glue. To achieve good spacing I am using spacer blocks cut earlier and clamps, clamps, clamps.

:
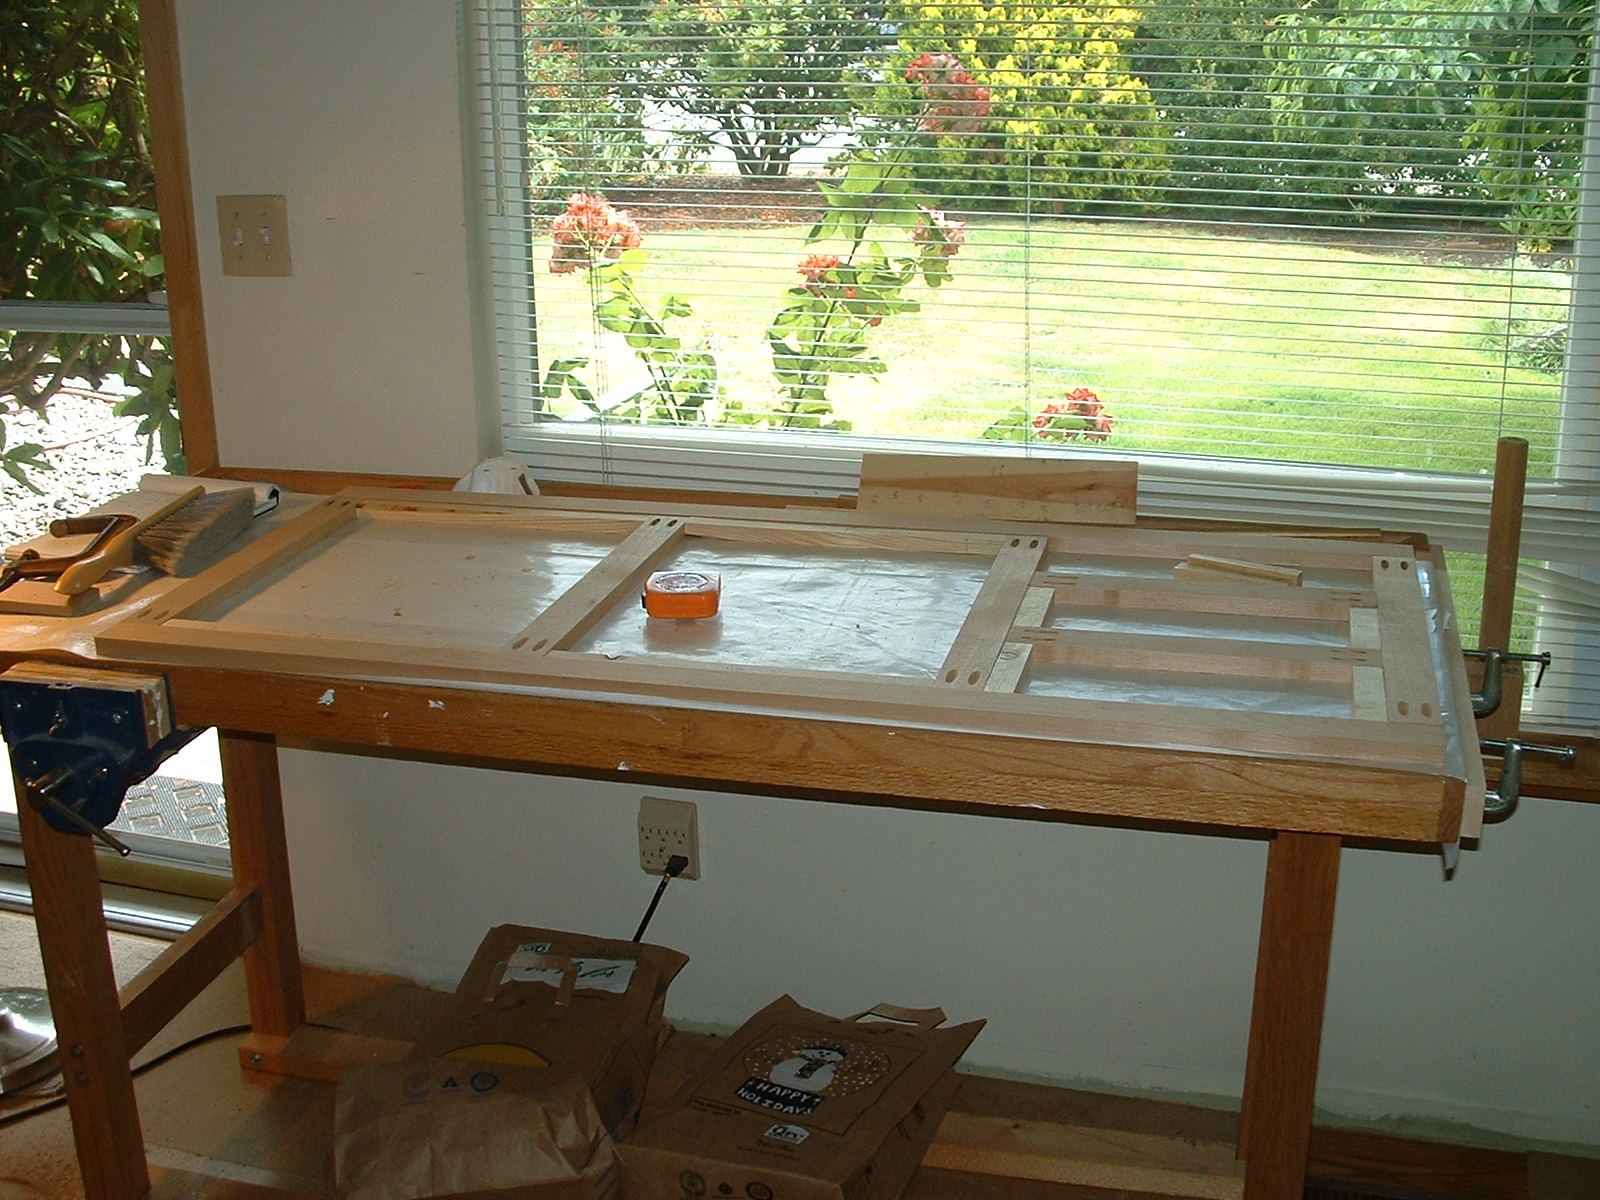
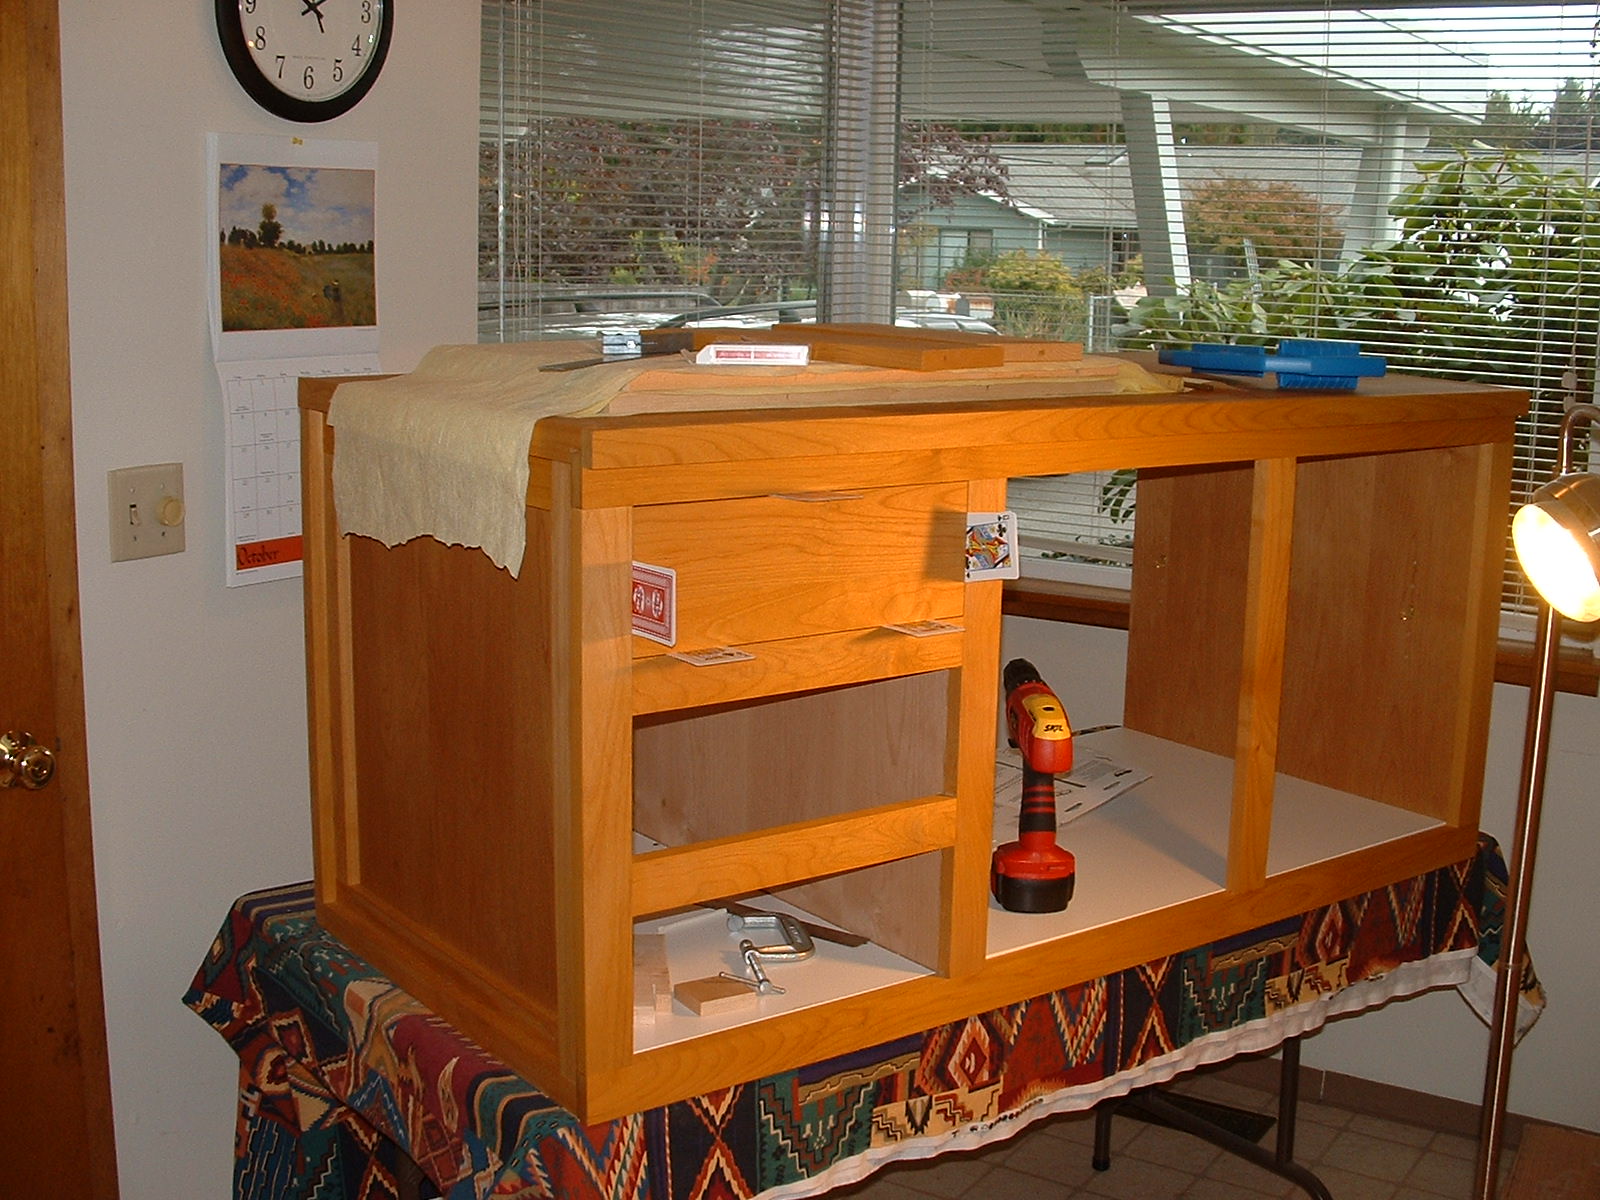
Fitting the drawer faces into the face frame openings. I use sets of three cards as spacers on all sides. Three cards equal about 1/32".
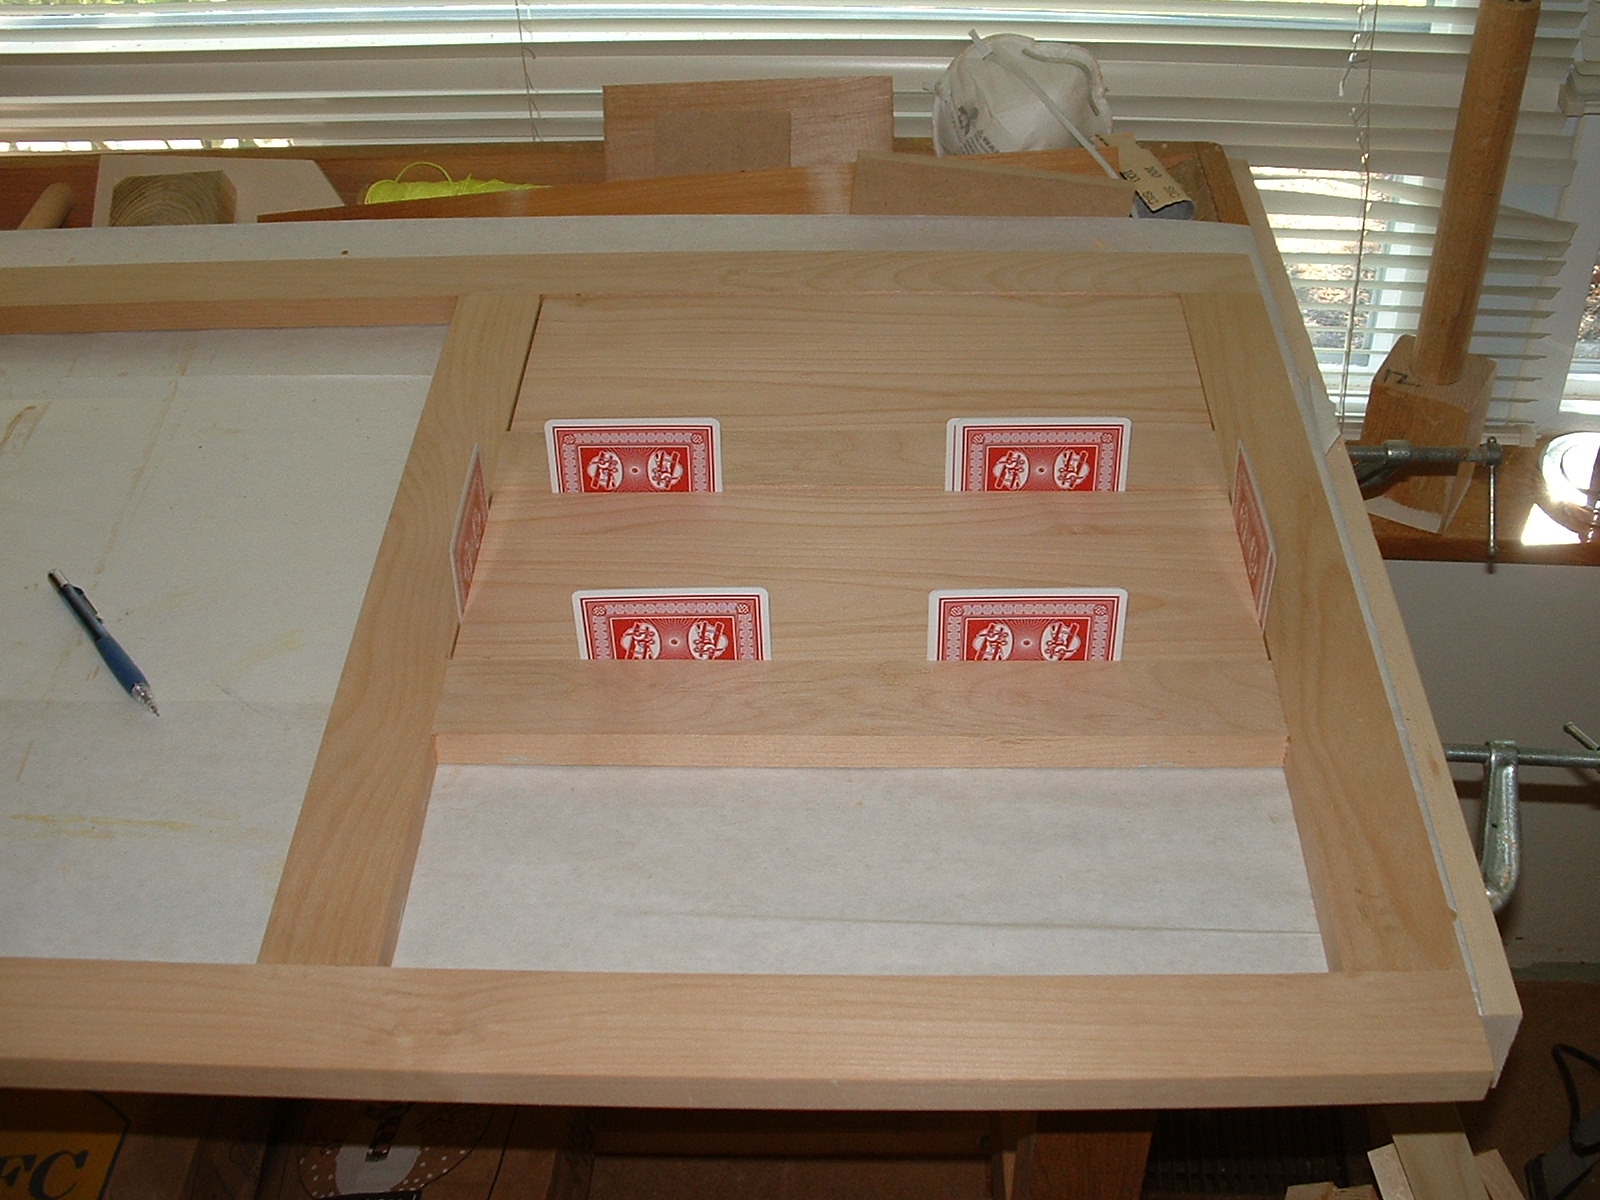
Watco oil is applied to some of the project here.

:
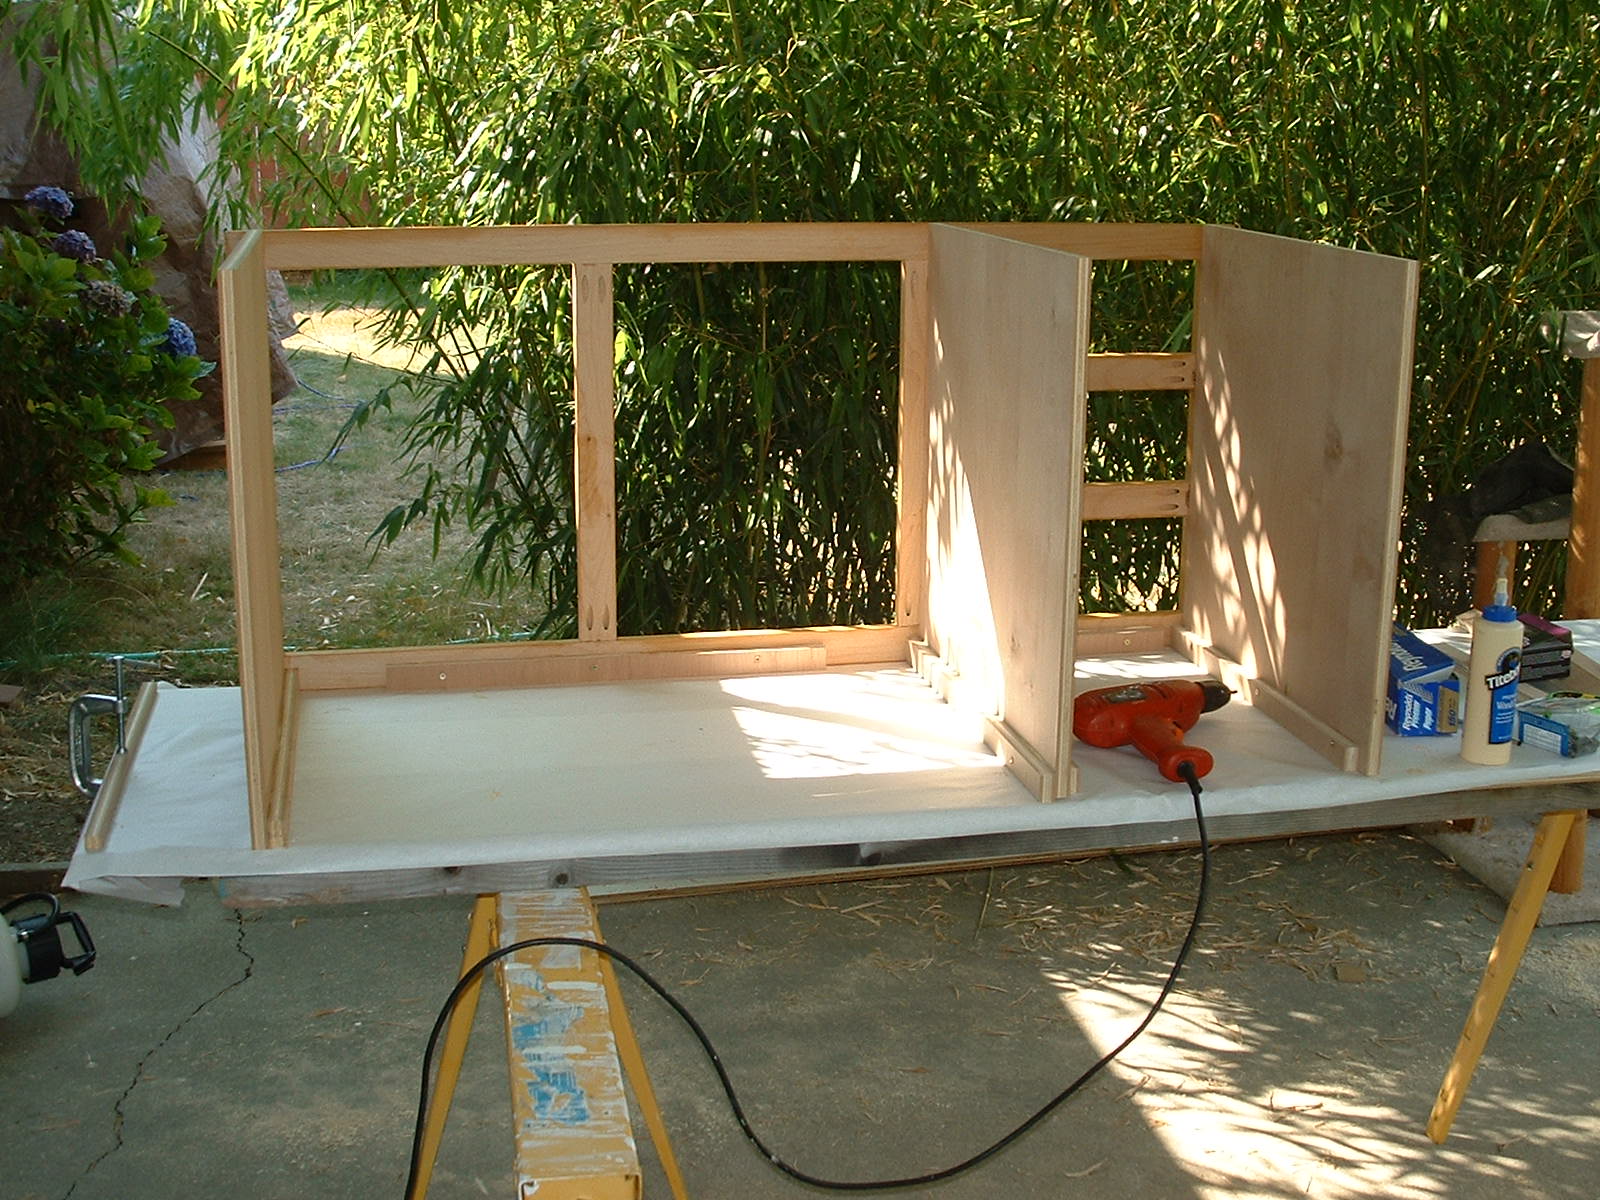
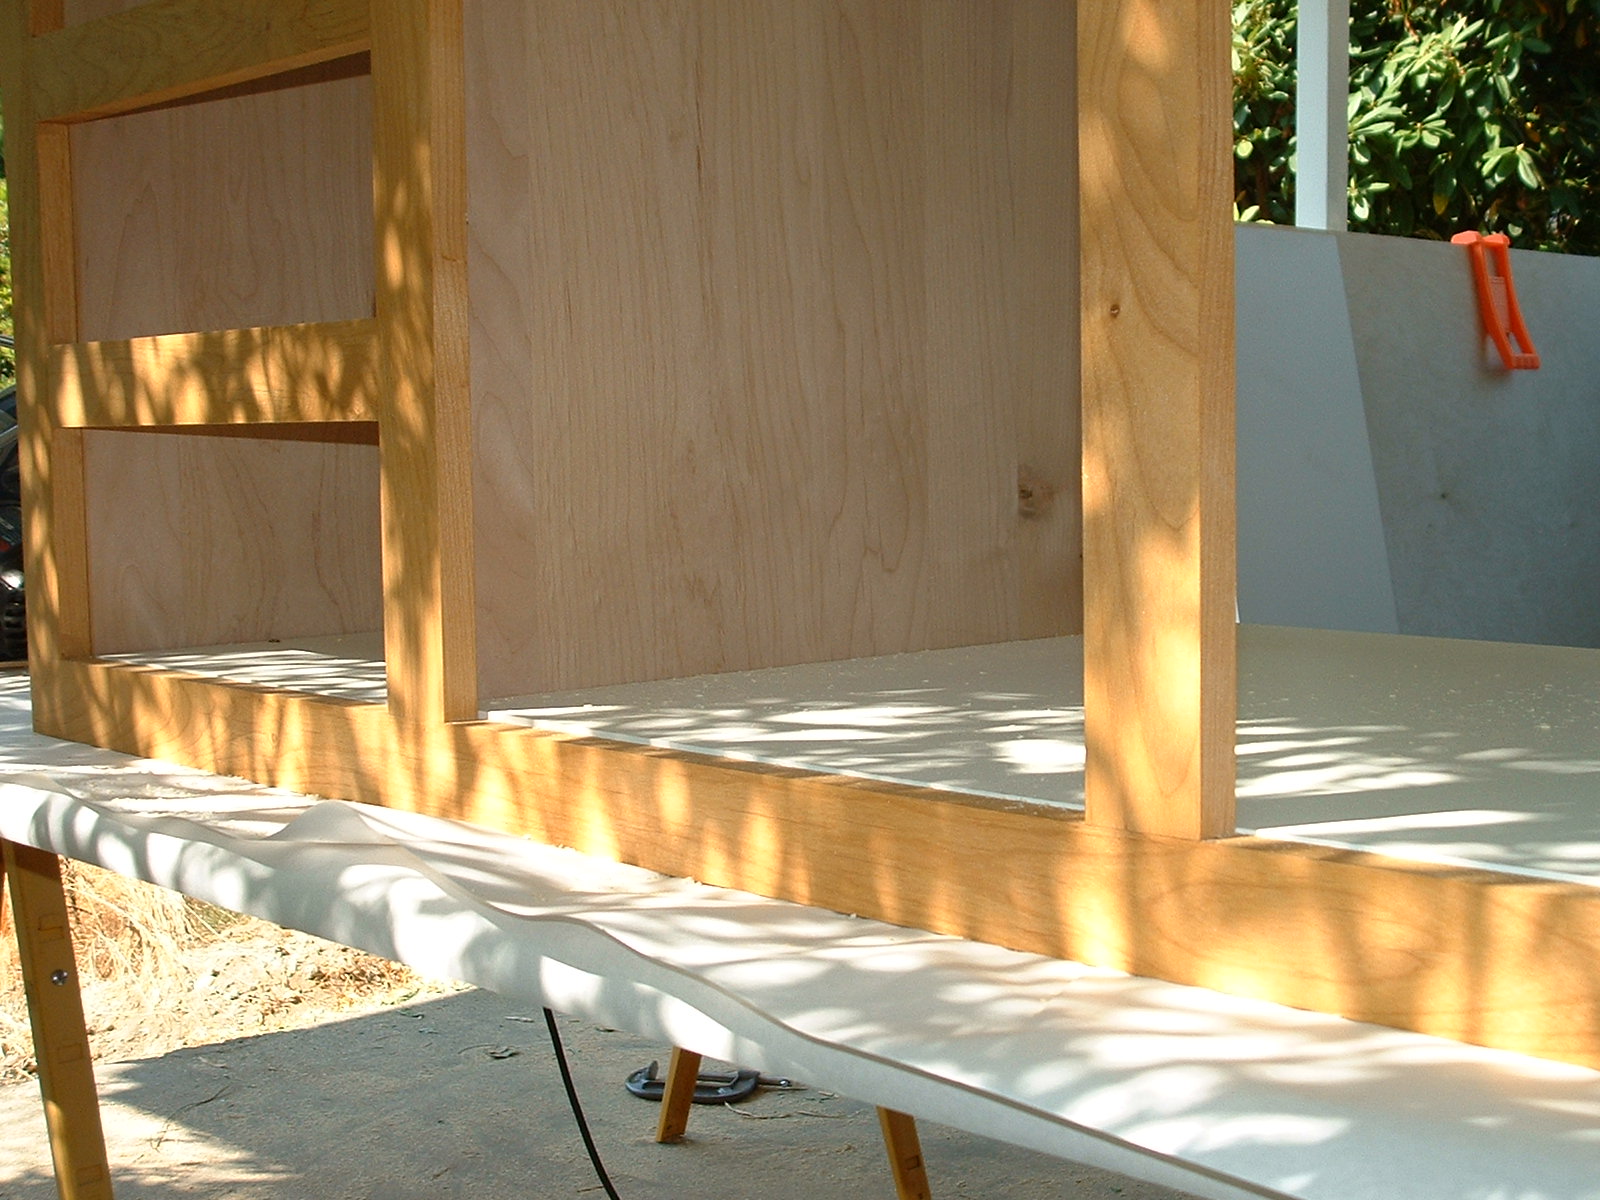
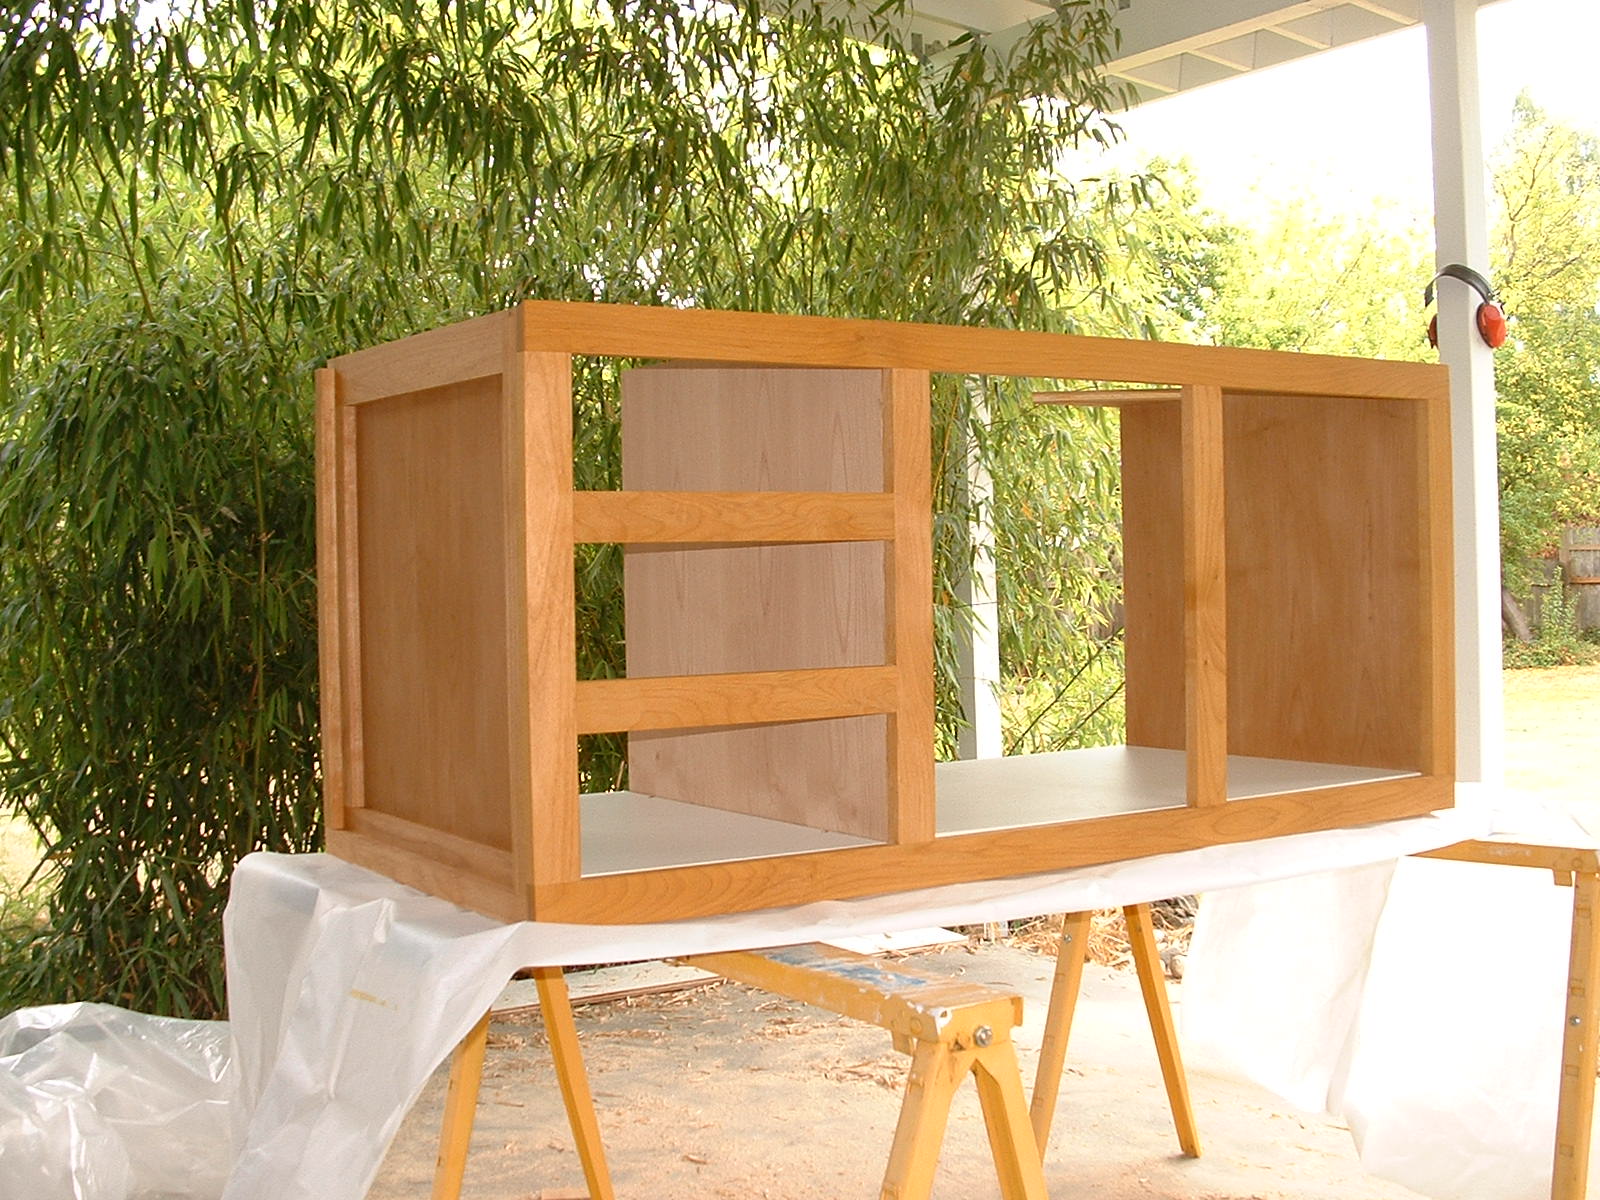
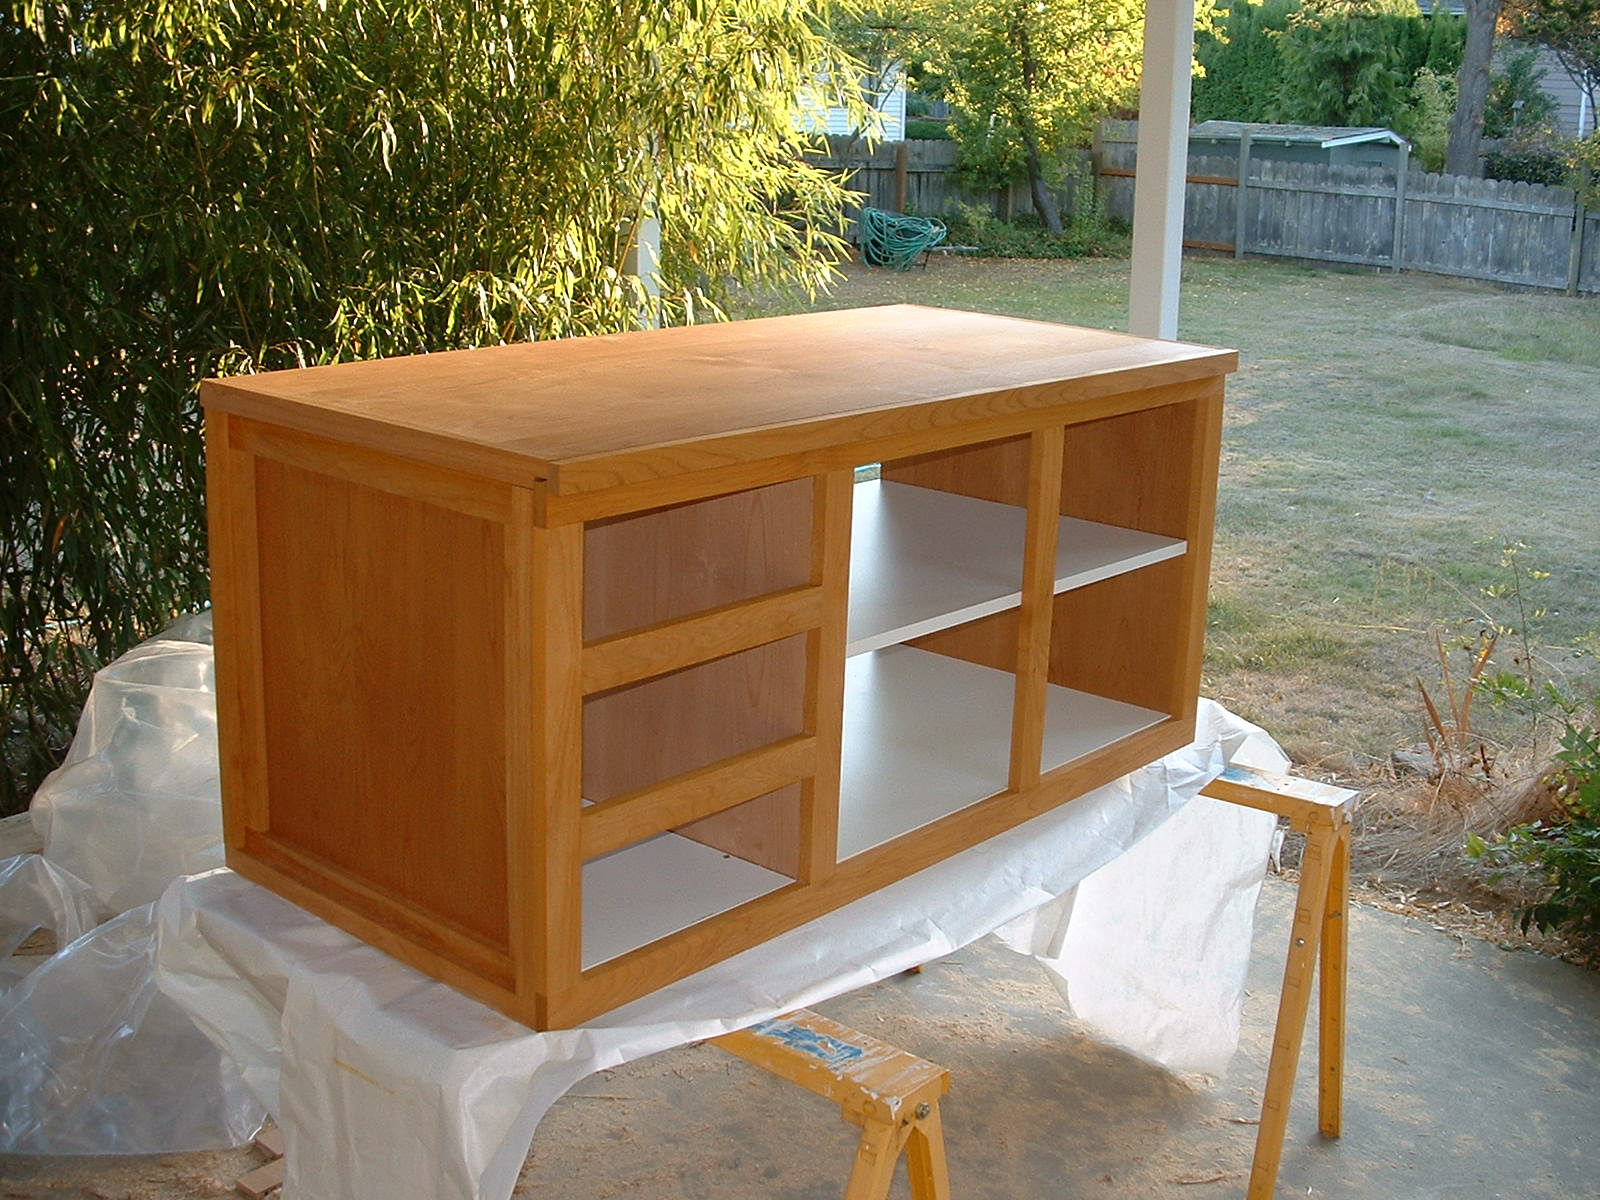
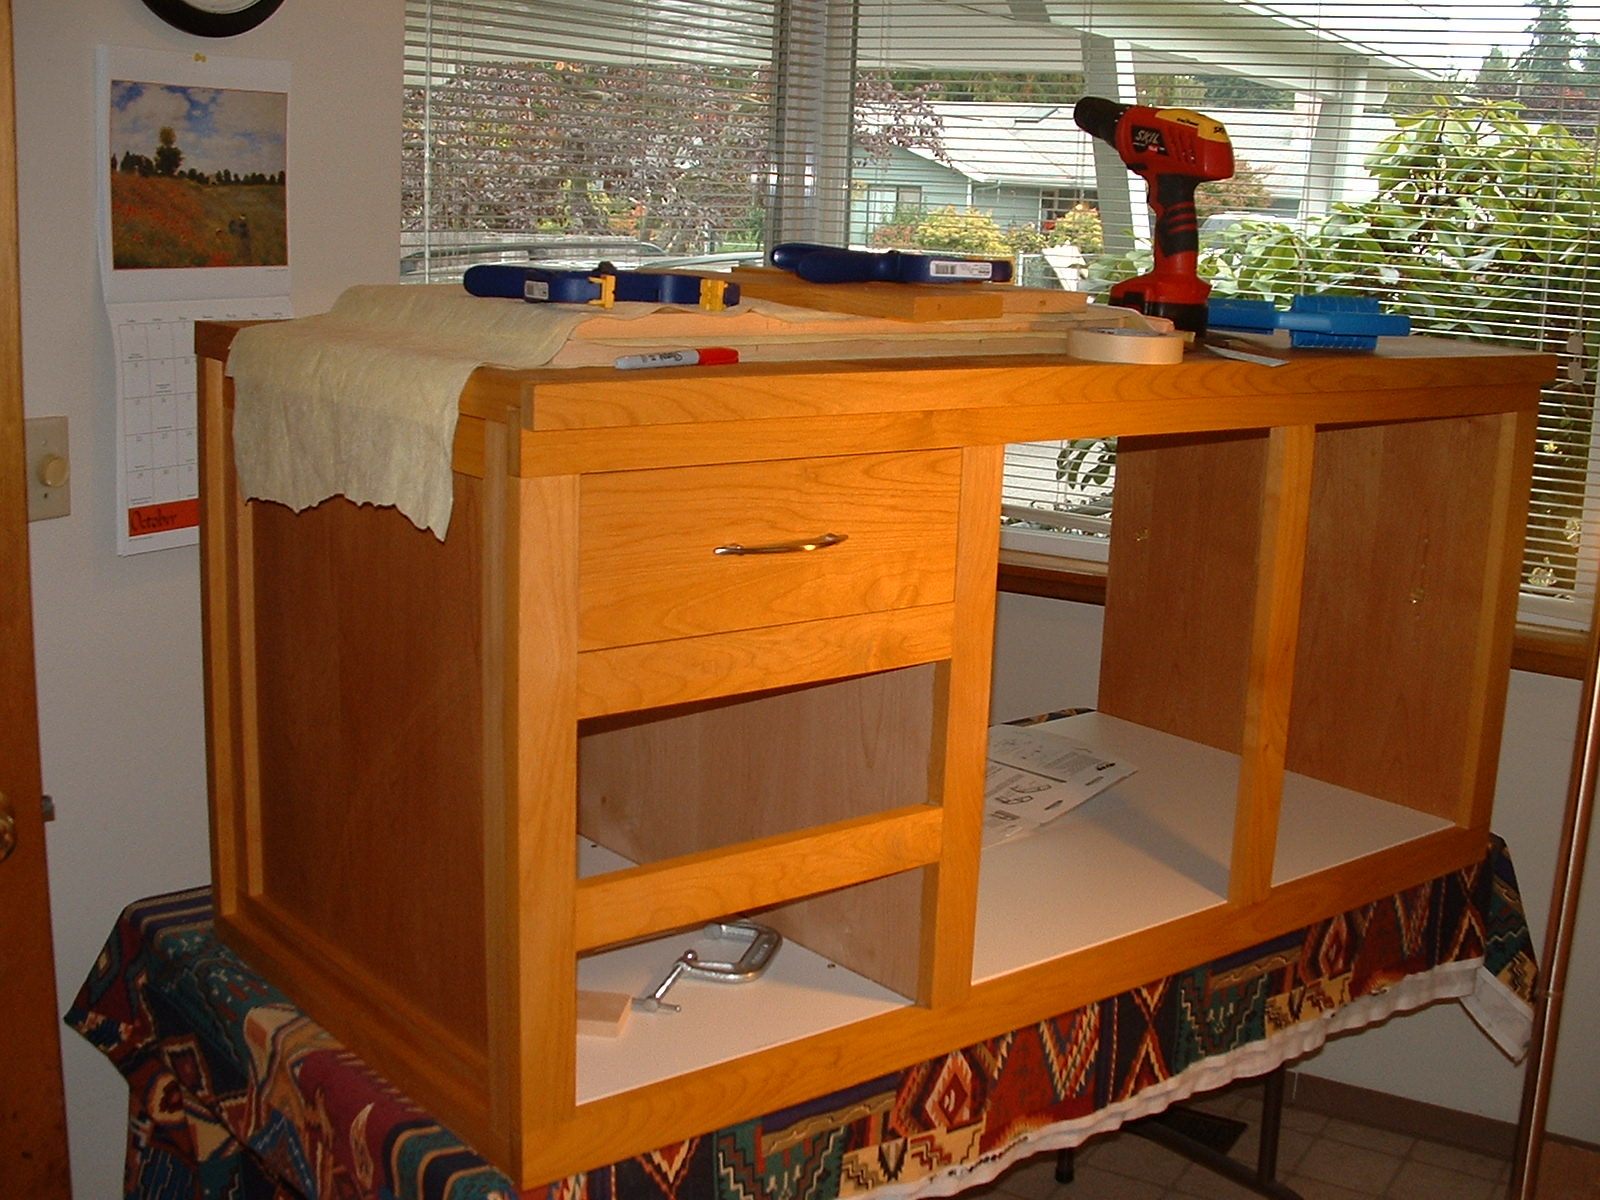
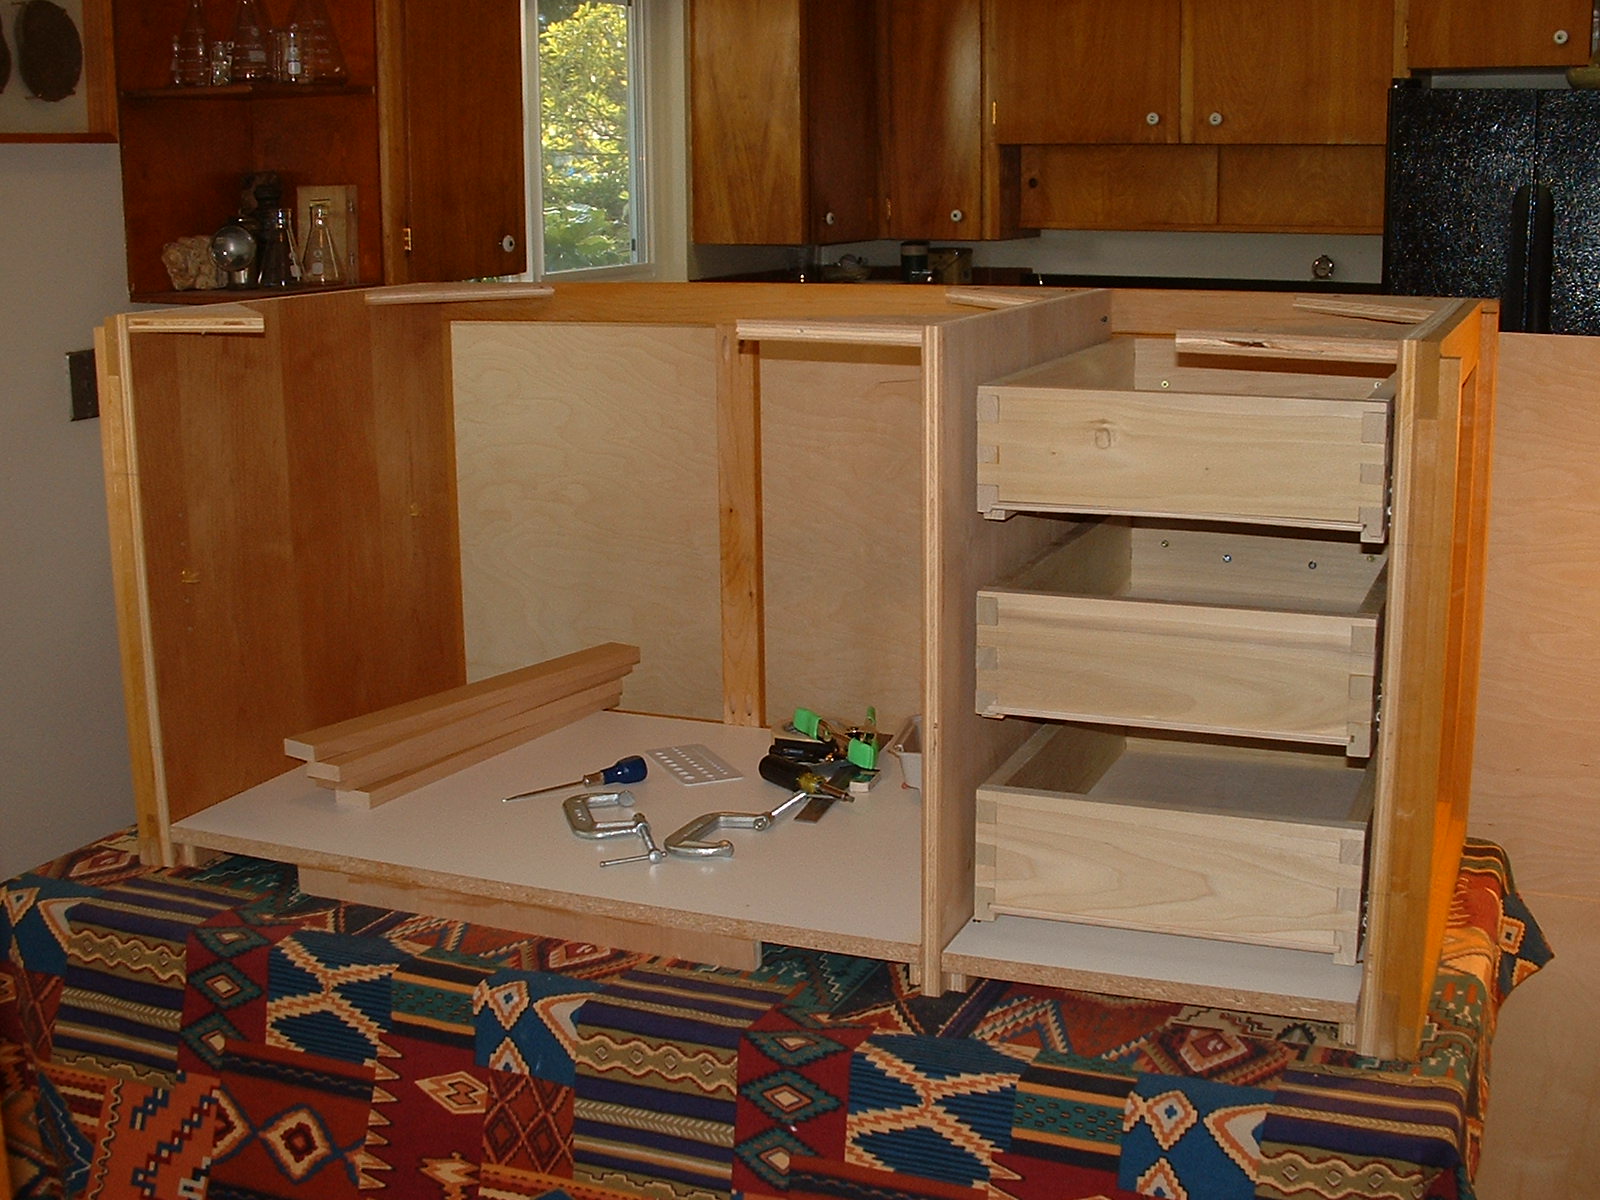
Cabinet Assembly
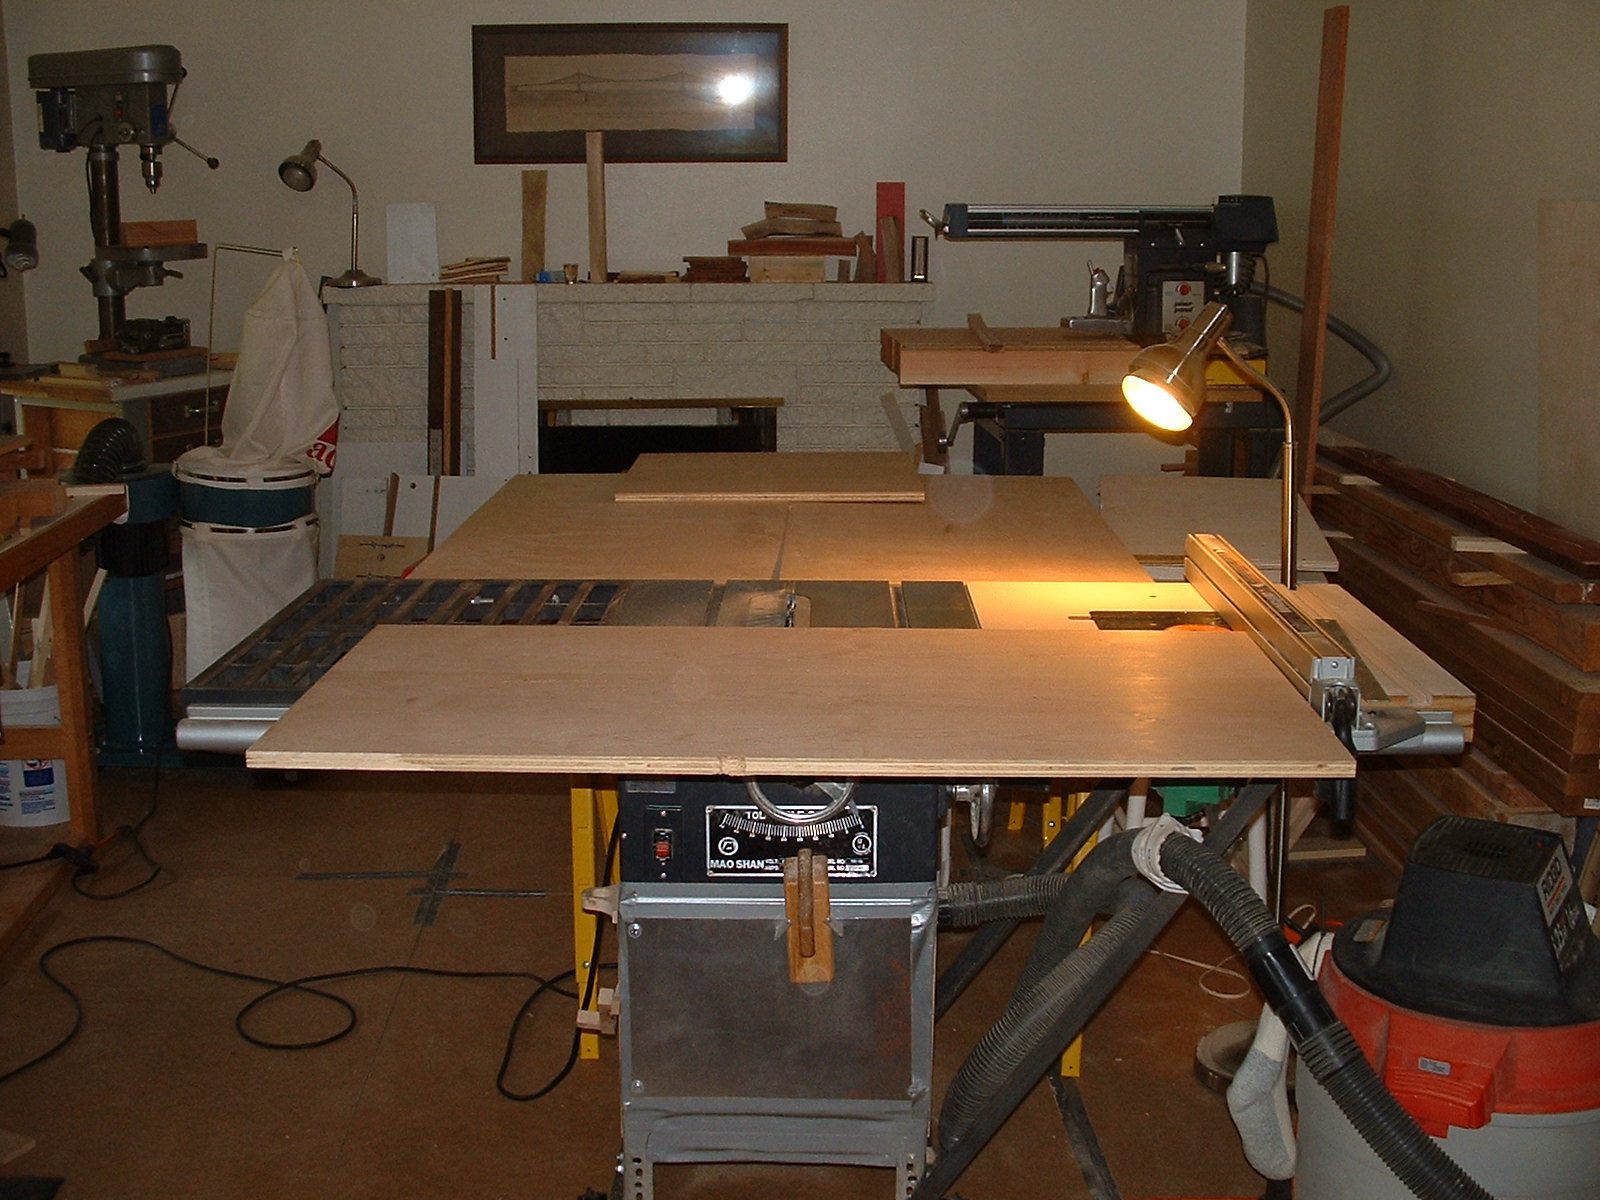
When cutting the alder plywood panels I do the rough cuts on saw horses with an edge guide and my Bosch CS20 and the final cuts are done on the Mao Shan table saw with a Forrest WW-2 x 10" 40T x 3/32" blade.
:
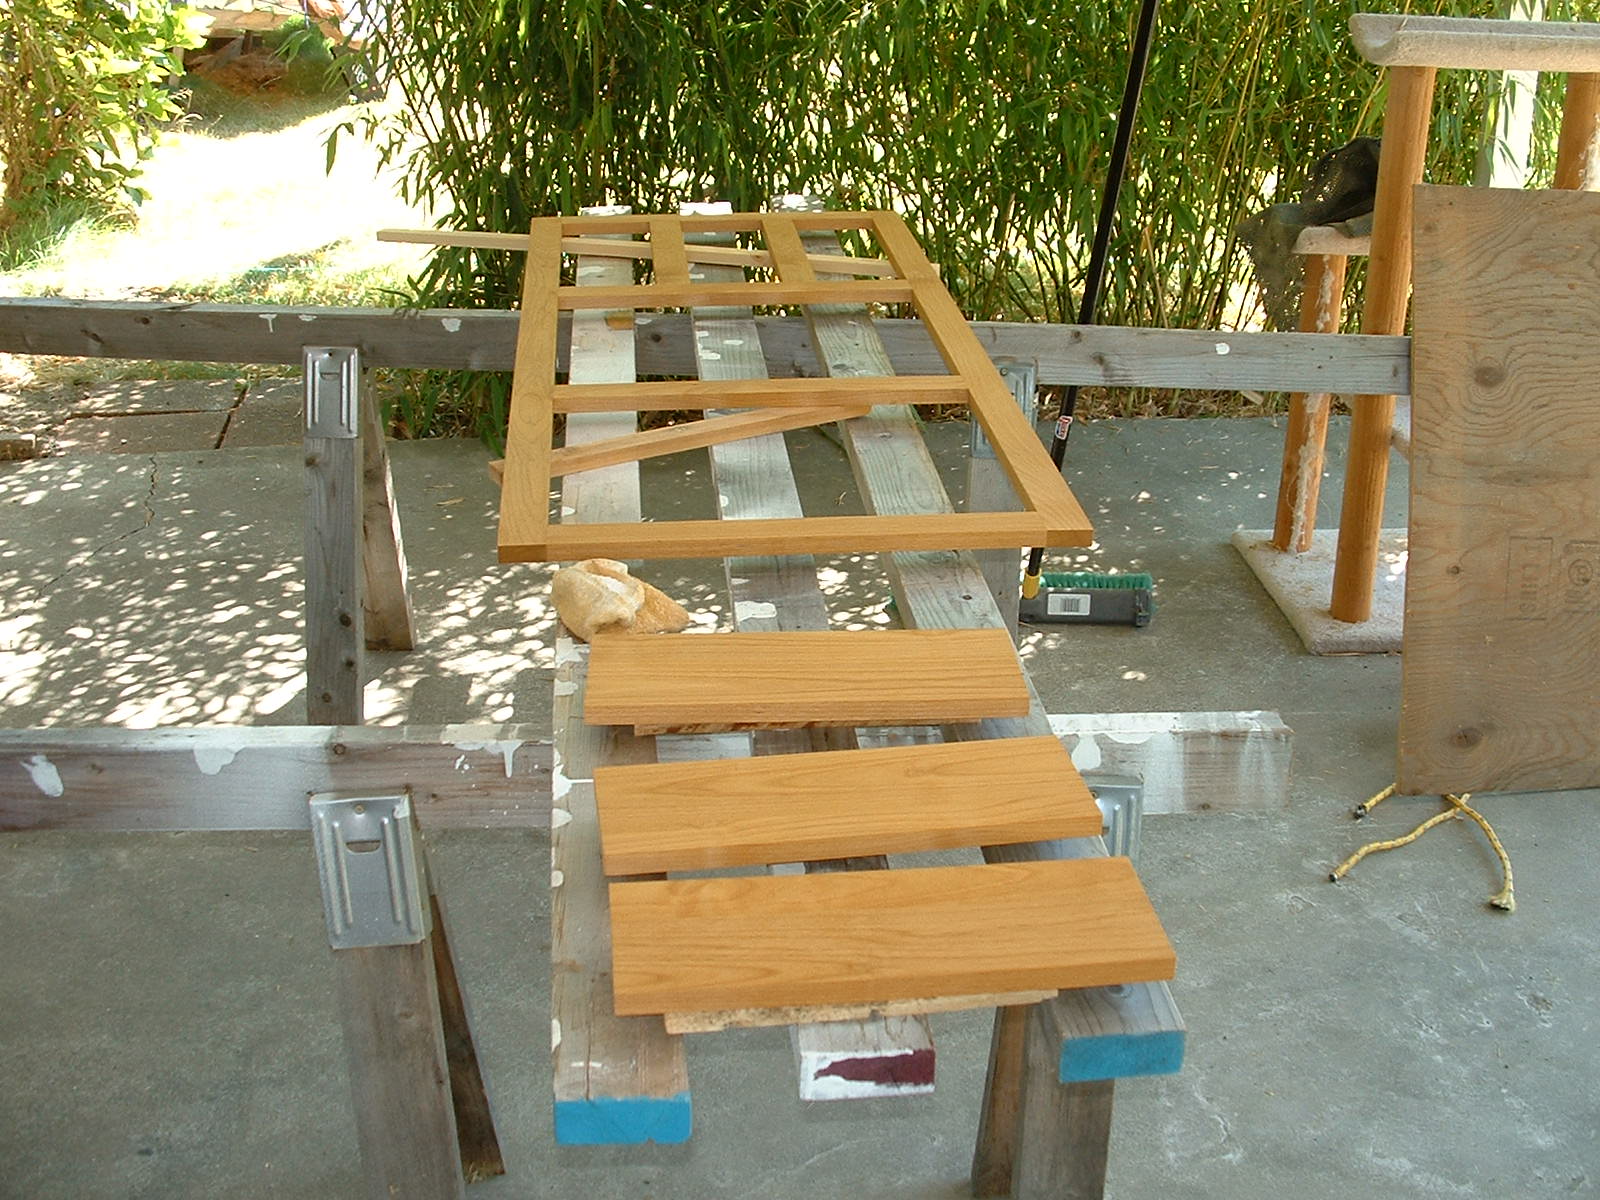
Assembly of the case is shown here. Pocket holes are placed
where they won't show. The floor is just proud of the face frame so that storage
items can be slid out without damaging the face frame. The first layer of
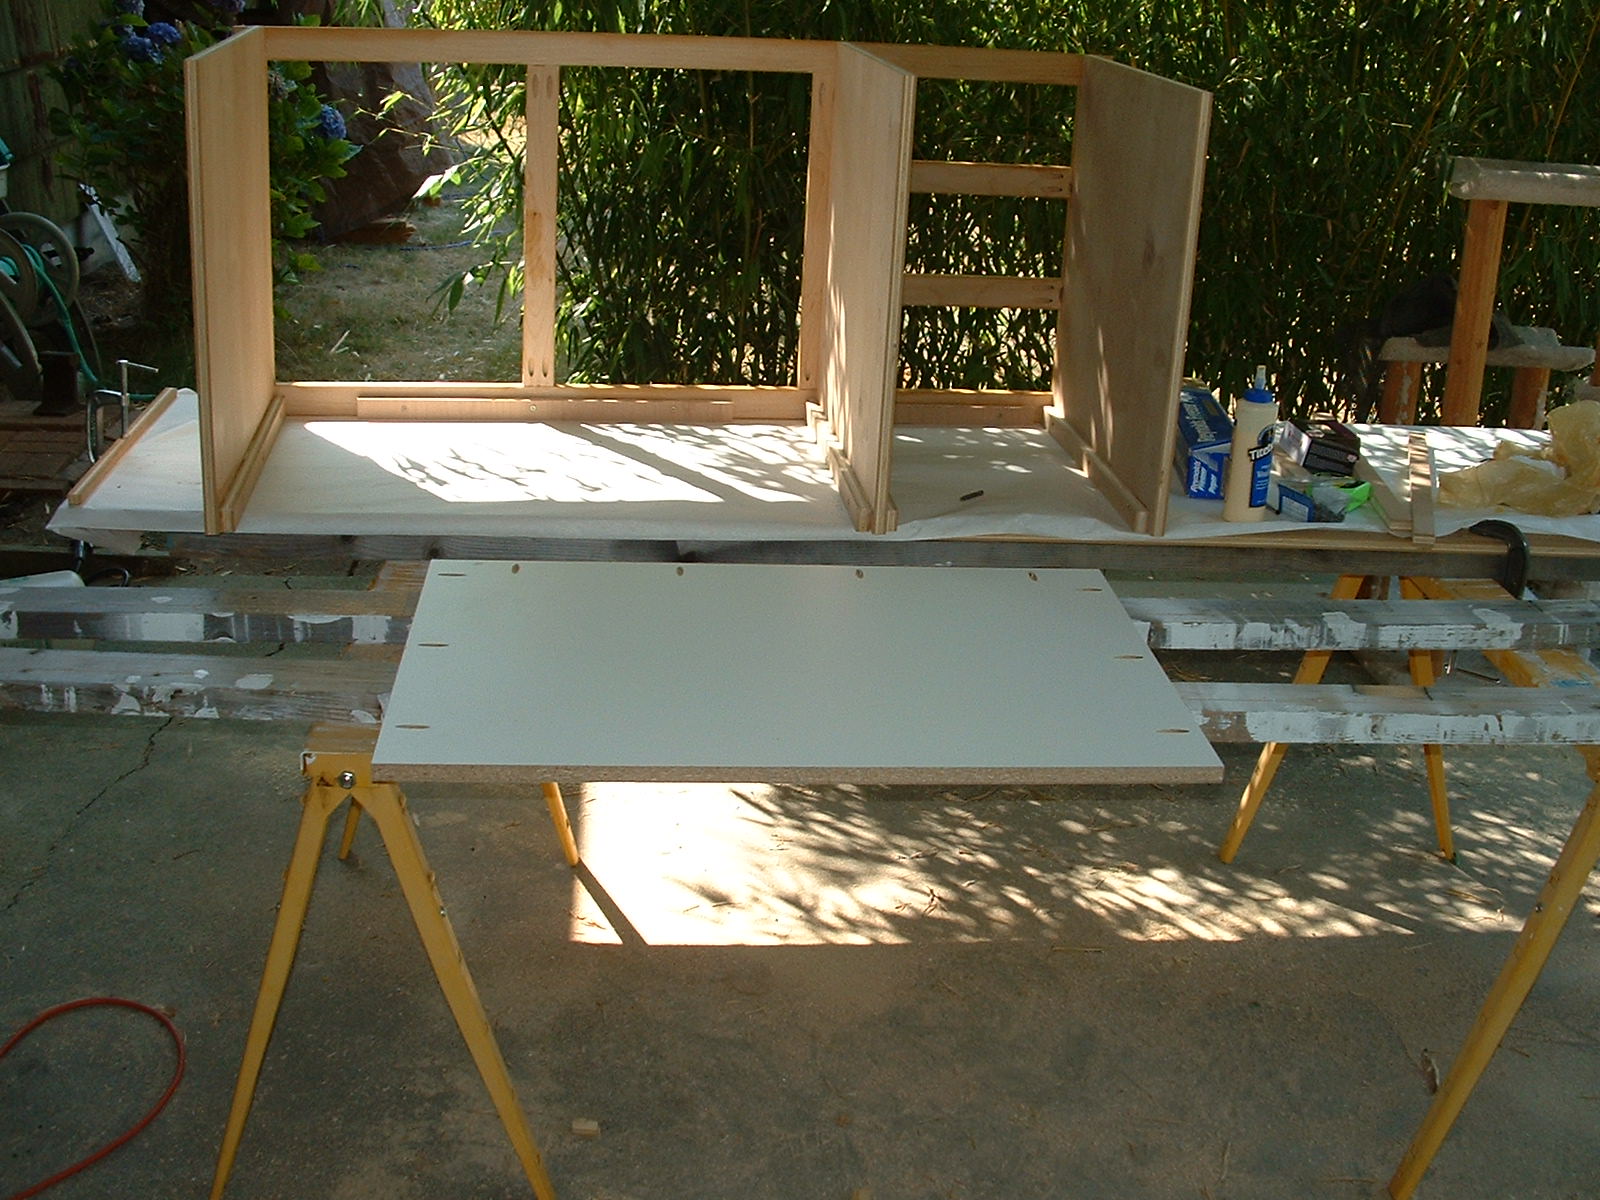
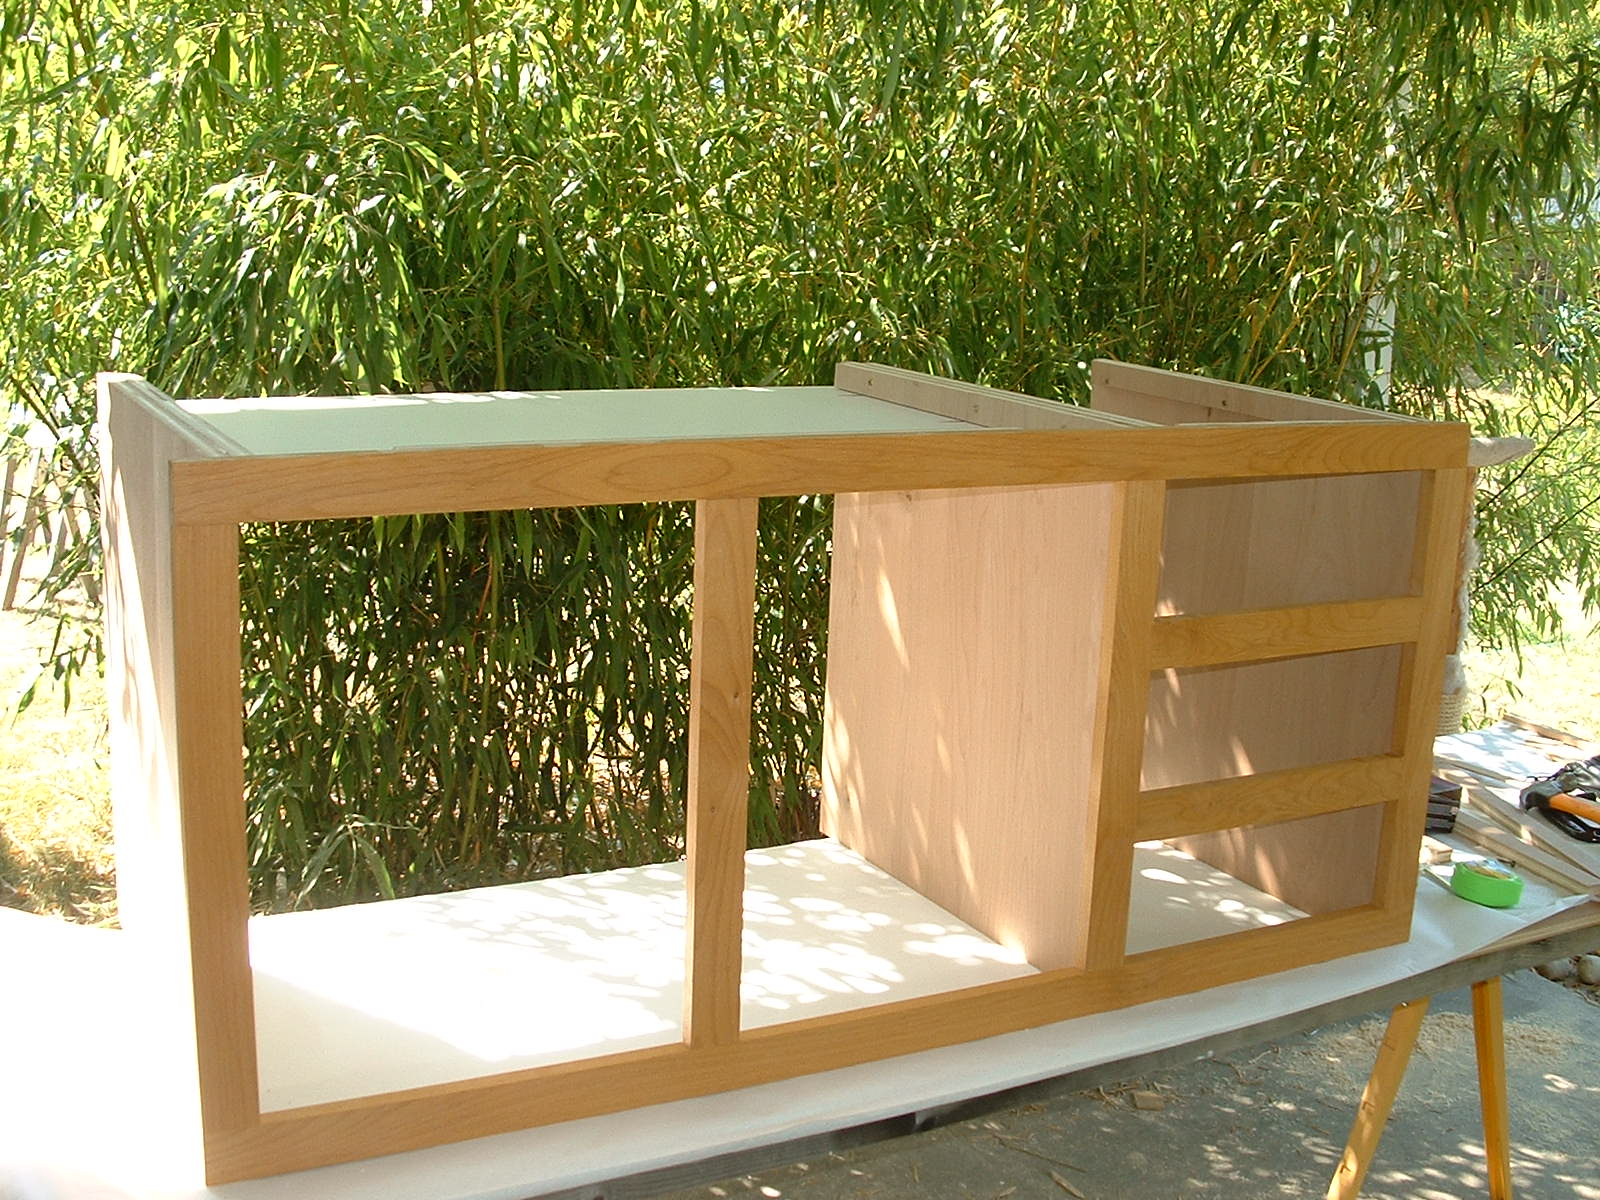
parameter trim is glued and nailed to the plywood with an Arrow
ET200 electric brad gun. The
final layer of parameter trim is attached with biscuits and glue. The
shelf can be adjusted up or down by about 6". A coat of Watco Golden Oak
has been applied and the cabinet sat outside for about 10 days to air out and
dry. The top is not attached. This will not be done until all the drawers have
been installed.
:
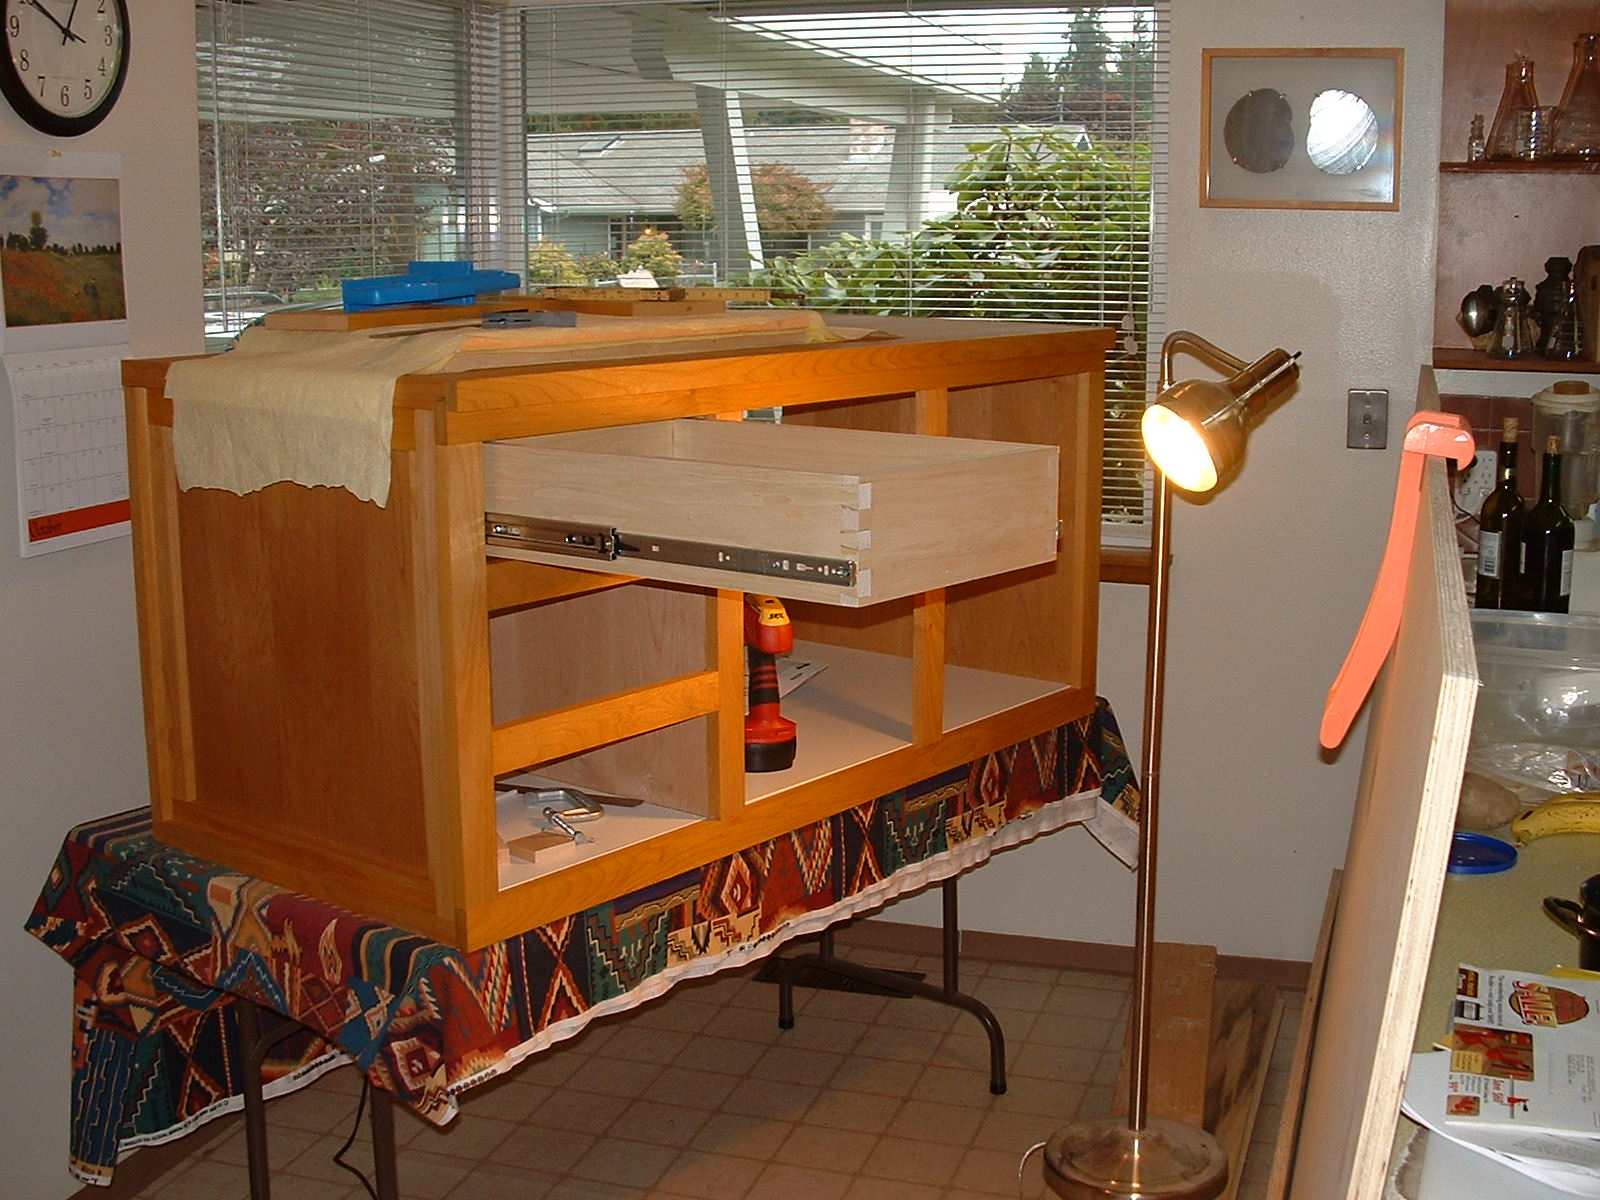
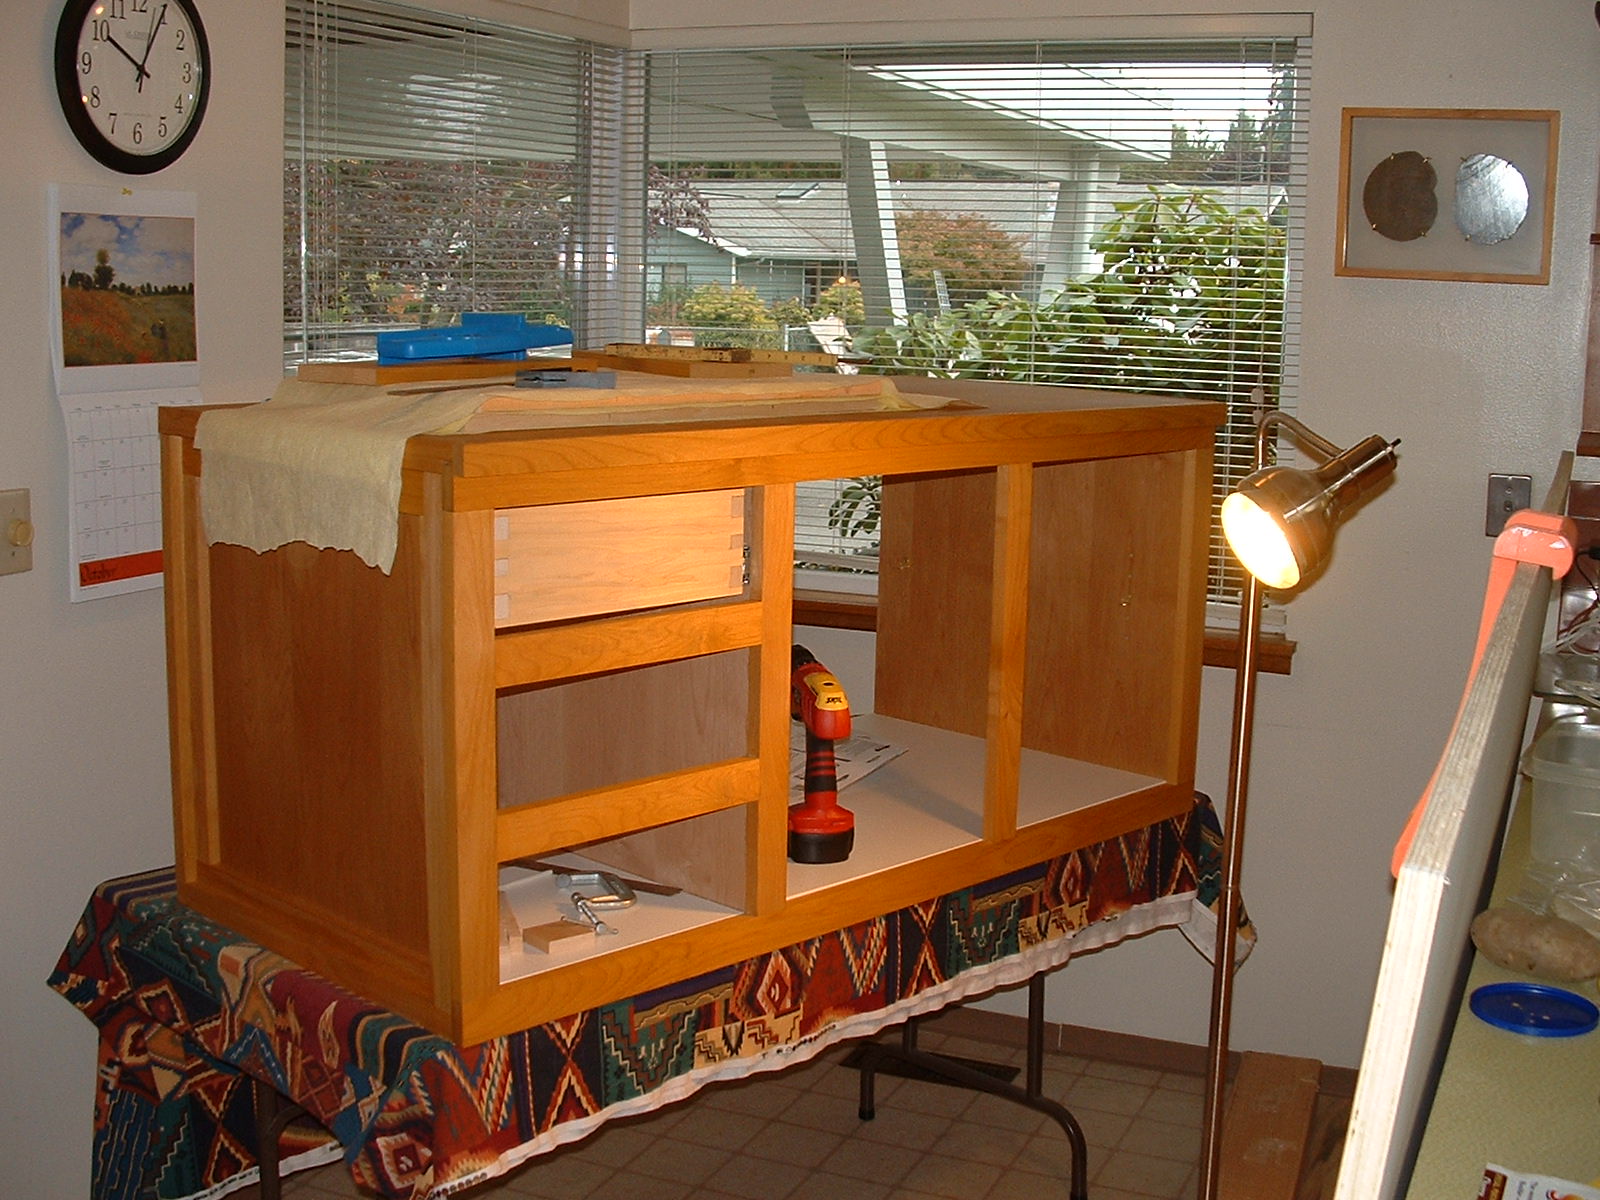
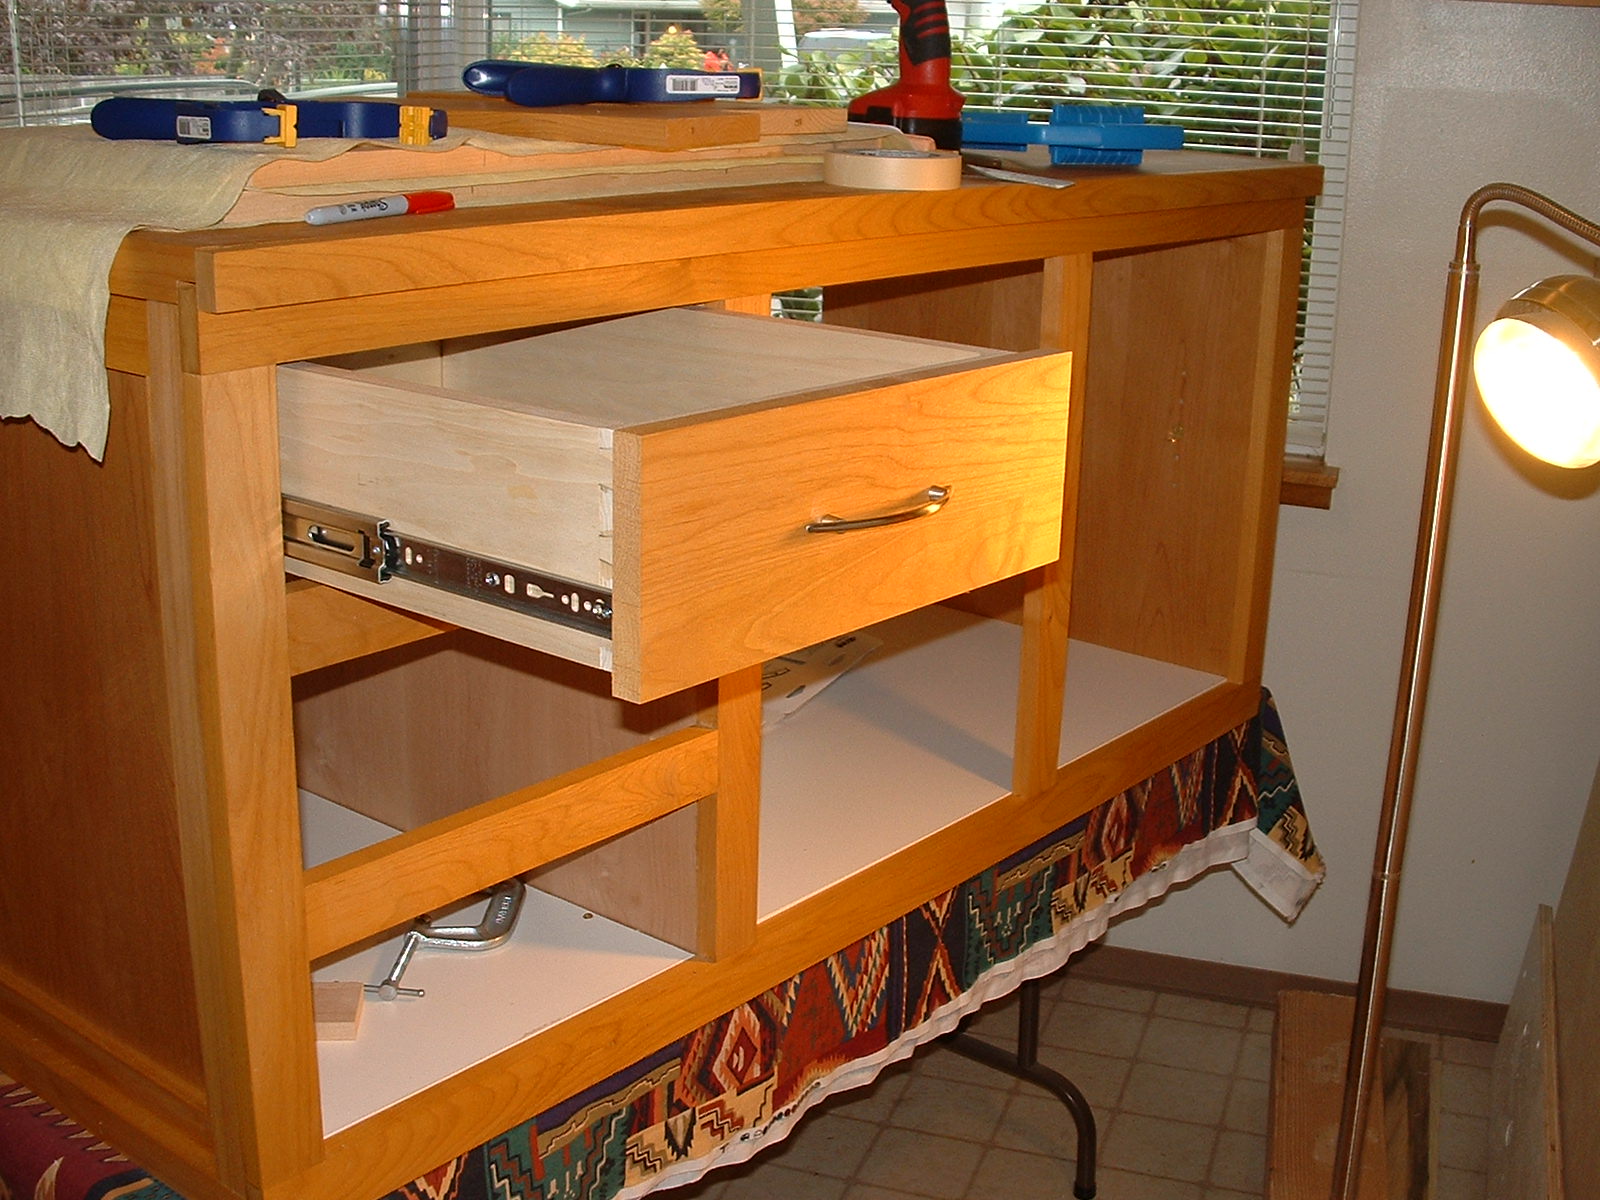
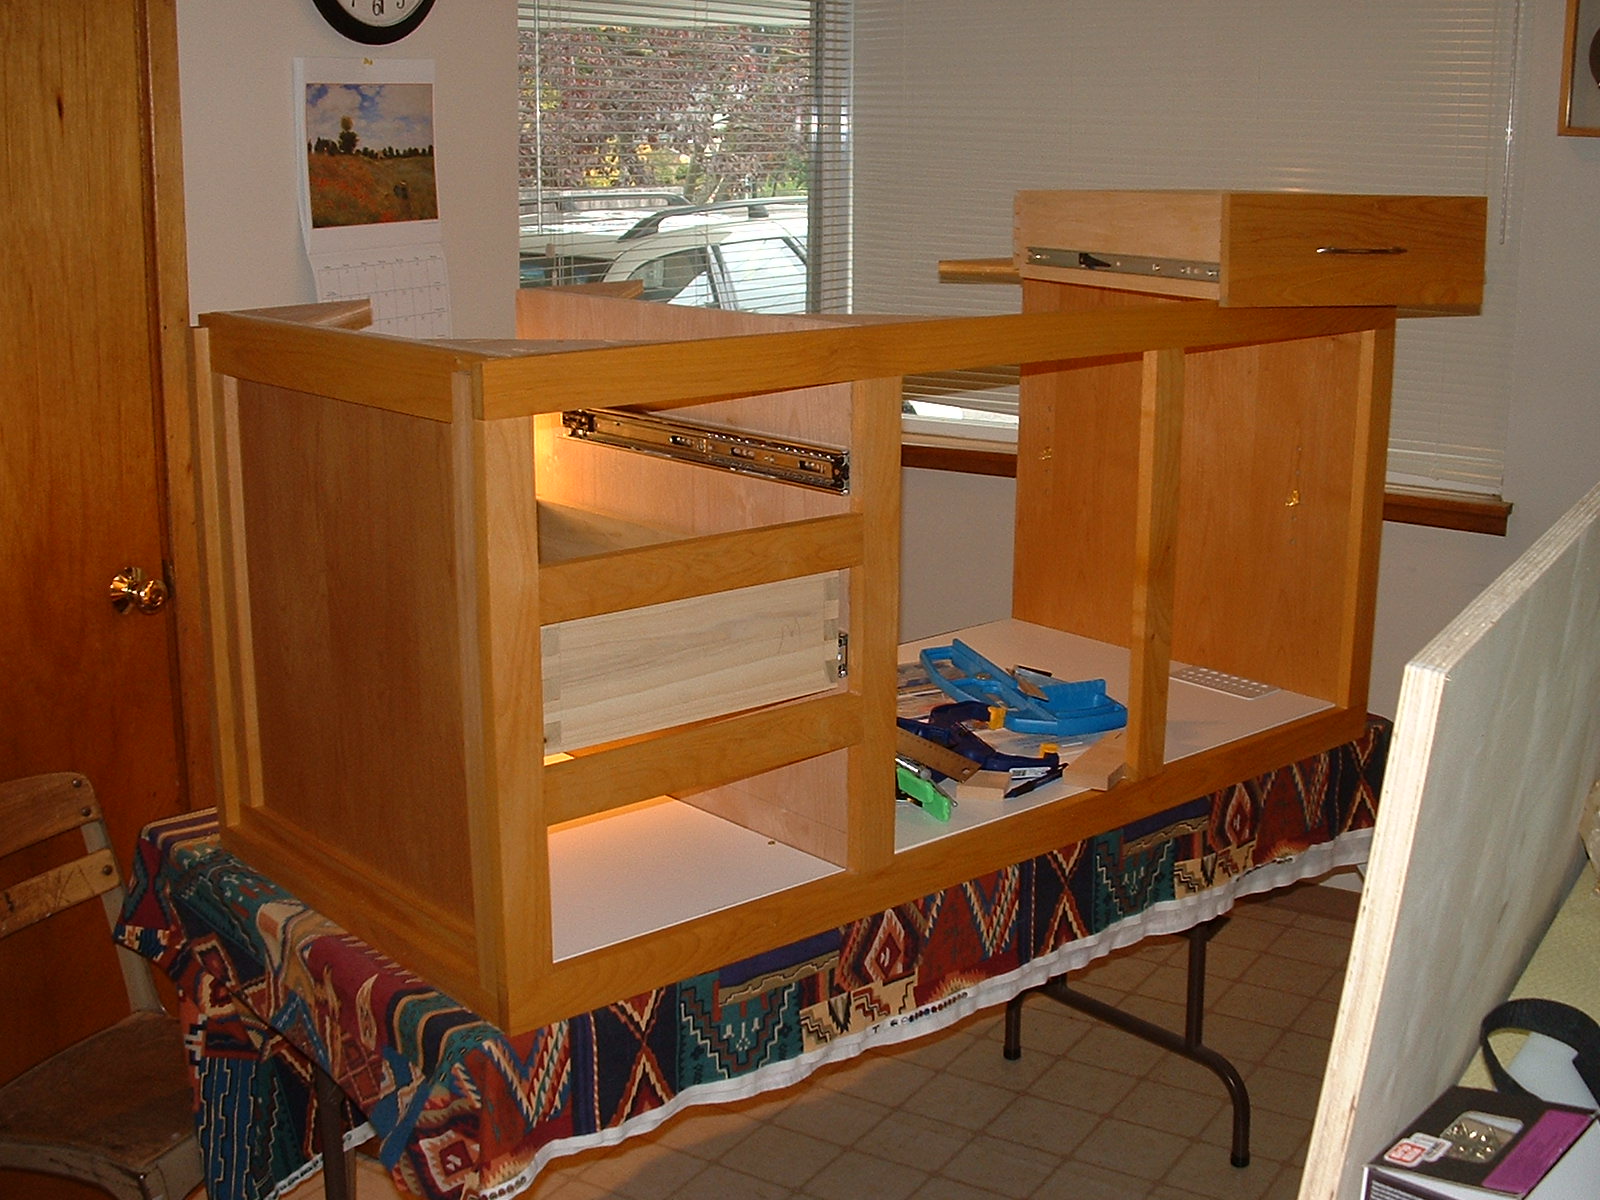
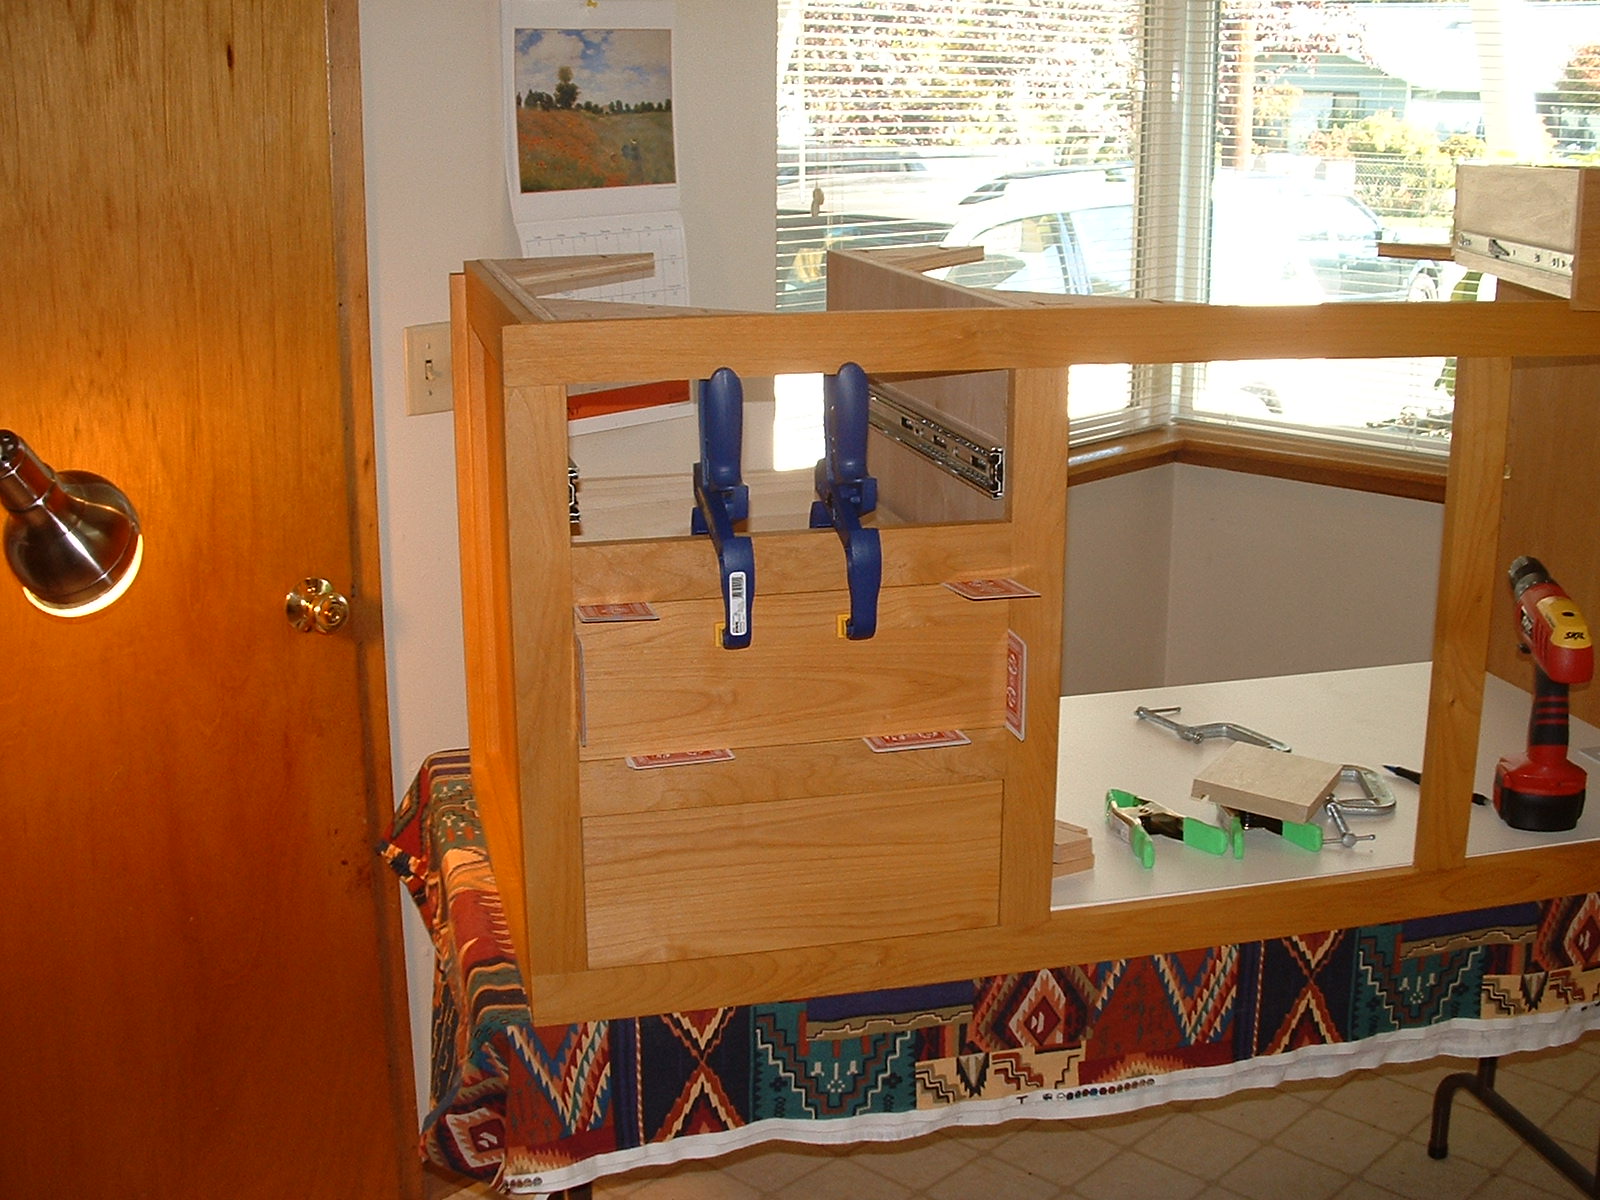
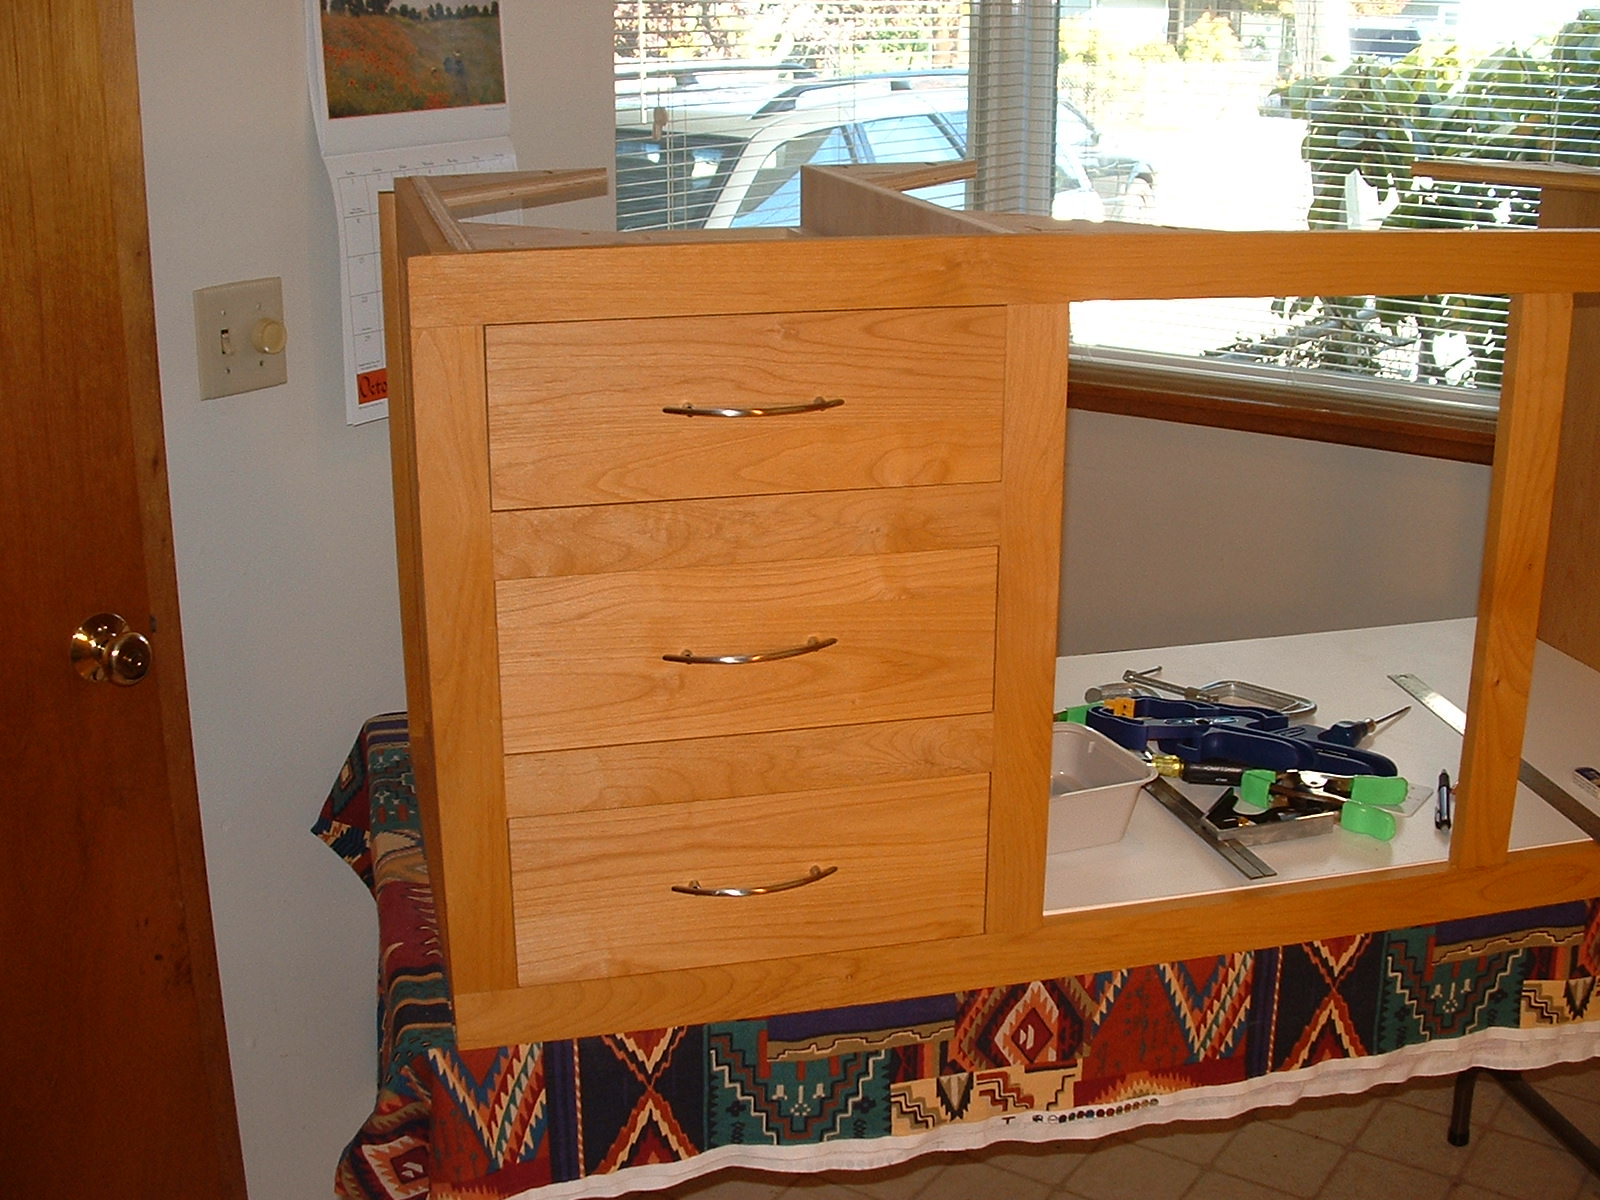
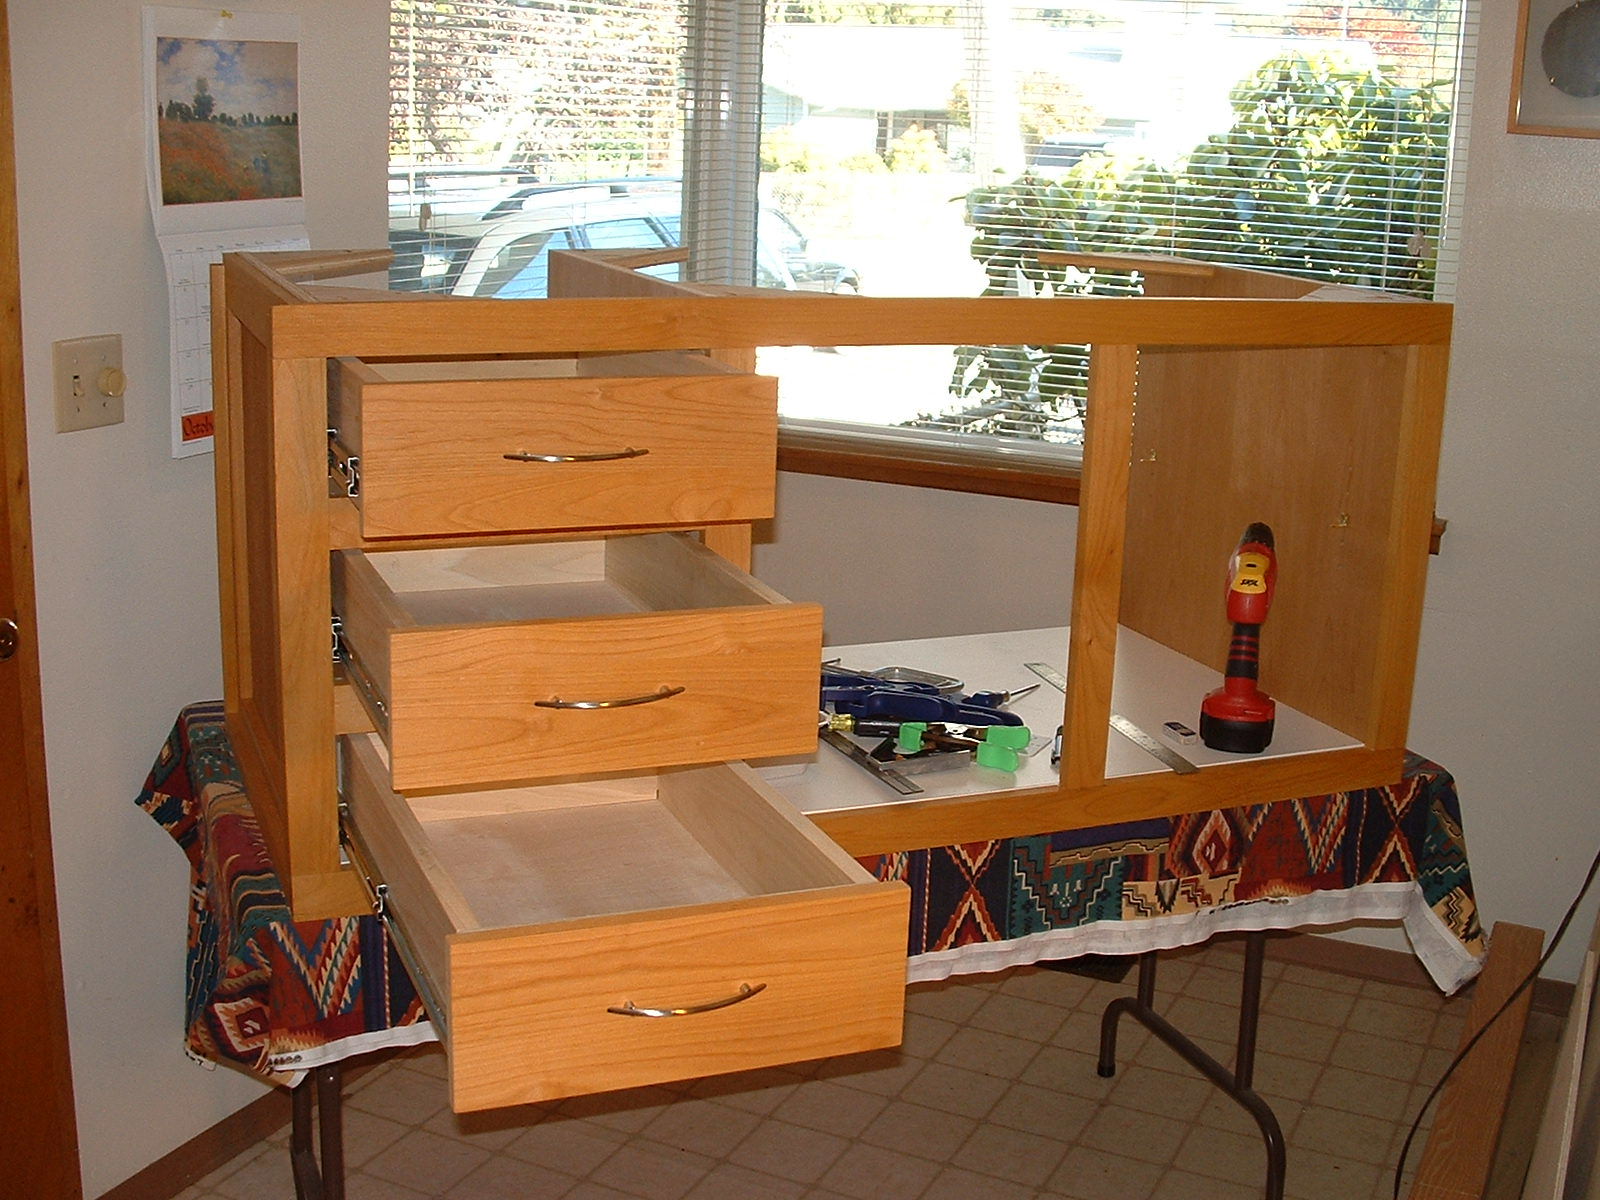
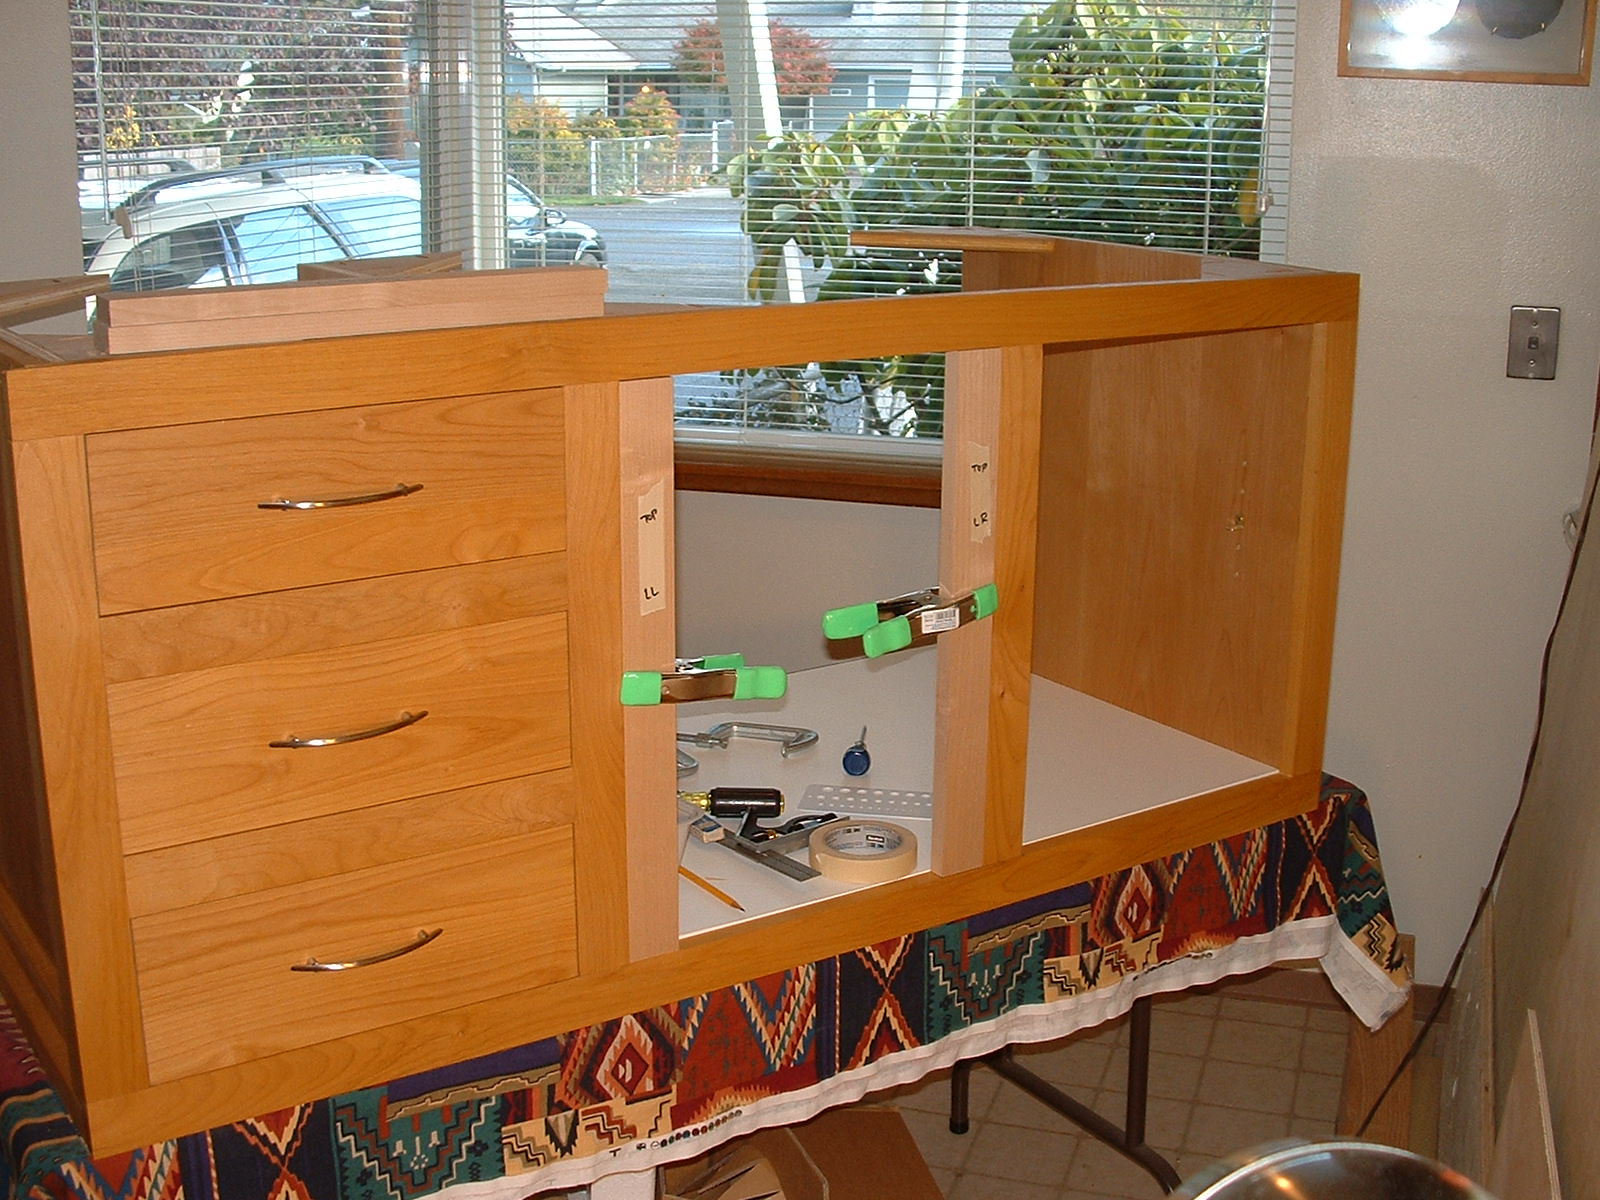
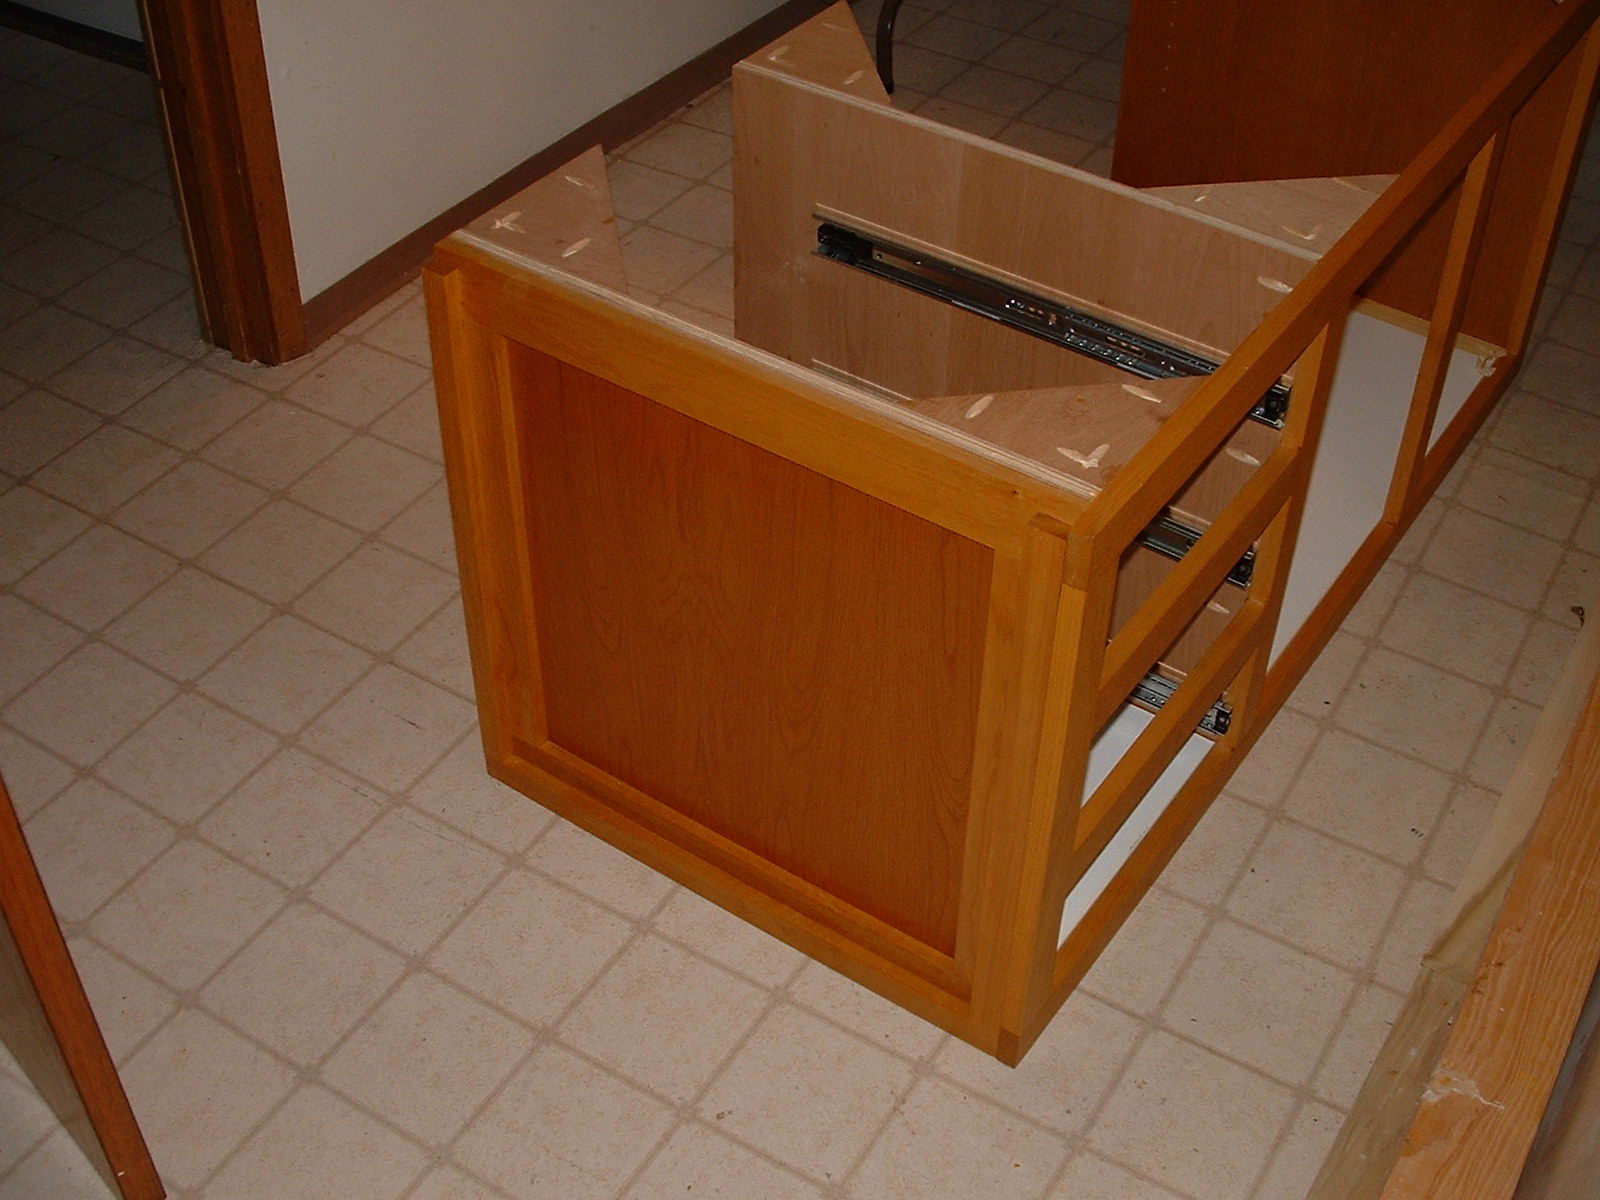
Installing the Drawers, Drawer Faces and Handles.
The drawer slides are installed per the manufacturers instructions. Lines were projected back into the case square to the face. Lines were projected on the drawer box sides. Then the slider components were screwed in and the drawer installed. The drawer fronts are positioned with 1/32” spacing around the perimeter, held in place with clamps and then two 1-1/4” screws were inserted from the back. I built a centering jig for the handles then installed the handles
:
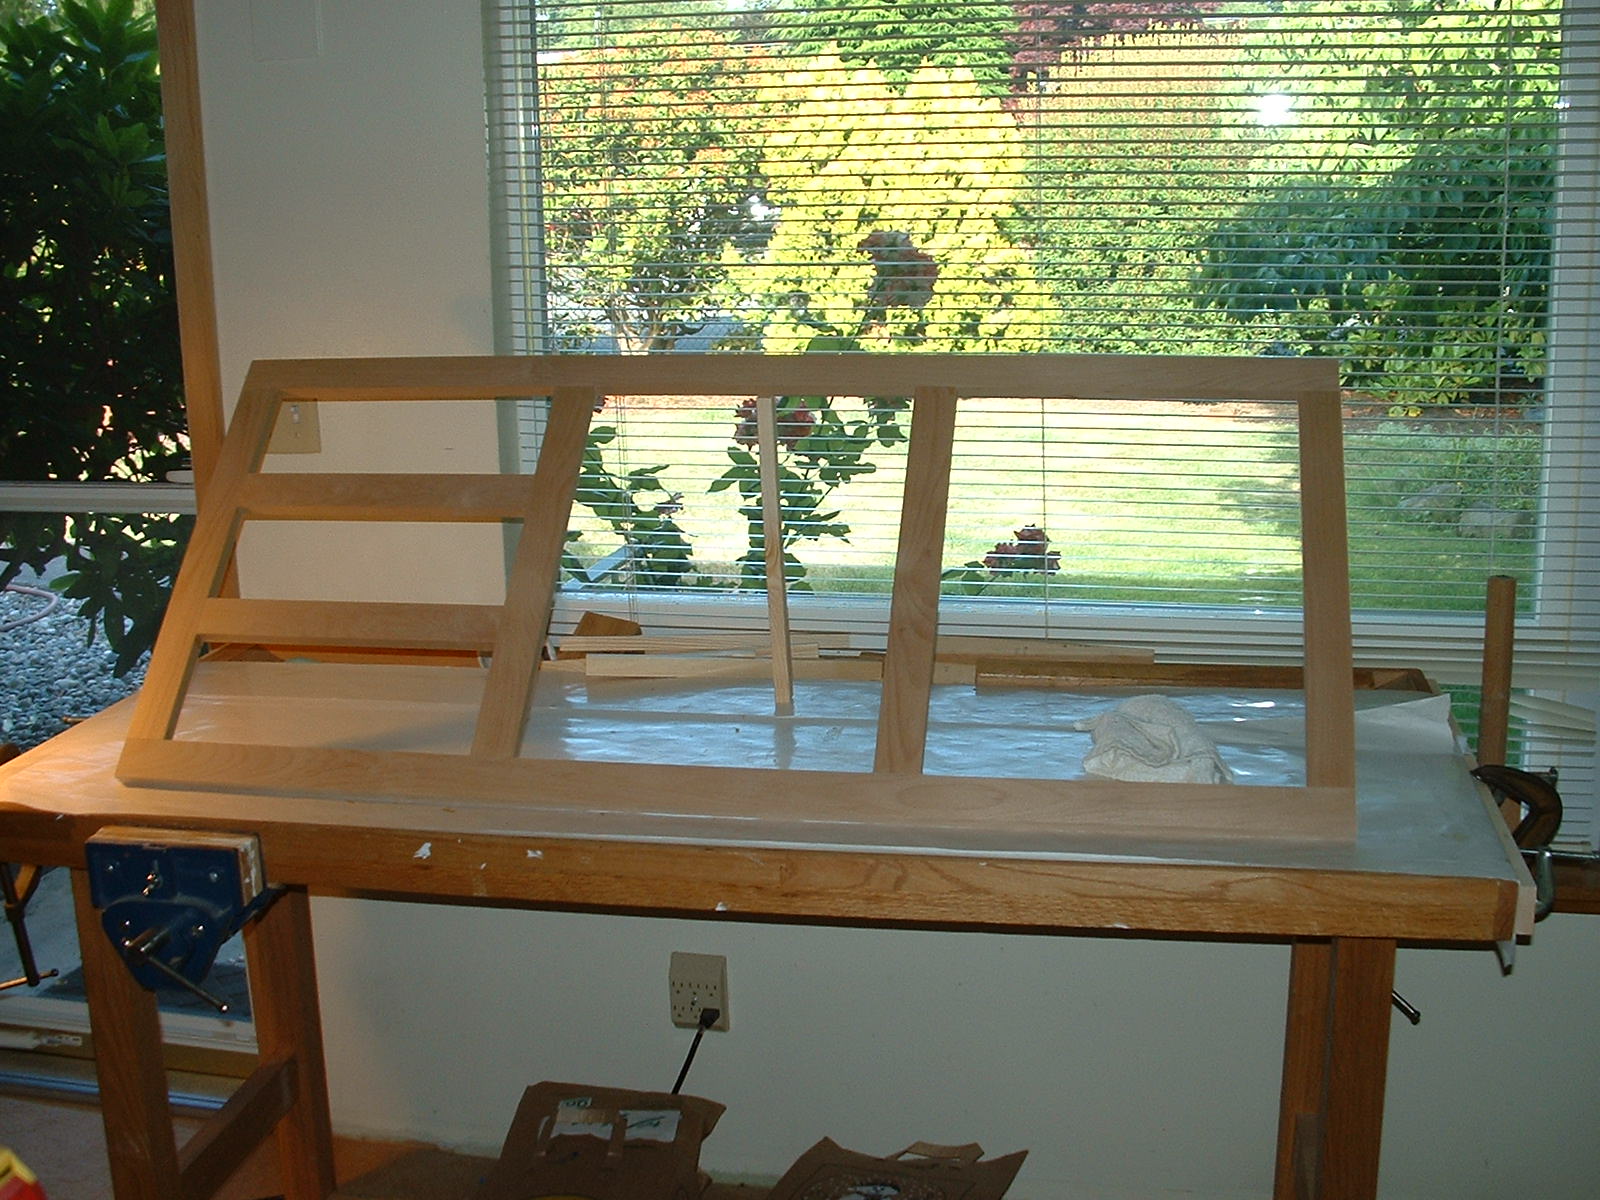
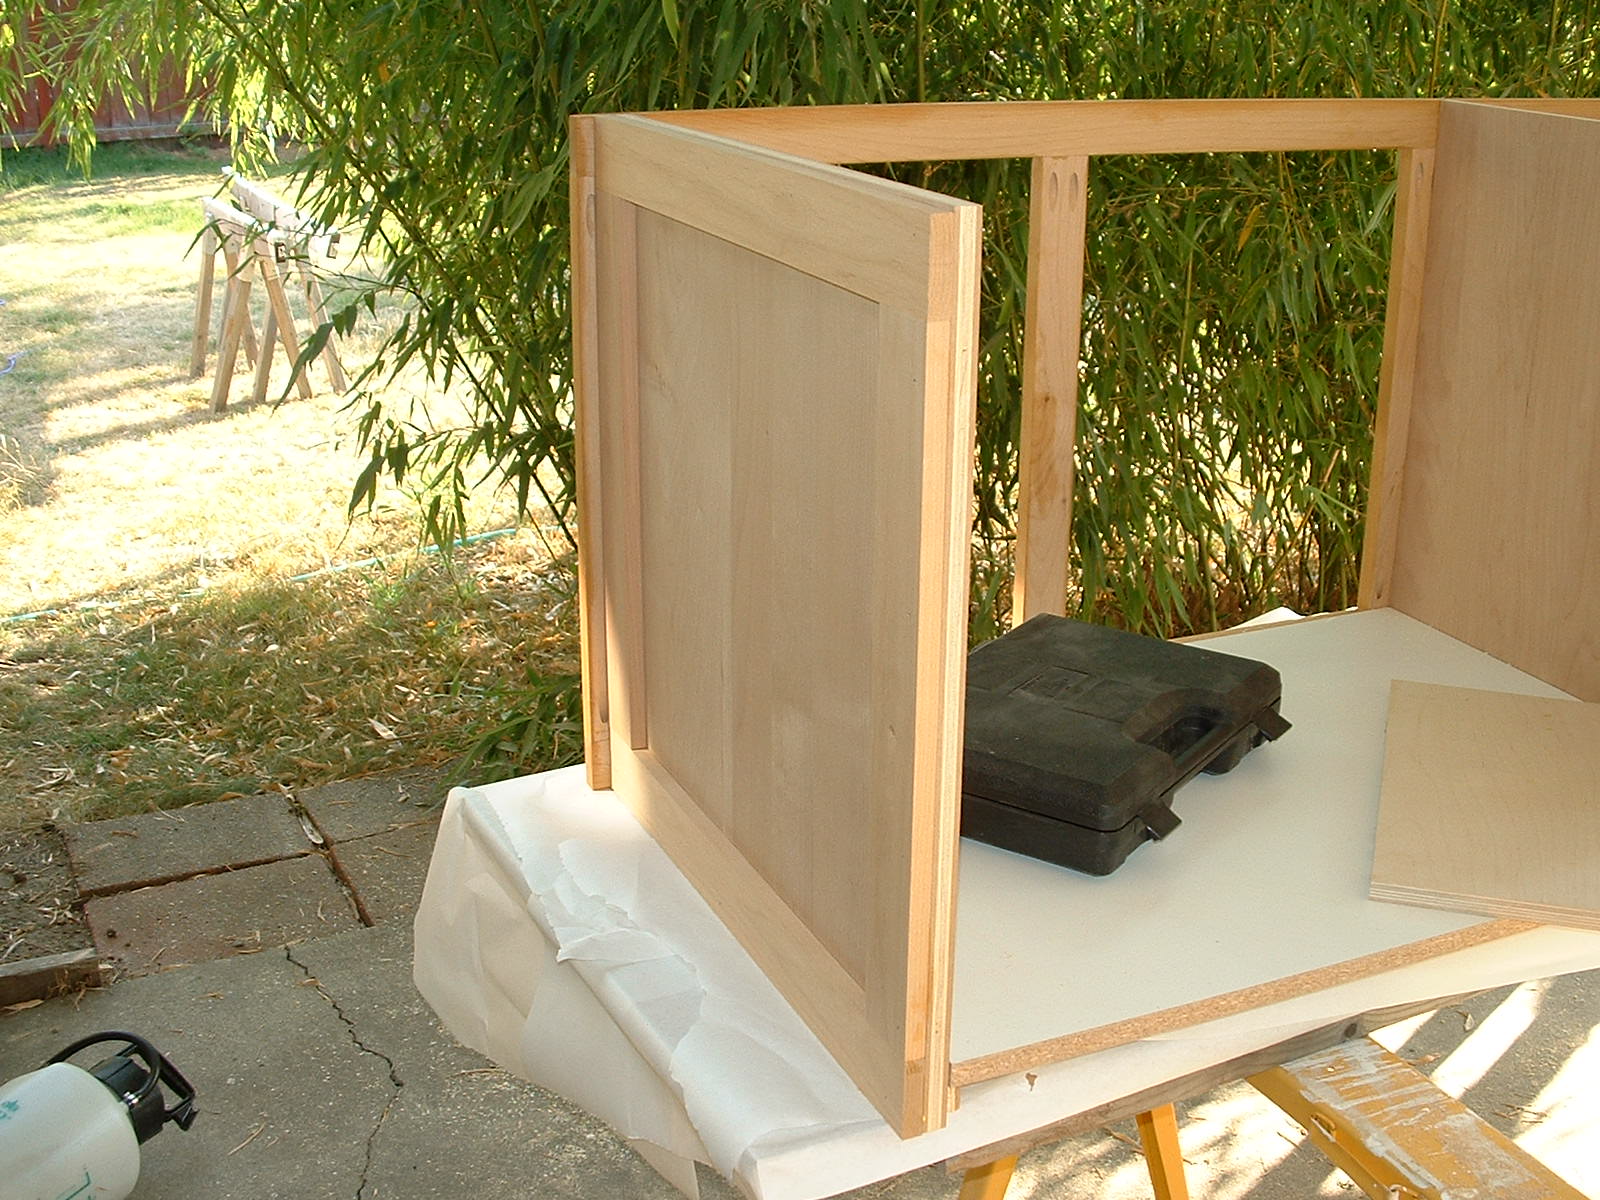
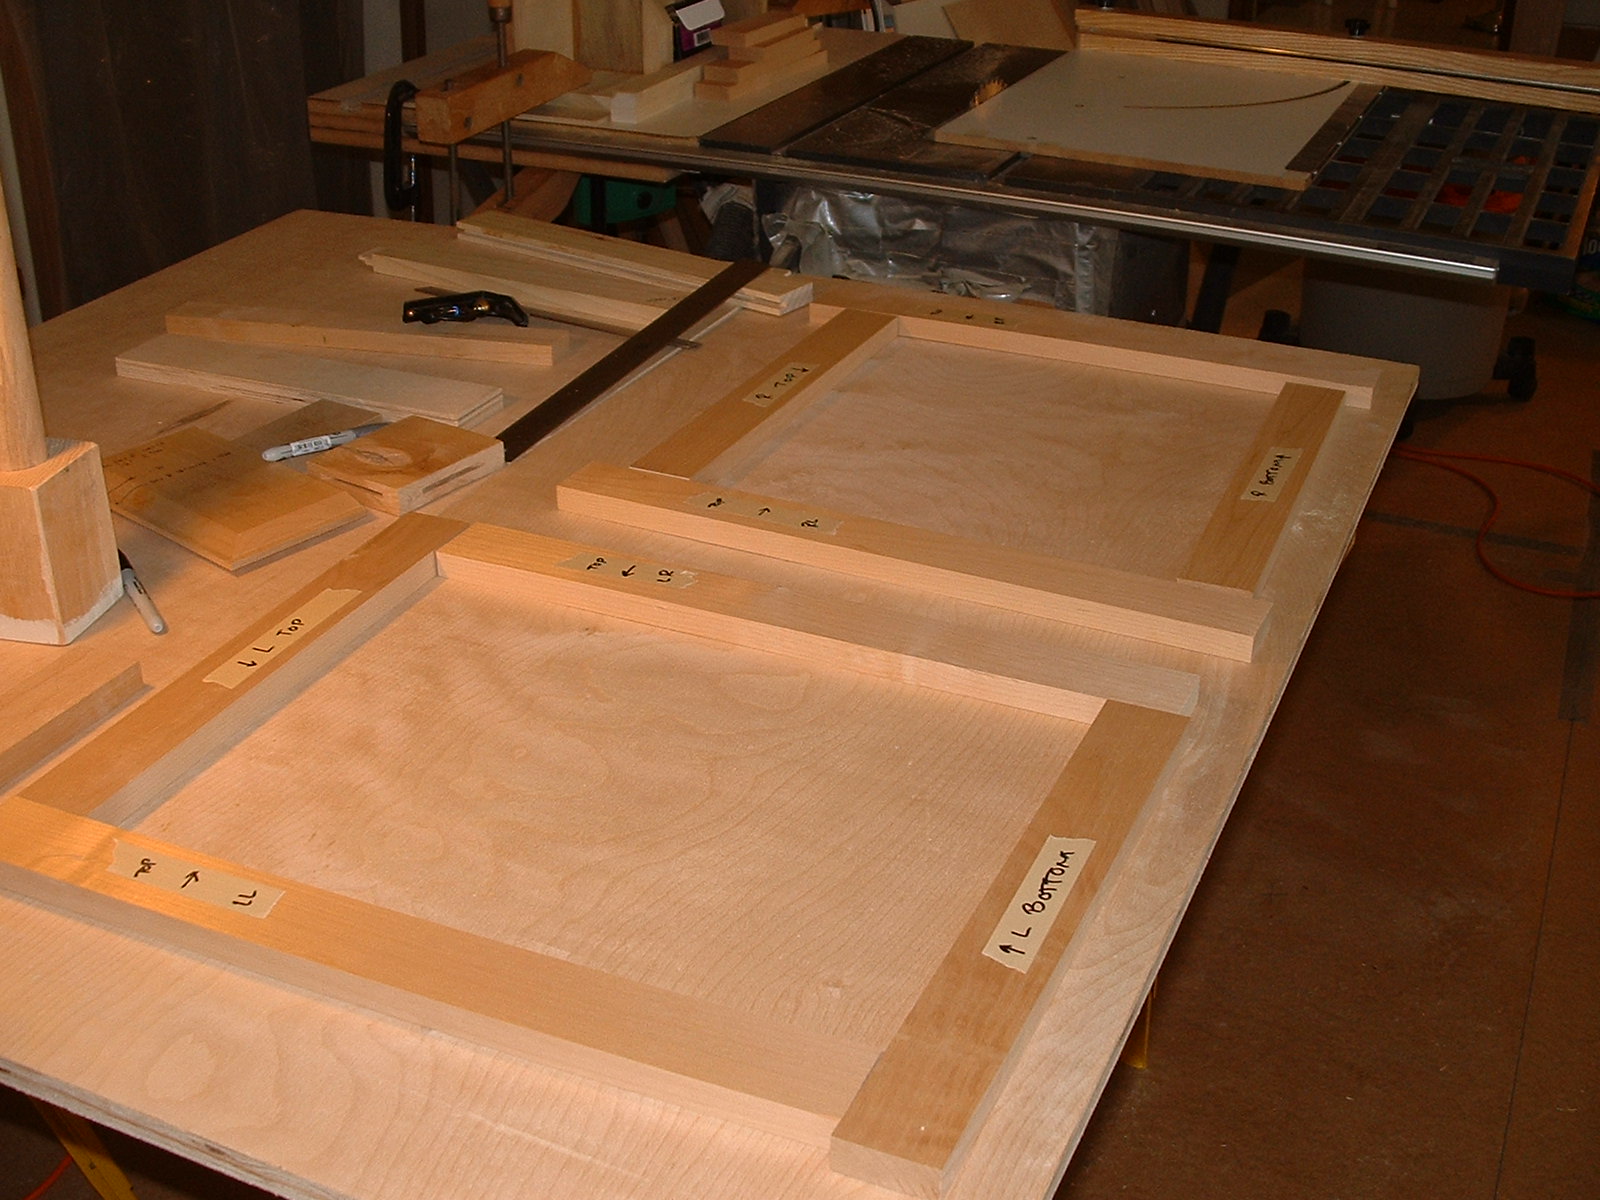
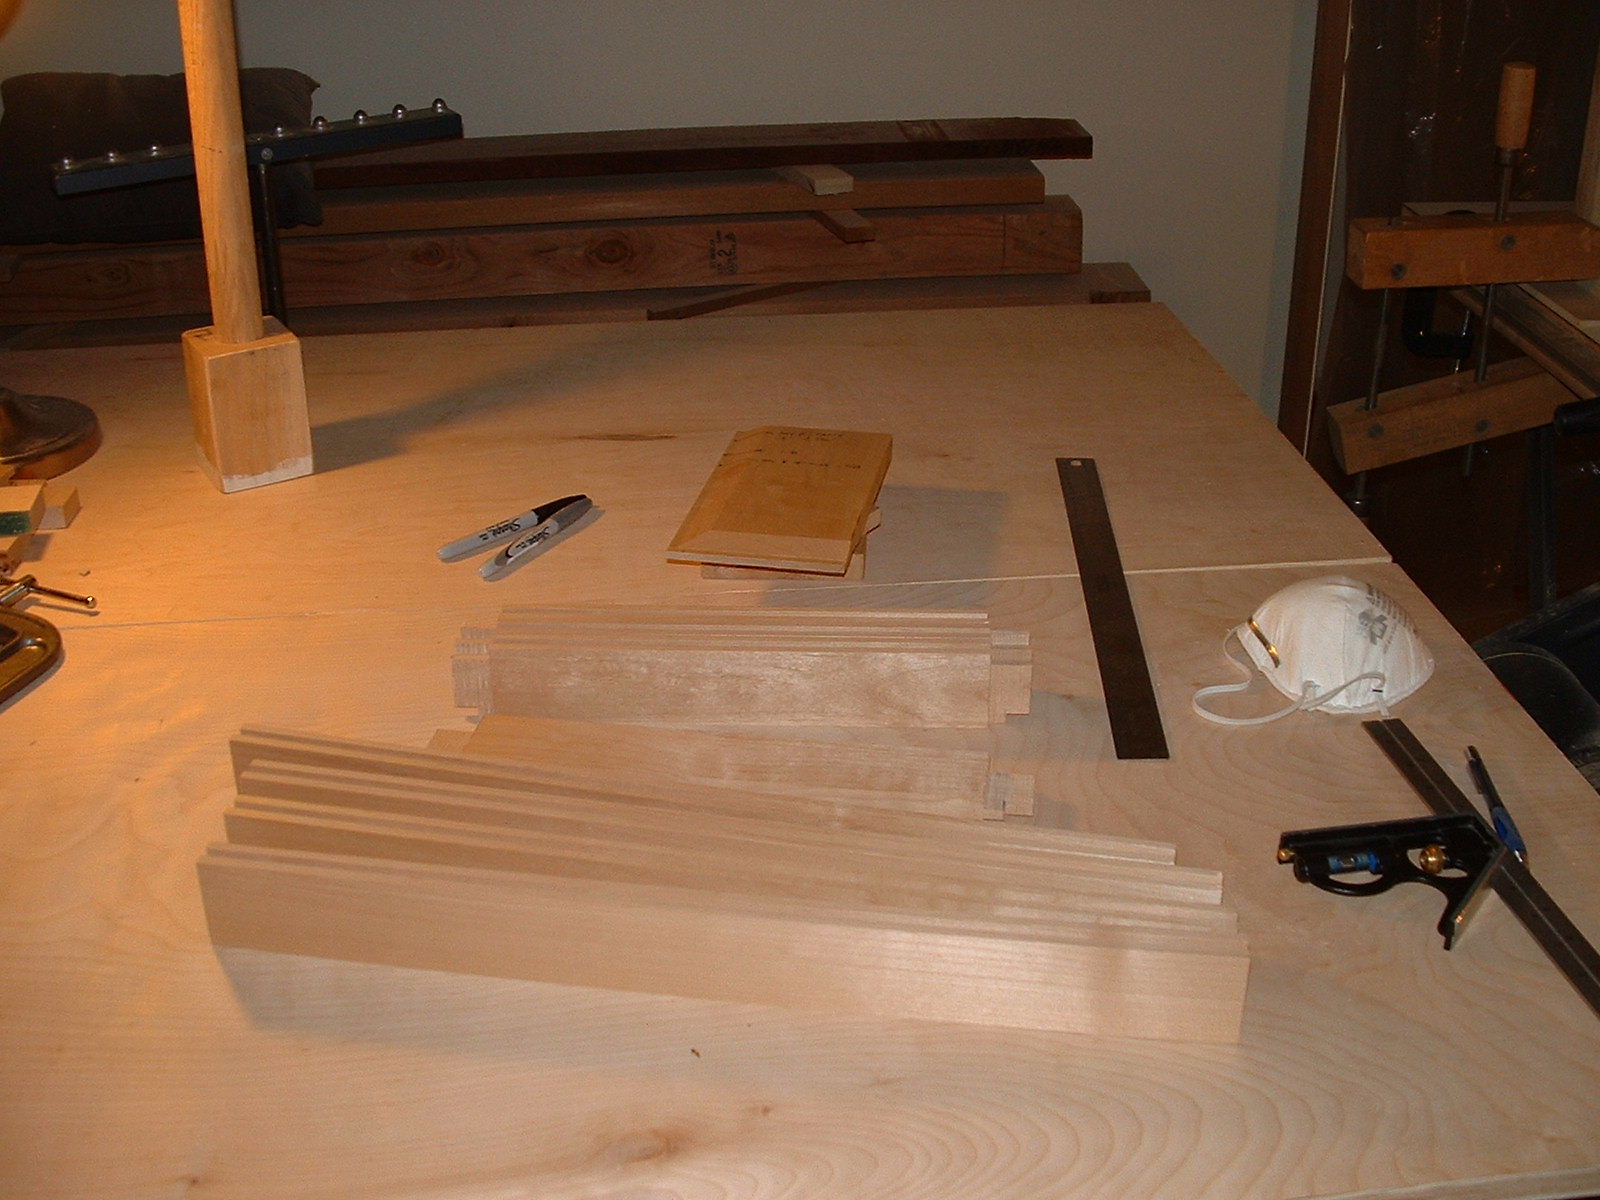
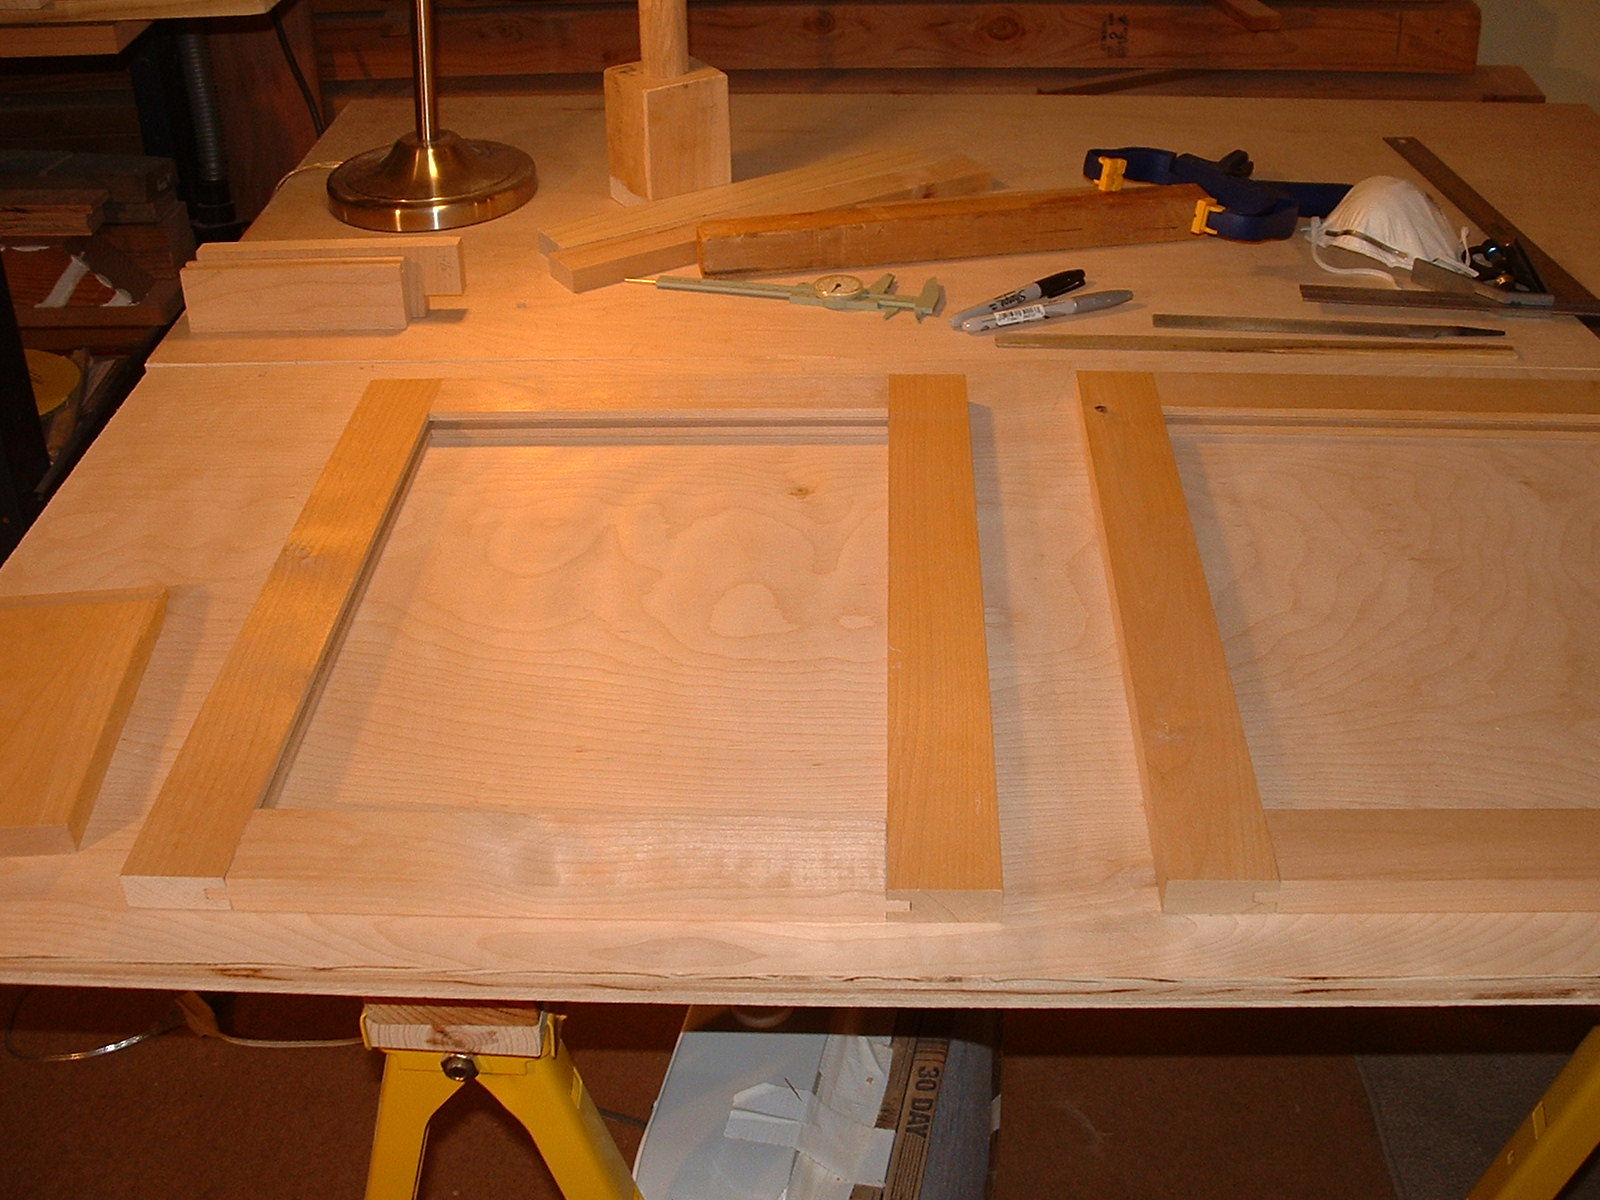
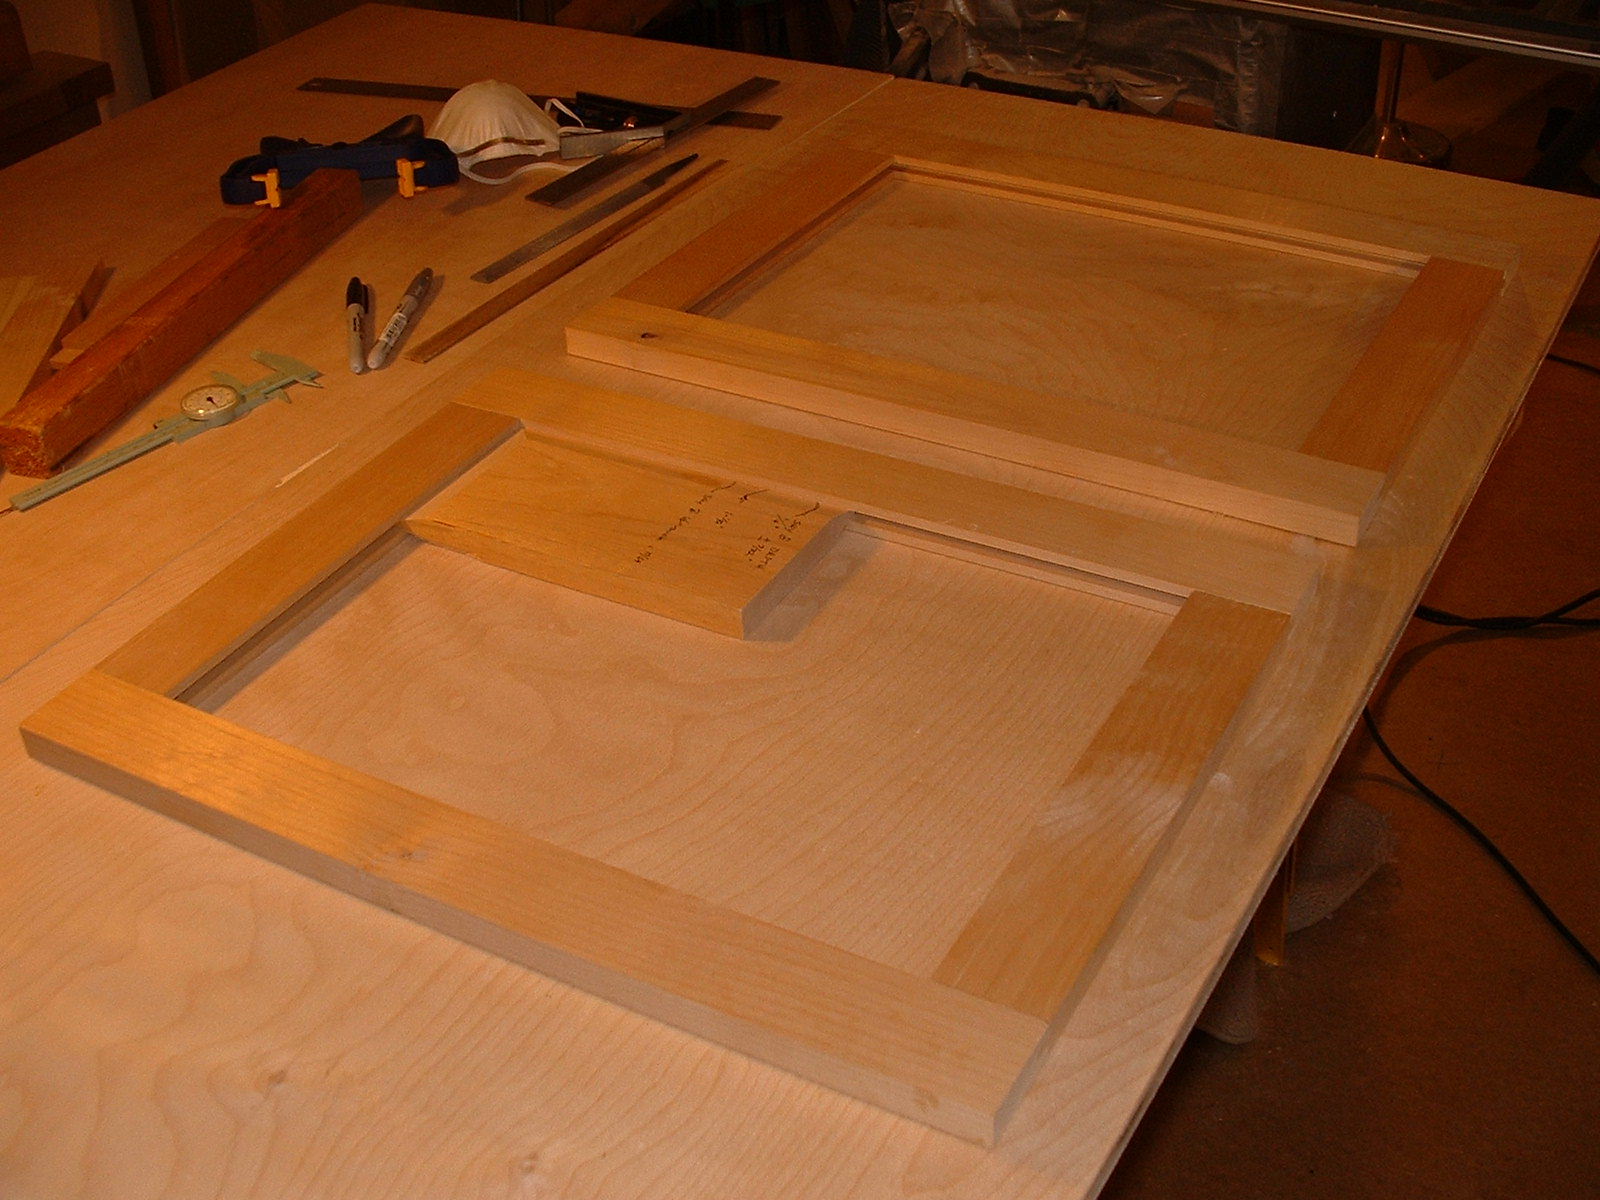
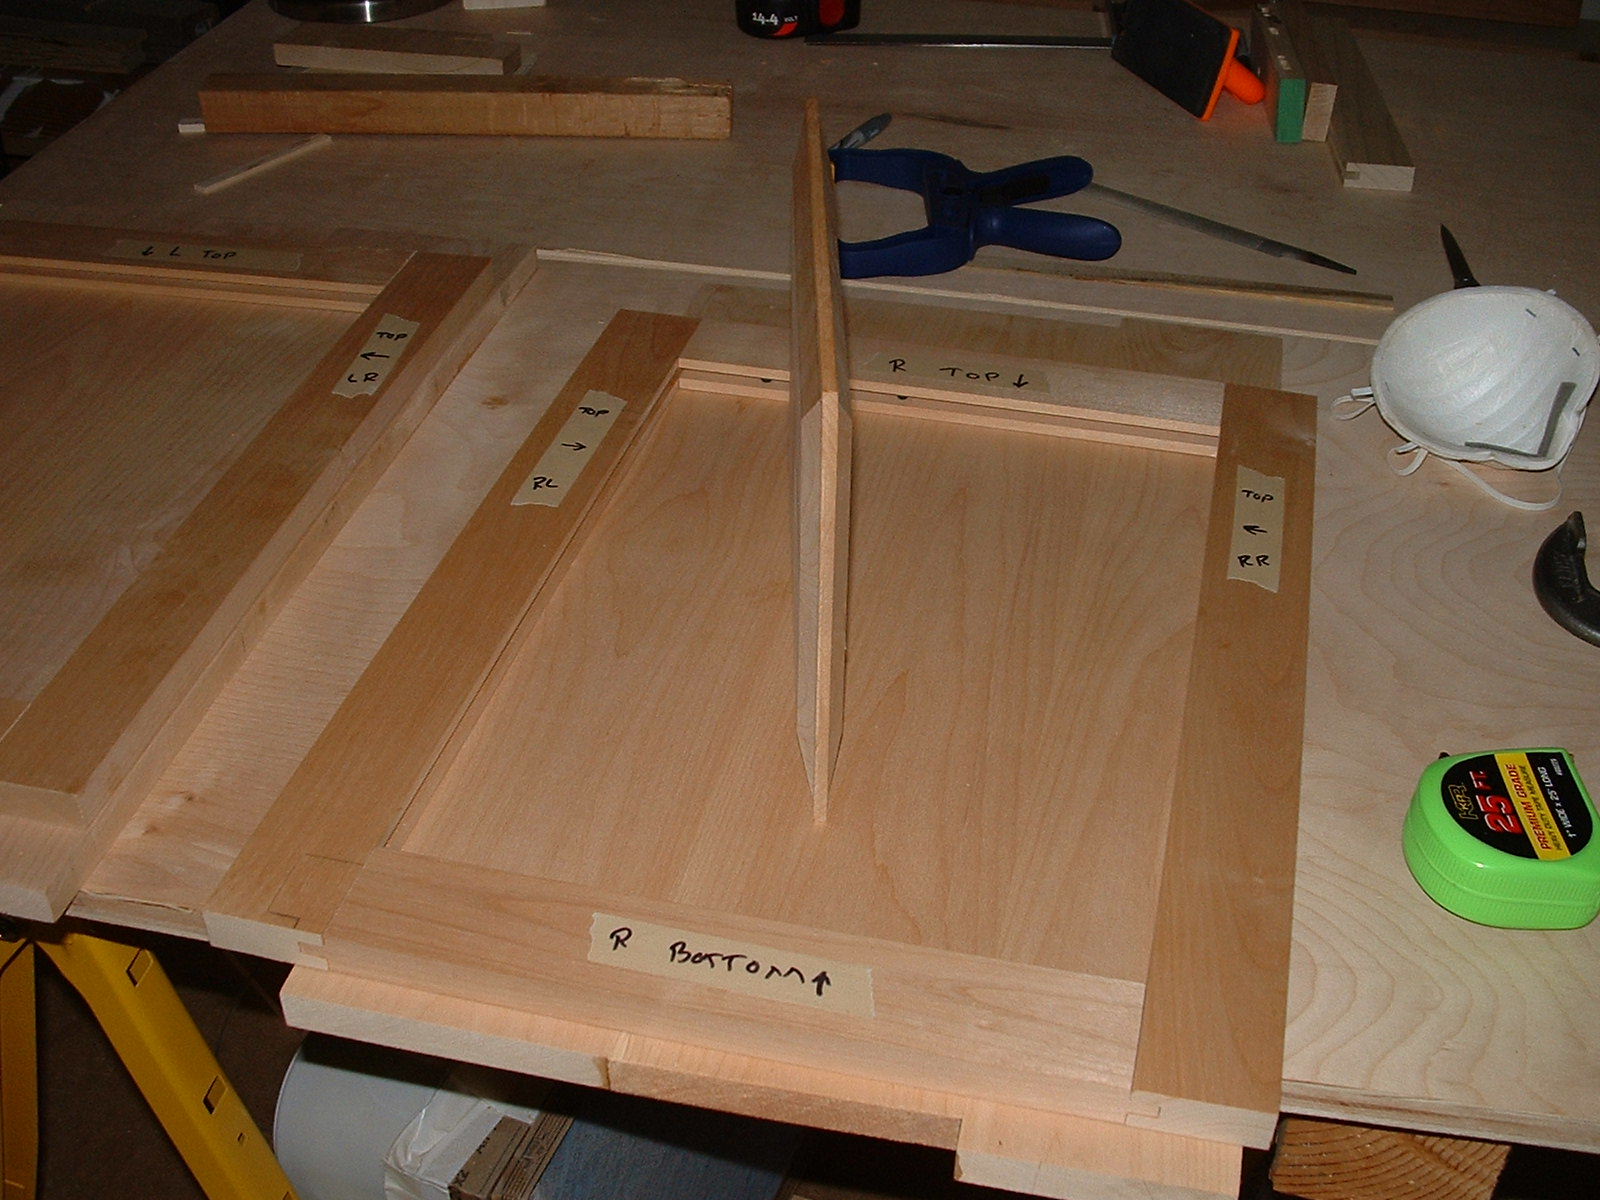
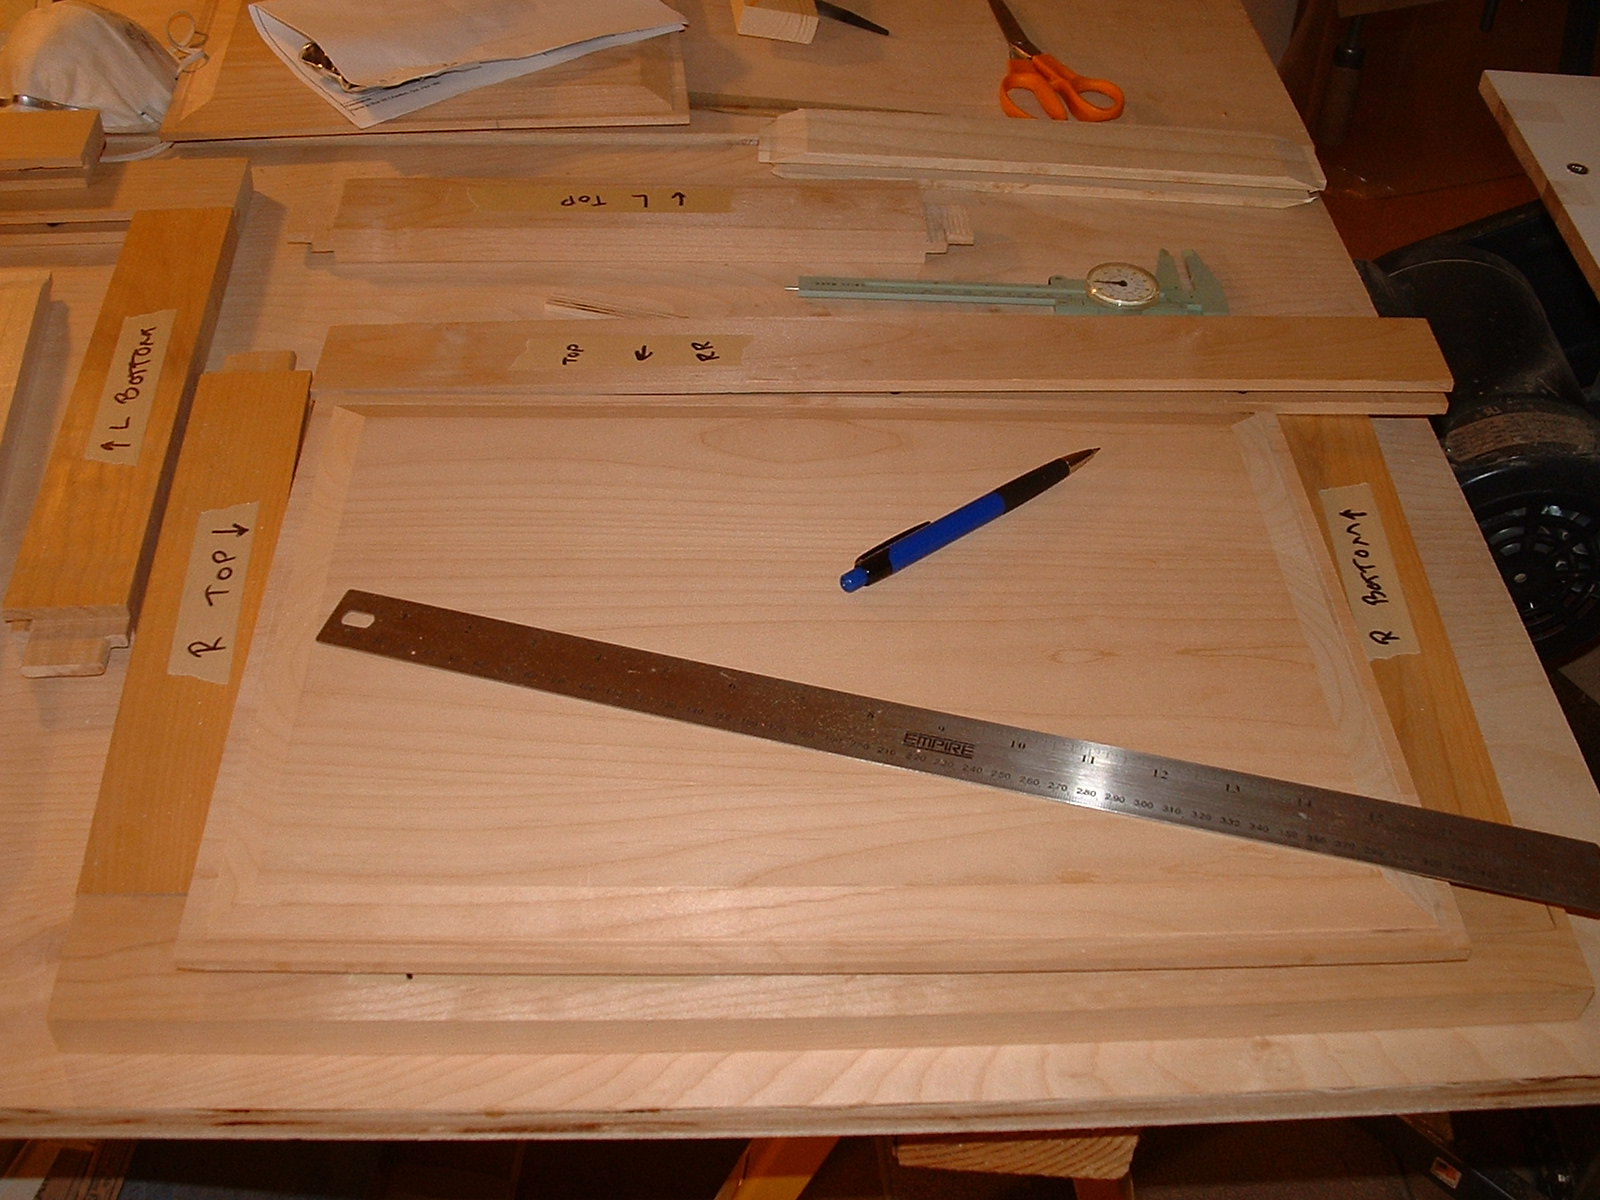
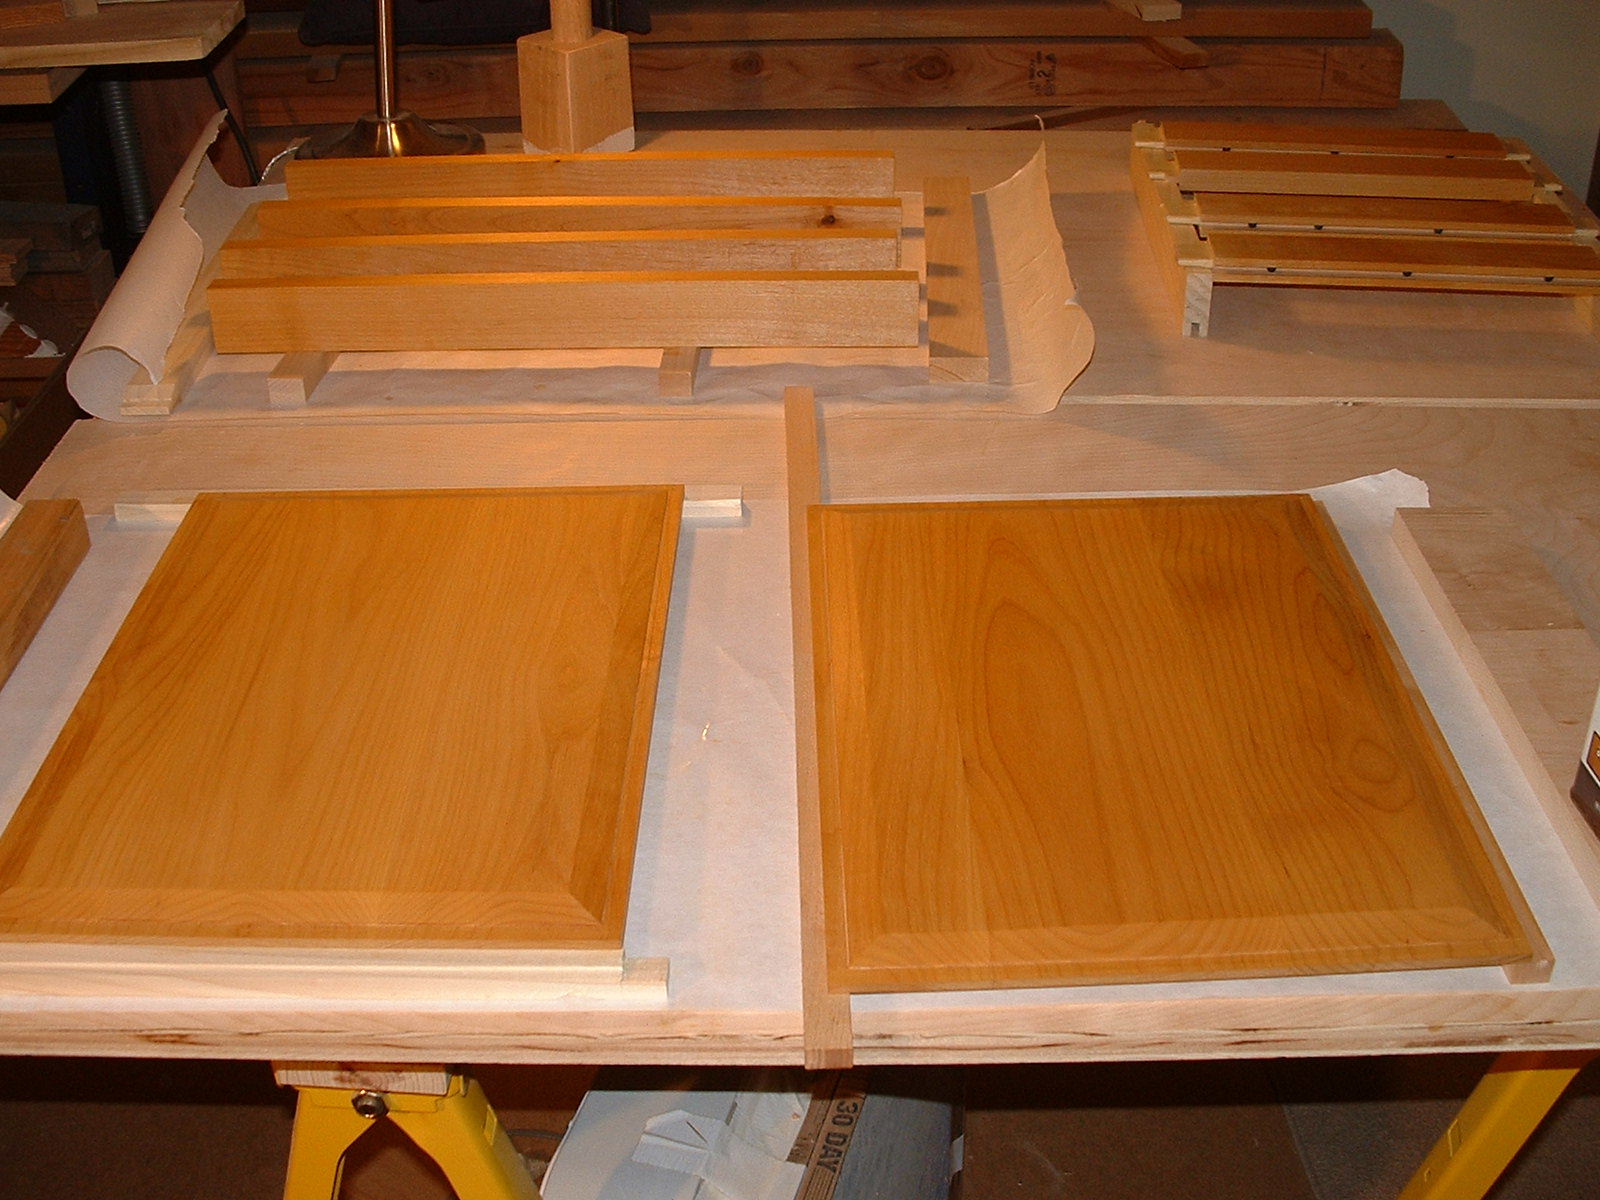
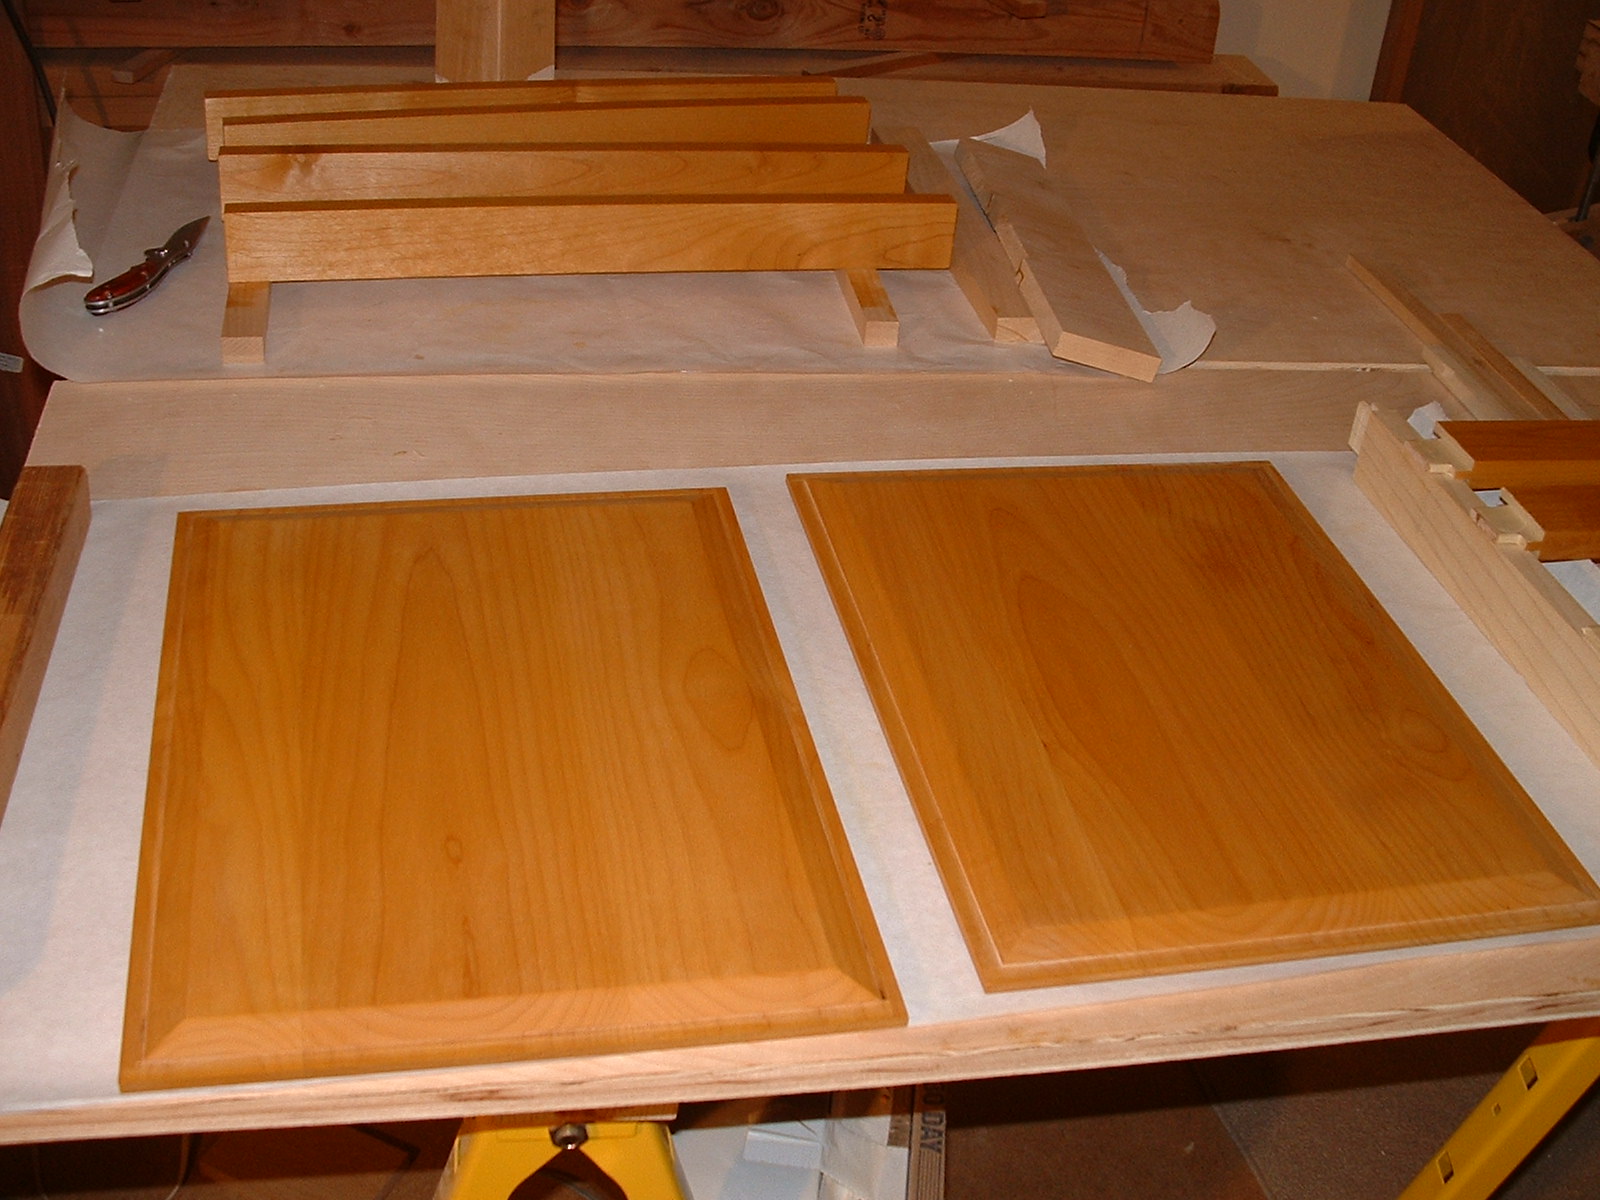
Stile and Rail Door.
Fitting the rails for marking the stiles.
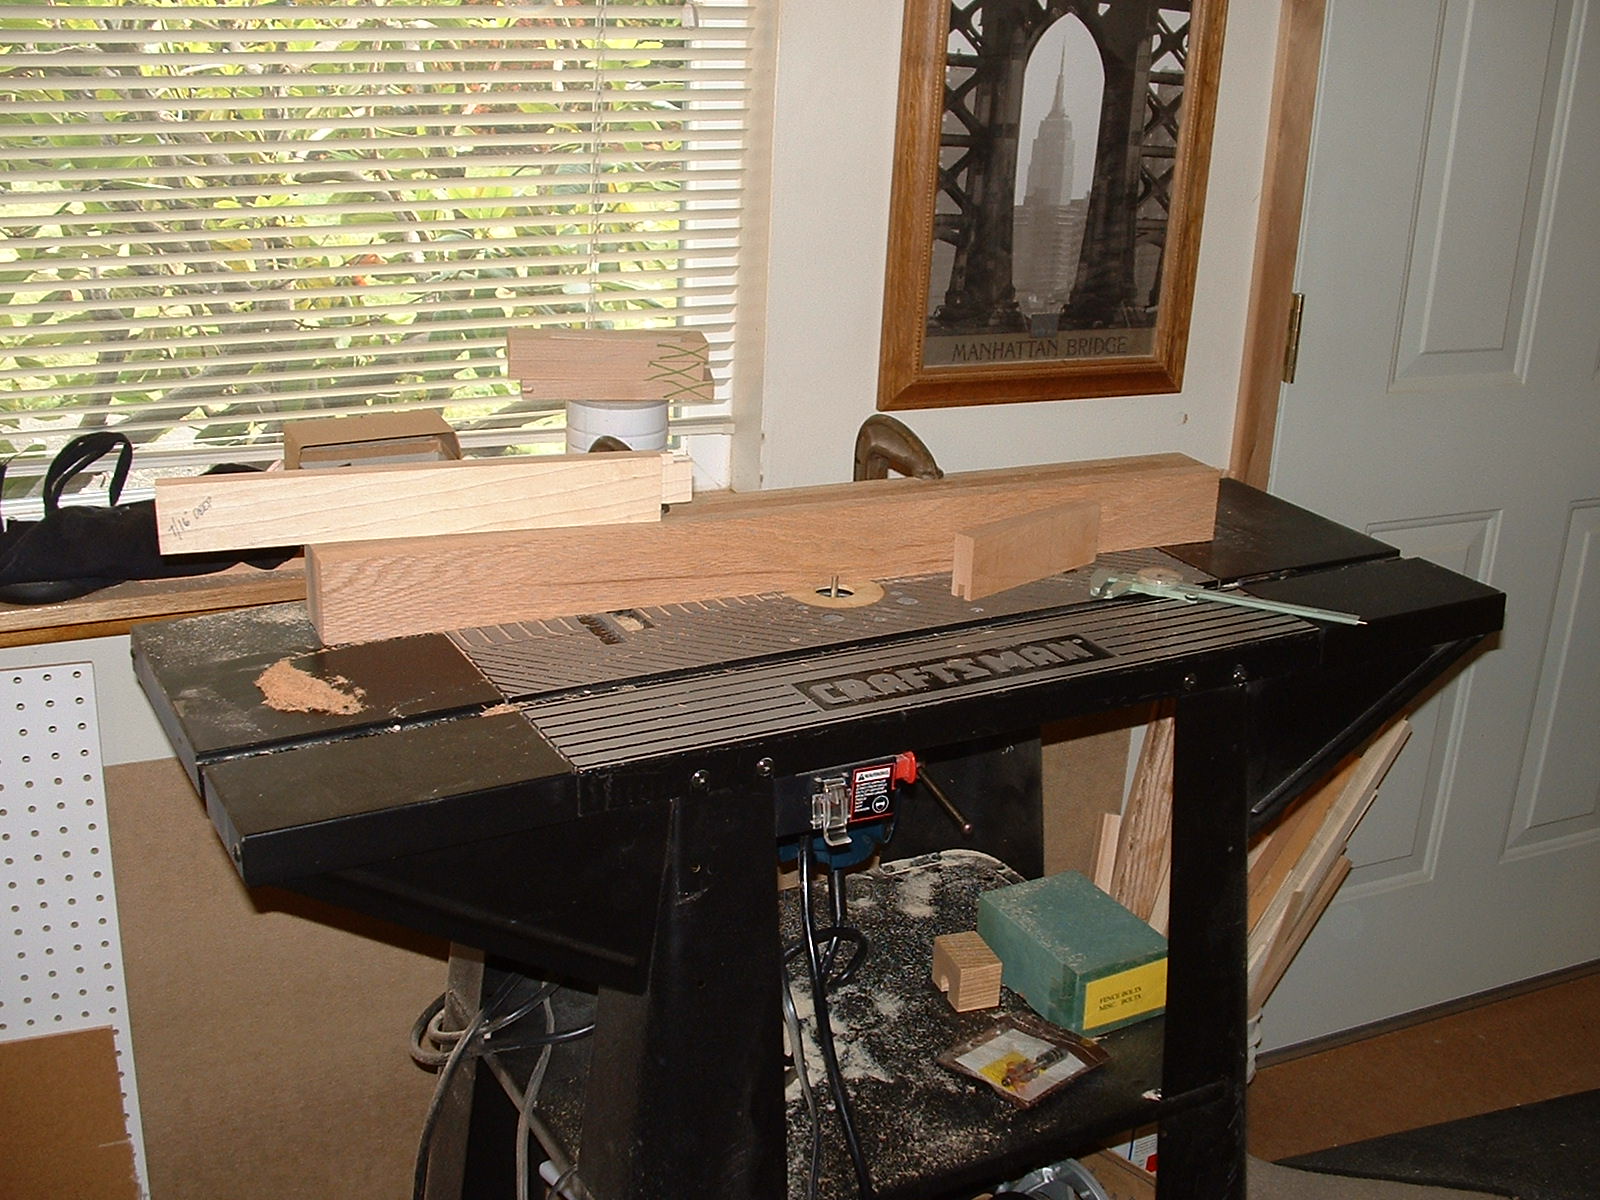
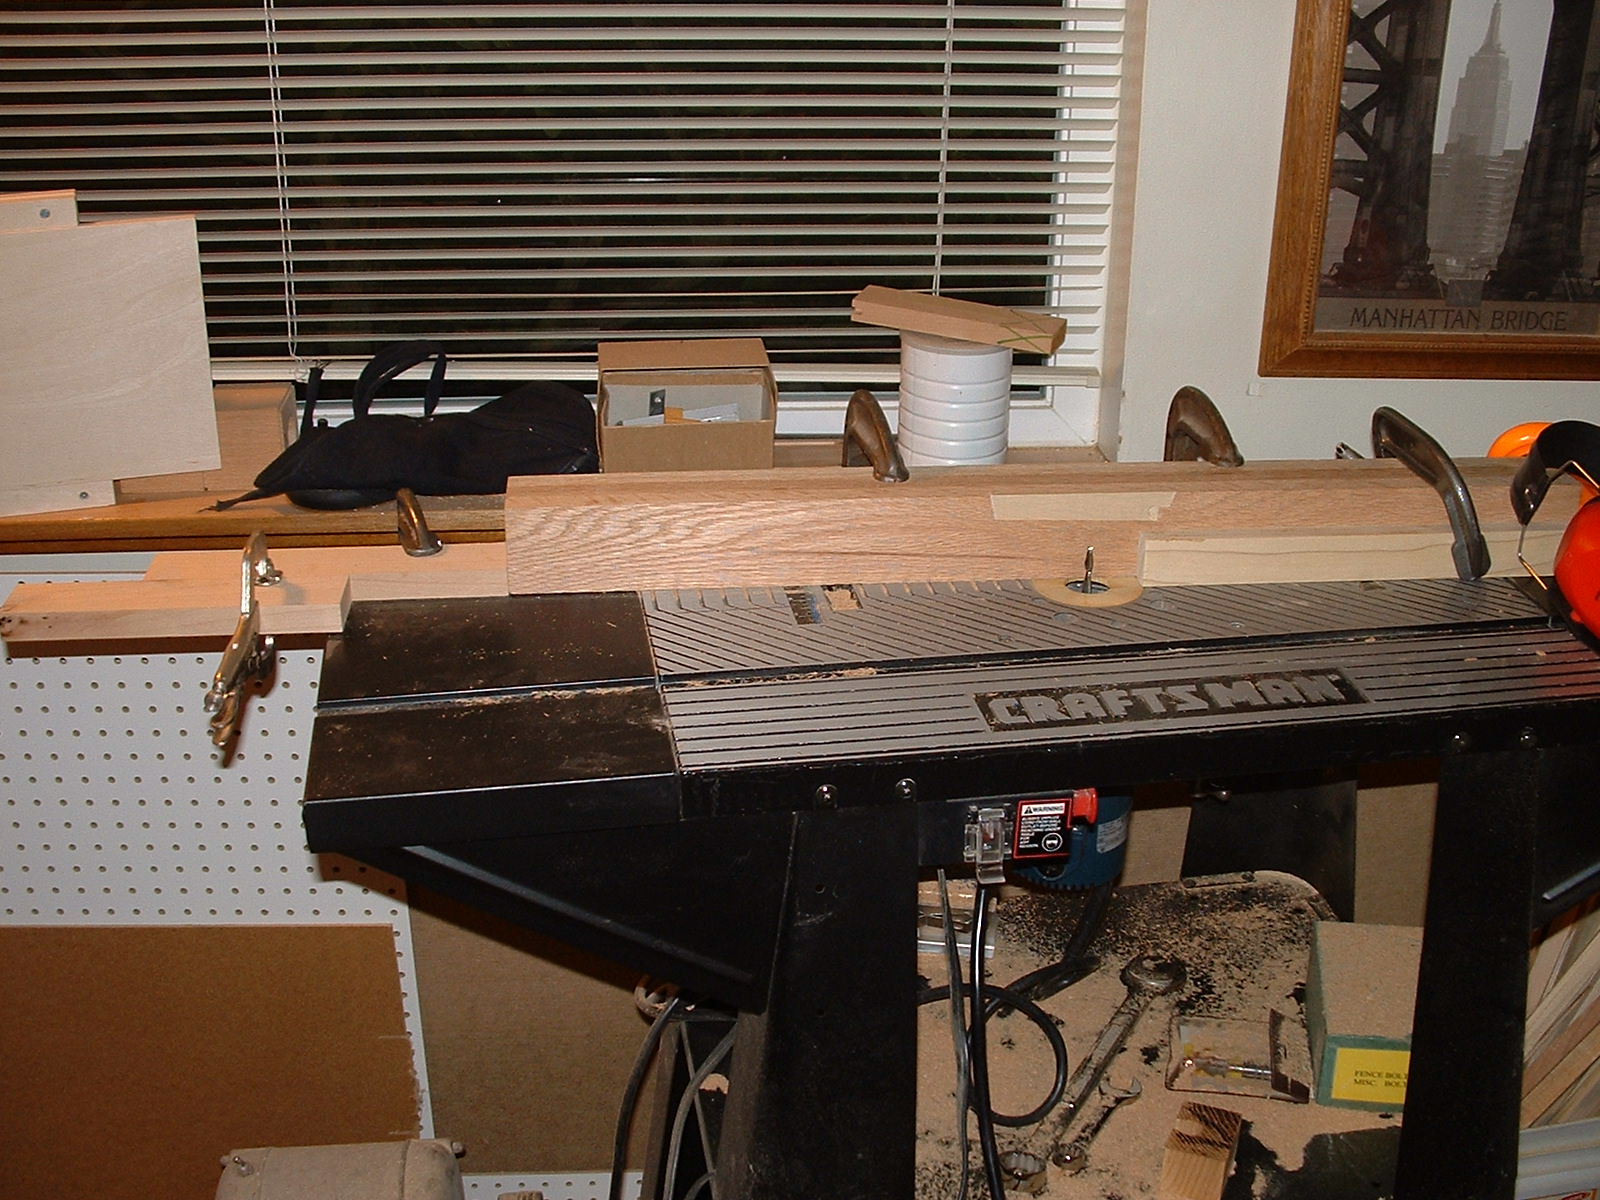
The following pictures show the stile and rail cutting and milling process. There are several milling steps for the haunched tenons on the stiles and three for the mortised rails. On the top of the fourth picture between the pens and the ruler is the working sample of the recessed panel milling. The first router table picture shows the 1/4" straight bit 7/16" high for the center grove around the inside of the door frames. The second router table pictures shows a 1/4" spiral down bit 1-1/32" high with stops on the fence used to mill the mortise. In the picture showing the disassembled door being treated with Watco Oil you can see the space balls in the 1/4" groove. These hold the panel in place but allow it to expand and contract. This alder has a moisture content of 8%. I calculated that the expansion contraction range is about 0.26" for these panels. The depth of the grooves was determined based on these calculations. To find the data sheets used for these calculations (Table 12-5) look in this site for the Wood Handbook, or see below on this page. This site is a very good resource for information about wood properties, http://www.fpl.fs.fed.us/.

:
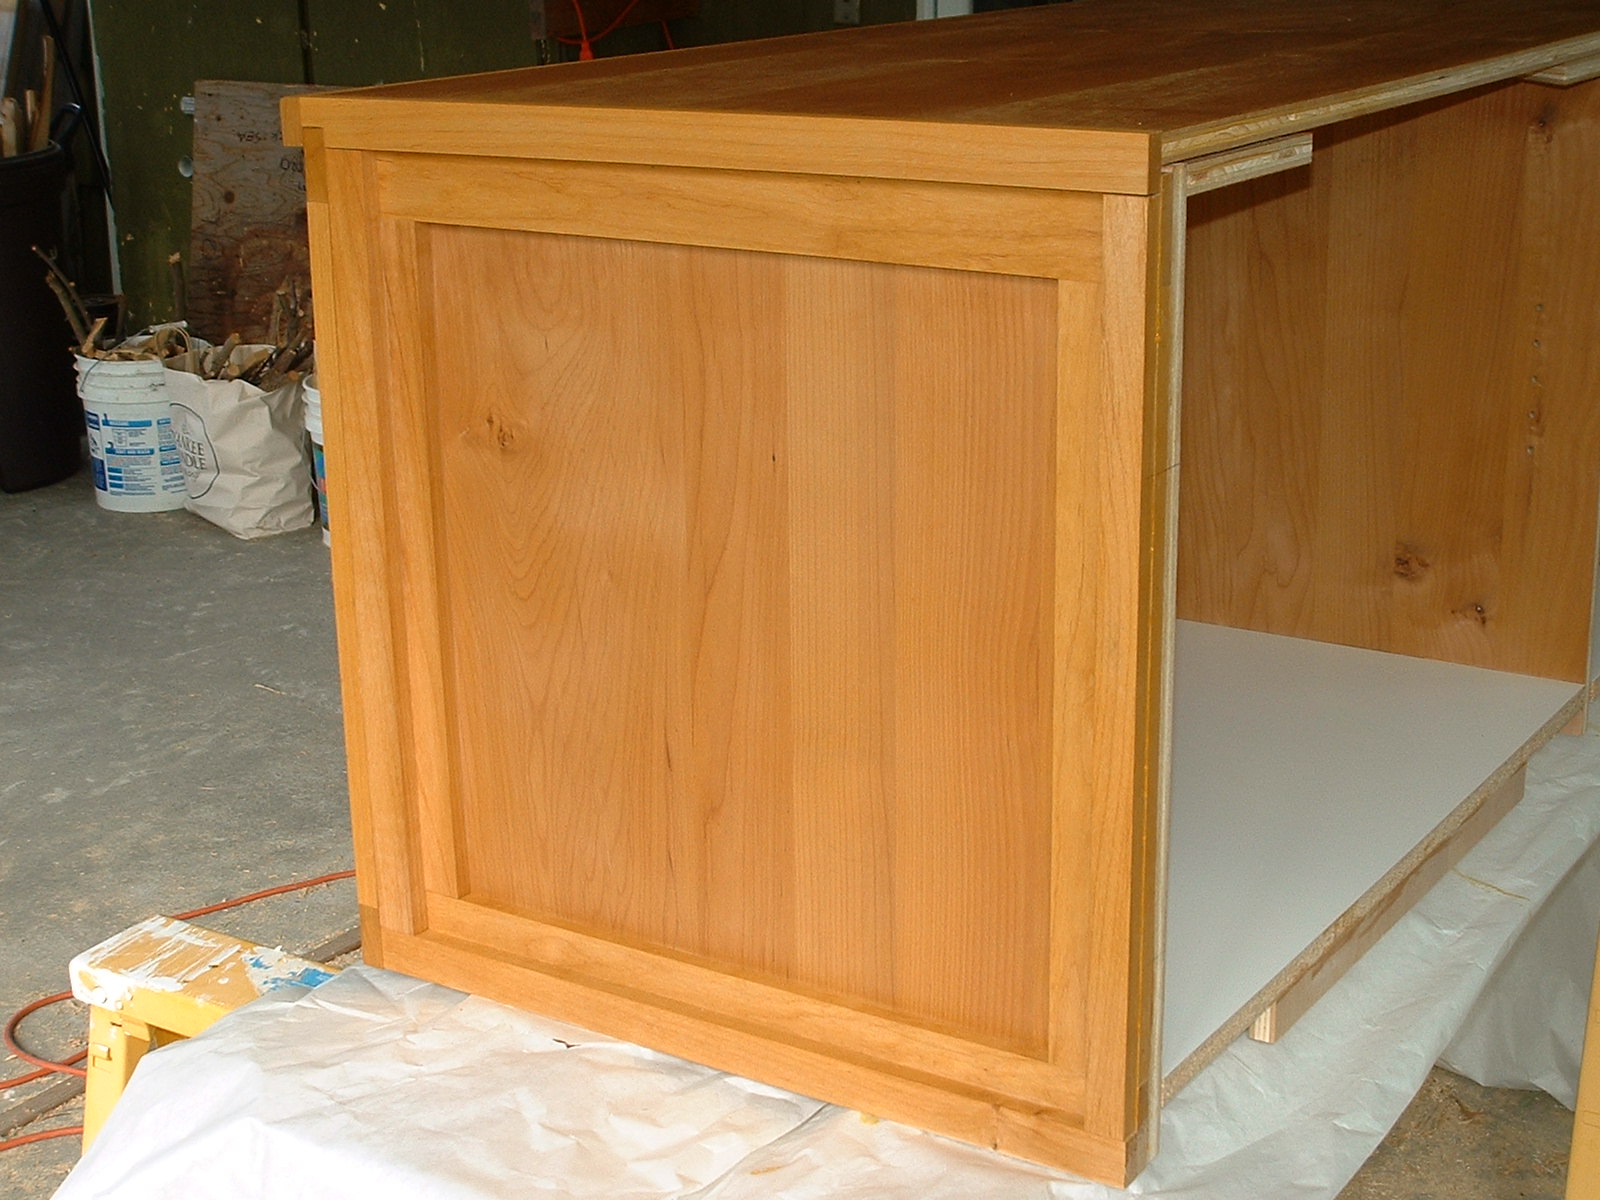
Finishing
Applying shellac and polyurethane.

:
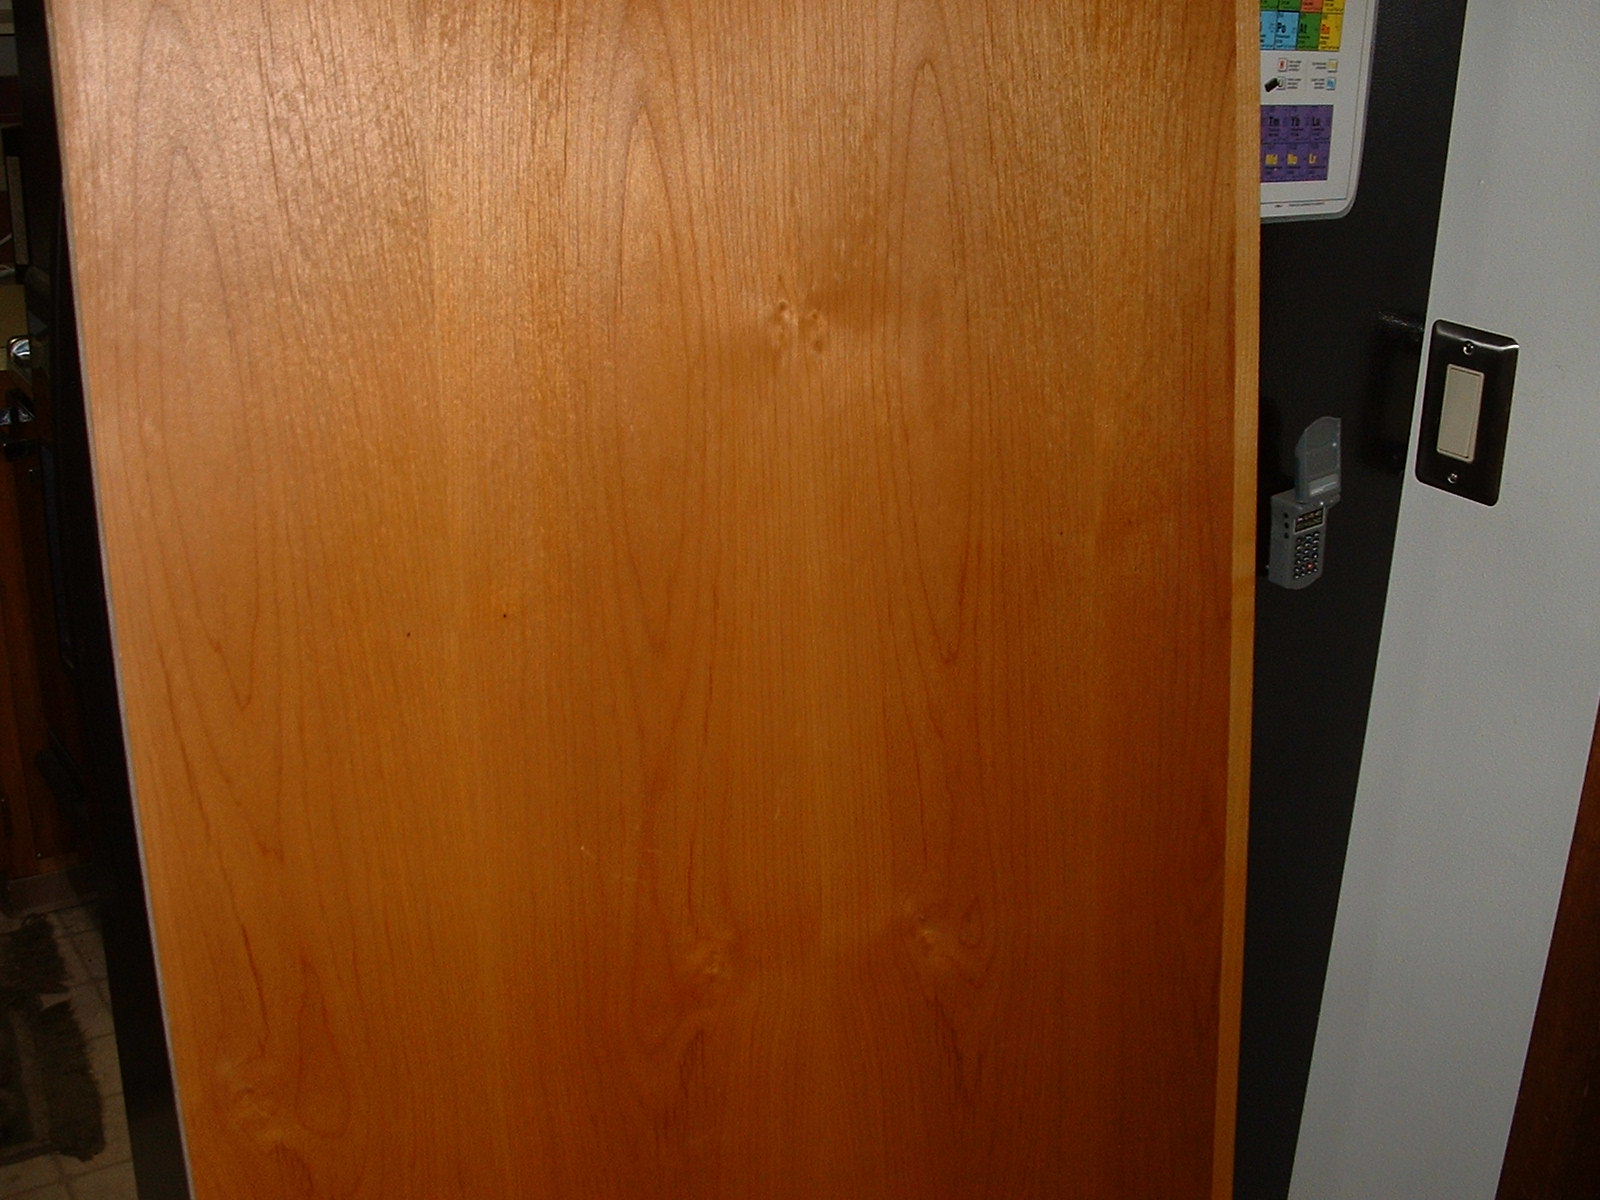
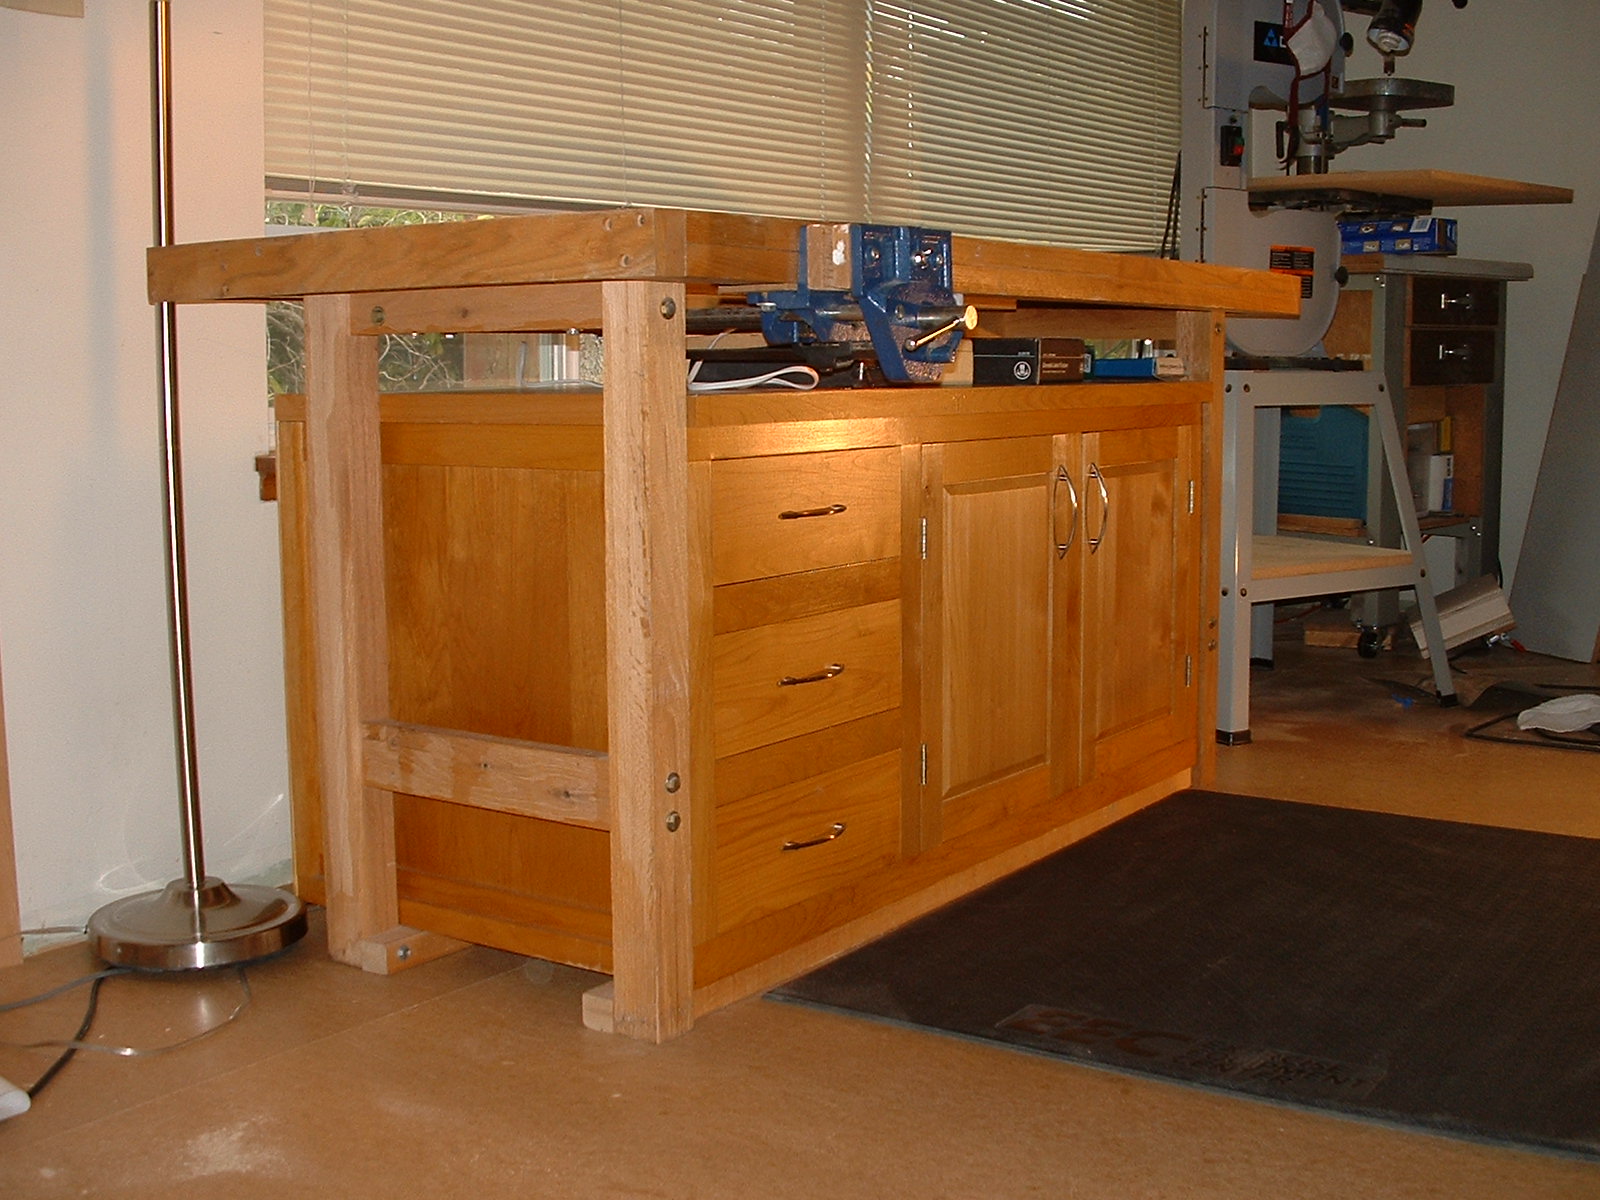
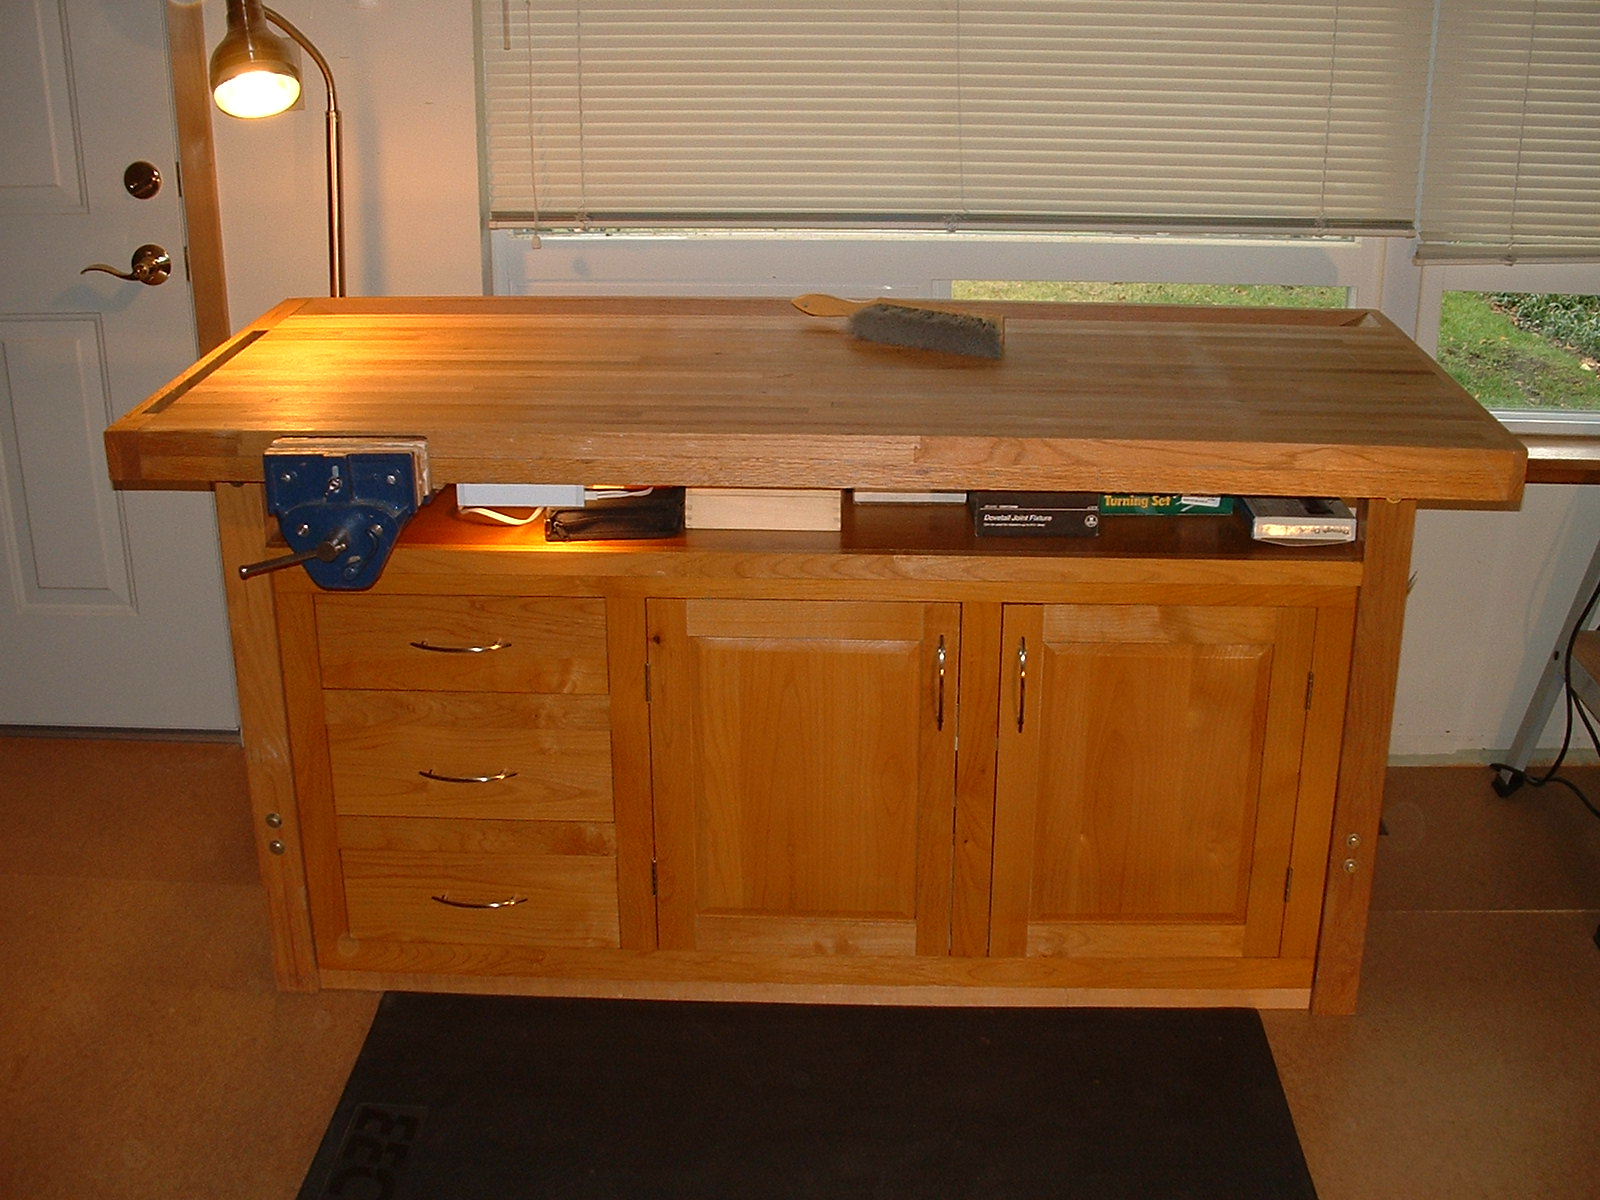
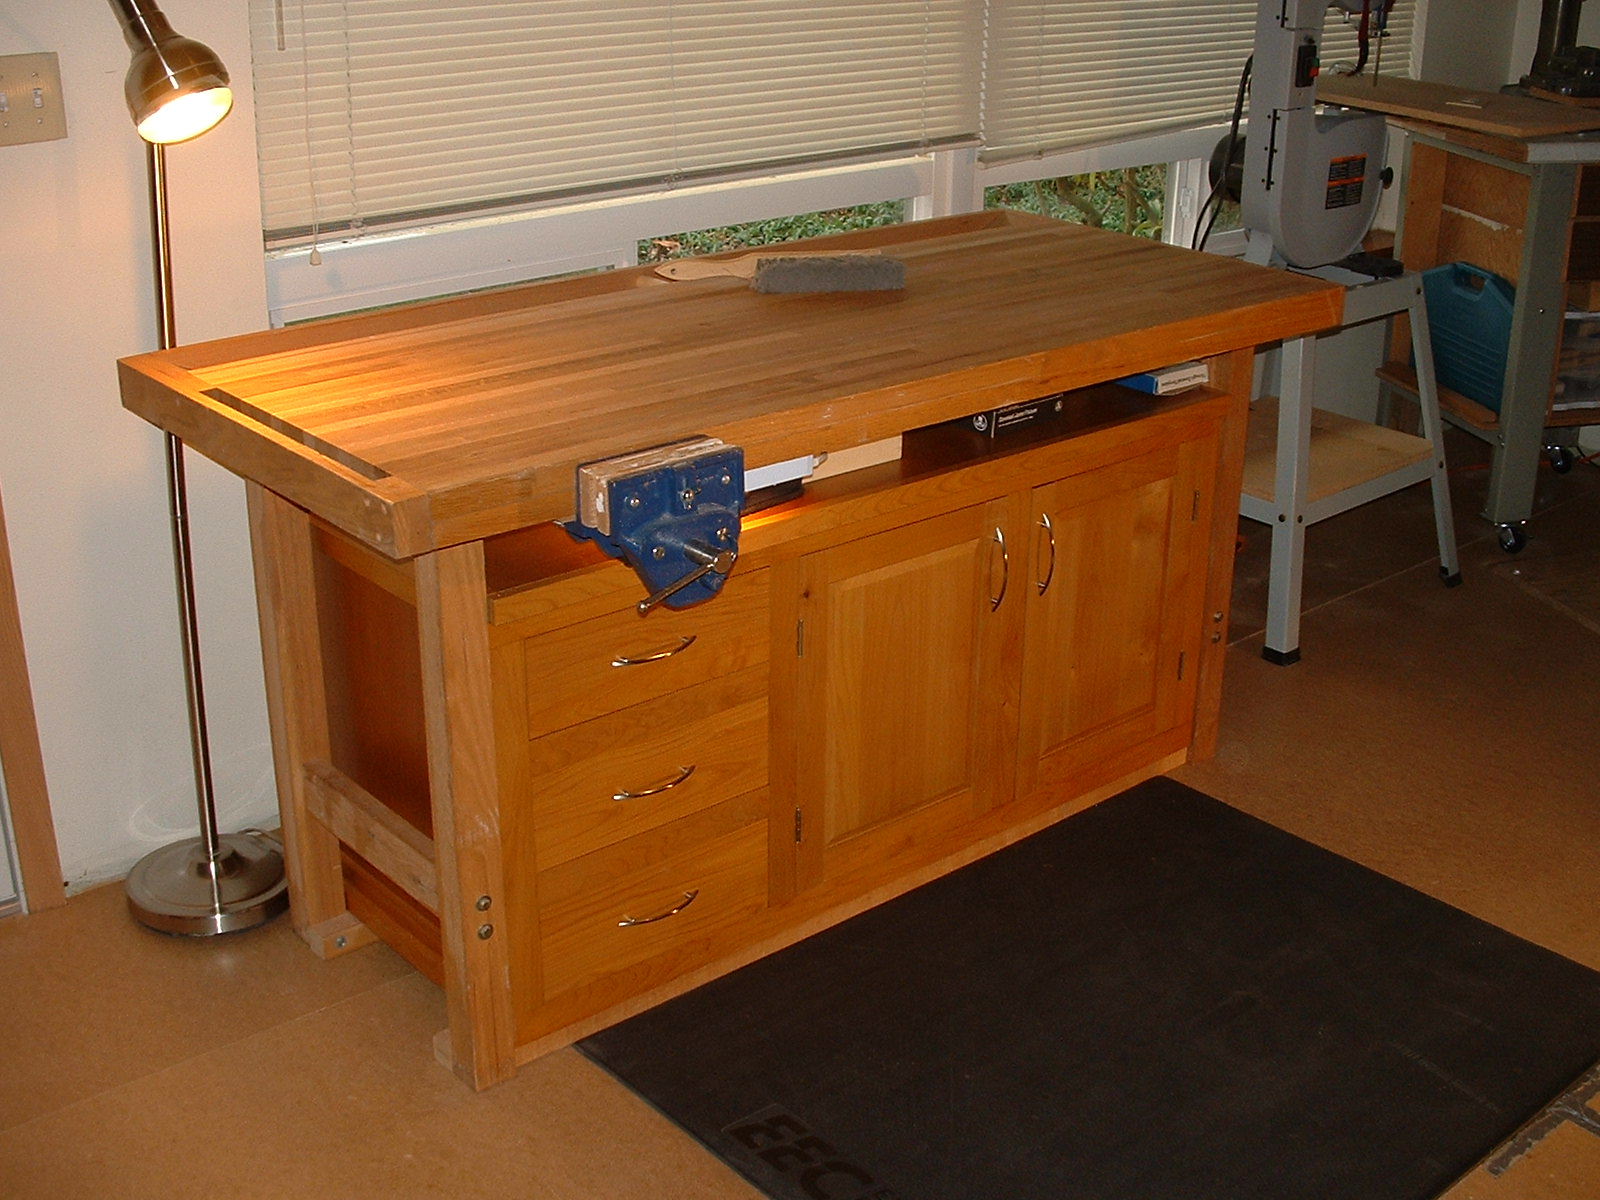
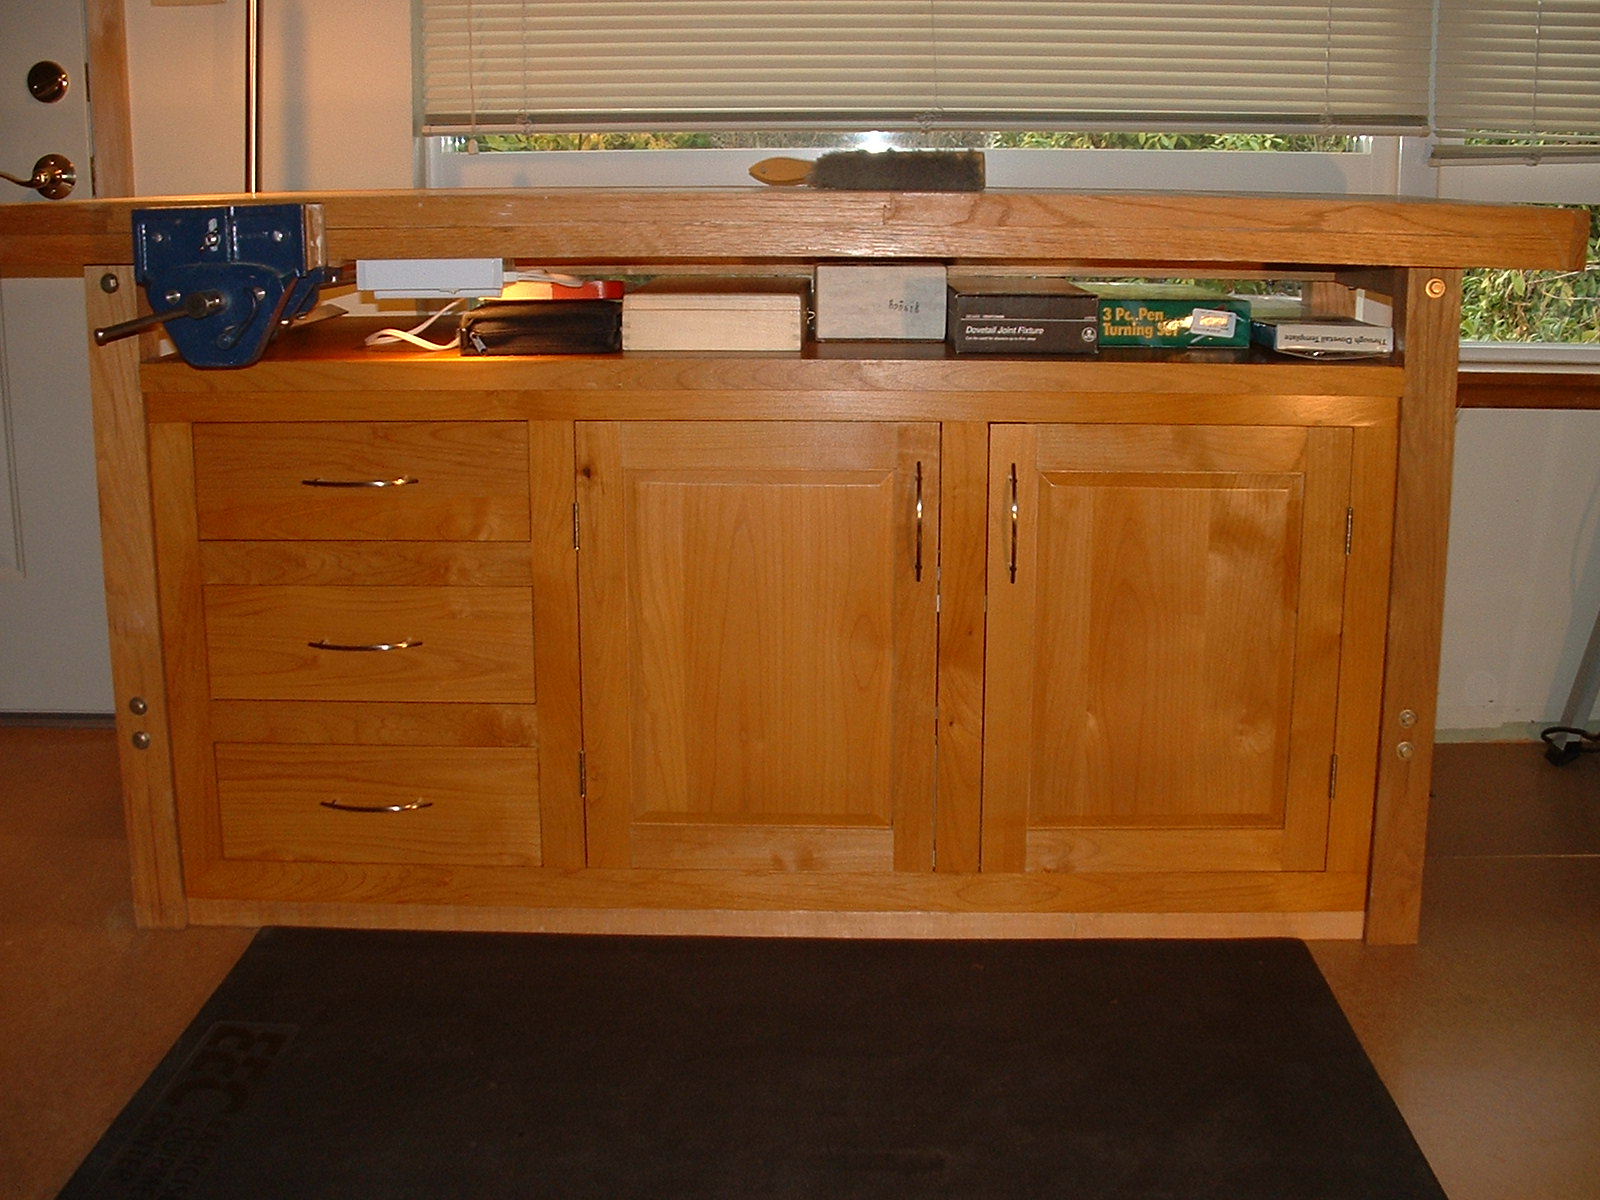
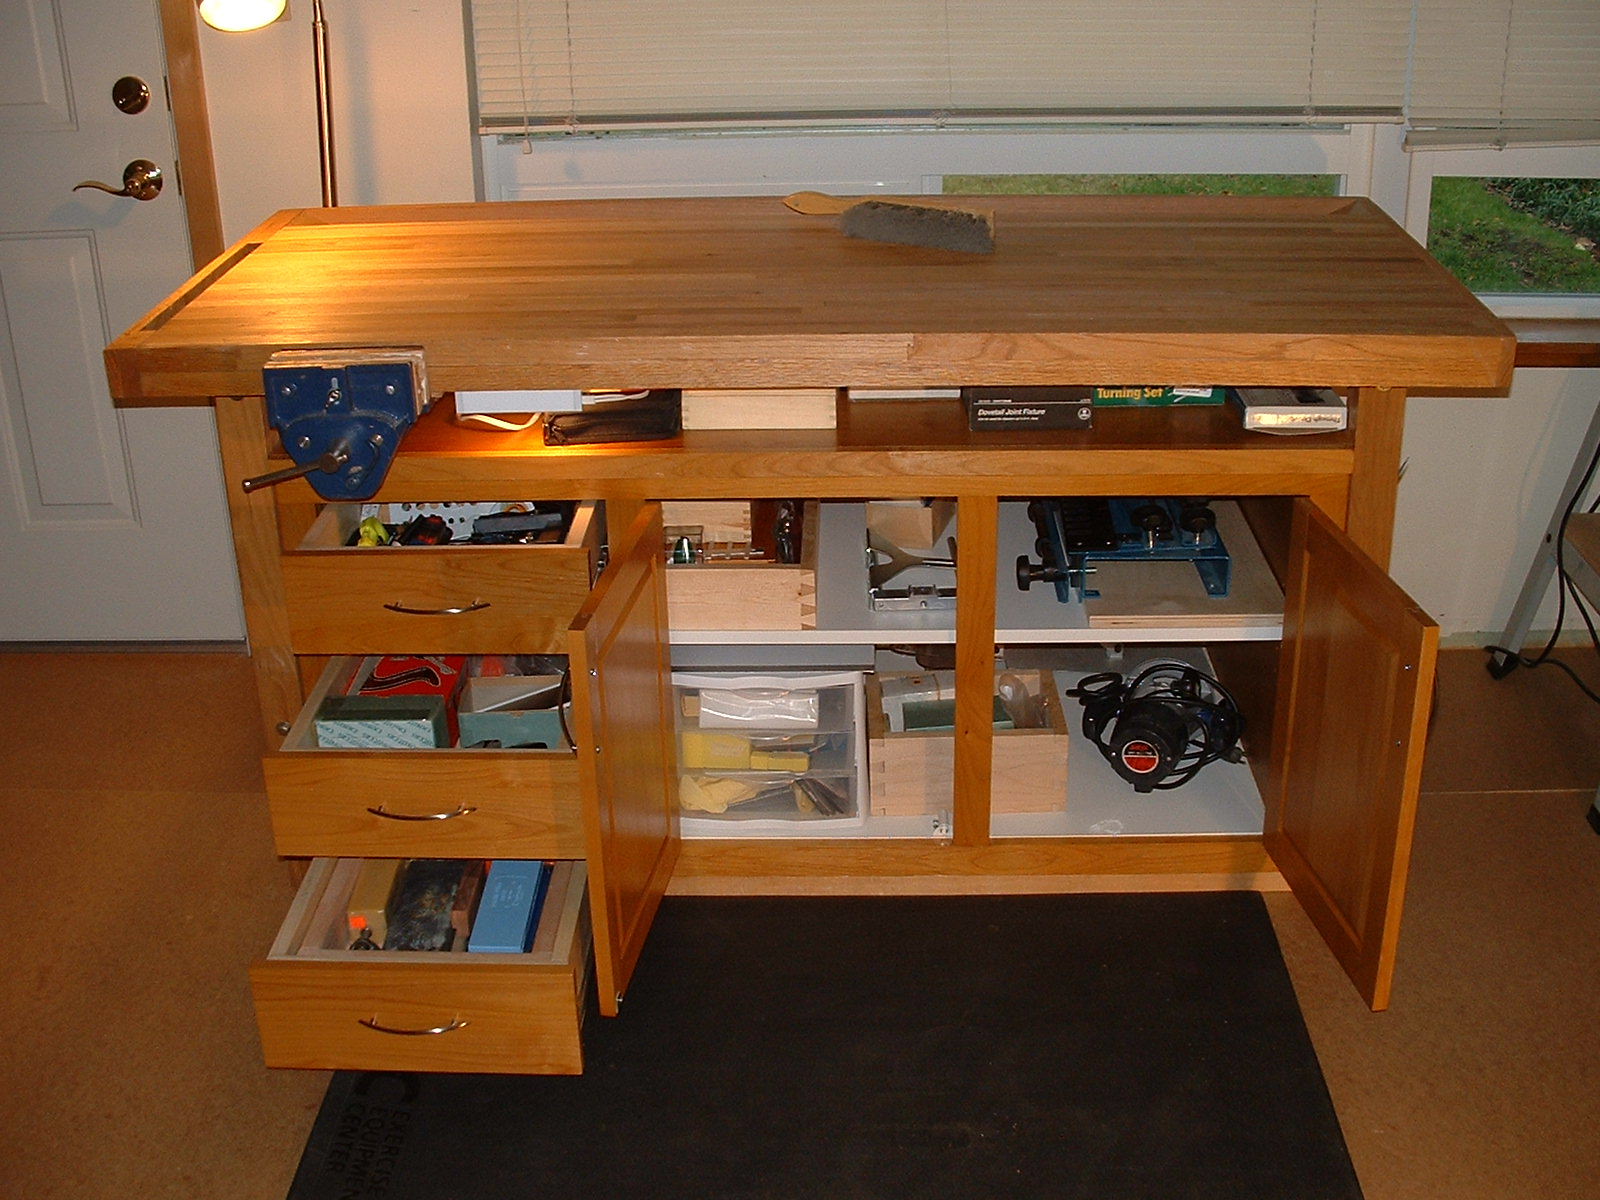
Done 11/25/2006
Now it is done and fitted into the workbench. I added a halogen light under the workbench top so I can see inside the drawers. The oak workbench is now heavy enough to be stable and resist raking when I plane on the bench top. All the measuring and marking tools, routers and bits, planes and scrapers, sharpening tools and other stuff fits real well in this cabinet. Its now time to clean up the shop and move on to the next project. The most important element I walk away with here is not the cabinet itself but my new list of the three Ds.
:
|
|
I have made the Wood Handbook available in Adobe Acrobat format. Click on the link below.
:
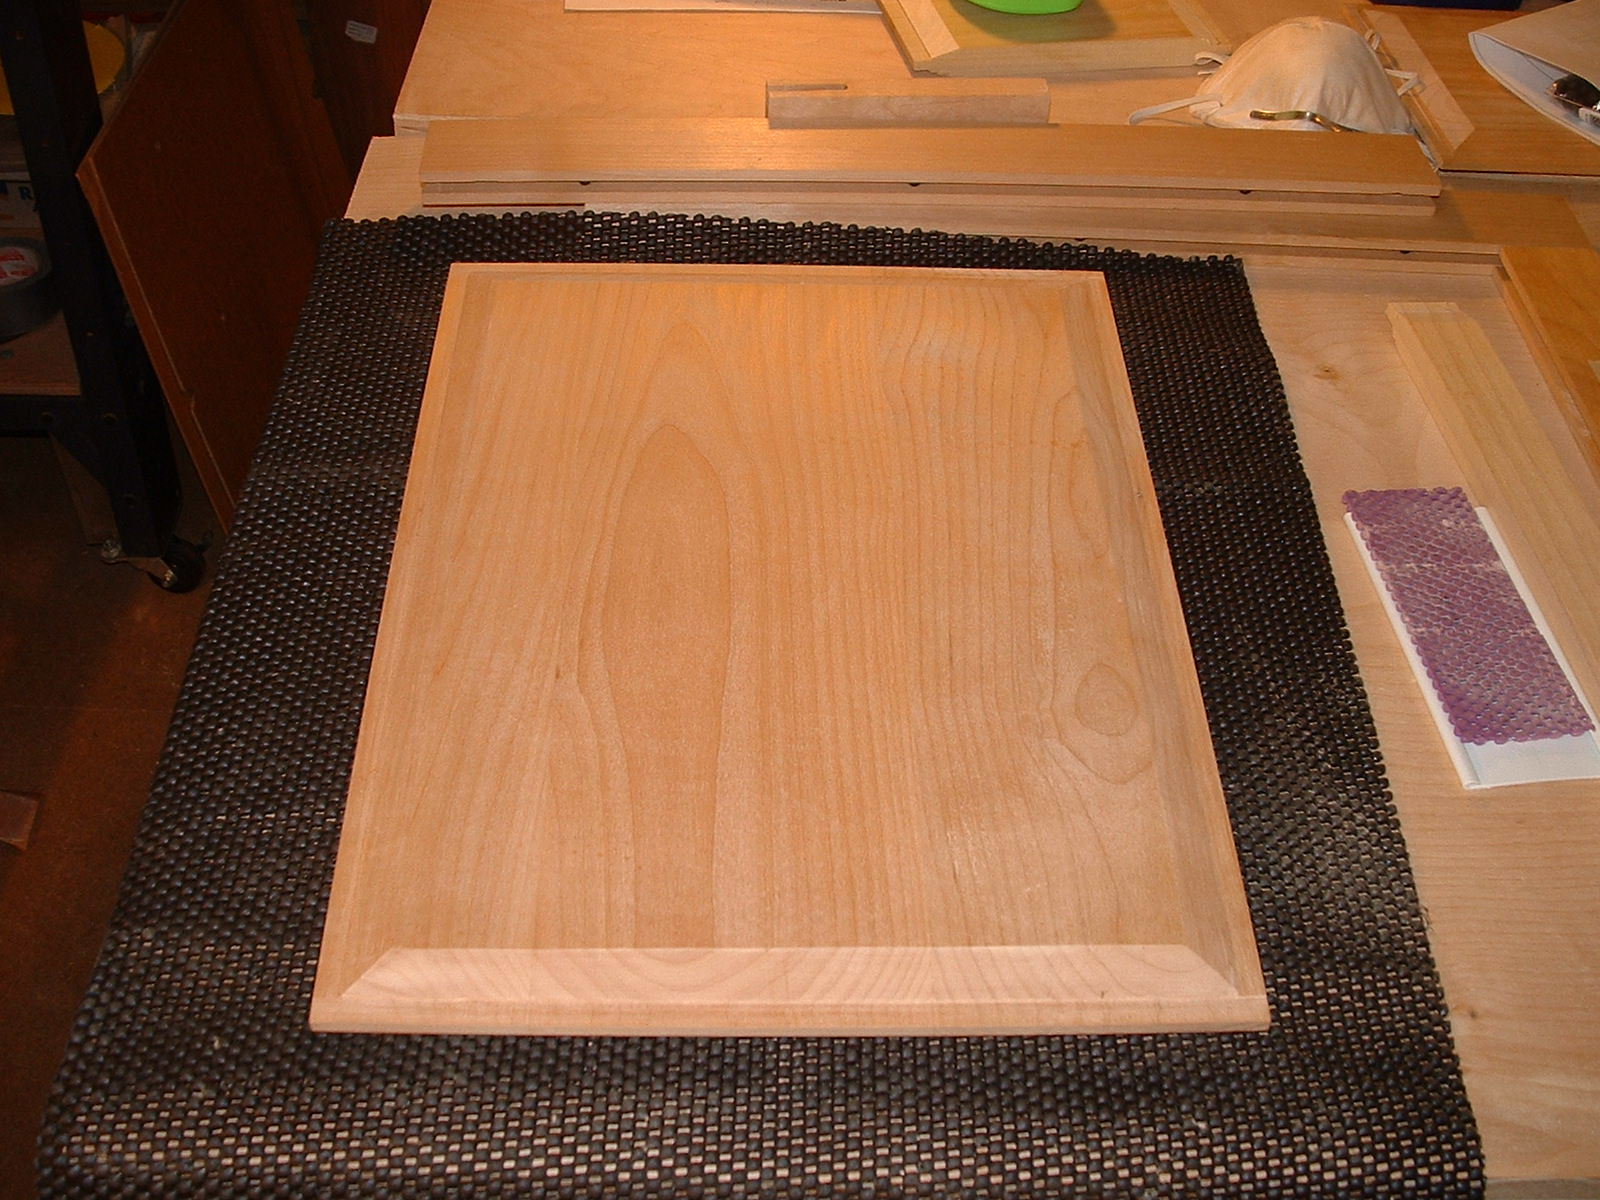
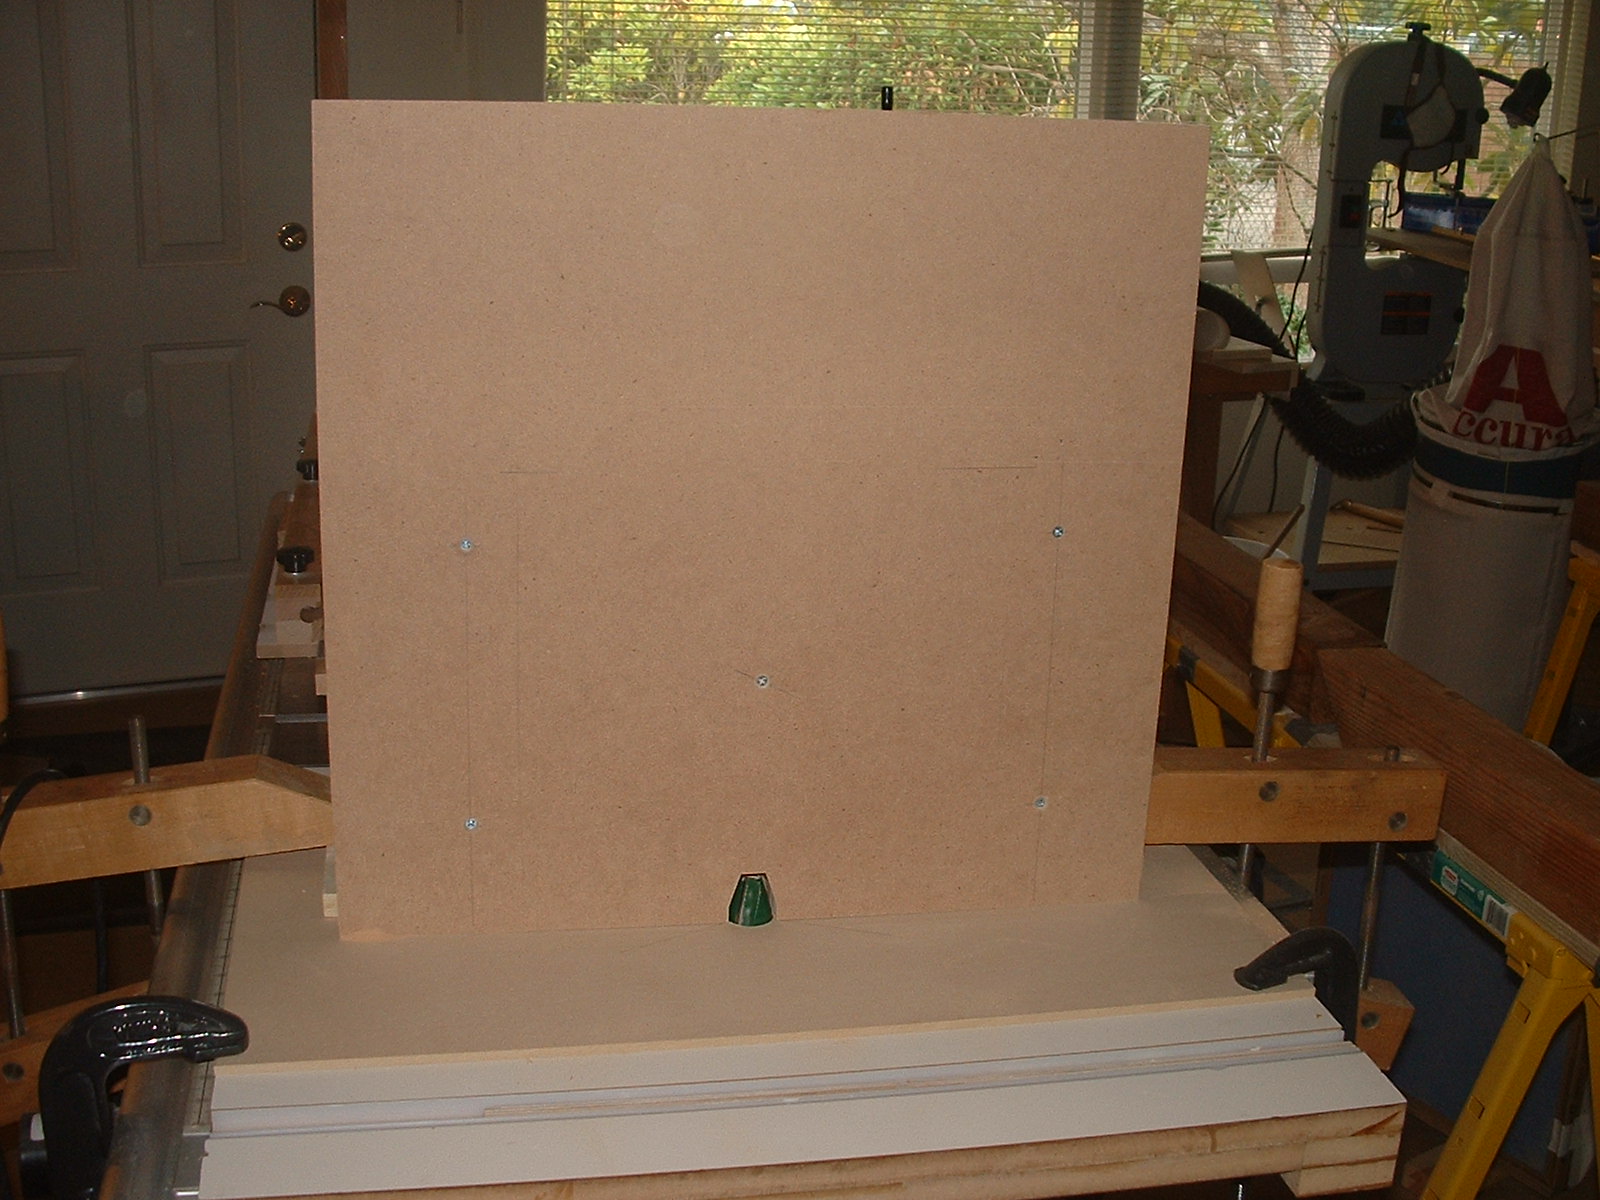
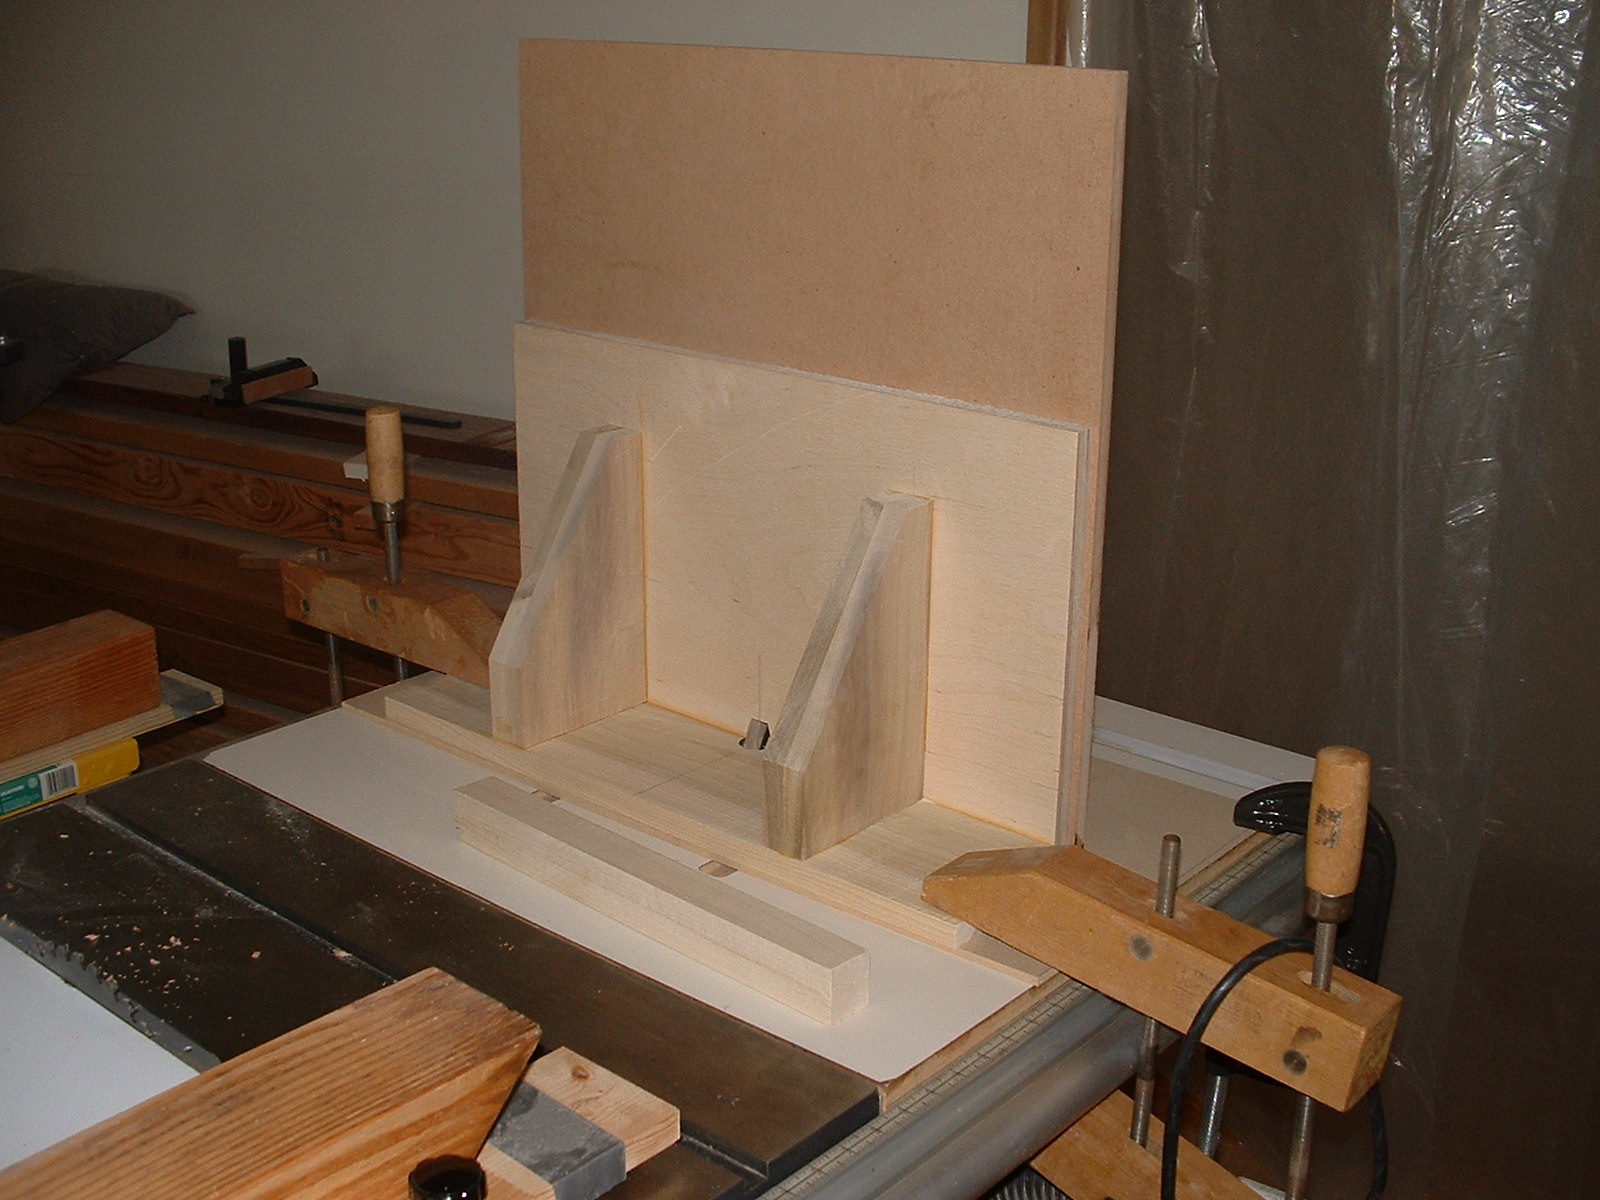
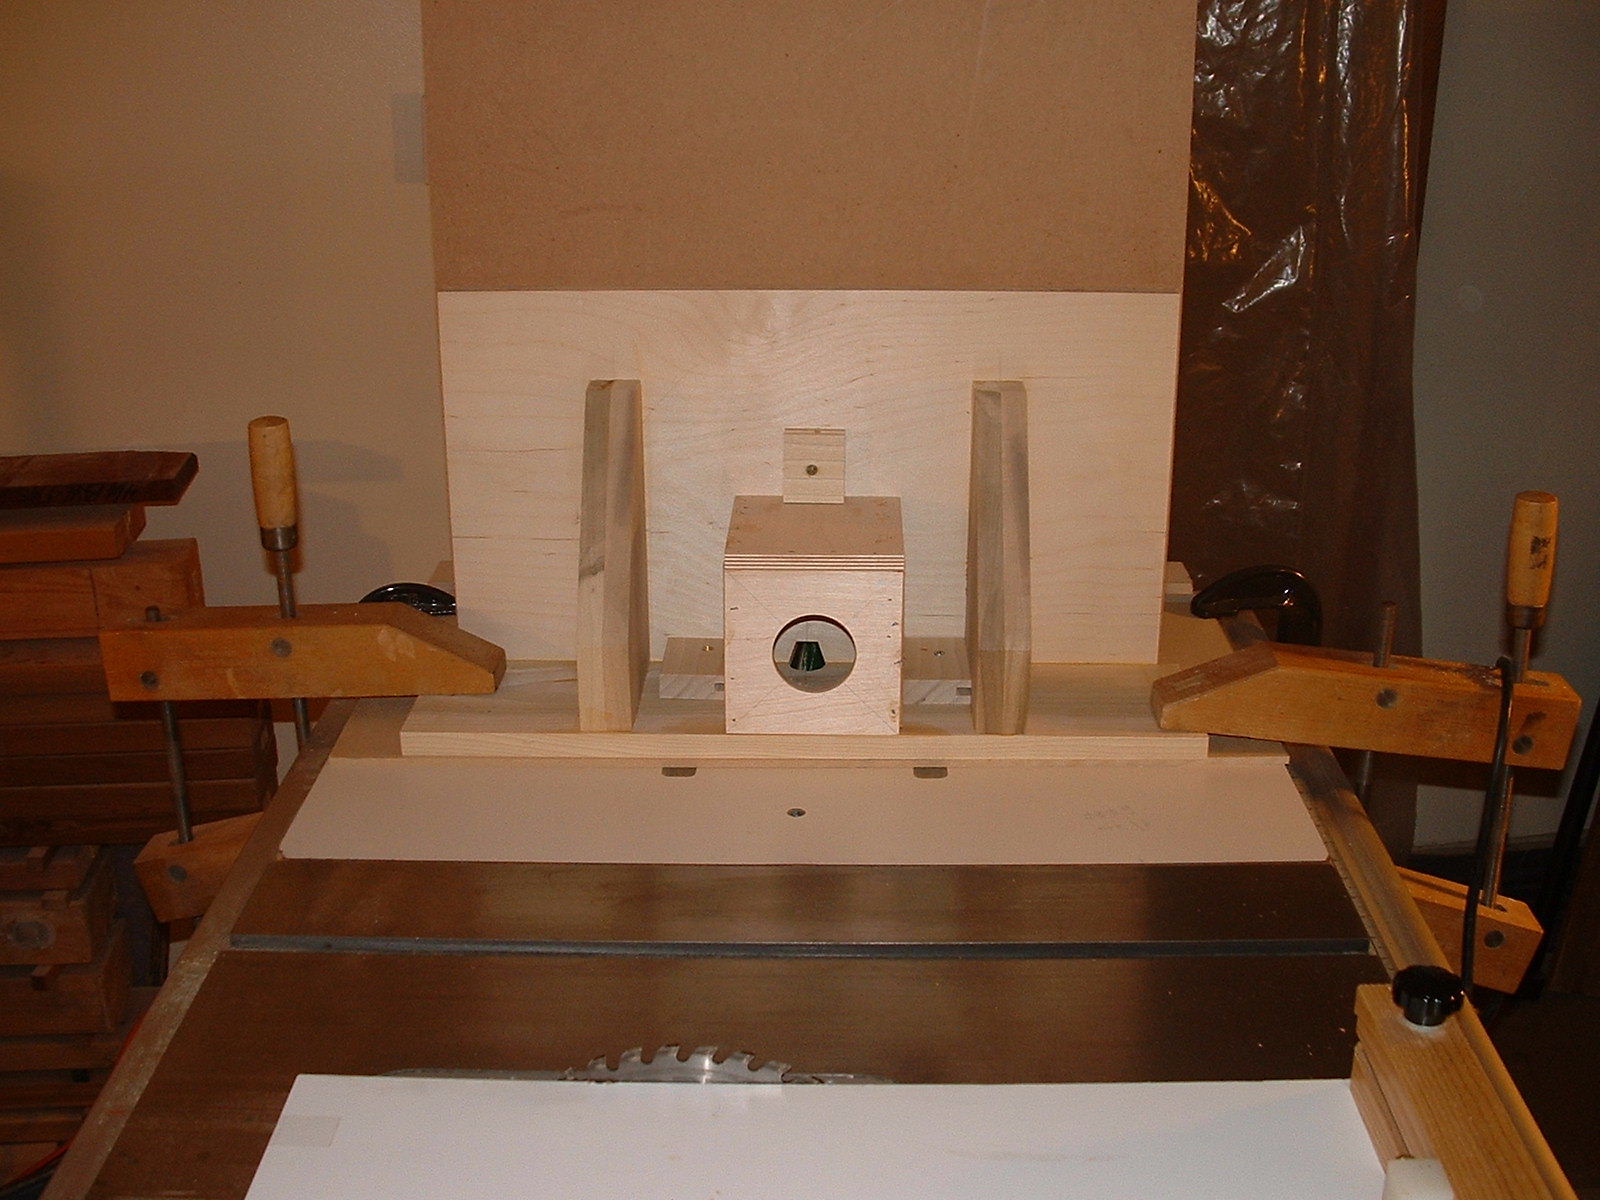
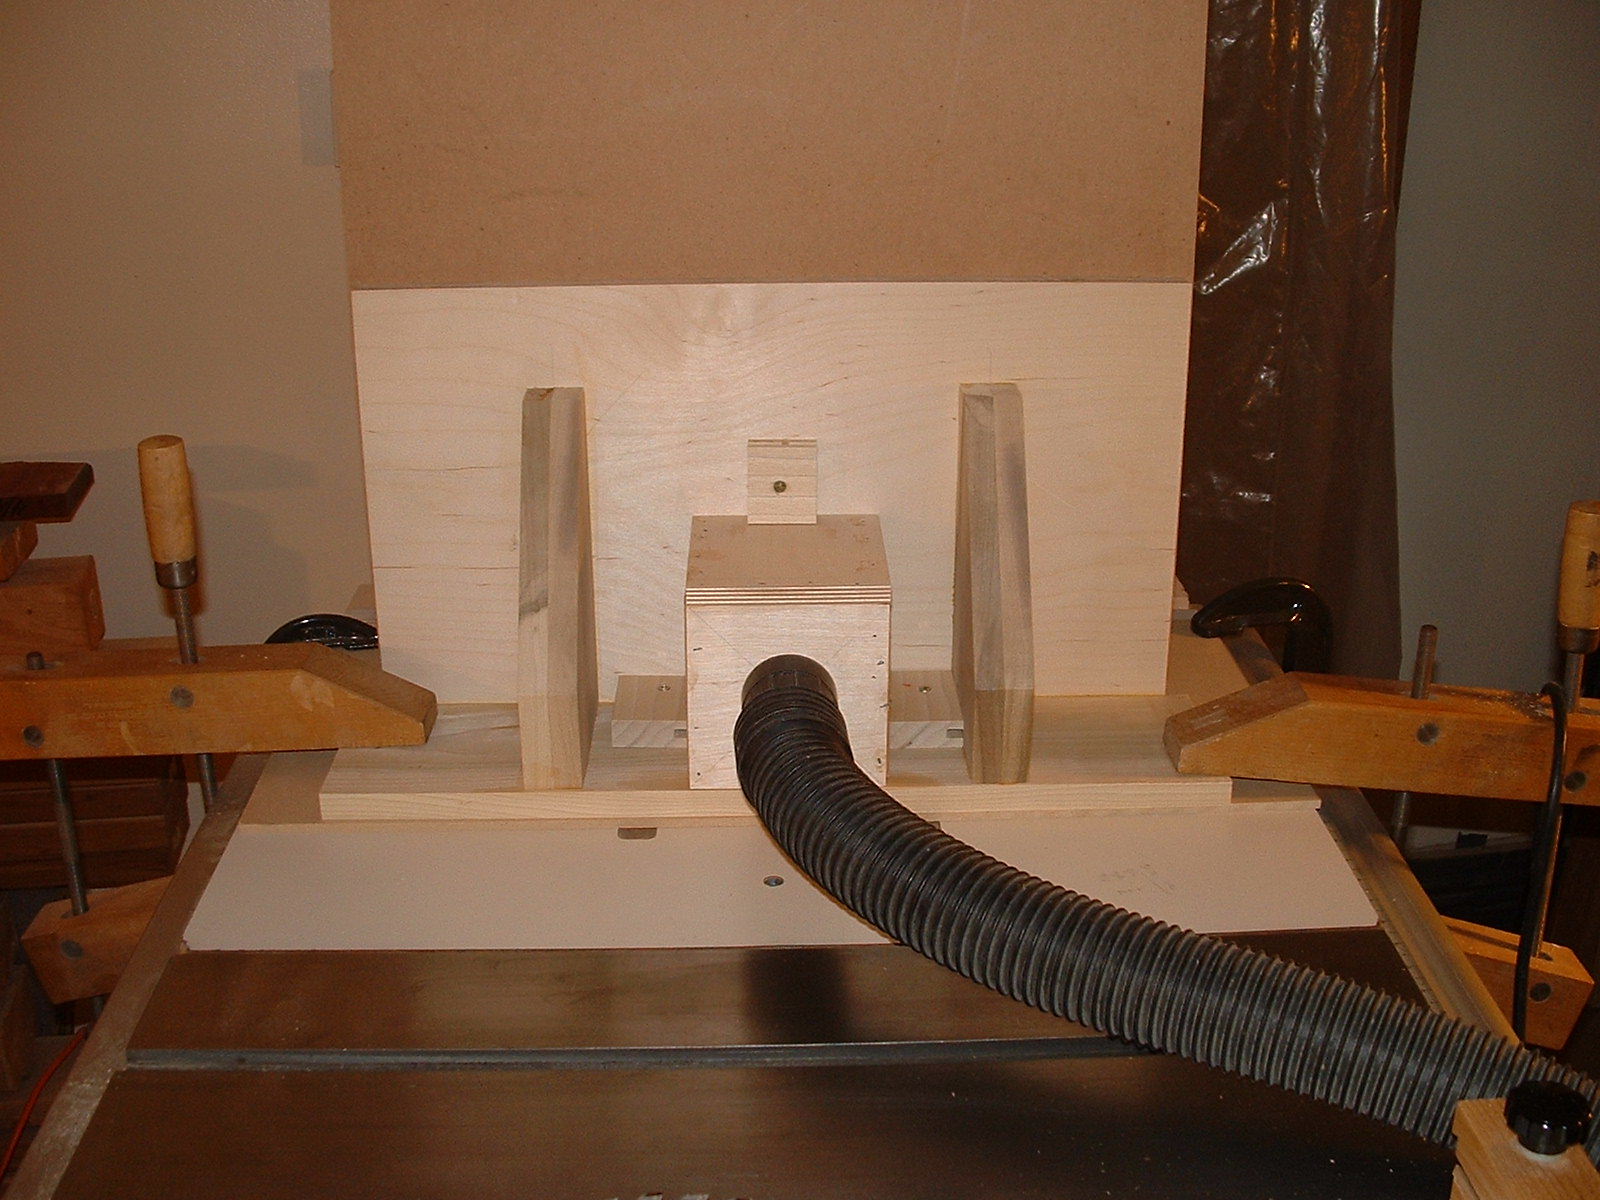
Raised Door Panel Jig.
The first picture shows the front milling surfaces. I'm trying to establish smooth continuous bearing surfaces to get a good consistent mill. The Bird House is added to the back for the shop vacuum. By removing the sawdust from this milling action this also creates a good mill,
:
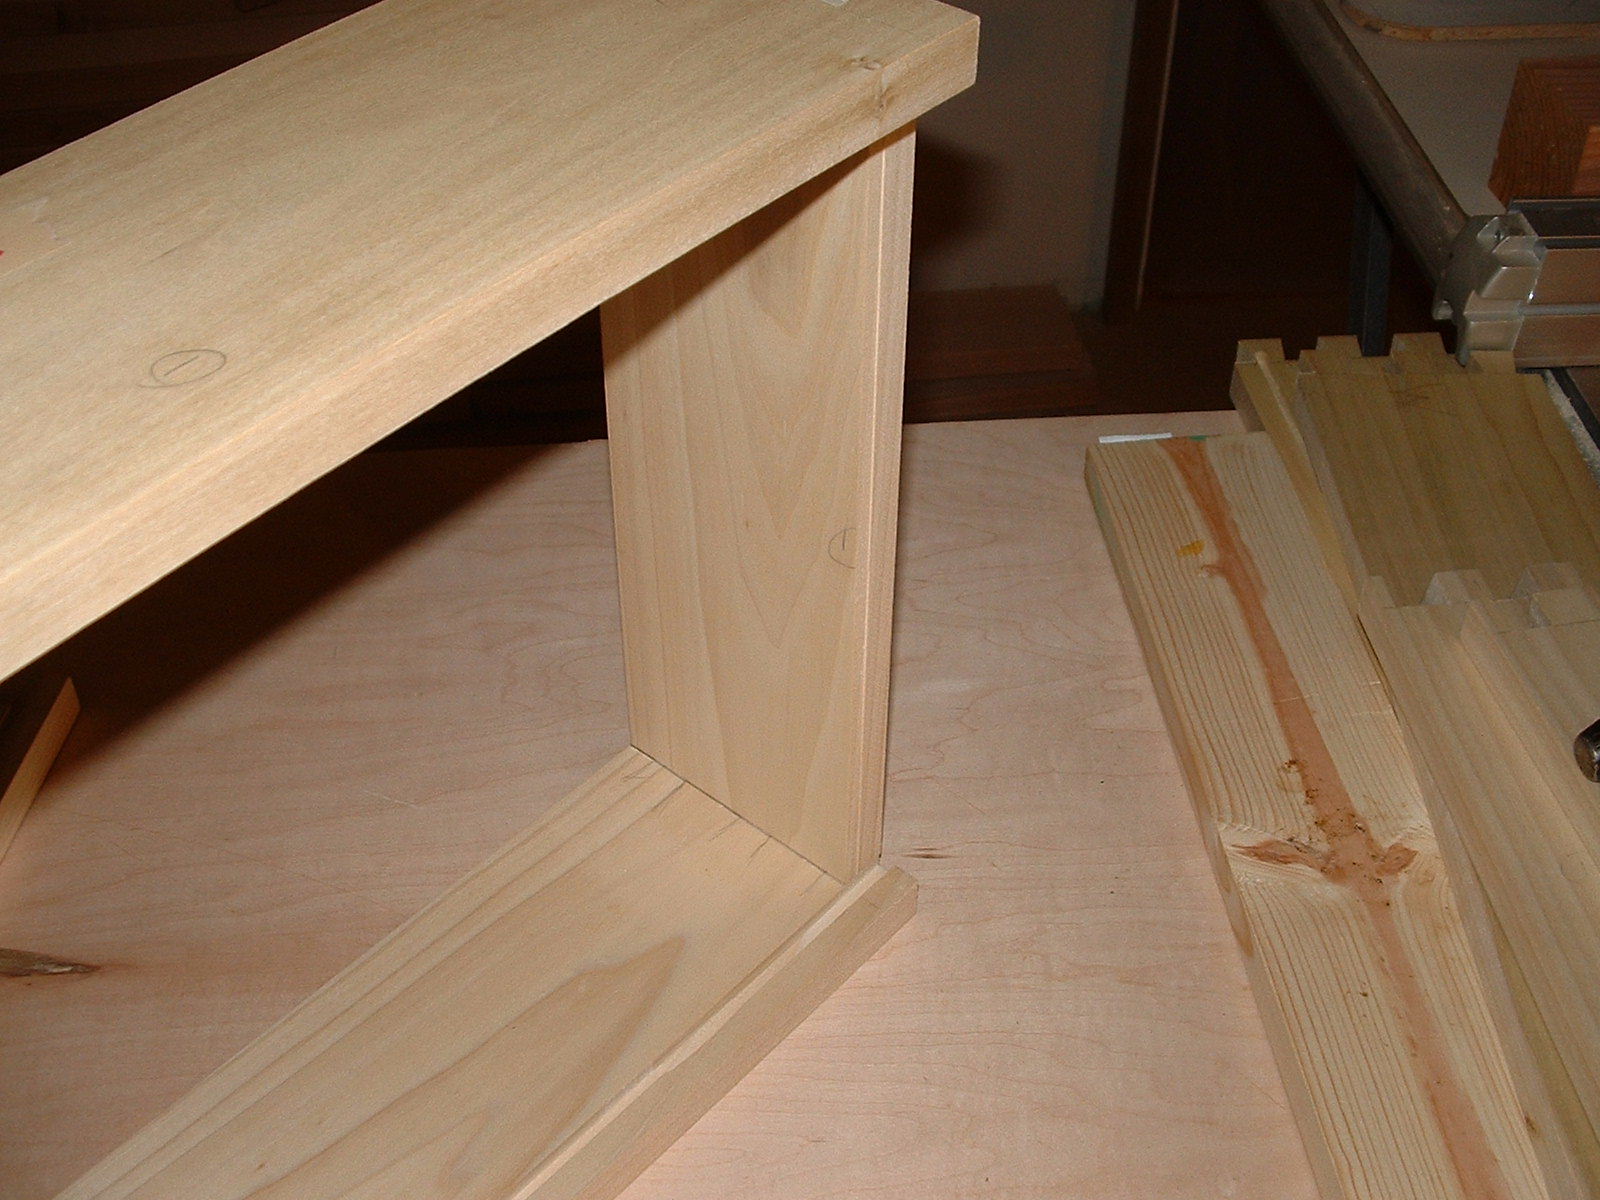
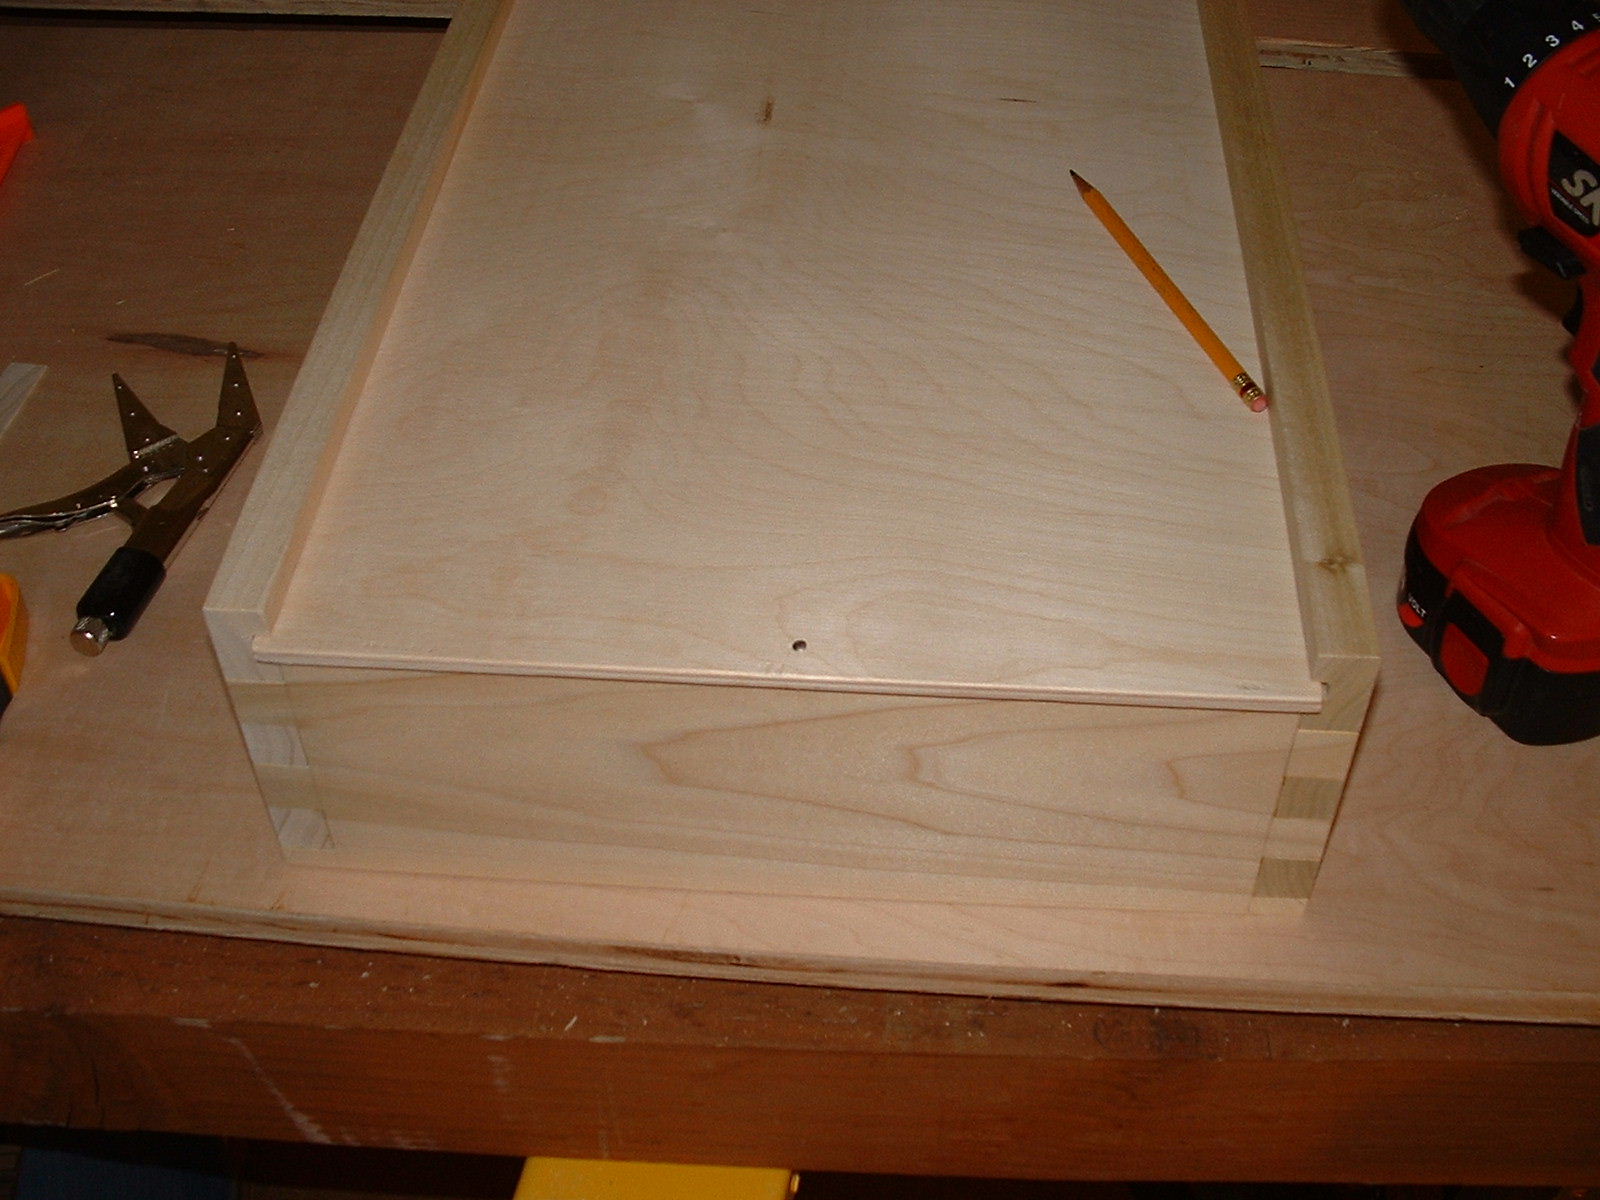
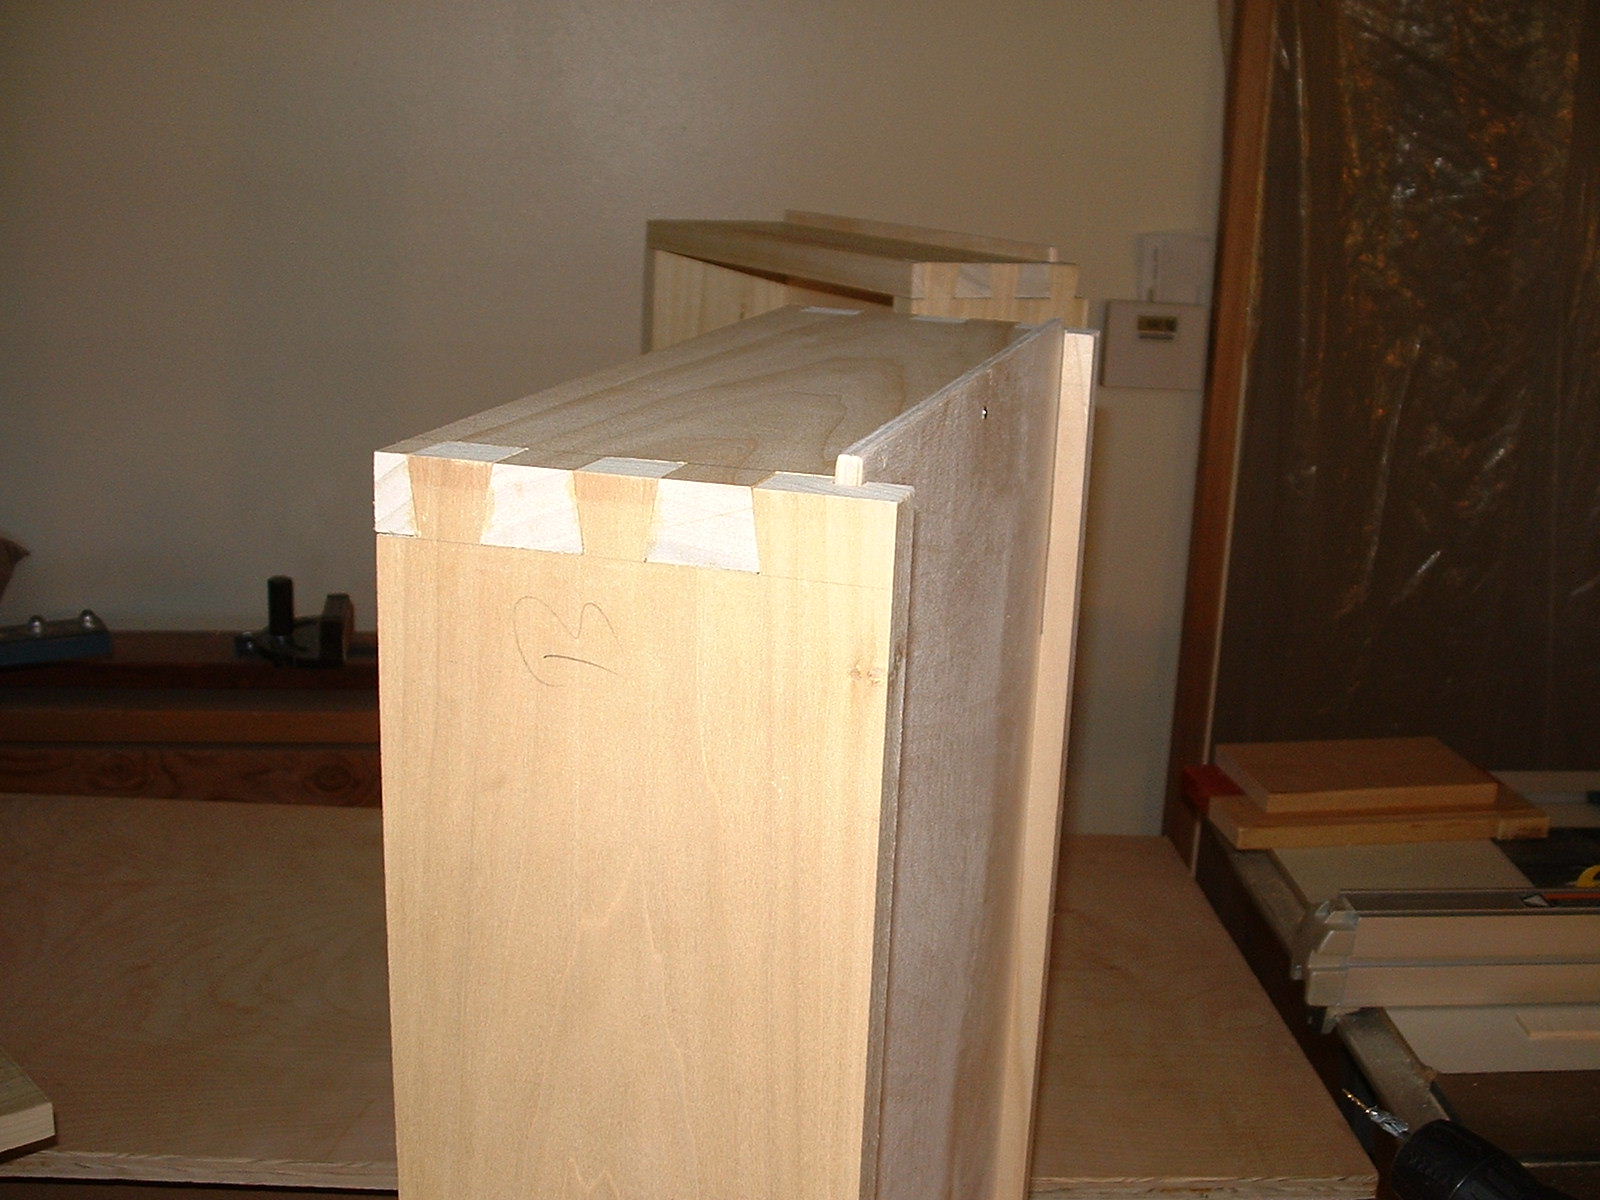
Drawers
I Like to be able to glue the hand-cut dovetail drawers together then slide in the 1/4" plywood bottom. I attach the drawer bottom with a single pin in a predrilled hole. The bottom extends behind the back of the drawer as a gripping tab should it need to be replaced at some point..
.
:
Remember: Snipe Happens!
:
: