Kitch
:
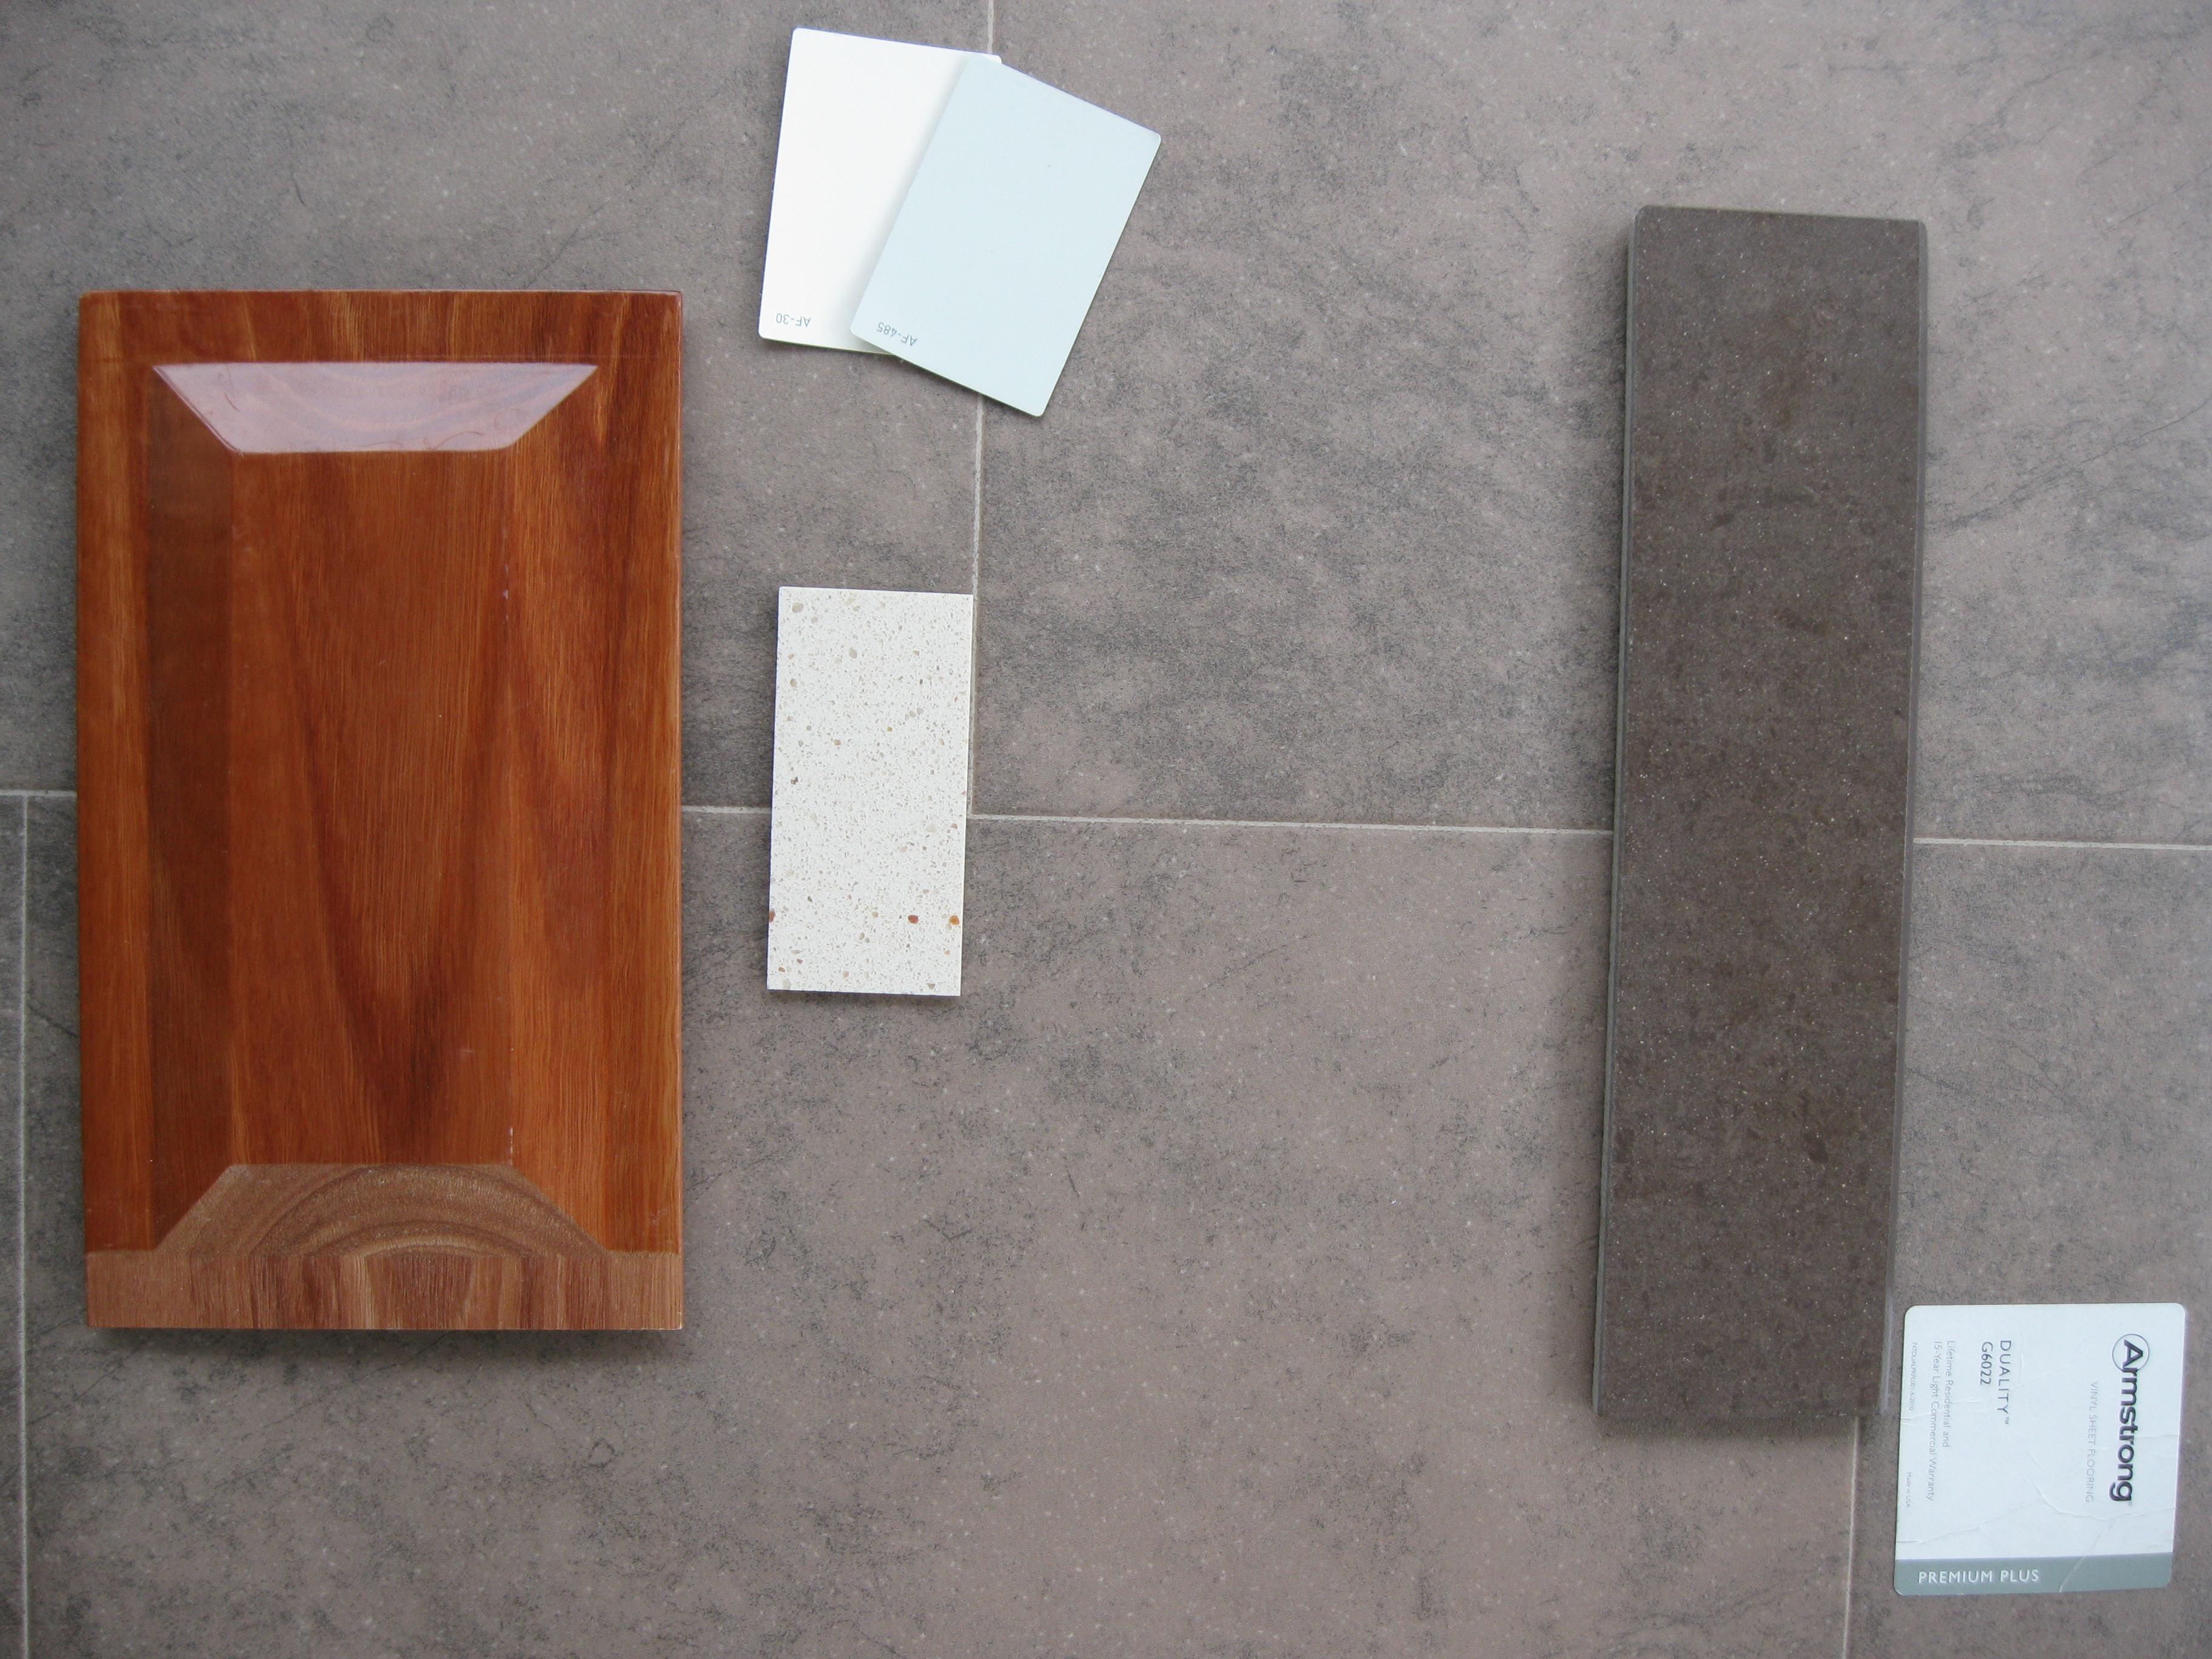
This is the color palette for the four hard surfaces. The paint swatches are the possible ceiling and wall colors.
:
BASE CABINET, COUNTERTOP, & FLOOR INSTALLATION
:
:
:
:
Textures Suede, Volcano & Polished
:
:
Duality_Premium_Plus_Amalfi_Armstrong_G6022 Mocha
:
:
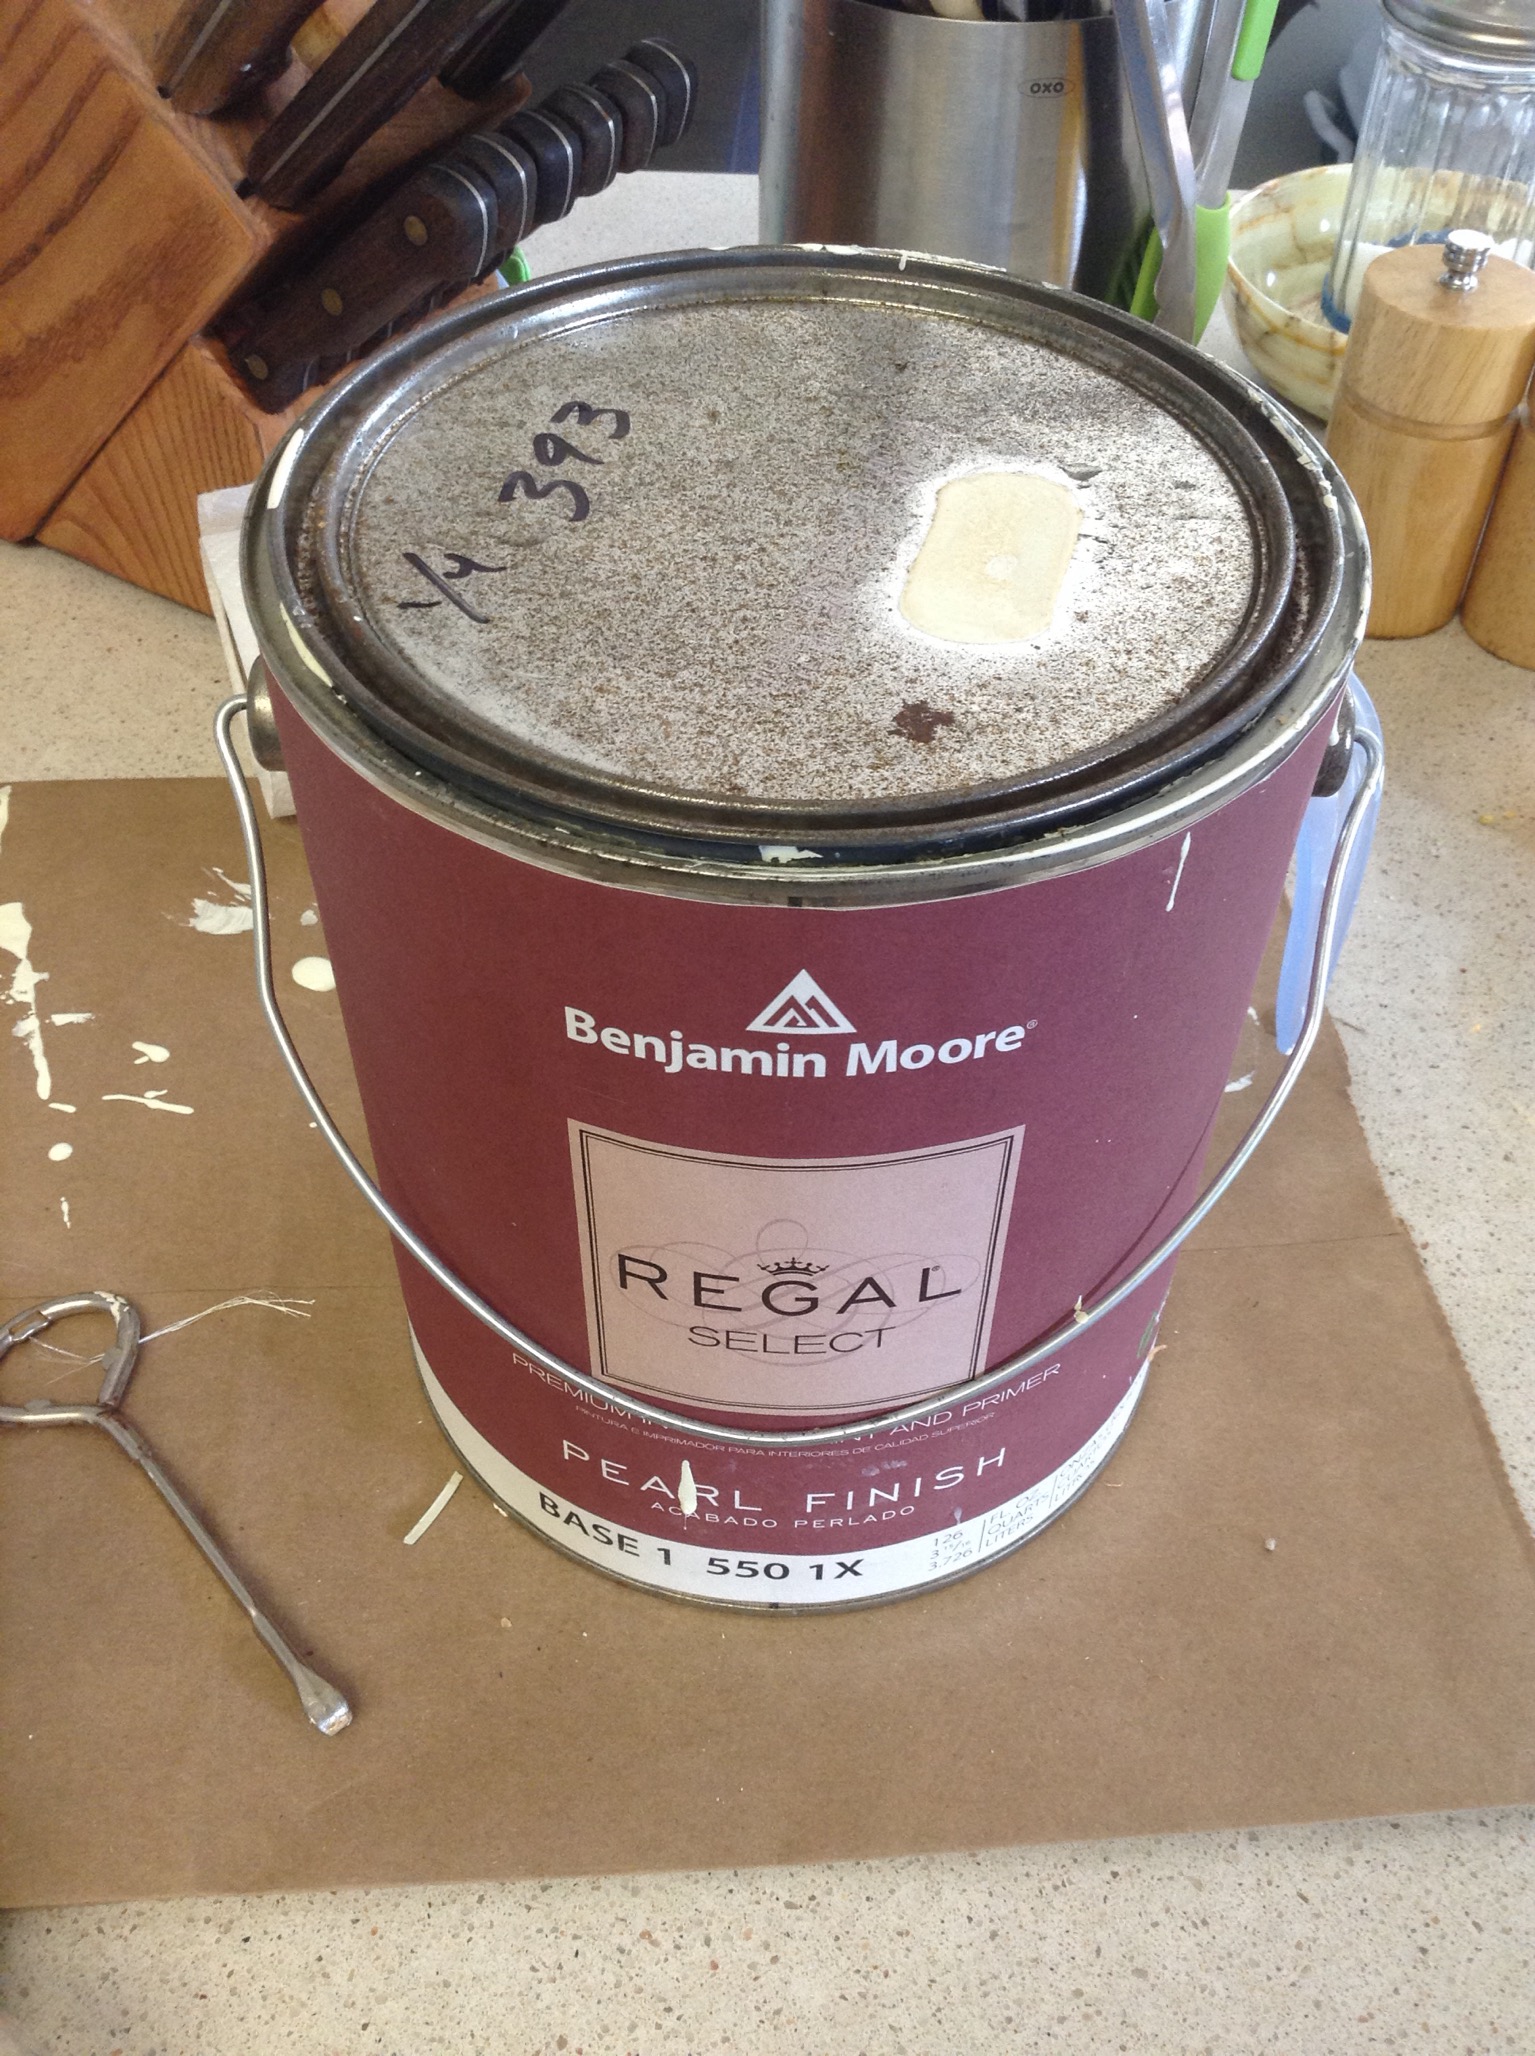
Colors:
Walls: Hint of Mint 505
Ceiling: Mascarpone AF-20
Contrast Wall: Mink 2112-10
Closet: 1/4 Lime Ricky 393 Pearl Finish Regal Select
:
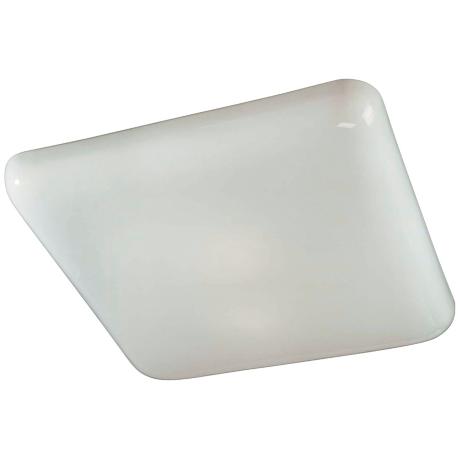
Light
Minka Lavery 19" cloud or pillow type light fixture for breakfast nook. This light fixture matches the 4 x 4' fluorescent light installed five years ago.
:
CHECKLIST
Trash Container Delivered to Site Complete-
Sink Faucet Delivered to Site Complete-
Plumbing: Rough Plumbing Complete -
Electric: Rough Inspection Passed -
Drywall Complete -
Wall Preparation Complete -
Paint Complete -
Dryer Vent | Inspection Complete -
Install Upper Cabinets Complete -
Remove Old Flooring & Underlayment Complete -
Install new Underlayment Complete -
Install Lower Cabinets Complete-
Get Countertop Measured Complete -
Install Floor Complete -
Install Countertop Complete -
Sink Soffit Complete -
Soffit Fascia |
Appliance, Sink & Finish Plumbing Complete
Install Backsplash Tile Complete -
Silicone Caulk Complete-
Install Range Hood Vent |Lower Complete-.
Attic Ducting |
Breakfast Nook Ceiling Mounted Light Replacement Complete -
Electric Completion Complete
Electric Final Inspection |
Toe Kick| Complete
Mill Trim |
Build Panels & Doors |
Install Cabinet Doors & Panels Complete
Install Door /Drawer Handles |
Trim Installation |
Touch Up Paint |
Door Installation |
Closet Shelves and Paint |
:
Doors | List The last door converted to pass through| Set Aside at Store -
:
Metal Mini Blinds Installation Guide
:
:
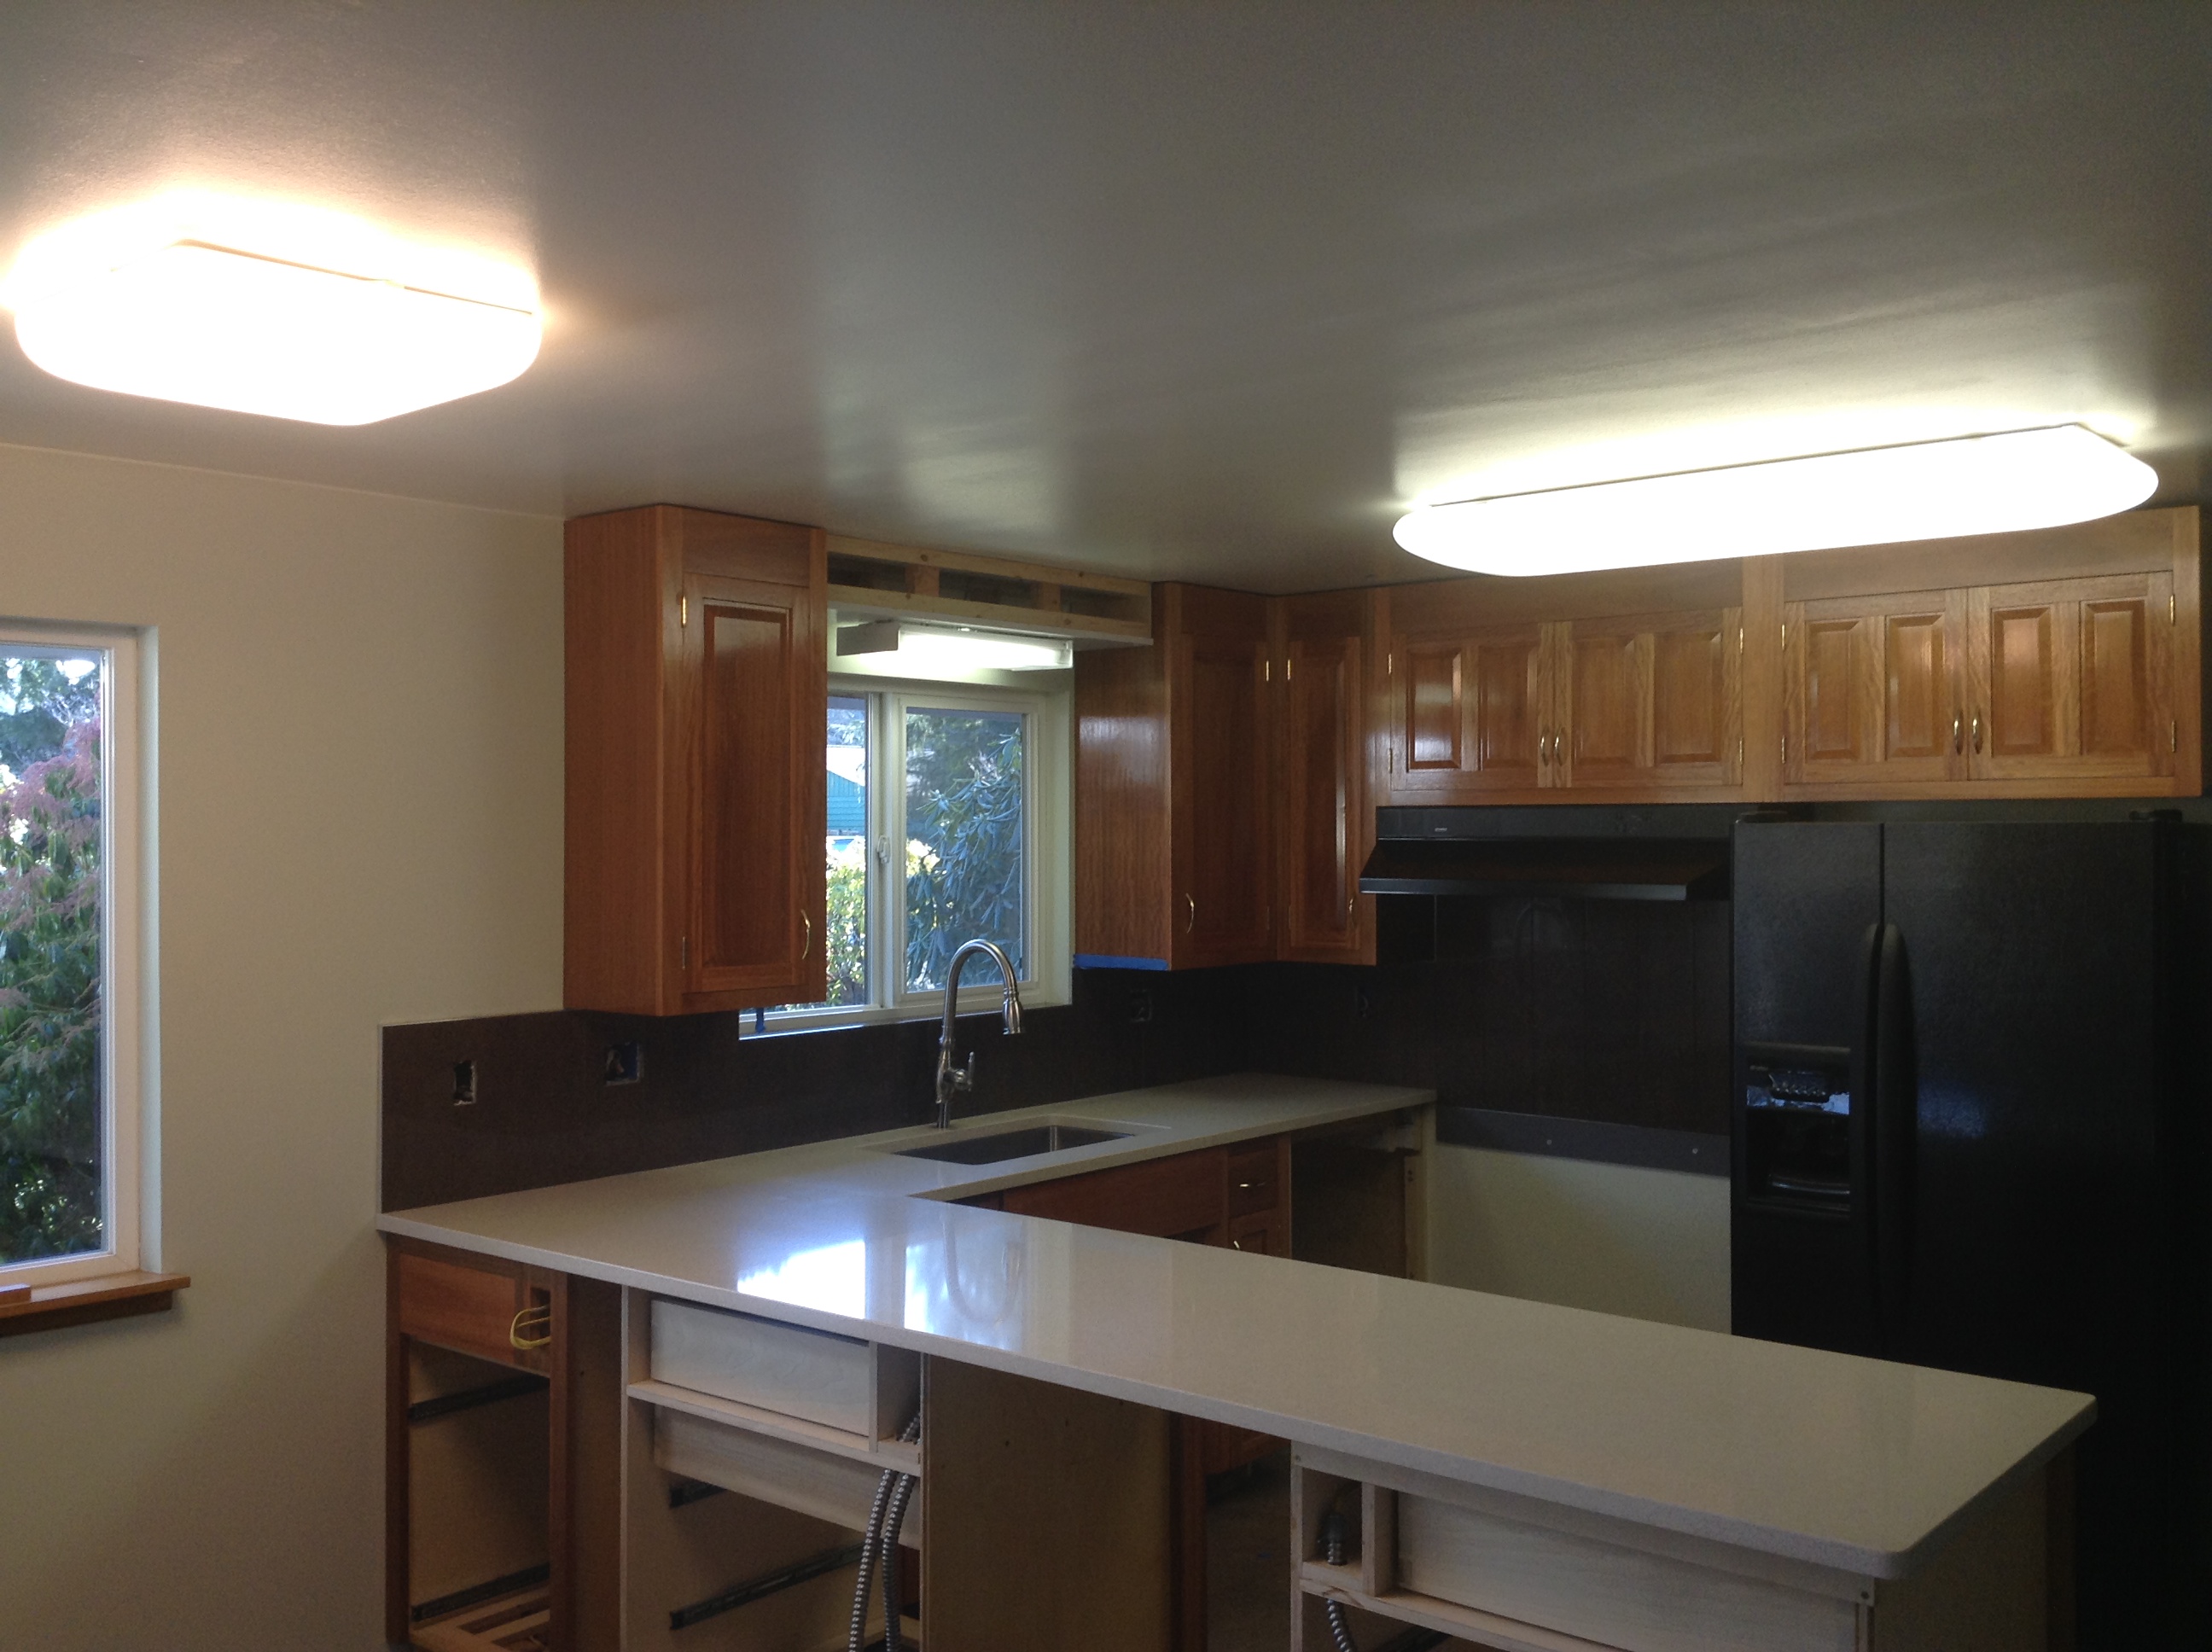
With all the overhead lights installed
:
Silestone Repair and Maintenance
I had a bottle of diluted bleach, used for cleaning, leak and leave a round etched stain on the Silestone in the bathroom. I used 800 grit sand paper and wet sanded it with 409 Stone & Steel cleaner as the wetting agent using a circular action. The etched surface was repaired in two minutes.
You can’t tell where I did it. It’s the same sheen as the original coffee brown surface. I did it in another area and you can’t tell. I think it could be done every day but I don’t know why you would want to. It would take a lot of elbow grease to create variation in the flatness of the surface. But that would be the resulting problem. I’m very happy that stain didn’t end up ruining the countertop. I was also worried about the sanding making it worse so I had 800, 1000, 1200, 1500, 2000 & 3000 grit for the repair but only needed the 800.
For dried stubborn gunk on the surface- use a razor blade. It doesn't damage or leave a mark on the surface. For the final dry wipe down use a Swiffer cloth. Works great.
:
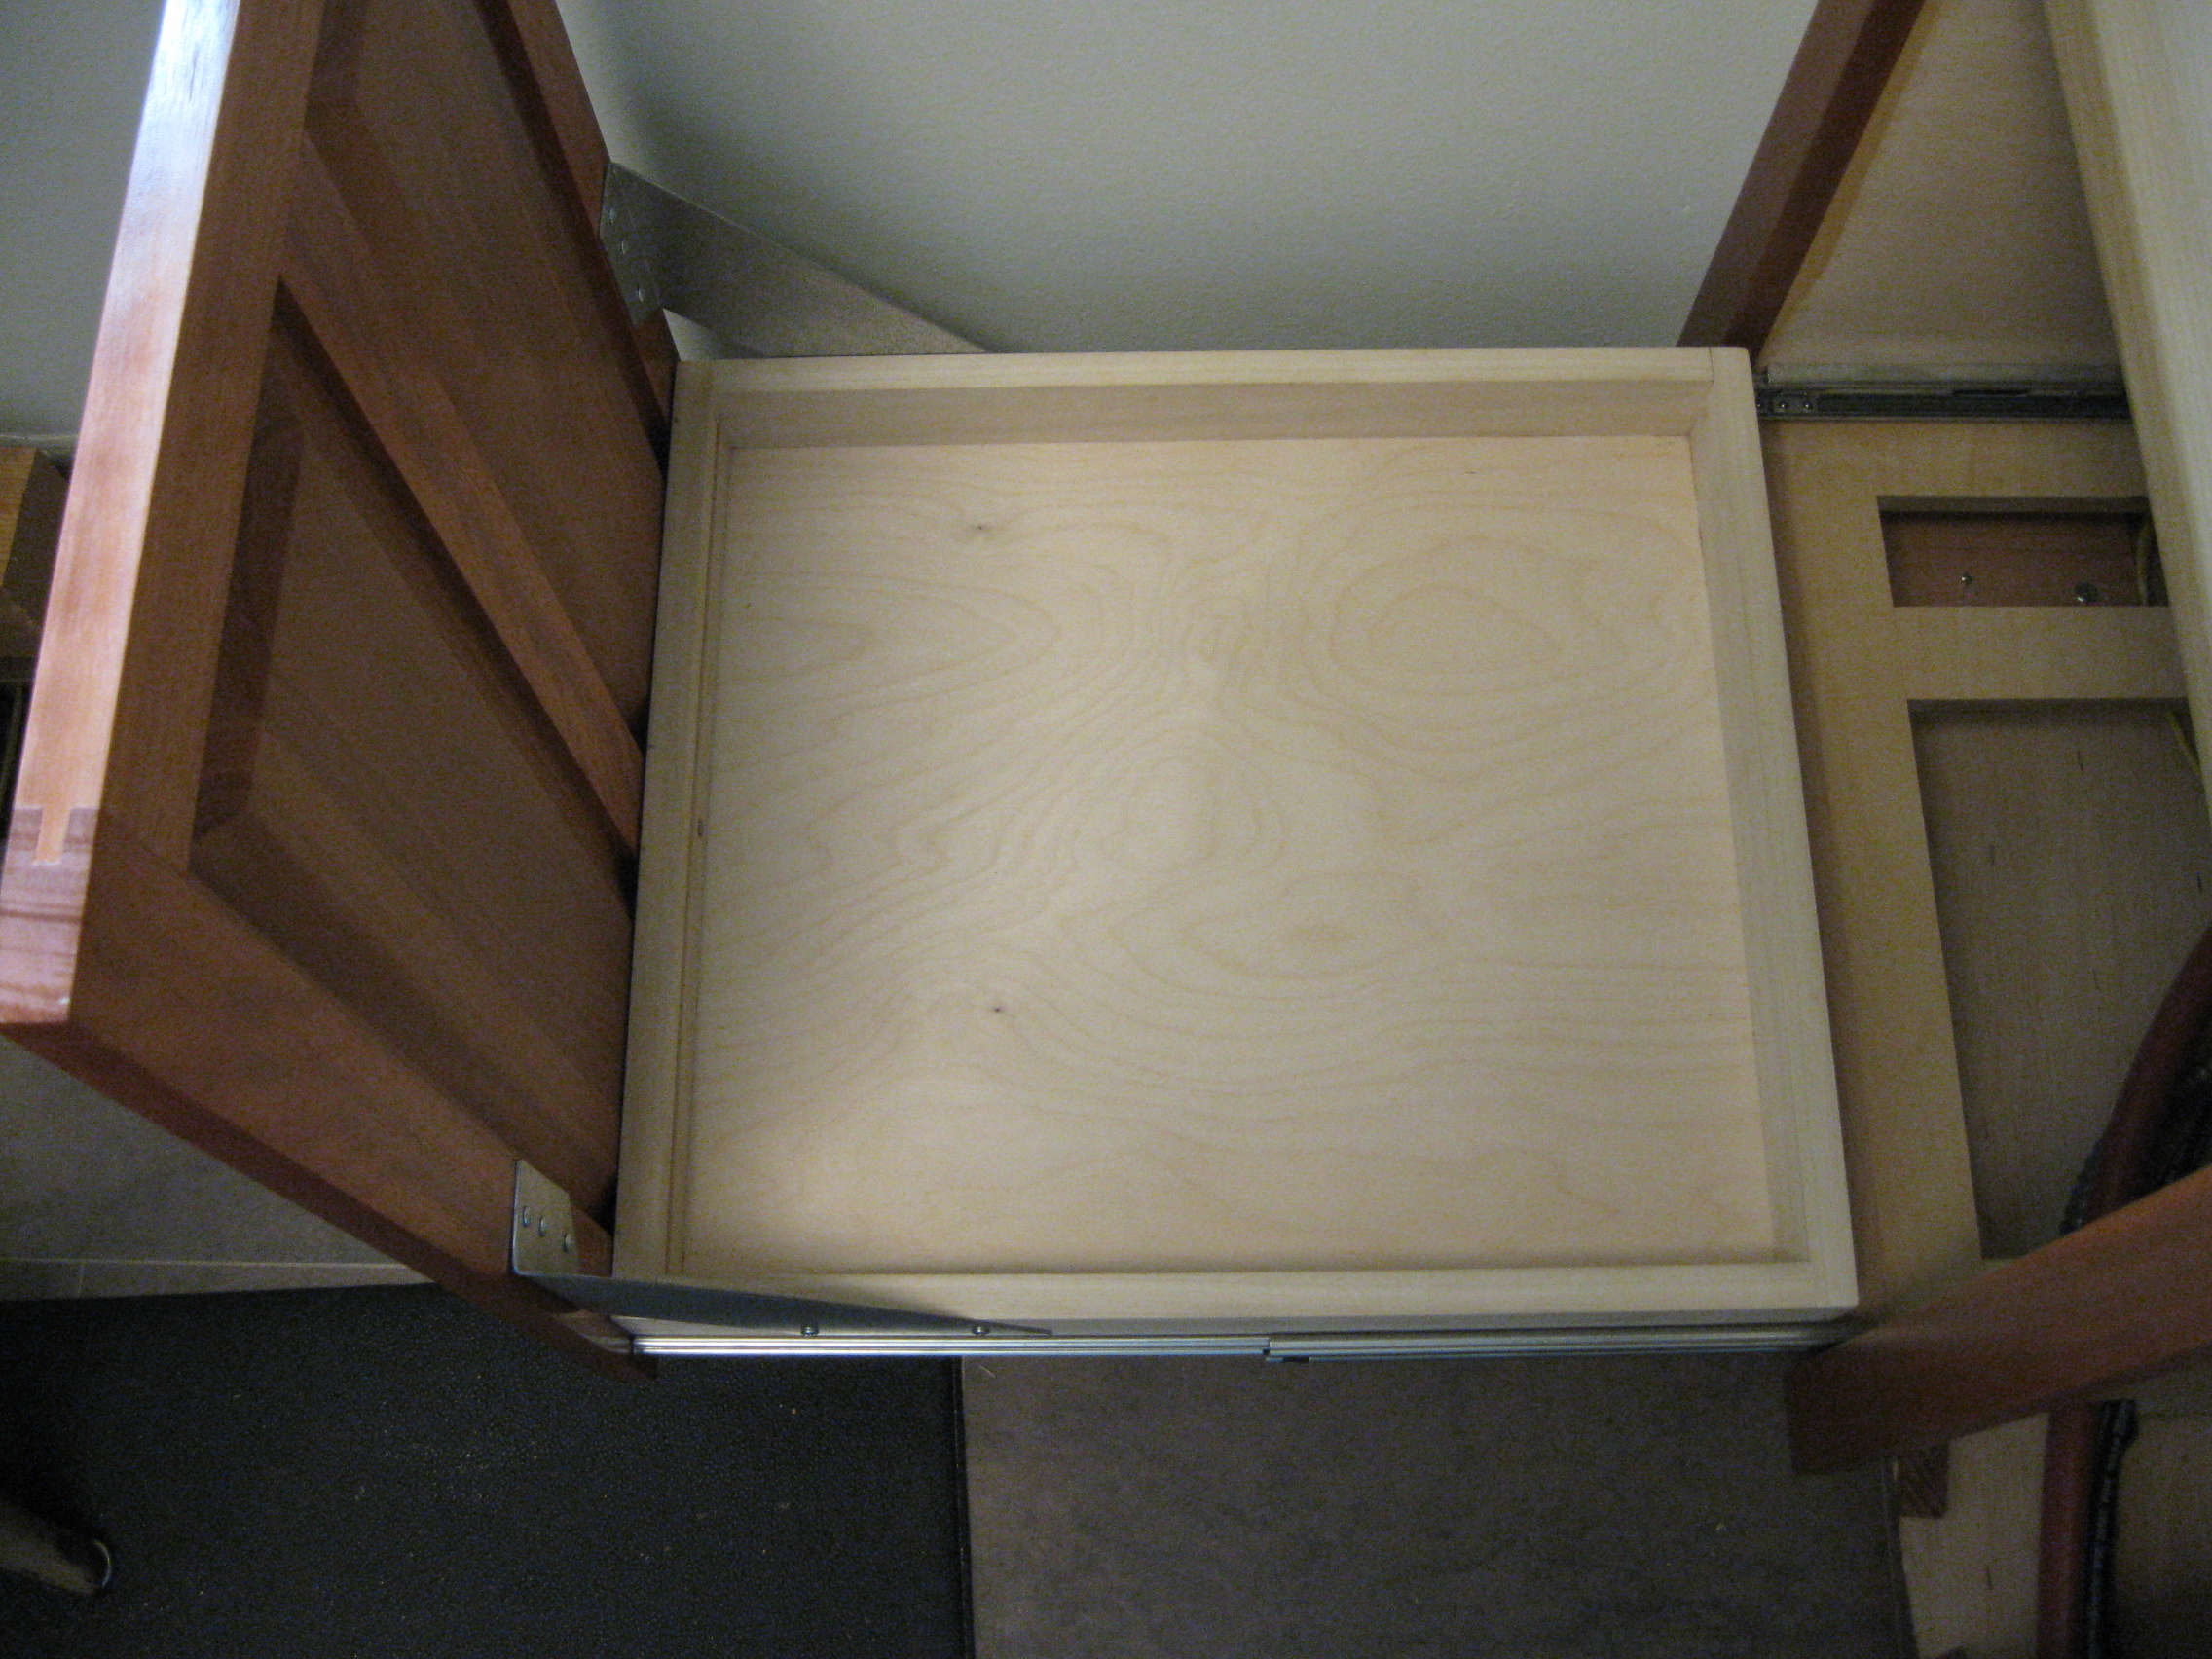
Drawers
The redesign of the kitchen includes a dishwasher. So storage space has been reduced. I have replaced shelves with deeper drawers. I now have to put all the stuff away to see if it will all fit. The test of the design.
Here is the flatware drawer. I purchased off the shelf bamboo divider boxes to save on the cost of a box joint jig that I would need to build these from scratch. This drawer can handle a little space allocated to the double stack. If I want to put a lot more in here I would have to make the space organizer myself so the spaces are deeper.

:
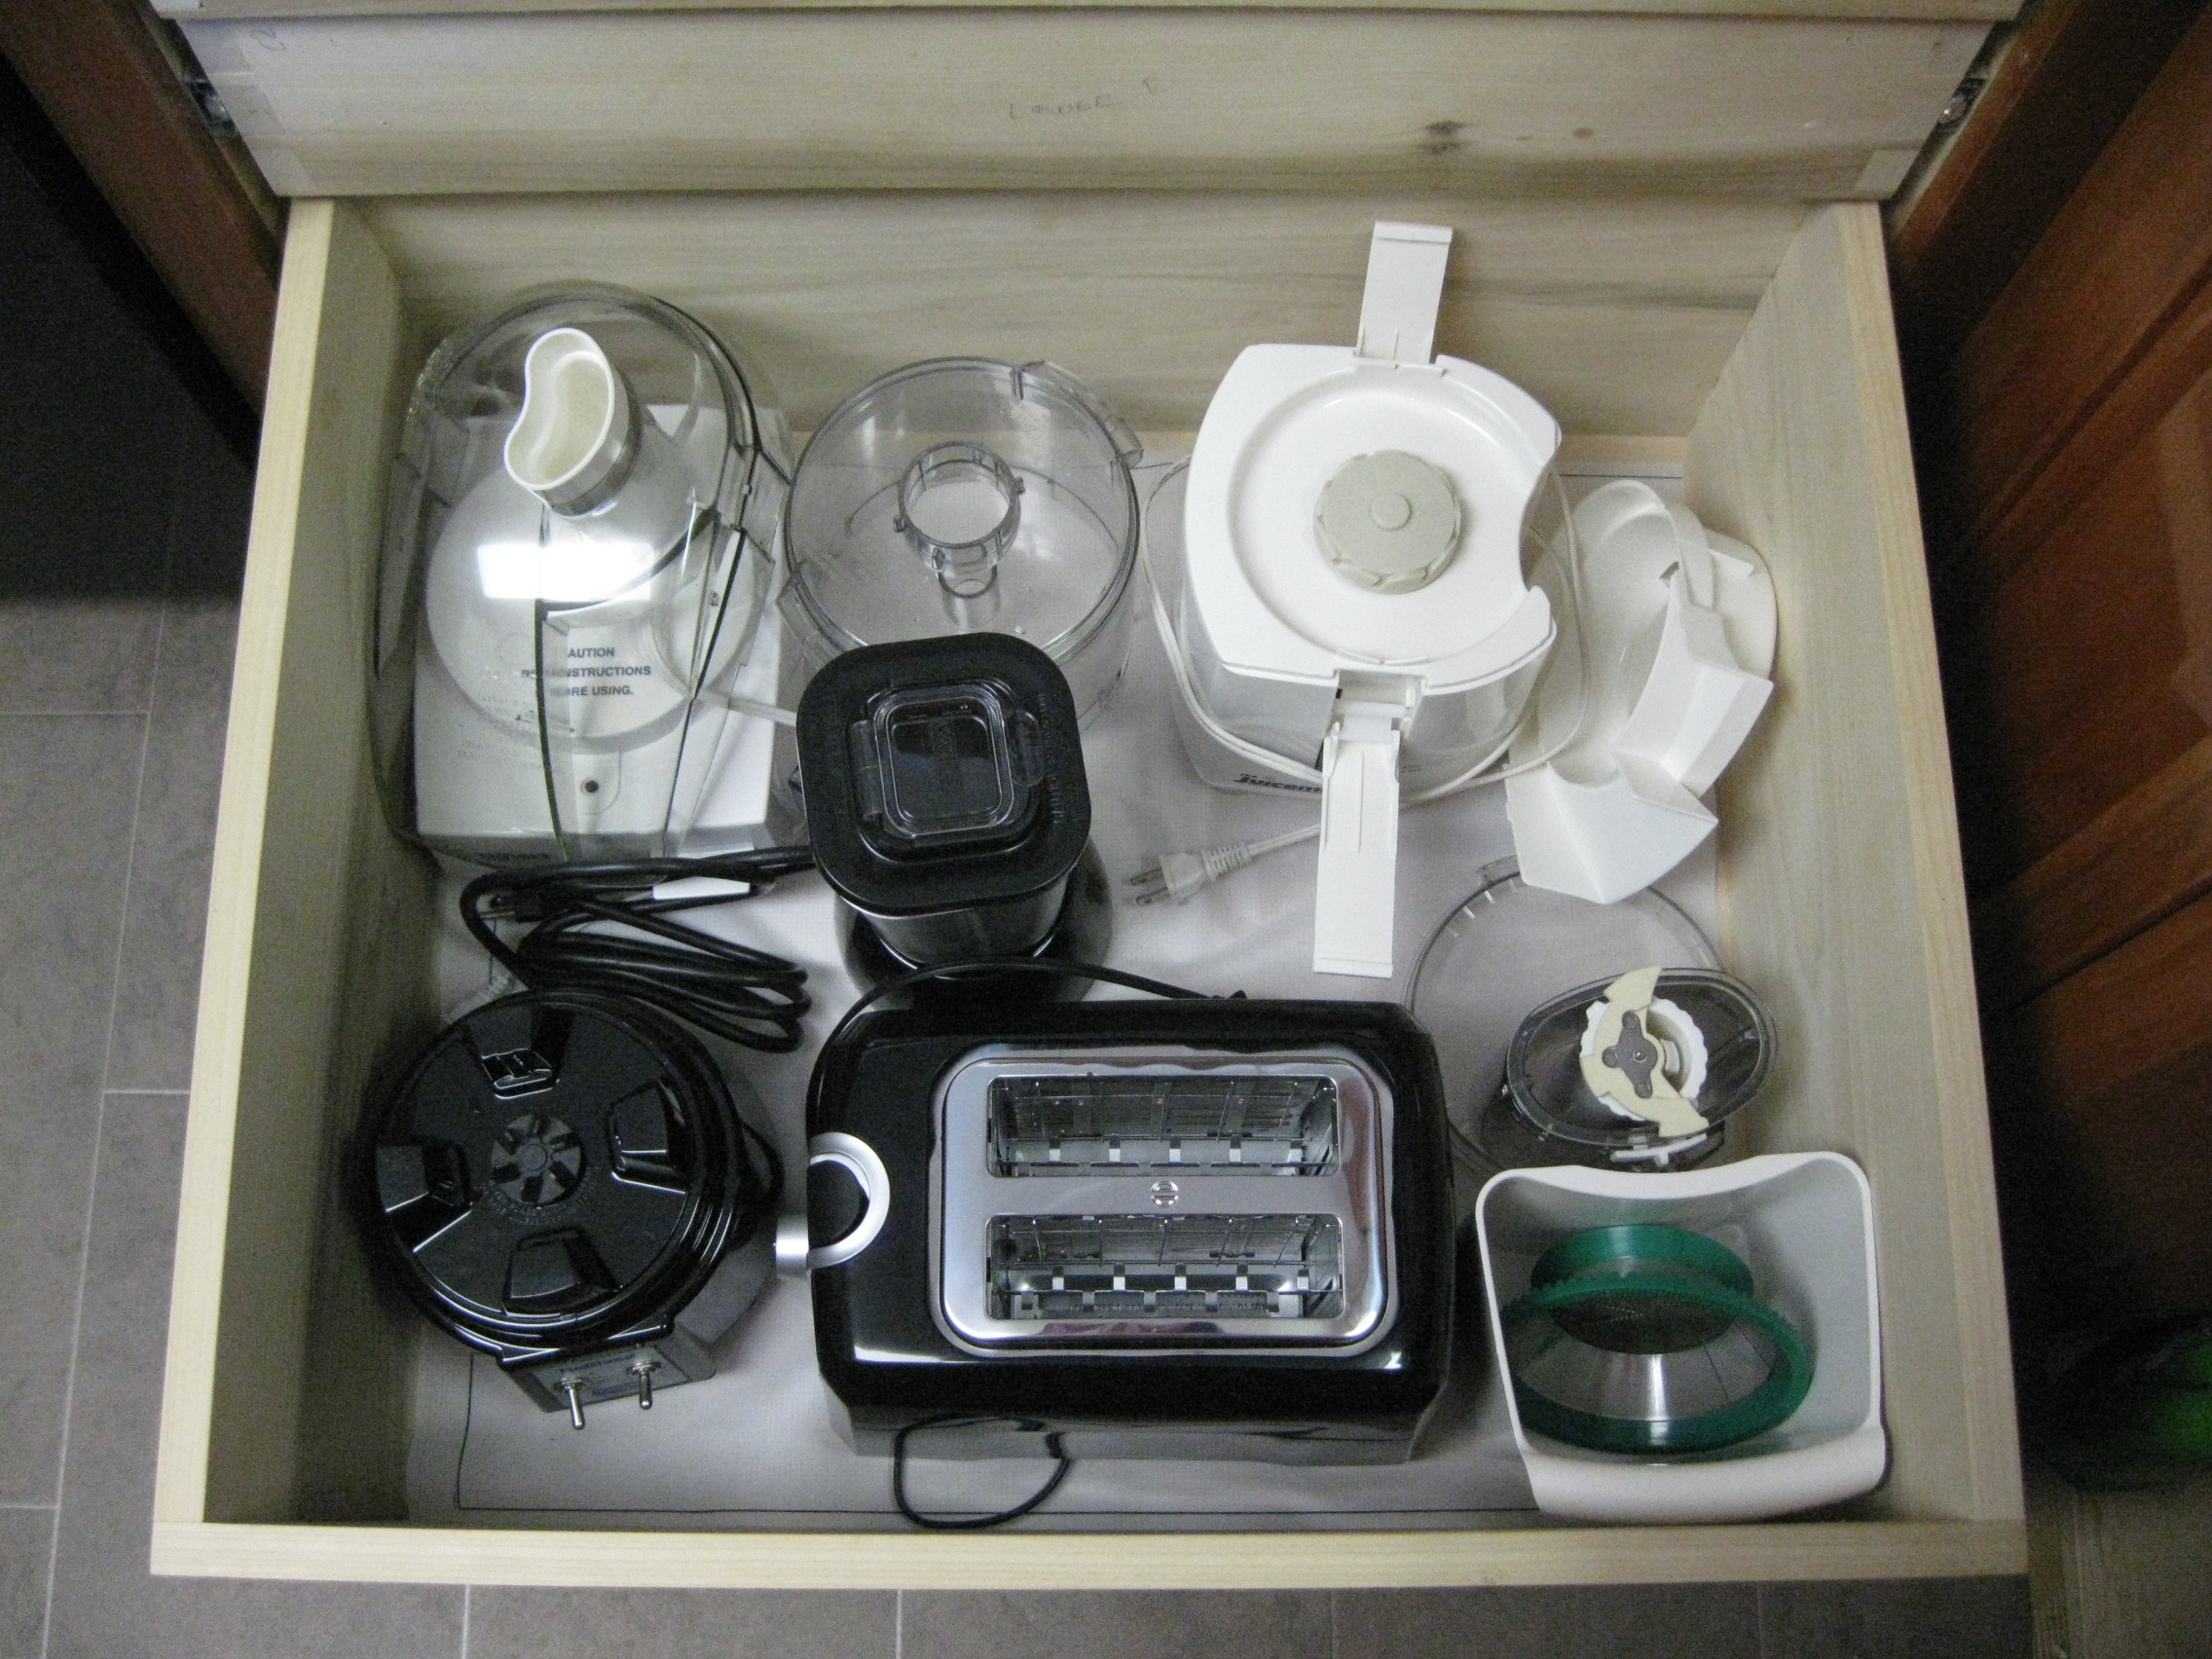
Small Appliance Drawer
This is one of the small appliance drawers. This one houses what I use very often, a food processor, juicer, blender and toaster. This picture was taken before the drawer fronts and handles were installed. The blades for the food processor are kept in bamboo boxes in the drawer above this one. The setup and use of these items is quick and easy. Lift an appliance 2', place it on the counter, close the drawer, plug it in and it's ready to use. The drawer is 22" x 25.5" x 10". These items are a bit bulky, the vellum drawer draw lining isn't robust enough. I'm now using a polycoated posterboard.
:
This drawer is short and low. It's configured for tall appliances. I use it for the Kitchen Aid Artisan Mixer. The metal brackets provide most of the structural integrity that allows the door handle at the top to be used to pull the drawer open when it is fully loaded.
:
:
: